The Red War in Destiny 2 is the second chapter and includes multiple missions. This The Red War Walkthrough will guide you on two main objectives: Spark and Devrim Kay.
The Red War is the main story of Destiny 2 Campaign. This is a complete The Red War walkthrough, covers two missions: Spark, and meeting Devrim Kay at EDZ. So let’s get started without wasting any time.
Related: Destiny 2 Server Status – is Destiny 2 Down?
The Red War Walkthrough – Spark And Devrim Kay

The Falcon
After The Last City On Earth was attacked and destroyed by The Red Legion, all guardians have dispersed, some ran and some were executed. Walk ahead and you will find your Ghost, he will give you a Gun, take that more cross Exodus. You will see a Blue light that is your Ghost. You will reach City Outskirts. Follow the flacon.
Pick up the machine gun near the dead guardian and shoot the war beasts that will attack you. You will find a Guardian at the end while trying to jump through the cliff, follow this and you will reach the Farm while crossing Twilight Gap, where you will encounter War Beast And Legionary. Walk from the right edges of the mountain till you the Falcon sitting ahead. After a cut scene where you will see The Red Legion Leader Dominus has a prisoner Guardian, you will reach The Farm.
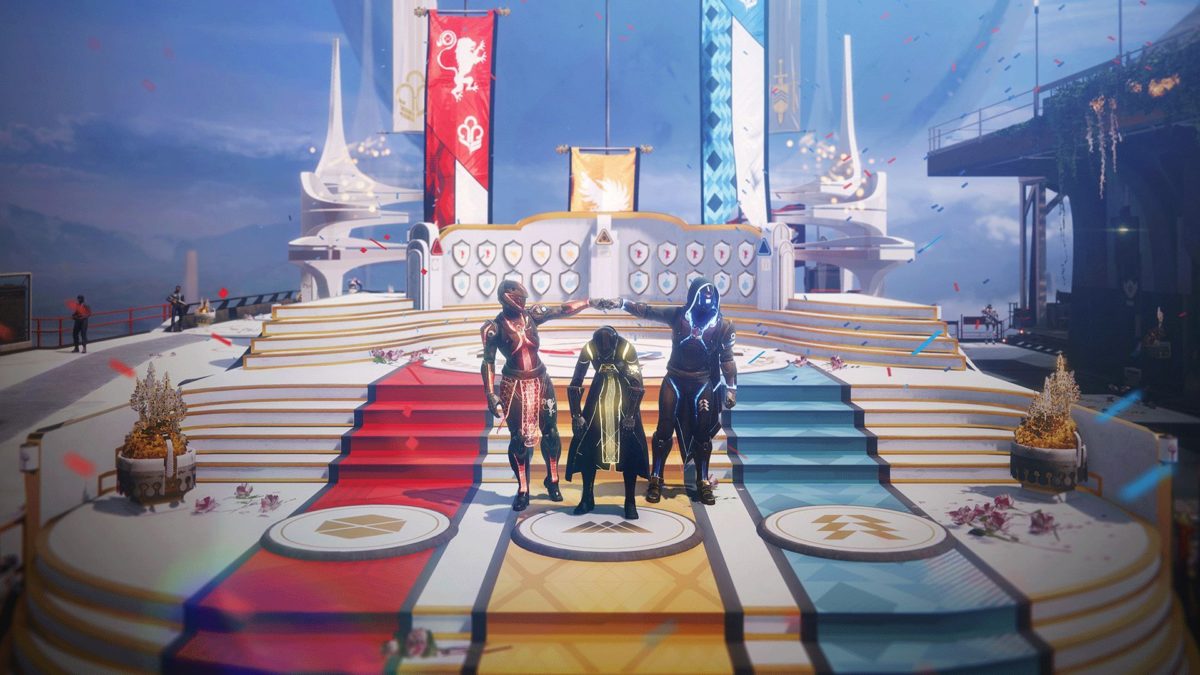
The Farm
The Farm is a social space in Destiny 2, a place where you will find Vault Terminal and Vendors to gather items. Visit Postmaster, Cryptarch, and Overseer, to collect some gifts. You will get a Ship and your new mission: The Red War. Find Suraya Hawthrone, the Guardian who saved you. She will give you the ship, just follow the objective marker. This is the beginning of the Red War.
You will also get access to the Director, the section from where you can fast-travel between points to reach your next mission. Now to start go and meet Suraya Hawthrone, she will give you a mission Spark.
Mission 1: SPARK Walkthrough
- Location: Quarantine Sector 236, European Dead Zone.
- Objective: Visit Shard Of The Traveler.
Accept the mission, you can trade some items here, or else head to the Ship. Select the mission by moving your cursor over Earth and hit Launch.
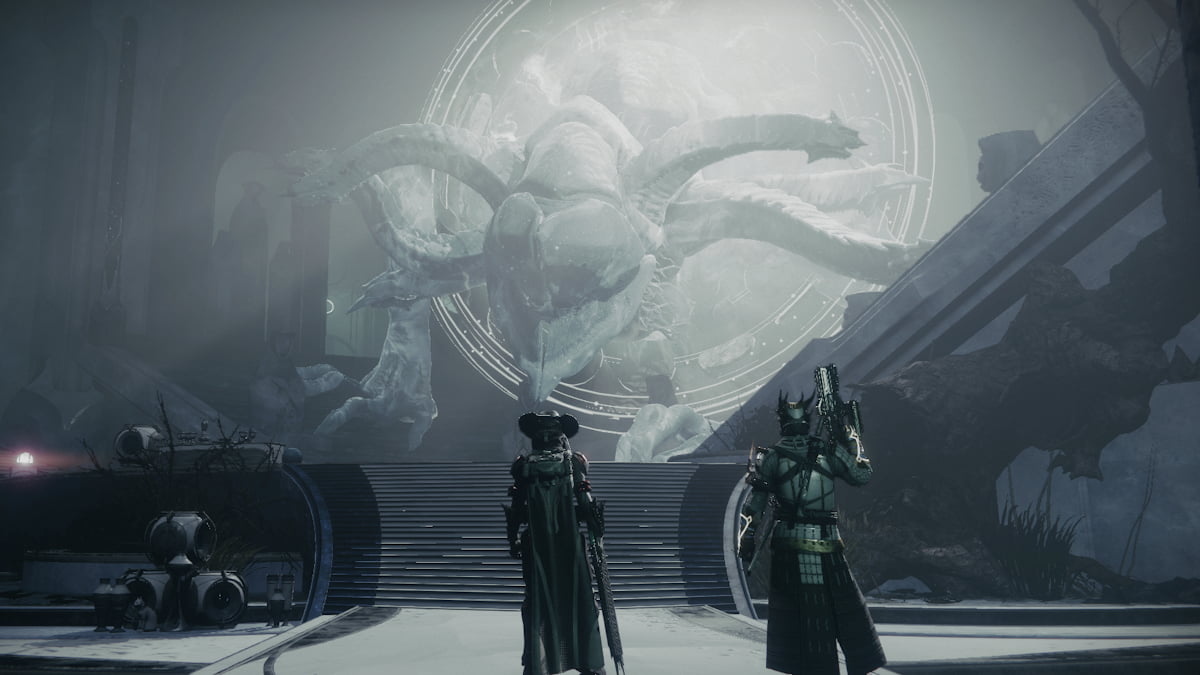
Find Way To The Shard Of The Traveler
Keep walking ahead with your ghost and enter through the gap in the wall behind the rusted car, pass through the debris and you will reach an open area. Run and jump over the broken road and enter the cave. Keep your gun ready.
You will reach an area with water below, jump down, and hold back, you will be attacked by the Fallen class Marauder. He is an assassin that will use its cloak technology to hide, so try to stay away from it. After killing they move ahead from the location where they spawned. You will reach Quarantine Sector 236 and then Blackened Forest.
There will be a chest in your path, open it and collect a Kinetic Weapon PARIAH with 25 blue cubes. You will reach near the Shard at the end, now this is the place surrounded by lot of enemies, you can get down from the right side from exit through woods. You will be attacked after you cross the first fire woods. So stay back and shoot. Pariah is a good weapon, you can take them down through a distance, and a few enemies will throw bombs so watch out for them.
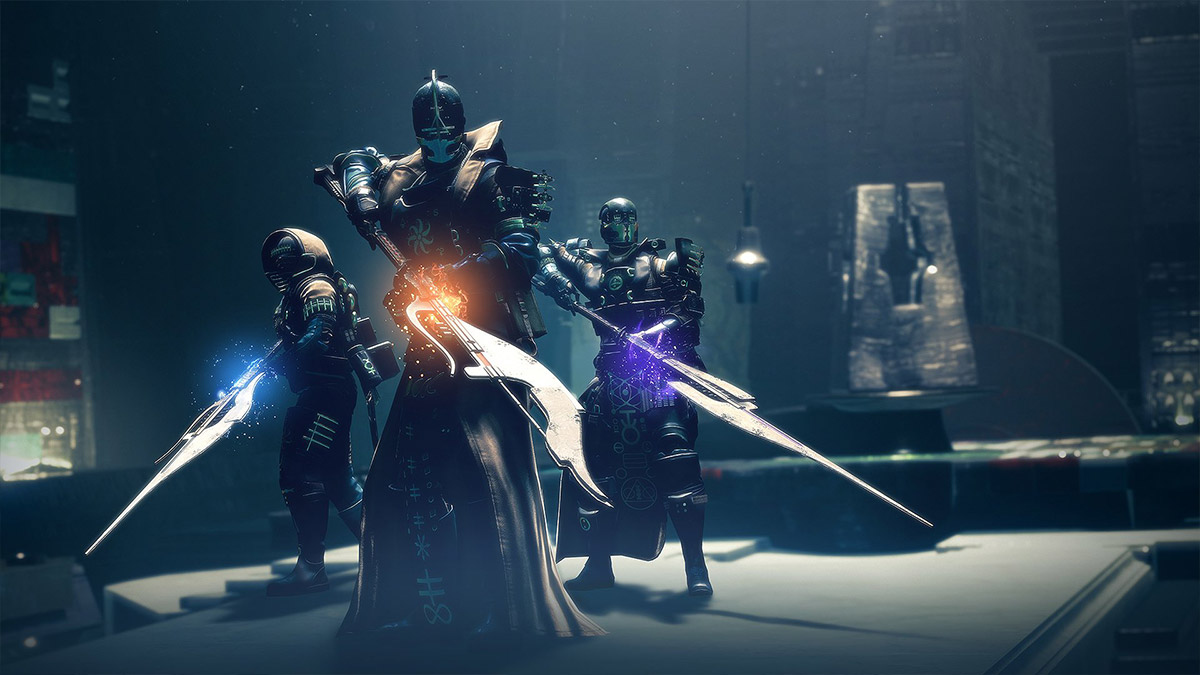
Use The Light
When you reach near the shard you have to right with Starving Scavenger and a few enemies. That will again be a long fight, go near the Shard, and you will be rewarded with Sub-Class power depending on the character you choose. There is a Super Charge Area that will refill the light to full, you can now use the light to unleash a devastating attack of unlocked Sub-Class Super Ability.
Use the ability to kill all the enemies around. Kill Skriviks, The Sharp-Eyed, a huge alien with lot of power. The best way to kill him is by going near. Once done you will see your Level will increase, you can use grant points to unlock new subclass abilities, gears and missions. So just go through the Subclass menu once.
After you return to the farm, you will see New Co-operative Play and Crucible PvP is now unlocked. The activities in the Campaign can be played with other players, you have to use the Roaster to invite your friends or you can use the same to join others. For Crucibles, you have to talk to Lord Shaxx in the Farm, to participate in the Player vs. Player competition. To continue the Campaign story The Red War go and meet Suraya Hawthrone.
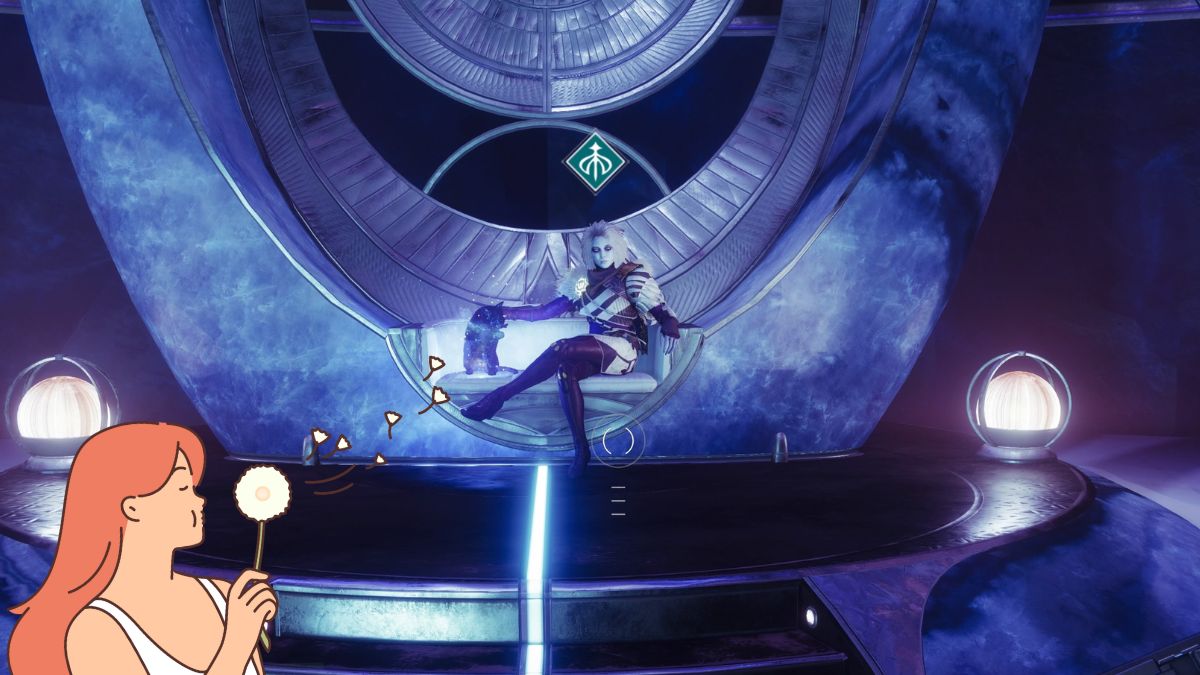
Mission 2: DEVRIM KAY Walkthrough
- Location: Trostland in the EDZ
- Objective: Meet Devrim.
Select Trostland through Destination by choosing Earth to head to your next mission. You will land in an old town, you have to help the refugees to connect them with Farm with the help of Devrim Kay.
Speak with Devrim in the EDZ:
Head to the marked locations, there will be lot of enemies around, so you have to choose your own path. There are building around, you have to reach the top near a window, where you will find Devrim. He will give you your next mission.
Mission 3: A New Frontier
- Location: EDZ
- Objective: Explore EDZ
After accepting turn around and you have to fight the Fallens around. Follow the sword marker, now to pick the sword you will need Power=30. Go outside near the flag on the right of the Church and you can take down a few Fallens, gather drops from the dead Fallens, the purple one will help you to level up fast. You can play a time-based Glimmer Extraction Event in the same area. At the end of the event, a box with blue cubes will appear. Use the upgrade points on your armor and weapons that will increase your Power to 30. Return to the Sword to start the mission A New Frontier.
Find The Banner: Devrim will ask you to look into a banner, use your ghost. Now you have to complete a few set of objectives below given by him and finally, you will get your next mission.
- Loot Region Chest: From the banner, go left, and get out from the right side, go in building with a blue board SCHNEL, enter it and go up you will find a chest.
- Explore the Church: Get back to the church and explore the symbol.
- Enter The Tunnels: On the right side of Symbol, there is a tunnel that goes underground. Fight with The Fallen’s.
- Explore the Atrium: Kill more in Atrium, as you enter ahead you will see the army of Fallen’s and their Captain.
- Defeat Fallen Captain: The captain has a good amount of health, and it will stay back, the enemies will be coming front to attack you, so take cover and shoot.
- Seize Reward: After killing the Captain, open up the Supply box on your left, and collect your reward.
Once you are done with all the objectives given by Devrim, get back to him at the Church for your next mission Combustion.