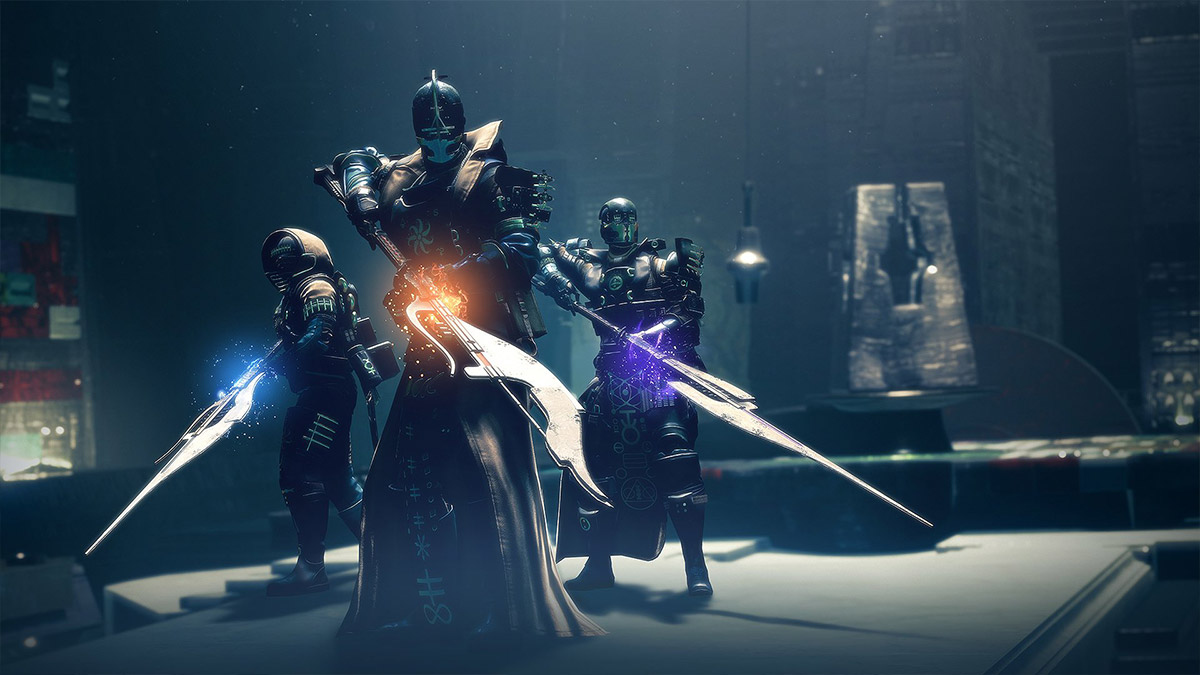
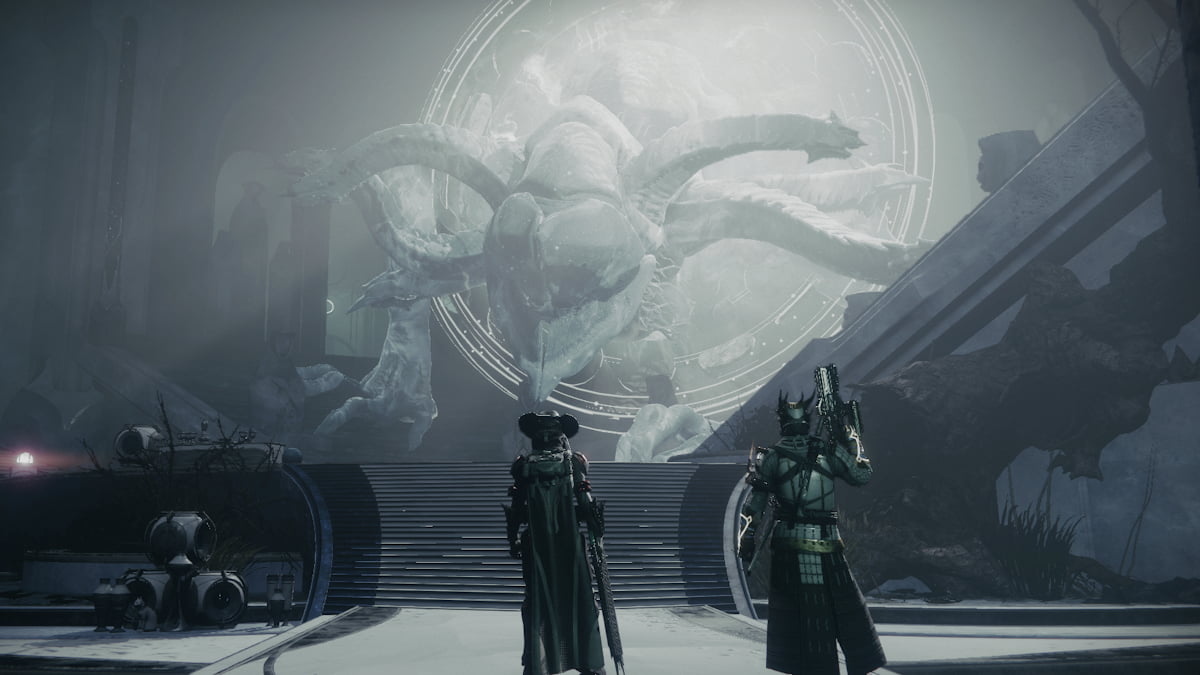
Locations for 45 Data Fragments in Warmind DLC of Destiny 2, finding 35 unlocks Exotic Worldline Zero Sword & all unlock Sparrow. In this guide, you will get locations for Olympus Descent, Glacial Drift, Maadium Subterrane, Braytech Futurescape, Core Terminus, Aurora Reach, Mindlab, Dynamo Approach & Alton Dynamo region.
Warmind DLC of Destiny 2 brought a lot of fresh features for a player to explore Mars. Warmind has around 45 Data Fragments scattered around the map, these offer you some new items. If you are able to gather around 35 Data Fragments you can simply get an Exotic Sword – Worldline Zero. And if you are able to get all 45 of them then you get an amazing Sparrow
All 45 Data Fragments Location
Data Fragments are bit different compared to other collectibles in the game. These are like glowing symbols. You have to shoot them, but there is a catch, they represent different elements. So you have to shoot them with one of the three elements. In order to gather them all you have to bring weapons with each element. You just have to shoot the fragment with the matching color fragment. That’s it. Use Kinetic on White Data Fragments, Solar on Orange Fragments, Void on Purple, Arc on Blue and for the unique on you will be using Javelin (Relic Weapon).
Worldline Zero Exotic Sword Location
For the Legendary Sword, you will need 35 Data Fragments, once you got all you will be able to unlock a cache located in Braytech Futurescape Lost Sector. Enter it and follow the left wall, you will find a office look on the alcove for the sword cache.
G-335 Anseris Overdrive Exotic Sparrow Reward Location
Once you are successful to get all 45 fragments, you have to head to the Olympus Descent area. Go to Warsat, at the same place where you got Data Fragment 3. Drop down to a secret ledge below and you will get the cache.
Olympus Descent Data Fragment Location
- Data Fragment 1: At the very beginning, look high on the left top of the clip. You will spot it at a distance. This is at the very start when you start running towards the cave.
- Data Fragment 2: Enter the ice cave and clear out the enemies in your path. After killing a few keep moving ahead and look in it on the left side. It will come after an ice pillar, just look down the ledge the fragment is kept on the small cliff down below.
- Data Fragment 3: Keep walkthrough the caverns and you will reach a tunnel. It has an inactive warsat on the ledge, look down just below it.
Glacial Drift Data Fragment Location
- Data Fragment 4: From the entrance towards Olympus Descent area, look up at the ice walls. You have to look on the left side on the landing. This one is located at the bottom southwest corner, look for a curved cliff along the wall on the west side.
- Data Fragment 5: You have to look for a concrete barrier built into southern cliff, somewhere near the bottom southwest corner. You will have to down on the ledge below the barrier for the fragment.
- Data Fragment 6: For this one you will have to go towards the west side. Look for a huge bridge. On the west next to the tunnel door there is a small building. Enter it and go left, look at the bottom section of the shelf.
- Data Fragment 7: Once you are out of the building where you get the previous one, just jump to the nearby bridge tower. You can view the rooftop of the building, turn your face towards the building and you will spot the fragment in the corner where the building structure meets the rocks.
- Data Fragment 8: In the same tower, you can spot the another one on the right of the structure, look for curved cliffs. Jump on the next tower to the east side and look towards the rocks.
- Data Fragment 9: This one is located near the Warsat Down public event area, you have to activate a Escalation Protocol here and take Javelin. Escalation Protocol will start after completing the campaign. Just run towards the north side and look for underside area of the bridge. Look for a pipe with a small Javelin.
- Data Fragment 10: This one is on the south of Warsat, Escalation Protocol area. Try to locate a tree on a hill, look up towards the tree and you will spot the fragment, you will need to use Javelin.
- Data Fragment 11: Go to the east of the map and look for a huge Clovis Bray (CB) logo on the left side of open hangar. Next to the logo there is an balcony with the target, you can climb on top of the bridge tower to see it.
- Data Fragment 12: Look at the hangar, and try to locate a open garage door on the top of it. You will spot your next target.
- Data Fragment 13: This one is located inside the hangar, just jump on the catwalk area with the region chest and face the pipes. You have to look on the opposite wall.
- Data Fragment 14: For this one head to the southern cliffs on the map, and you will reach Lost Sector. Just stand on the edge and look on south side and turn right and then look below at the traversable area. You have to find a dark hole in the rock which has the target.
- Data Fragment 15: Go outside the hangar and look for ramp on the left side that will take you to Braytech campus. You have to take the ramp tunnel and go left where you will face a fan built in the wall. The target is between the fan and the wall.
Ma’adium Subterrane (Glacial Drift Lost Sector) Data Fragment Location
- Data Fragment 16: In the first large chamber of the sector you will be somewhere on the cliff in the giant hole. Jump on the cliff on the opposite side to get a good view. Far below you will spot bright lights, that is the fragment.
- Data Fragment 17: At the beginning of the sector at the entrance look behind the crashed ship. The Data Fragment will be behind the ship near the engines.
Braytech Futurescape Data Fragment Location
- Data Fragment 18: Once you are in the Braytech area, jump towards the wall to the left and walk to the far corner of the roof. Look down at the damn wall below, you will see a small drainage pipe.
- Data Fragment 19: From the same place where you got the last Data Fragment you will have to look on the left at the series of vats on the damn wall. You will see a lot of white vats, climb up to the tall structure. It is guarded by Cabal, clear them and you can now check out the Data Fragment in the white vat storage area.
- Data Fragment 20: For this one you have to go to the ledge from the tall building as you enter Braytech area. Look on the right, and find the catwalk stairs. The stairs will lead you down, from there jump down to the orange vat that is built on the side of the dam. You will spot the Data Fragment in the hidden alcove below stairs.
- Data Fragment 21: Go towards the Public Event area, and there you will find a structure to the left of tall silos at the edge. You will reach a rooftop right next to Ana Bray’s area, you can see her through the window. From the room just look towards pipes in the north direction.
- Data Fragment 22: The next target is on the blue vat, that is built on the side of a long building flanking the Cabal public event. You can spot it easily, this one is a another Escalation Protocol Javelin target.
- Data Fragment 23: For this target you will have to locate the Escalation spot. Look opposite side of the long building just on the south side of Anay Bray location. Look to the southwest corner to locate the target high up on the rooftop.
- Data Fragment 24: Keep moving on the street that passes between two building, on the left with a hive inside, has a high window near the backside. The target is on top of an object grafted on the side of the exterior near the window.
- Data Fragment 25: It is in the same alley, you have to look on the left side of the door that leads to Ana Bray interior room. Look for a small device on the wall you can interact with. Interact with the device and go left, cross the building with the hive and look for the structure with number “2” on marked on the door. Go inside and go up, then look through the open double doors for the target.
- Data Fragment 26: Return to the room with Ana Bray, look in the center on the opposite side of the wall with three computer terminals. Look for a barrier and some crates, the target is on the crates.
- Data Fragment 27: From the previous location just go up and look for a big diamond shape Warmind statue. The target is on the edge of the mountain.
Core Terminus Data Fragment Location
- Data Fragment 28: Once you are in the region you will have to clear the first room with enemies around it. Then interact with the terminal that is located near the glass door on the right wall. Interact with the door next and then head to the double doors that will open up and you can shoot the target.
- Data Fragment 29: For this one, you will have to avoid killing the enemies in order to open the door. This one is the final one of this area, go to the second room and locate the terminal. It is on the back of the right wall. Interact and next you can head to the third room, you will find another set of double doors on the right side that will open up slightly. Shoot the target.
Aurora Reach Data Fragment Location
- Data Fragment 30: From the interior of BrayTech area you will have to go up to the stairs to reach Aurora Reach Zone. This one will lead you to Rasputin also, in the first area you will face some enemies. Go towards the next and take the higher catwalk platform. Under the ledge on your left side, you will spot the fragment. This one is hard to spot, so try taking a close look.
- Data Fragment 31: After leaving the narrow vent tunnel, take a right turn. On the next corner, you will find another fragment that is visible on crates around.
Mindlab: Rasputin Data Fragment Location
- Data Fragment 32: At the beginning look for a hanging warsat. Jump on the opposite wall and look for an open vent. Crawl inside and look at the left corner you will spot the fragment.
- Data Fragment 33: Go up to the top of the bridge that will take you to Rasputin. You have to reach the point where you got the Javelin special weapon during the story mission. You will be in a balcony, go down to the pipe on the right and run ahead towards Rasputin. Stop at the halfway point and look high up towards the bridge struts.
- Data Fragment 34: Go in the building through the door that is near to Javelin dispenser. From the first floor jump across the gap and look on the left side for a big glass doorway. You will find another closed door with the target above it.
- Data Fragment 35: Once the door is open that will take you to the last chamber in the area, kill the enemies in it. Look from distance, the target is located on one of the struts at a distance on the left wall.
Dynamo Approach Data Fragment Location
- Data Fragment 36: You have to look up from the center of the area, there is a radio tower at a distance above the ice wall. The target is on it, once you are near you can spot some silos near the base of the tower. Using a sniper rifle or a rocket launcher you can take down the target.
Alton Dynamo Data Fragment Location
- Data Fragment 37: Once you are in Alton Dynamo area you have to turn around and look on the left side. Search for an ice pillar on the left, the target is behind it.
- Data Fragment 38: You will be in the first combat area, take the left wall. Once you are at the balcony look for two struts that connect with the ceiling with bends in the center. Look up between the panel on the bend on the left of these two panels.
- Data Fragment 39: Once you are in a huge server room that is filled with tall pillars, take the right wall. Once you are at the right-most corner you will be in a diamond-shaped room. Look up at the server pillar. The fragment is located on the side facing the wall.
- Data Fragment 40: Once you are back at the entrance, you have to go straight. Avoid entering the server room on right. In the room ahead from the entrance look on the right and you will spot a vent in the wall. Break the vent entrance with a gun and crawl into it. Activate the terminal in the room and then go on the other side. This will slightly open a nearby door. Now return to the room from where you entered the vent, and continue straight ahead. In the room go to the right door and turn left. There will be some enemies, kill them and enter the back door on right. Once you are at a junction you will spot a door on the right that is slightly open. Shoot the target through the opening.
- Data Fragment 41: You have to enter the override column room for this. You can reach it by turning left and entering the cabal area instead of going straight. Look for a glass pane in the ceiling, climb the pylon and go to the high pipe. You can now see over the glass, shoot the target.
- Data Fragment 42: Return to the Cabal room, and go back to the left corner from the start of the room. This is the same place where you got Data Fragment 35. Jump to the wall in the corner and look at a distance, you will spot a tiny target.
- Data Fragment 43: In the same cabal room go to the center and just pass the big orange-glowing pylon. Look on the roof and check back of the struts which are attached to a tall pylon. The target is located on the pipes.
- Data Fragment 44: You have to re-visit the junction with a fragment that is located behind a slightly open door, there is another inside on the left top of a vat.
- Data Fragment 45: For this one, you have to keep moving forward once you get the previous one. Stay on the right side of the chamber and on the right wall just cross the second of two vast. Look up and then check left into the pipes at a far distance. You will be able to spot the final Data Fragment.
So these are the locations for all 45 Data Fragments in Warmind DLC of Destiny 2. For more updates and guides on the game, you can read our Destiny 2 Wiki.

