The Ostara Festival is a new event in Assassin’s Creed Valhalla designed to celebrate the start of spring, and the seasons changing. The snow is beginning melt, and the air is becoming warmer. Just because things are becoming warmer doesn’t mean Vikings still don’t want to brawl. Much like the Yuletide Festival, the Ostara Festival has its own brawl, and you can match fists with some of the best fighters in the ring. Here’s what you need to know to complete the brawl, and we highly recommend you complete any of the other tasks for the Ostara Festival to increase your chances.
There rules have changed, but only slightly. After you win each fight, you’ll receive tokens for your victory. However, you can choose to bet your tokens in the next fight to earn even more.
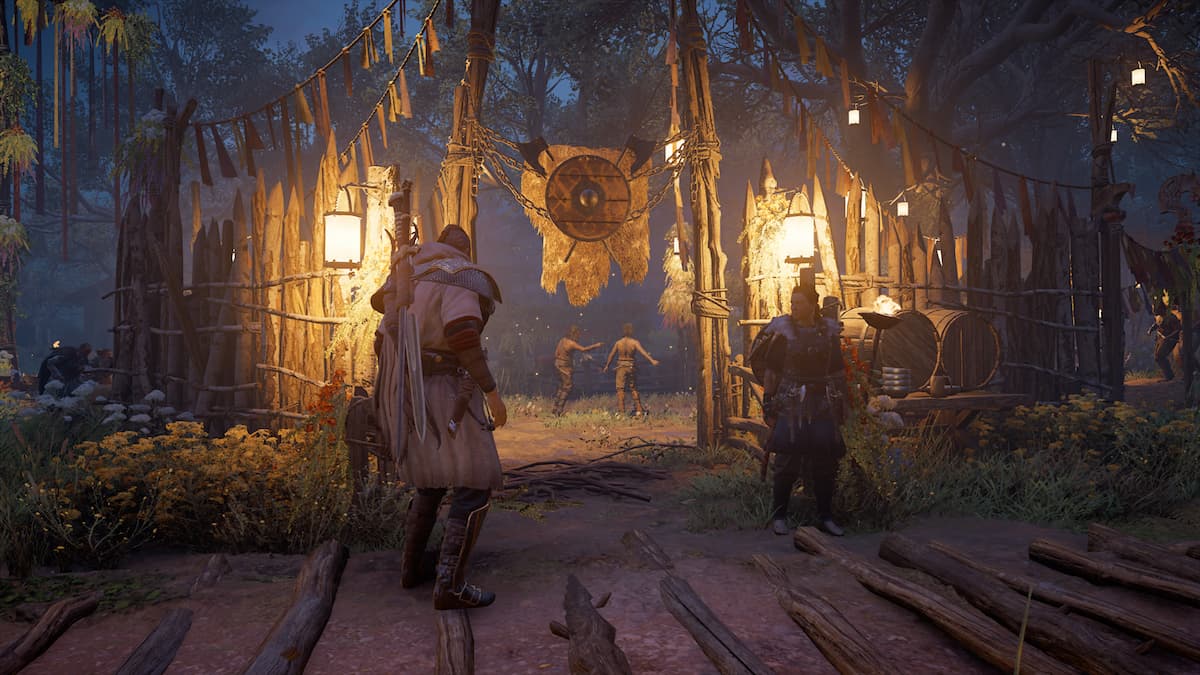
Where to start the Ostara Brawl
You can start the Ostara Brawl by locating the fighting ring near the festival, and speaking with Sunniva.
How to beat all fighters
It’s important to note that following each fight, Eivor will take a drink of mead. This heals him, but slowly makes him drunker, and will alter how you fight with him as you progress through the battles. You can choose to leave these brawls at any time with all of your tokens, rather than continue fighting.
First fighter
The first combatant in the Ostara Brawl is fairly straightforward. You can defeat them with several furious attacks with your fists. They do have an unblockable attack that they often attempt to hit you with, but you can quickly dodge this and freely attack them.
Second fighter
The second fighter is a bit more challenging. Like the previous fighter, this combatant also has an unblockable attack, but it shows up far less often. We noticed we were unable to hit him unless we properly counter his attack. Once you’ve countered this opponent, you can freely hit them or choose to drain their stamina.
Third fighter
The third fighter is a mixed combatant. You can freely hit them as many times as you’d like without having to counter an attack, but after countering them once, their stamina is completely drained. You won’t counter them as effectively after this, so we recommend waiting until you’re cornered or you’re about to win. They also have a few unavoidable attacks, but nothing that you haven’t already seen.
Fourth fighter
The fourth fighter in the Ostara Brawl is the first real challenge you’re going to face. They’re far more agile than the previous ones, and you’ll have to careful during the duel. When they launch an attack, they typically have three melee strikes they use, one after another, and you’ll need to counter each of them, or you’ll take damage. If you cannot counter the three attacks, you’ll need to dodge out of the way. Luckily, the final attack is a faceplant, giving you a golden opportunity to lay into them. Their unavoidable attack is also a large haymaker style of assault, and it follows you for a good distance. This means you want to go to the side and steer clear of them as much as possible. They also send out a shoulder check, which is equally strong but easier to avoid.
Fifth figther
The fifth fighter is like the second one, and partially the fourth fighter. You won’t be able to damage them until you counter one of their attacks. After the counter, you’ll be able to battle them. This combatant did not have as many unavoidable attacks, but they were quick and capable of dodging many of our strikes, even after we countered their attack. When they countered a few times, they would then strike back at you. But you could parry these attacks.
For the sixth fight and the rest of the brawl, you will not be able to focus on an enemy. You’ll have to move your camera to follow them, making it far more challenging to fight.
Sixth fighter
The sixth fighter is much easier than the previous fights. It’s probably because you’ve lost your focus. You can freely attack them and counter their attacks with ease. The brawl is not too difficult, and even if you are hit, you shouldn’t lose too much health. You may want to use this fight to get use to not being able to use your focus and learn how to follow a fighter through the ring. We could back this combatant into a corner and continually attack them, making the fight much easier.
Seventh fighter
The seventh fighter will be able to counter and throw you if you hit them while they’re using their unavoidable attack. You want to hit them a few times and then dodge away to make sure you don’t get thrown to the ground. If you are thrown, you need to roll away quickly, or they will stomp on you during the fight. You might be able to time some parries to their weaker attacks, but we were better off landing three to four hits and then dodging away before attacking again. This felt like the best technique to fight them.
Eighth fighter
The eighth fighter is similar to the fourth and seventh fighter. They’re agile, and they’re going to try landing unavoidable shoulder attacks, haymakers, and backend strikes. We recommend treating it like the previous fight where you went in to land three or four hits against them and then dodge away. Nearly every time we finished our combo, they went in with an unavoidable attack. It can become a boring fight with you attacking, dodging, and then repeating the process, but this was the safest approach we had to this battle.
Ninth fighter
The ninth combatant is a larger, wrestling-like brawler who will be like the seventh fighter who often attempts to counter you. When they counter you, they’ll throw you to the ground and try to land a strike elbow to your downed form. They’ll also rush you, attempt to grab you, and throw you around. This combatant’s hit extremely hit, and taking only a few hits can give you half health. We highly recommend avoiding any attempts at parry and focus on dodging if you can help it. If you have to parry, make sure to parry the kicks and the downward strikes. Those are the easiest to telegraph.
Tenth fighter (Final fight)
The tenth fighter in the Ostara Brawl is a Goliath, and they are the final round in this brawl. They’re similar to the previous fighter, except they use their stomach to knock you off balance. They have the most health of all the fighters, and you’ll find yourself widdling them down with hit after hit. Much like the last fight, we recommend focusing on dodging due to how powerful the Goliath’s attacks will be. We also recommend you use any rations you’ve been saving up during the fight. This is the best time to use them.
When you see the Goliath taking a drink, back up because they’re about to rush you and slam the mug down on the ground after that. You’ll need to dodge twice to make it to a safe distance. The Goliath’s health goes down faster than its stamina, so if you want to hit them with the hardest attack, we recommend parrying the double-fisted downward strike they do. This will be the best way to knock them down with drained stamina, and land a heavy attack. They also throw a right jab, a left jab, and then a down-fisted downward strike combo that you can parry.
Once you’ve defeated the Goliath, you will have completed the Ostara Brawl. You will win 140 tokens.


Published: Mar 18, 2021 10:55 am