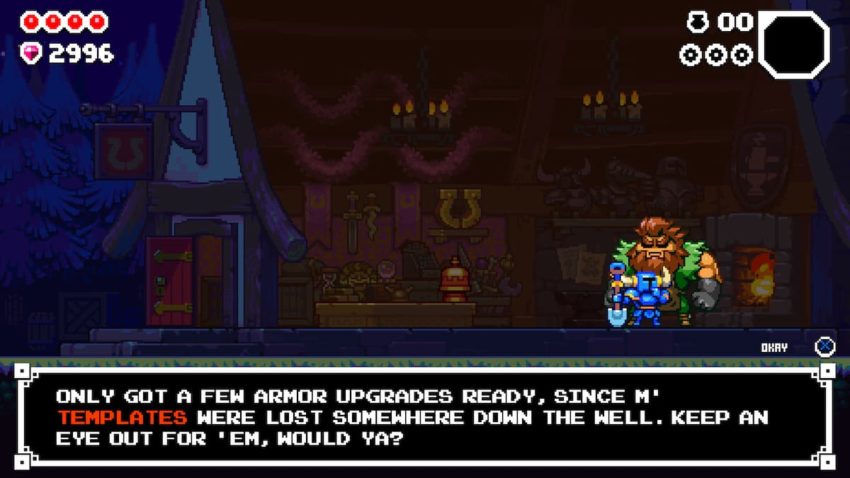
Early runs in Shovel Knight Dig tend to look pretty similar to one another, especially if you spend most of your time in the Mushroom Mines. As you progress, though, you’ll slowly open up more options to add some variety, while also giving yourself a competitive edge. One of the main ways you can do this is by finding and purchasing different sets of armor from the Armorer.

While most of these aren’t huge upgrades (and they often come with some tradeoffs), they can still be enough to get you past a particularly treacherous stretch of tunnel. The only problem, though, is that when you start your adventure, the Armorer is nowhere to be found, with only a note left at his workstation. It’s up to you, then, to track him down.
Related: Shovel Knight Dig hides some serious challenge under the surface – Review
Armorer location
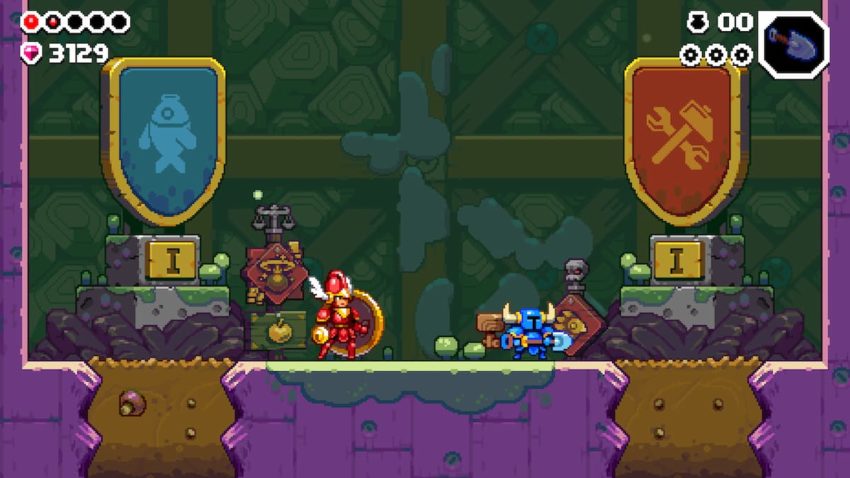
Because he’s teased so early in the game, it might be a little surprising how long it might take to actually find the Armorer. Mostly, this is because it’ll probably take at least a few runs before you beat Spore Knight, opening up more than just the first biome. Additionally, on our first run that went past Spore Knight, we only had the option to go to the water biome, meaning there’s a good chance you’ll need to take down the game’s first boss twice before you even have the chance to find the Armorer. This is because you’ll need to head to the fiery Smeltworks biome when given the chance, which you can do by heading down the path marked by the sign on the right side below.

Once you’re in the Smeltworks, your next job is to keep an eye out for side rooms. Although many of these rooms are marked by unassuming nails or cracks, the Armorer’s room should be marked by a large smithing hammer. Once inside, you’ll see a large man cowering in fear on a platform in the middle of the room. Stay alert here, because when you approach him you’ll be ambushed by quite a few enemies, and trust us, it’s pretty frustrating making it this far only to have to start all over from the beginning.


Published: Sep 23, 2022 11:06 am