
One aspect of Mortal Shell that will help immensely with your journey is the flexibility that you have with the game’s characters at your disposal. While there is no option for a mage or a ranged attacker like in Dark Souls, you do have good variance in the shells that the game offers to you.
However, is there a shell that is the best of all situations? Or perhaps a shell that works best to a certain playstyle? Each one carries different stats of the three attributes:
- Durability – You health bar, determining how many hits you can take from enemies
- Stamina – Your stamina, the bar that determines your energy to be able to swing your weapon or dodge an attack.
- Resolve – A comat meter that can be filled to allow use of special attacks and parrying attacks
Let’s take a look at what is available.
No-Shell
Stats (estimated):
- Durability – 1/10
- Stamina – 10+/10
- Resolve – 6/10
As there is no stats screen for having no shell, it’s the equivalent to having one durability point, 10 in stamina, and six in resolve, which makes playing through Mortal Shell without one a brave act. While it’s not a requirement for you to take a shell, and there is even an achievement/trophy (Forever Alone) should you opt not to take a shell and complete the game, there are parts of the game that will be close to impossible without one.
When traveling without a shell, you are vulnerable to death with just one strike from any enemy. The benefit of going without one is that you will have an almost limitless amount of stamina, far more than with any shell, but there is, literally, no room for error.
You also cannot take a shell off and go without one through the menus either. You must be removed from the shell to continue without one, which would also disqualify you from the achievement having already bonded with a shell.
However, if you’re supremely confident that you can go without a shell, this is by far the toughest way to play Mortal Shell.
Harros, The Vassal
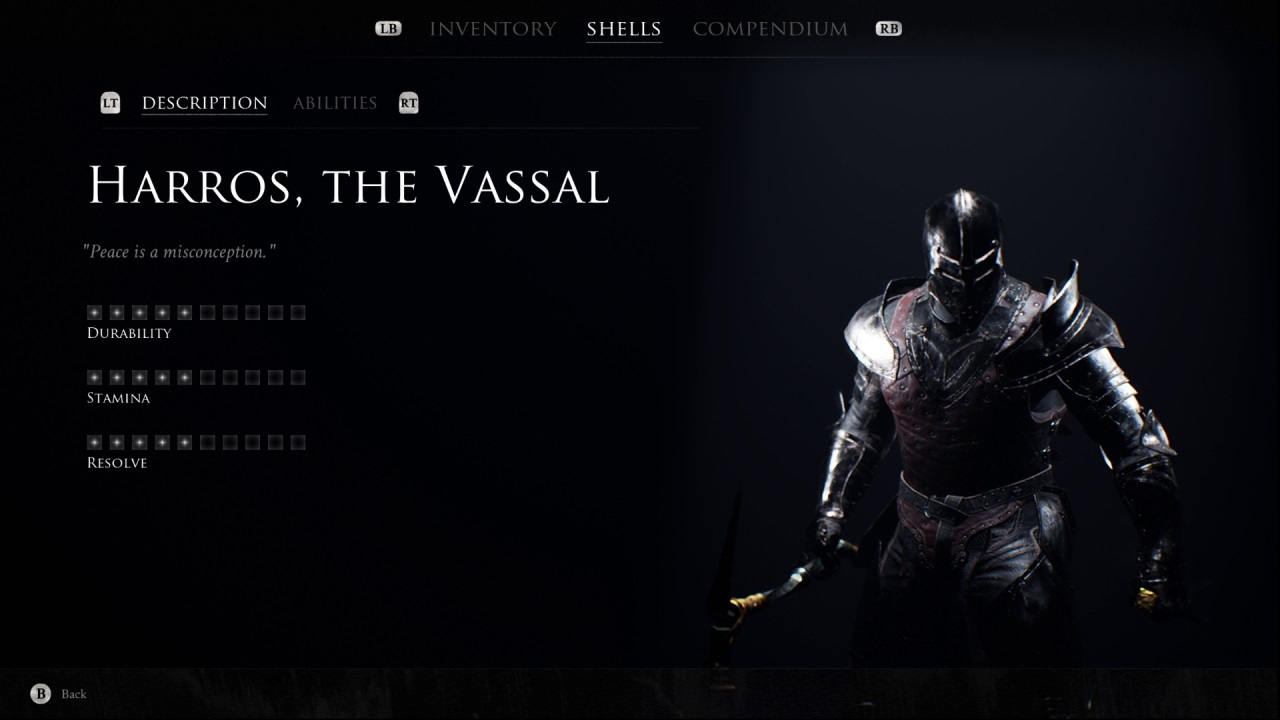
Stats:
- Durability – 5/10
- Stamina – 5/10
- Resolve – 5/10
The “starter” shell, Harros will be there to greet you just after the tutorial. From a combat standpoint, he is the first shell that you encounter specifically to get you started.
Harros might seem redundant when compared to the other three shells, especially with how his stats stack up against the other all-rounder Solomon, but Harros can be very useful. His strength comes in his combat ability upgrades, and the focus that they bring on the harden mechanic, the single-biggest lifesaver in the game.
It normally resets after about six seconds to reuse, but his abilities can supercharge this. These include shortening the cooldown by 25%, meaning you can engage enemies more swiftly. Another will cause his stamina meter to rapidly refill, negating the issue of his energy being lower than some of the other shell options. The hardening after-effect, where you will have a short period of invulnerability after it has been broken, can be doubled to last twice as long before you can be hit again.
There are other abilities that will increase your glimpse intake from enemies too, meaning you can upgrade him faster.
If you can ignore his rather meager stats and want to use the best shell for utilizing the hardening technique, Harros can be an excellent choice.
Tiel, The Acolyte
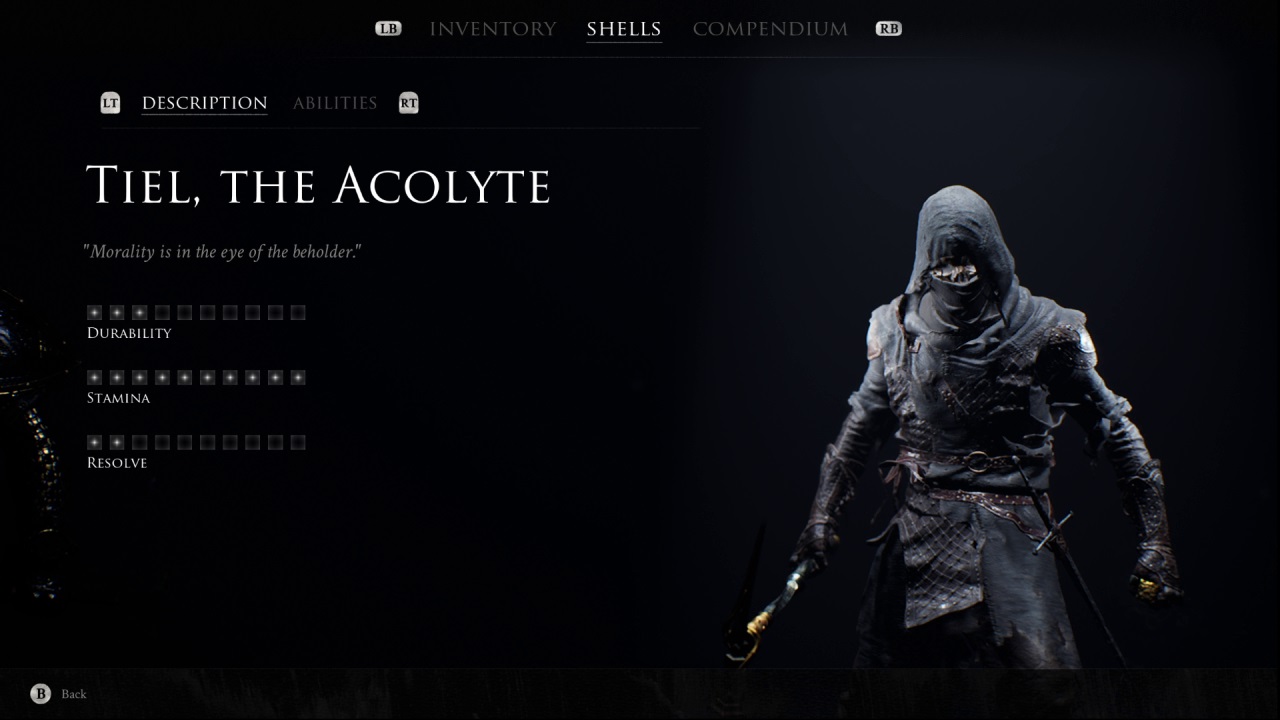
Stats:
- Durability – 3/10
- Stamina – 10/10
- Resolve – 2/10
Found hidden in a cave covered in tree bark in Fallgrim Outskirts, Tiel’s shell is protected by a mini-boss by the name of Ven Noctivagu. While it can be a tricky fight managing your stamina, he’s not too difficult to kill.
Tiel is the rogue shell of the game, a character who is very nimble on his feet and has plenty of stamina, as well as a faster stamina recovery. This is at the expense of durability and resolve, both of which are very low.
For those who like characters that are quick on their feet and have plenty of room to dodge and weave, Tiel is excellent. Many of Tiel’s combat perks can unlock poison damage in his attacks while also healing for any poison damage taken instead of harming him, something that is very useful through the game’s first dungeon.
However, he does become more exposed in the later dungeons as damage begins to ramp up, and enemies make it more difficult for you to roll around them. You will need to utilize harden more often as dodging and weaving become harder to use effectively, especially if you don’t have access to the Ballistazooka weapon to take out any ranged enemies.
Solomon, The Scholar
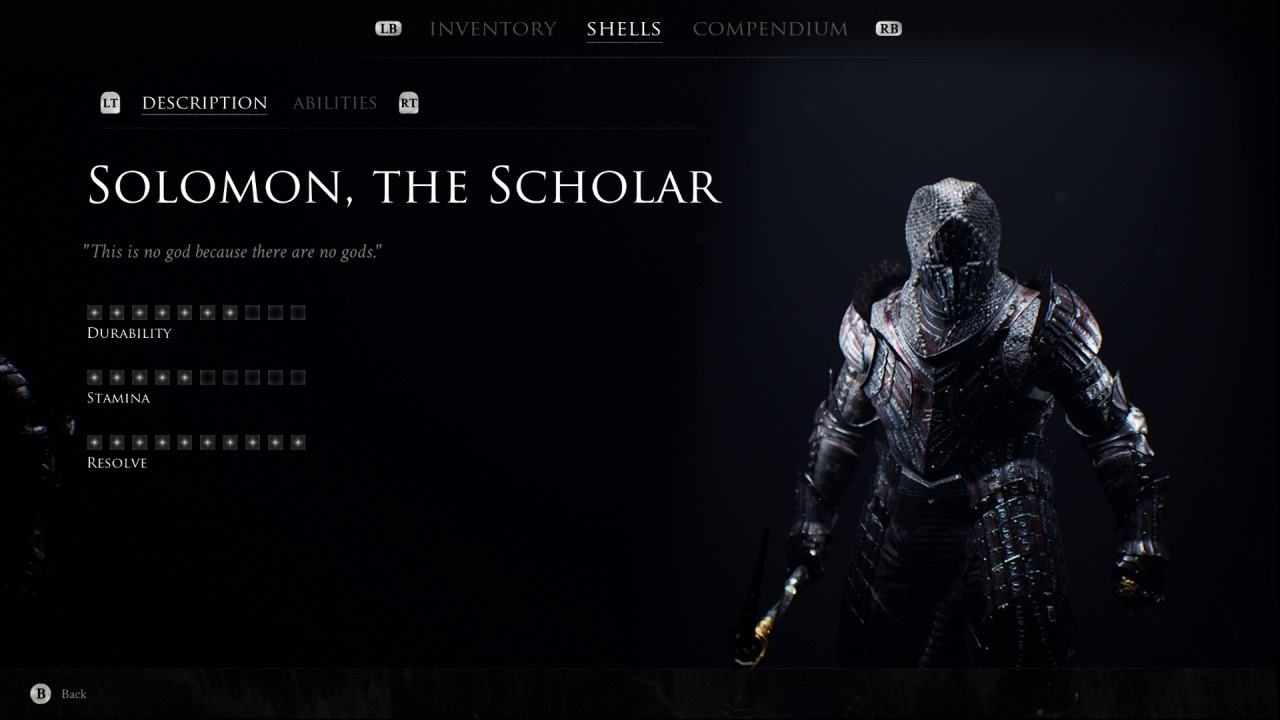
Stats:
- Durability – 7/10
- Stamina – 5/10
- Resolve – 10/10
The true all-rounder of the set, Solomon’s shell can be found close to Fallgrim Tower. If you entered by the downstairs door, you will have seen the cave with the spikes protected by an enemy that growls loudly. This will be Grisha, but unlike Ven Noctivagu, you can ignore this mini-boss and still pick-up Soloman, hidden in a cave just down the hill from Grisha’s location.
Solomon is an excellent choice for almost any situation. His stamina goes further than you might think, and as long as you don’t engage an enemy while harden is unavailable, Solomon will be able to get in, pile on some damage, and get out without too much trouble.
His max resolve is excellent too once you have unlocked some skills beyond the parry technique. He can build the resolve meter quickly and unleash abilities more often than any other shell.
He isn’t quite as bulky as Eredrím, and he will run out of stamina if you are too aggressive, especially when using one of the bigger weapons. He also has a large circle when combat rolling, which becomes a big problem in one of the game’s later temples. His combat upgrades are also less useful than the other shells. Despite these niggles, his all-round prowess makes him a great middling option.
Eredrím, The Venerable

Stats:
- Durability – 10/10
- Stamina – 3/10
- Resolve – 3/10
Situated close to the final temple in the game, Eredrím is likely to be the last shell that you will find and bond with. This tank of a shell is the one that you will want if staying alive is your priority.
Very bulky and a similar rolling circle to Solomon, Eredrím typically takes slightly less damage from hits compared to the other shells do due to his size, especially later on in the game when enemies are more ruthless. For this reason, he makes the best choice for the bosses that you’ll come across as it will negate much of the big damage they can dish out.
His combat upgrades will complement this too, with extra health and more base damage potential as he can cause enemies to stagger more frequently, while another ability can pile on extra damage if you’ve got a monster by itself, easily negotiable in Mortal Shell.
Naturally, his bulk means that he will require the player to show incredible patience as stamina is at a premium. You will need to take it slow and utilize what little resolve that you gain. This playstyle is definitely not for everyone, but he certainly have his uses, especially in the dungeon that his shell resides outside of.
The verdict
Picking the best shell out of the four shells is difficult as each of them is tailored to a different strength.
Harros takes the incredibly valuable harden ability and makes it so efficient that it can make up for his stat shortcoming. You will find yourself hard-pushed to run out of stamina with Tiel, so if you can master dodge timing and possess good spatial awareness in the tighter spots, he is unkillable. Solomon represents a great all-rounder for stats, with enough versatility to make any weapon used with him be effective while also being the most effective with weapon abilities. And finally, Eredrím is by far the bulkiest shell, so if you’re concerned about the difficulty of the game, he is possibly the best shell to neutralize it.
Ultimately all of the shell viable choices. All of them have some great aspects to their kit and are viable in almost every situation. It’s up to you to find which you feel is best for you.
When it comes to playing without a shell for the game, we would only recommend this if you are intending on completing the game for the achievement. Every enemy in the game will kill you in one hit, and as you have no shell to hide in, you don’t get an extra chance to return to a shell if you are crunched. Proceed with this option with caution.


Published: Aug 18, 2020 11:47 am