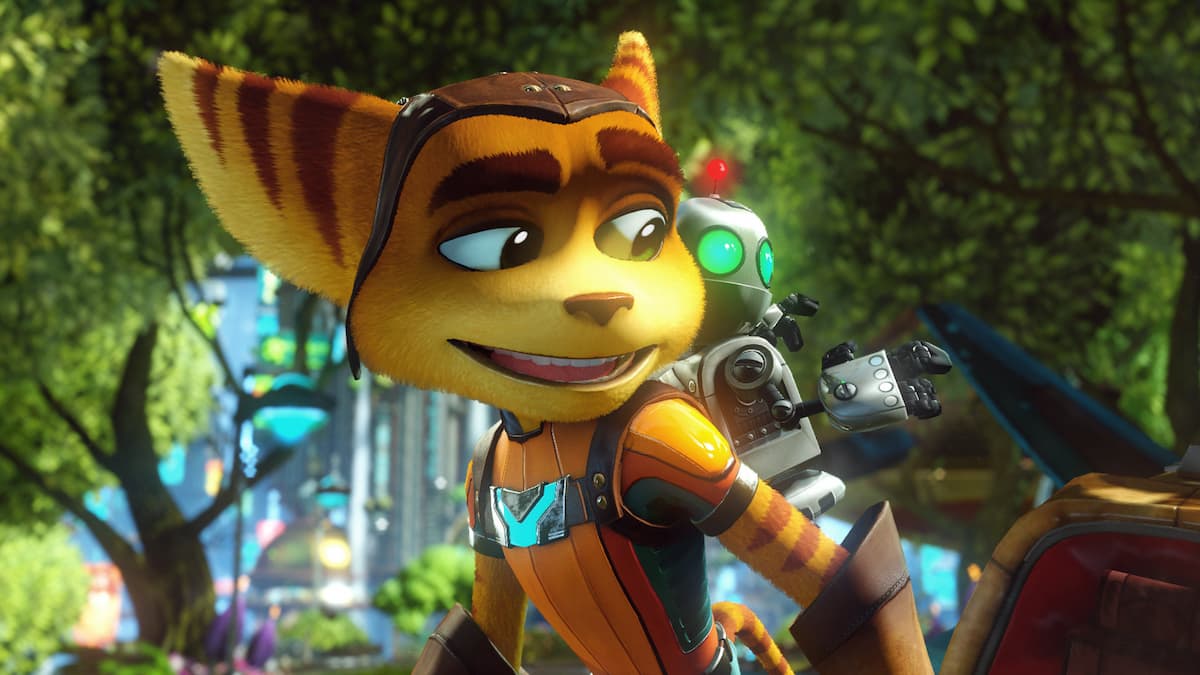
Accessibility features in video games have drummed up a lot of conversation in the past few years, and for good reason. Games should be readily accessible to anyone, and everyone should have the opportunity to experience these great adventures without having to worry about a disability — no matter how serious — holding them back. Recently, development teams are paying much closer attention to making their games feel as inclusive as they can. Ratchet and Clank: Rift Apart is the latest to come forward and tout their options that should make the game playable for as many people as possible.
Even better, activating these features does not disable trophies you can earn in the game, so there are no ill feelings if you need to use them. Here is a current list of all accessibility features available in Ratchet and Clank: Rift Apart.
Camera
- Invert up/down – Inverts Up and Down on the camera controls.
- Invert left/right – Inverts Left and Right on the camera controls.
- Invert Flight up/down – Inverts Up and Down on the flight camera controls.
- Invert Flight left/right – Inverts Left and Right on the flight camera controls.
- Flight Stick – Decides whether the left or right stick will be used for flying controls.
- Camera Sensitivity – Sets how sensitive the camera control is compared to how much you move it.
Combat Toggles & Assists
Fire Mode
- Default – A weapons fire will be dependent on the weapon being used. For example, the Burst Pistol will fire slower, more accurate shots when the trigger is halfway pressed and accelerated, wider-ranging shots when fully pressed.
- Hold – When the trigger is held, all weapons will continuously fire. Low ammo weapons like grenades will still be single fire.
- Toggle – When the trigger is pressed, weapons will continuously fire until pressed again.
- Aim Mode – Can make it so aiming is a toggle action instead of held.
Aim Assist
- Aim Assist Settings
- Default – Keeps the camera speed and reticle on the target in the center of the screen.
- Strong – Increased aim assist.
- Auto Aim – Automatically will turn the camera towards the nearest enemy when firing.
- Lock On – Essentially the same as Auto Aim, but will lock on when you aim without firing yet.
- Melee Mode – Decides whether melee attacks are toggled or a button press.
- Weapon Wheel Mode – Decides if bringing up the Weapons Wheel is toggled or a button press.
Traversal Toggles and Assists
- Off-Screen Ledge Guard – Will keep you from falling off ledges that can be seen on the screen.
- Auto Glide – Whenever you are in the air, you will begin gliding automatically to slow your descent.
- Hoverboot Auto-Pump – Hoverboots automatically go at max speed.
- Sprint/Hoverboot Mode – Decides whether Hoverboot or sprint activation is toggled or a button hold.
- Swing Mode – Decides whether Swing is toggled or a button hold.
- Speetle Boost Mode – Decides whether using a boost on a Speetle is toggled or a button hold.
- Flight Assist – If turned on, the game will automatically level you out while flying.
Controller
Vibration Setting
- Experiential – Will make it so you get the most vibration feedback out of the DualSense.
- Functional – The DualSense will only vibrate when there is essential feedback like you taking damage or picking up an item.
- Off – Turns off all vibration from the DualSense.
- Vibration Intensity – Adjusts the overall intensity of DualSense vibrations.
Adaptive Triggers
- Experiential – You will feel resistance and vibration in the DualSense triggers.
- Functional – Lowers trigger resistance and disables DualSense trigger vibration.
- Off – DualSense trigger vibration and resistance are disabled.
Controls & Shortcuts
- Controller Remapping – Map your controls how you want or choose a preset.
- Simplified Traversal – Makes the Rift Tether, Swingshot, Phantom Dash, and Hoverboots all have the same input.
- Shortcuts & Game Speed
- Shortcuts 1-4 – Maps an action to a simple input you choose.
Shortcut Options
- Photo Mode – Decides how to launch Photo Mode.
- Toggle Contrast Options – Toggles Contrast Options in the Accessibility section of the Options Menu.
- Show Objective – Decides what needs to be pressed to show your objective and waypoint icons.
- Game Speed Options – Sets a button that can be pressed to slow the game down. When the button is pressed again, or a cutscene starts, the speed will return to normal.
- Weapon Quick Select – Assigns weapons to a shortcut so you can quickly pull a specific one out with the press of that button.
- Melee Combo – Makes a single button press perform a three-hit melee combo.
- Melee Slam – Makes a single button press let you jump and slam the ground.
- Melee Throw – Makes a single button press throw your melee weapon.
- Auto Glide – Sets a toggle to let you glide whenever in the air.
Heads-Up Display
HUD
- Waypoint Display – Decides whether the waypoint can be shown at all times or with a button press.
- Rift Tether Prompts – Will show button prompts for using the Rift Tether.
- Icon and Prompt Size – Sets the size of waypoints, icons, and prompts.
- UI Parallaxing – Makes it so the HUD and pause menu will stay in place on the screen.
- Center Dot – Puts a dot in the center of the screen when a reticle is not being used.
HUD Colors
- Emphasis Text Color – Sets the color for emphasized text.
- Aim Arc Color – Sets the color of the arc indicator for throwables and weapons.
- Target Arc Color – Sets the color of the arc indicator for throwables/weapons when highlighting a target.
Screen Effects
- Motion Blur – Let’s you adjust the effect you see of faster moving objects in the game. The lower the setting, the less blur you will see.
- Depth of Field – If turned on, makes it so objects farther from the center of the camera’s attention will have less detail.
- Chromatic Aberration – Colors will appear shifted and out of focus on the corners of the screen.
- Film Grain – Sets how much Film Grain you will have on the screen on a scale of 0 to 10.
- Fullscreen Effects – Decides whether effects such as lens flare, heat shimmer, on-camera rain droplets, and gas effects will appear in the game.
- Screen Shake – Turns camera shake on or off.
Visuals
Display
- HDR – Enable High Dynamic Range which will create greater contrast and color range. Only available on compatible television sets.
- Brightness – Set’s the brightness of the game on a scale of 0 to 100.
- Contrast – Set’s the contrast of the game on a scale of 0 to 10.
- Contrast Options – Let’s you set shader and high contrast options to help you see the game better. There is a range of customizable settings to adhere to your personal liking.
- High Contrast Background – Makes the background more high contrast to help with overall visibility.
Shaders
- Hero Shader – Applies a single color shade to the character you are playing to help make them stand out in the environment for visibility reasons.
- Enemy Shader – Same as hero shader, only applied to enemies to make them easier to see.
- Interactable Shader – Weapon vendors, traversal objects, Speetles, health and ammo crates, and computer consoles have the same shader treatment available.
- Hazard Shader – Items in the environment that may cause damage also have the shader option.
- Collectible Shader – Finally, collectible items can also be applied with a shader to make them easier to see.


Published: May 21, 2021 04:22 pm