Teardown has a lot of tools for the player to utilize when they are carrying out their mission objectives or just having fun. You can gradually unlock the tools as you progress through the campaign, or you can experiment with using them in the Sandbox environment. But even if you have more tools, you might not know how to use them or how to use them effectively.
Teardown: All tools, how to unlock them, and what they do
To make sure you get the most out of the tools you unlock, here’s a list of the tools and what each can do for you.
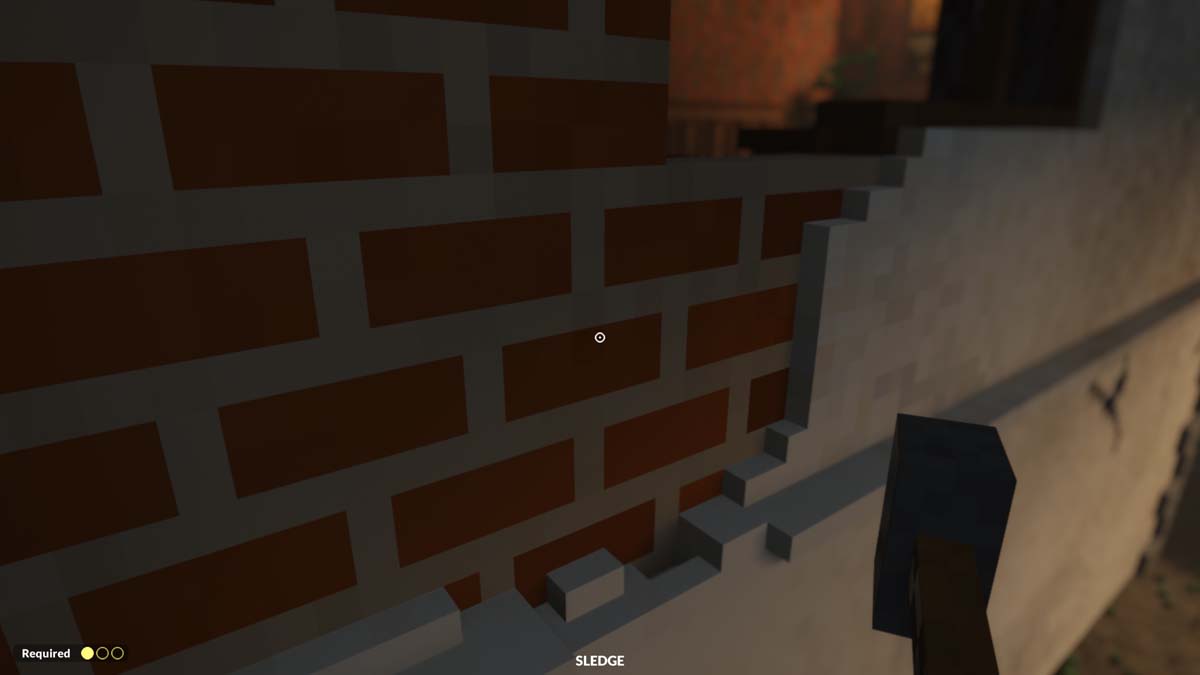
#1. Sledge
The Sledge is one of the first starting tools you get, other than the Spraycan and the Extinguisher. It will be your primary tool when dismantling objects and buildings in the beginning.
The Sledge can destroy most materials, such as wood, glass, and building plaster. Unfortunately, it won’t be able to destroy materials such as brick, metal, or concrete structures. You will mostly use the Sledge to weaken foundations and break down fragile materials.
You can also use the Sledge to change the environment, creating “steps” that allow you to access greater heights or create simple holes to crawl through/push objects. It also has infinite uses and will be your main tool for destroying materials at the beginning of the game.
#2. Spraycan
The Spraycan is one of the three starting tools that you get. Unlike the Sledge, the Spraycan doesn’t have a destructive purpose and will spray paint on a surface when used.
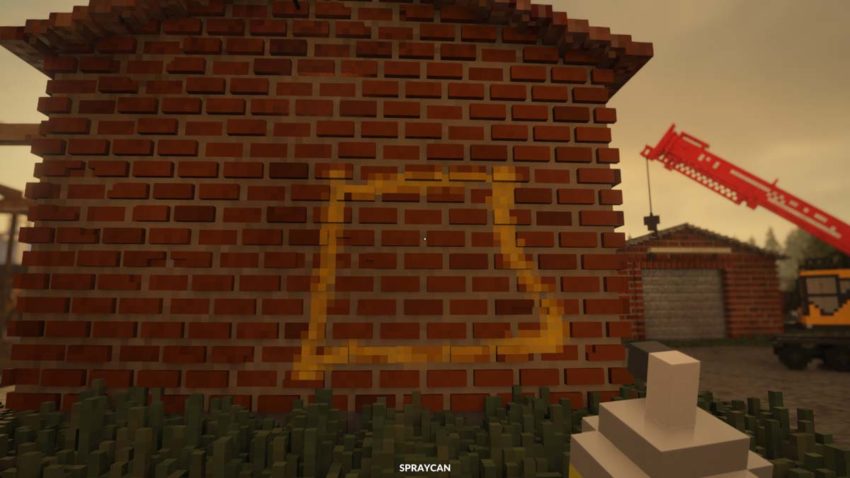
You might forget that you have the Spraycan since you won’t be using it for any mission objectives (it can’t destroy anything). Fortunately, the Spraycan is good for drawing arrows or paths that lead to an escape route or make good indicators for unique locations when exploring a level such as vehicle locations.
When you’re on a timer or escaping an alarm, it can be easy to get confused. A Spraycan could help you keep track of an escape route, giving you one less thing to worry about.
#3. Extinguisher
The Extinguisher is one of the three starting tools you get at the beginning. Just like the Spraycan, it has no destructive capabilities, and you likely will not be using it to complete any mission objectives.
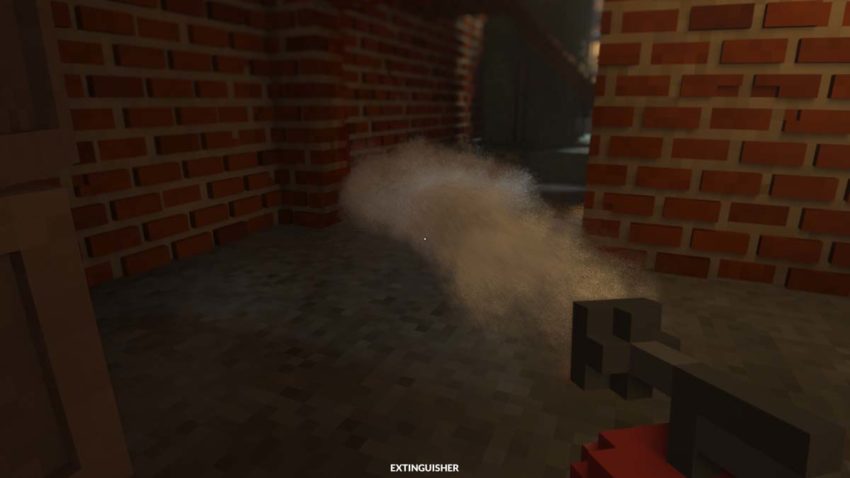
The Extinguisher is good for putting out fires quickly, preventing them from spreading. This is useful if you are working in areas with fire alarms that will go off and put your mission on a timer. Using the Extinguisher will often help you put out fires and prevent the alarms from going off, giving you more time to work.
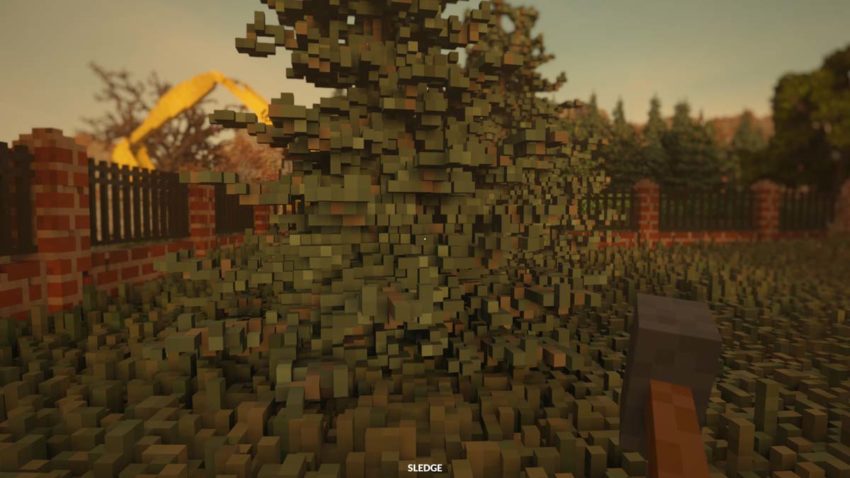
#4. Leaf Blower
The Leaf Blower is a tool that will be unlocked once your character reaches Level 70 or you reach the Crackerjack rank.
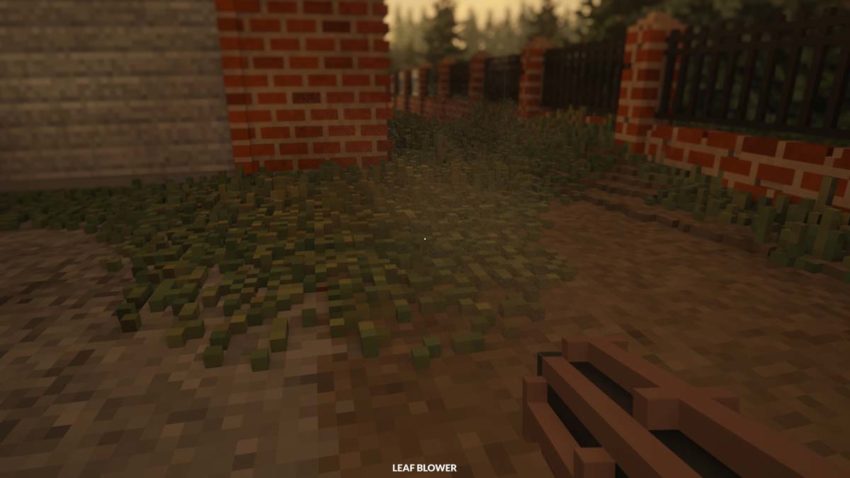
The Leaf Blower is used to move debris out of the way after an explosion or after breaking into a structure. You can also use the Leaf Blower to stoke some flames, making them more intense if you want to burn a structure down. If you are in a snowy level, you can also use the Leaf Blower to remove snow from vehicle windshields.
#5. Blowtorch
The Blowtorch is the first tool you will unlock in the campaign, and it requires the Amateur Rank (having a score of 5) to unlock. It is your second destructive tool, capable of cutting through metal. Unfortunately, you still can’t destroy brick or plaster materials.
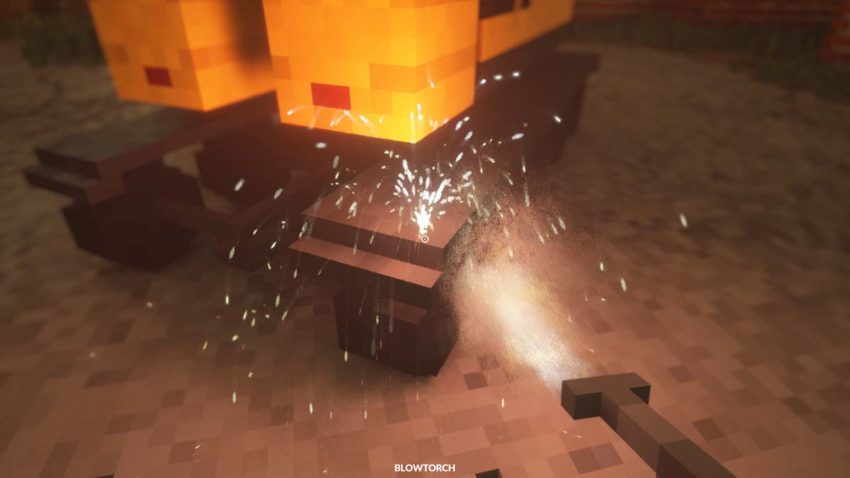
If you are using the Blowtorch to cut through objects/structures, you will need to focus the flame on an area in order to start cutting through it. When the material begins to disappear, gradually move the flame in a line to cut through the object/structure. Remember that the Blowtorch can only be used for a limited time (measured in seconds), and you want to make sure your cuts are effective for the task at hand.
You can also use the Blowtorch to set objects on fire, but be careful around flammable objects and explosives. Use the Extinguisher in case anything gets out of hand.
#6. Plank
The Plank is one of two constructive tools in the game. Like the Spraycan and the Extinguisher, you cannot use the Plank to destroy anything.
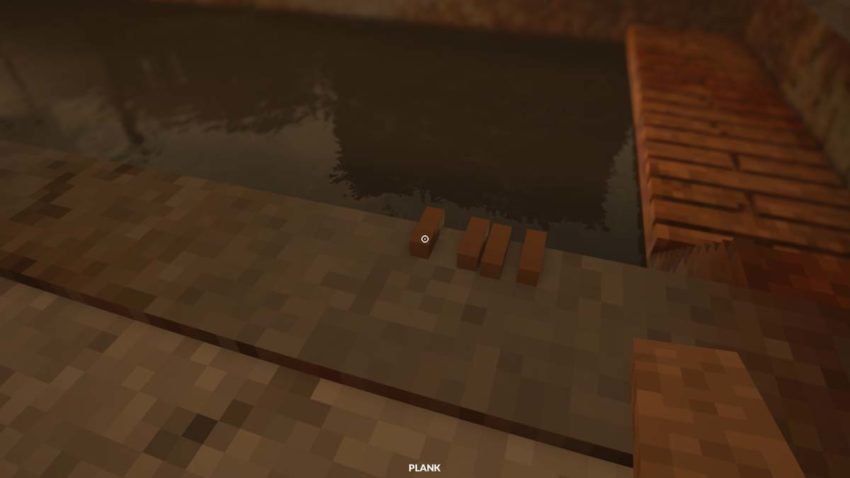
Planks will be used to build small structures like a bridge you can move across or form steps that you can use to reach another level or attach objects to each other. Planks have limited durability and can’t withstand constant vehicle weight for extended periods of time, but you can improve plank size and increase the number of Planks you can get through upgrades.
Planks can’t be placed anywhere you like; you must see a circular icon that will allow you to place a Plank at a location.
#7. Cable
The Cable, like the Plank, is another tool you can use to connect objects together. It has no inherent destructive purpose but can help you achieve your objectives.
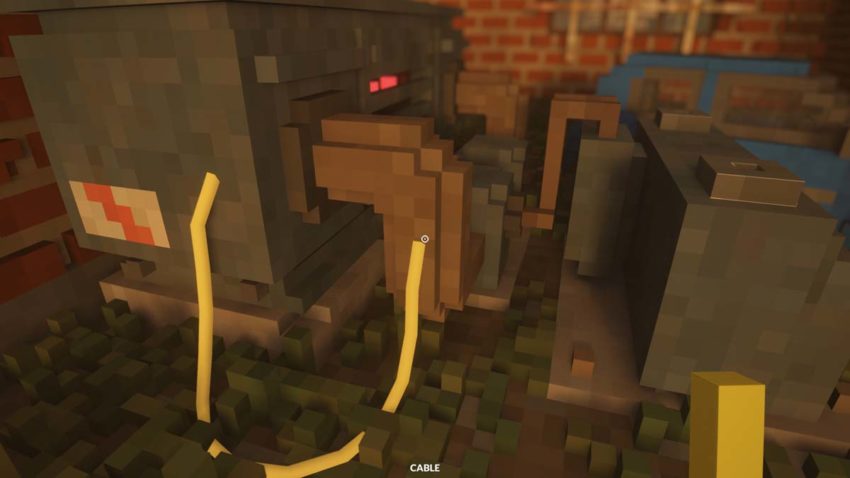
Cables can be used to connect objects, just like Planks. With Cables, the objects you connect can move around with some flexibility, and you can walk through Cables without worrying about snapping them. Cables can also be used to suspend objects, like pushing an object off a building to prevent it from hitting the bottom.
If you need to break the Cables, you can use firearms (another tool) to snap them.
#8. Shotgun
The Shotgun will be the first firearm you receive and the first tool capable of destroying any material you encounter. This means you can finally destroy bricks and plaster, though you are unlikely to have enough ammunition to destroy entire buildings.
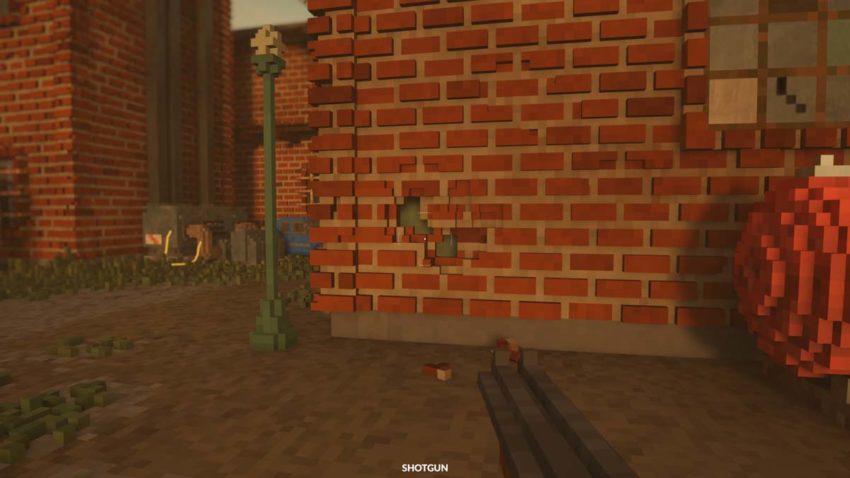
You can use the Shotgun like the Sledge, destroying materials to achieve your objectives. While you must keep an eye on the number of bullets you have, the Shotgun will allow you to destroy anything. Shotgun bullets do spread, and you will have to get closer if you want to control the spread area. With further upgrades, it will become a powerful tool that you will use even during the campaign’s later stages.
#9. Gun
The Gun is the second firearm that you will receive. It can destroy any material except for anything that would naturally be indestructible.
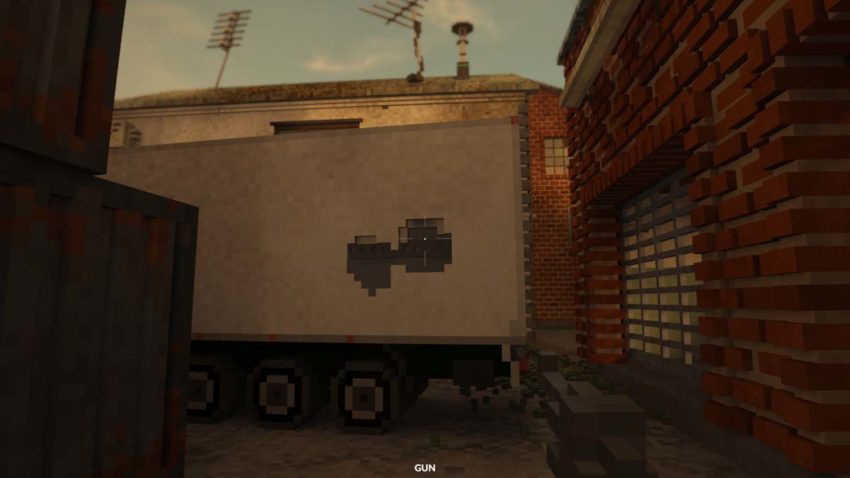
Unlike the Shotgun, the Gun isn’t powerful and won’t destroy as much. Where the Gun shines is when you need precise destruction, something the Gun can do better than the Shotgun. Since it isn’t capable of damaging anything outside of its crosshairs or piercing through other material, it is great for avoiding collateral damage from other objects, like working near explosive canisters.
#10. Hunting Rifle
The Hunting Rifle is the last of the firearms you unlock and is the most powerful gun you can obtain. It is capable of piercing through objects and is one of the most precise tools in the game.
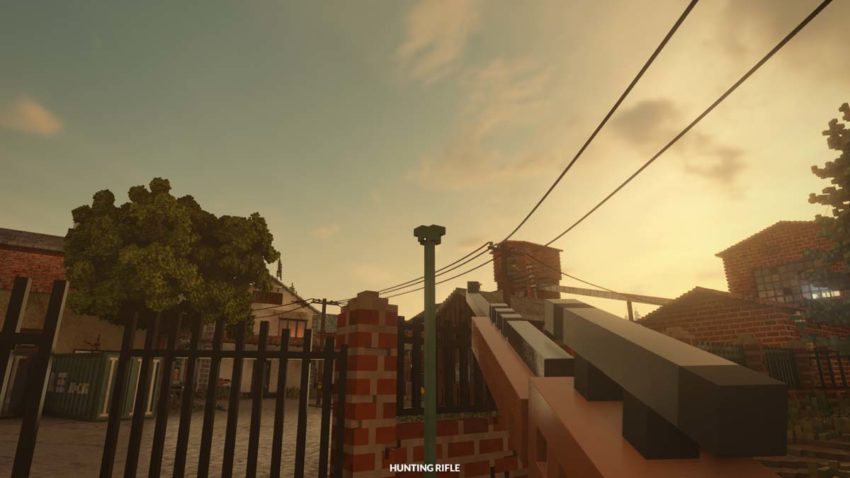
If you need to shoot something from far away, or you need to hit an object that is behind another object, the Hunting Rifle is the tool to use. Be careful of collateral damage like hitting an explosive object as you can’t control the piercing effect 100% of the time. The Hunting Rifle also shoots slowly.
But if you need a precise shot and have run out of ammunition for the Gun, the Hunting Rifle can be the tool to use.
#11. Pipe Bombs
Pipe Bombs are the first explosive tool that you get to work with. They act like grenades; you can throw them towards a location, and they will explode shortly upon impact.

It is powerful enough that only indestructible objects will be able to avoid being damaged. You can also control where the bombs land, but you can’t affect what gets destroyed. Explosives can hurt you, and you want to ensure all Pipe Bombs are thrown a safe distance away from you.
#12. Bomb
Bombs are the second explosive that you get to work with. Unlike Pipe Bombs, you must place Bombs on objects/surfaces before they detonate. They also have a two-three second timer, allowing you to set the Bomb and move away to avoid damage.
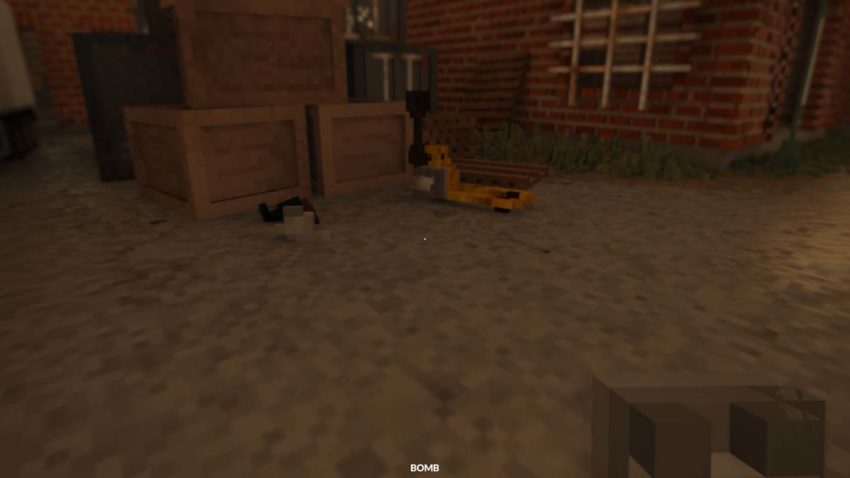
Bombs are more destructive than Pipe Bombs, and you want to be careful where you place them. They can easily blow holes into buildings or destroy objects. Make sure you can easily run away as you can’t take back a Bomb, or you run the risk of hurting/killing yourself. But with the explosive power of the Bomb, you won’t be struggling to destroy anything.
#13. Rocket Launcher
The Rocket Launcher is the third explosive tool that works just like a firearm but is slightly less destructive than a Bomb. The rockets can travel a fair distance away, making them perfect for causing explosions at locations you can’t easily reach.
The rockets fired can drop if fired over long distances, but are otherwise just as capable as Bombs. They can also travel further than Pipe Bombs, making them the go-to option if you need to destroy something from a distance.
#14. Nitroglycerin
Nitroglycerin is the last of the explosive tools you can get and is also the most destructive tool in the game. Just like the Bomb, it can be placed on objects, allowing you to put some distance between yourself and the explosion.
There aren’t many objects/structures that will remain intact after being destroyed by Nitroglycerin. You will need to trigger the explosion by damaging the canister like using a Gun, but it can destroy almost anything, leaving small amounts of material left behind in its wake.
#15. Rocket Booster
The Rocket Booster is a tool that is used to move objects. It is great for moving objects through spaces you can’t easily reach or moving heavy objects that aren’t easily moved.
You can place more than one Rocket Booster on an object to help it move, and multiple Rocket Boosters can prevent objects from being knocked over as they move. They do not last forever and run out after a few seconds, meaning you have to make sure you are moving the right objects to avoid wasting your boosters.
#16. Vehicle Thruster
A Vehicle Thruster works just like a Rocket Booster, except it is meant to be placed on vehicles. It is best to put them behind a vehicle, but you can put them wherever you want as long as it is a proper location.
Vehicle Thrusters allow vehicles to move faster, providing more speed or giving them better braking speeds, pushing in the opposite direction. It’s important to make sure you know which end you are placing the thrusters on and for what you need the extra speed.
#17. BlueTide
BlueTide is a movement-enhancing tool, but unlike the Rocket Booster and Vehicle Thruster, it is meant to be used by the player.

BlueTide will temporarily increase the player’s movement speed and jump height, allowing them to naturally reach locations they wouldn’t be able to reach without using tools. The effect lasts as long as the blue outline on your screen; the effects wear off once it disappears.
Now that you know what each tool does and what it can do, you’re better prepared to create your own model sandbox environment or come up with better ideas on how to progress through the campaign.


Published: Jun 20, 2022 12:50 pm