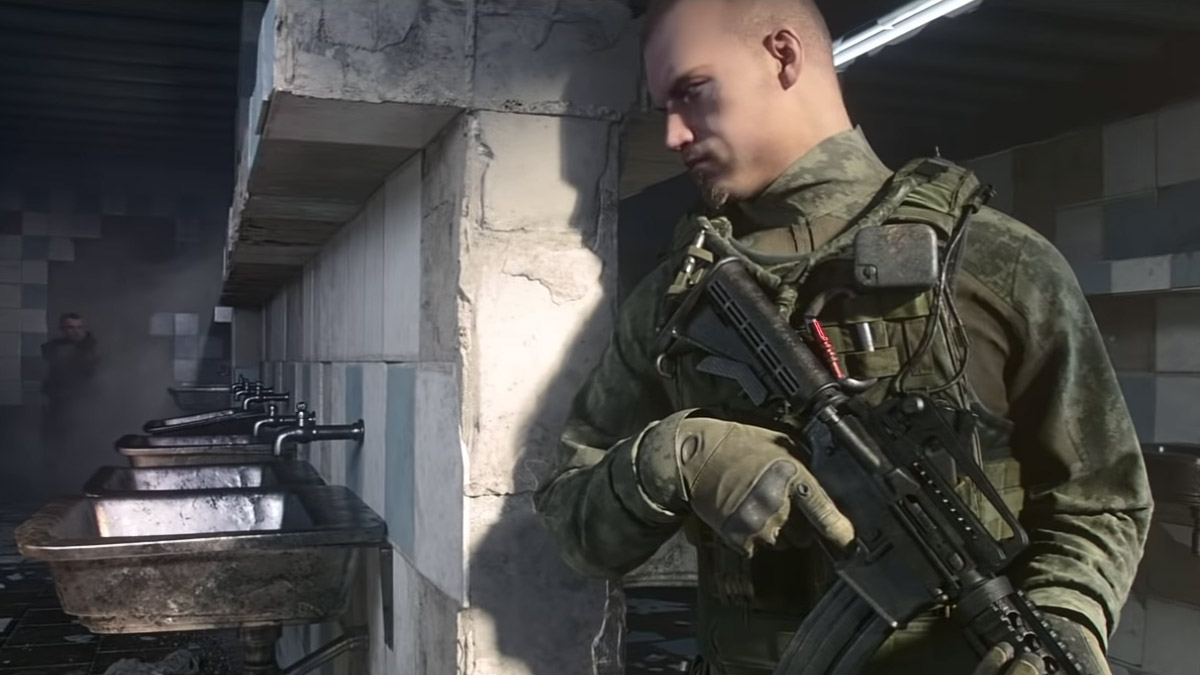
Escape From Tarkov is becoming one of the most popular games currently available. This game is a great challenge for both new and veteran FPS players. One of the most popular of the eight maps now available is Reserve. The Reserve is supposed to be a base for the Federal State Reserve Agency and is littered with useful supplies. Naturally, the Reserve is also littered with Scavs. This guide will cover all of the most basic aspects of the Reserve, including extraction points, bosses, and a basic layout.
Layout
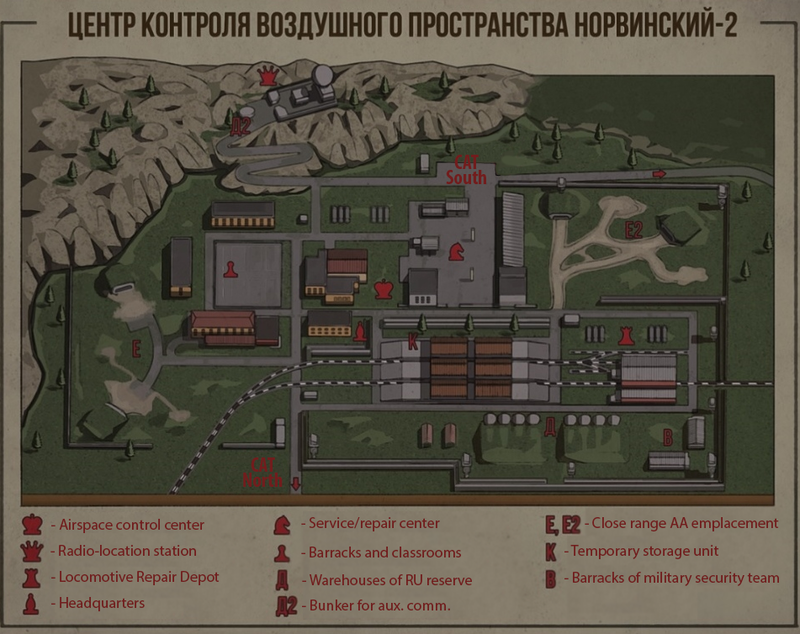
Reserve is set in a hilly wooded area. Hostile Scavs can be found roaming all over the map. Several key areas are marked on the map above that players should be aware of.
In the northernmost area of the map is what most players call the Dome. It is marked by the Queen chess piece symbol on the map above. The Dome is a great vantage point granting a clear line of sight for a huge portion of the map. Its location makes it perfect for getting oriented when first spawning into the map. It is also beneficial for surveying the map so players can get a better idea of where everything is located, including the possible location of Scav patrols and the map’s boss Gluhar. The Dome is a popular sniping location, so it is not uncommon to spawn in with a player already at the Dome picking off targets with a sniper rifle.
Just south of the Dome is the Barracks and classrooms marked by a Pawn on the map above. The are is easily recognizable. The main area has a red brick building with a Pawn painted on the side. Because of the Pawn mural, it is often called the Pawn area by players. The Pawn area features a few enclosed buildings surrounding an abandoned helipad with a helicopter sitting on it facing south. This area has some of the best loot on the map, particularly on the top floors of the classroom buildings. Please note that some of the rooms with the best loot can’t be accessed directly, getting into these rooms may require a little parkour. One of the best requires players to crouch-jump from a window onto another small roof before crawling in through another window to access the loot.
Across the street from the Pawn area is the Airspace control center marked by a King. The King area is comprised of a small encampment of tents grouped around a few buildings. This area is worth searching as it can have some decent military loot.
Right next to the King area is the Service/repair center marked by a Knight. The Knight area can also have some decent loot, mainly tools, ammo, and occasionally medicine and weapon accessories.
East of the Knight and King area is the AA emplacement marked by E2 on the map. There is another similar one on the opposite end of the map marked by an “E” on the other side of the Pawn area. Theses are commonly referred to as Echo and Echo two. The AA emplacements have bunkers that occasionally have decent miscellaneous loot. The most notable loot is the 30mil round, which can be found near the tanks in the bunkers and is needed for a quest. One of the bunkers at E2 also has a mounted turret above it. The E2 emplacement also features watchtowers that can make a decent sniper nest, but they are relatively isolated. Just north of the E2 bunkers is a tank but unfortunately, it is mainly there for decoration so players will not be able to re-enact The Ark mission from Halo 3
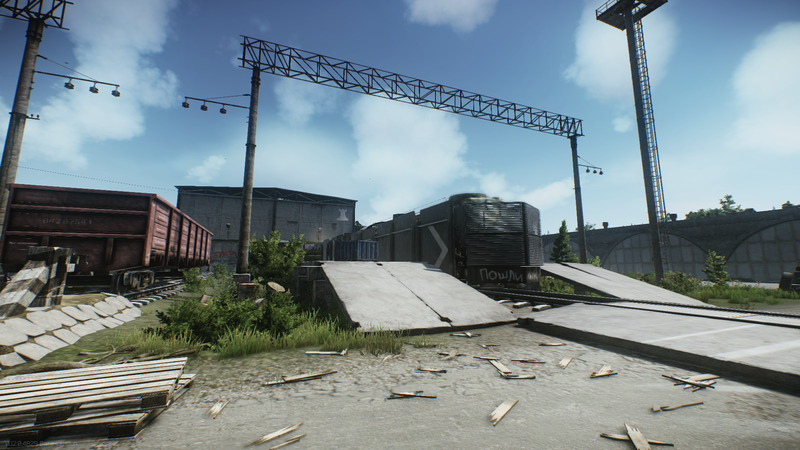
The temporary storage and locomotive repair depot marked with a “K” and a Rook is directly south of the service and repair center (Knight) and the Airspace control center (King). The train yard is relatively large and can have some decent loot. It is littered with abandoned train cars and a large station.
The storage area can have some decent loot. Unfortunately, it is also one of the places that Gluhar, the map’s boss, likes to hang out with his menagerie. The train station marked by a Rook is also one of the extraction points for the map. An armored train will arrive and leave at a specified time for the player to leave the raid.
South of the train yard is the Barracks of the military security team marked with a “B” and the Warehouses of RU reserve marked by ” д. ” This area is commonly called bravo. There is a watchtower in the south-easternmost corner of the map that gives a perfect view of the station where the train extraction point will pull in. This makes it easy to pick off other players waiting to leave.
Something vital to note about this map is that there is an extensive series of bunkers and tunnels that run underneath it. These can be accessed from the Dome by going down the stairs in the main building to the bottom.
Boss
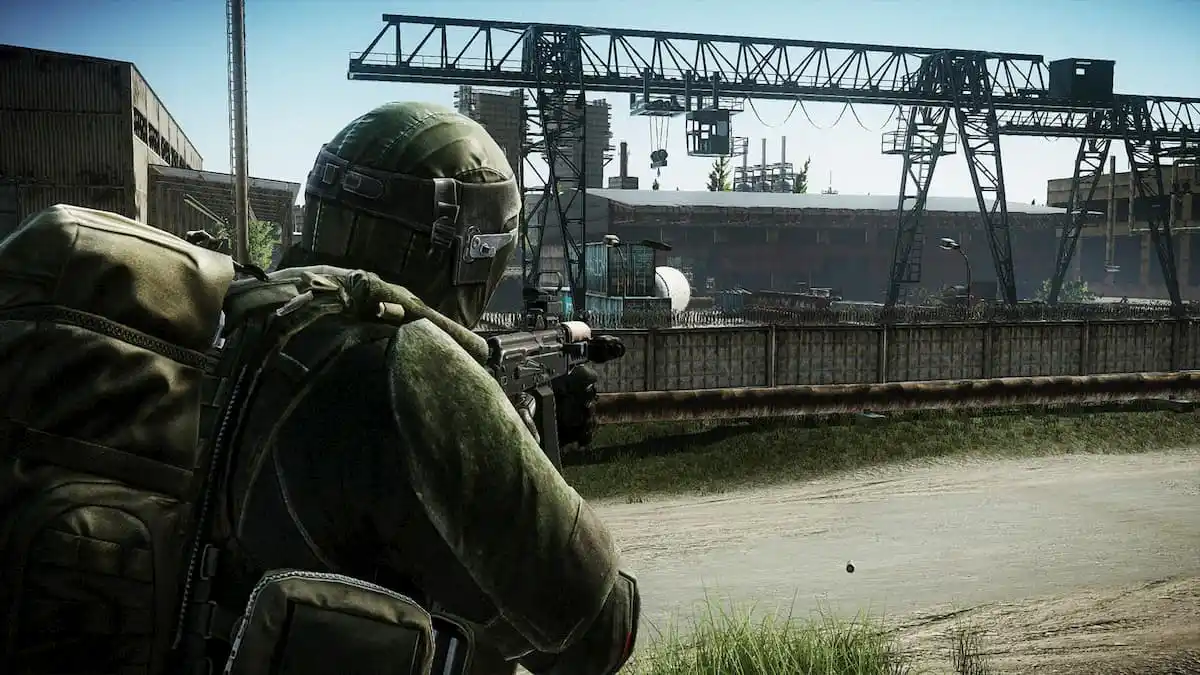
The boss for Reserve is Gluhar. Gluhar and his followers roam between the Service area, the pawn area, and the trainyards. His roaming behavior can make these areas particularly dangerous as he can easily catch players by surprise when he is transitioning between areas. Gluhar and his minions are very aggressive and best avoided by new players. He is much more accurate than other NPCs in Reserve and had higher chest health, making him a bit of a damage sponge. Fighting Gluhar out in the open is very dangerous and not advisable.
While Gluhar likes to roam, he tends to stick around some rather specific areas at each location he visits. At the maintenance and repair point, he likes to hang out in the garage. He likes to roam around the classrooms of the academic area. He tends to stick to the platforms in the shipping station.
Gluhar is typically accompanied by six followers that are much more accurate than other NPCs. The followers carry a variety of weapons, making them well equipped to handle most situations. They can carry assault rifles, shotguns, designated marksman rifles, and submachine guns along with sidearms. They tend to use tracer ammunition and have high-grade armor and helmets. Occasionally guards weapons will use drum magazines.
Gluhar carries some serious firepower. He usually carries an ASH-12 or an M1A-EBR with a 6x scope. The M1A uses M61 rounds, meaning it will make short work of most armor very easily. He also uses a PP19 Zenit or an APS/B as his secondary weapon.
The two best ways to handle Gluhar and his minions are to either take the big man out first, then deal with the oncoming and now furious guards or to pick off the guards from a distance before dealing with the now even angrier Gluhar proper.
If possible, ambush Gluhar in an enclosed area like a hallway or small room. Once there, get in close and light him up. Gluhar has high chest health, so the best practice is to use headshots. Aside from his firearms, Gluhar likes to use grenades. Players will need to stay aware of their spacing and cover when Gluhar starts lobbing his grenades.
A very problematic part of killing Gluhar is the guards. Gluhar has six followers that will make good use of team tactics. If they see a player, they will try to encircle Gluhar to protect him then overwhelm the player with force. If Gluhar is already dead, the entire group will start tracking any players in the area. They make ample use of team flanking maneuvers and work in small teams to support one another. These tactics are made even more dangerous by their boosted accuracy. They also make use of grenades and flashbangs, so groups will need to keep their spacing in mind or become easy targets for the guards.
Like Gluhar, the best way to handle the minions is to get in close to take them out. The guards tend to have heavier body armor than Gluhar, but a few well-placed headshots will make short work of them. These NPCs can mount some of the static machine gun emplacements scattered around the map, knowing where these are and keeping them in mind will allow players to intercept guards before they mount a machine gun.
Extraction Points
The Reserve map has eight different extraction points. Some are easily accessible, and others take a bit of work and timing.
- Armored Train: The most obvious of the extraction points is the armored train. Players will know when the train arrives because it will blow its horn twice when it arrives. The train arrives at the Rook trainyard between 25-35 minutes into the raid. The train will only stick around for seven minutes. It will blow its horn again one minute before leaving and twice as it closes the doors. Players will need to be inside the train to leave, not on top of it. The difficult part of this extraction point is that it is very popular, there will be a firefight at this extraction point. Holding this point alone is very difficult, it is better to have a team
- Bunker Hermetic Door: This extraction point is accessible by Scavs from the beginning. Near the storage area for the train station are eight big domed bunkers. Coming from the west the fourth dome is the one with the extraction point. It will have open doors, a bunch of barrels and a truck pulling out of it. In the back of the bunker will be a door with a red light over it.
- Hermetic Door PMC: This one requires a few steps to use. This is the same door used by Scavs but requires some extra work to be used by PMC players. In order to use this door, the player will need to find a shack southwest of the helicopter. Inside the shack is a lever. Once the lever has been flipped the door will open but an alarm will sound that will alert anyone in the area. Once the lever is flipped the player will need to get to the bunker. The exit will have a green light overhead instead of the normal red light. The bunkers can have decent loot but they are usually filled with Scavs. The alarm can also trigger Scav Radiers to spawn if it is triggered early into the game. This door will stay open for four minutes before needing to be reset.
- Cliff Descent: This point only works for PMC players. The Cliff descent is at the dome at the back of the building. To use the cliff descent players will need paracord, a red rebel ice pick, and cannot have an armor vest equipped. Using the extraction point does not use up the paracord or the pick. It’s a good idea to bring a backpack and just put any chest armor in it when prepared for extraction.
- CP Fence: Only Scavs have access to this one. This fence is just north of the Maintenance and Repair point. It is just past the tank on the northern road. Go up to the fence corner north of the tank and look for a crack in the fence. The crack is the extraction point and will trigger when a Scav approaches it.
- Mountain Fence: Only Scavs can use this point. This extraction point is on the westernmost side of the map across the Echo AA emplacement by the Pawn area. Go all the way across the AA emplacement to find a wall. The extraction point is a crack in the wall near a watchtower.
- Scav Lands: This extraction point requires a buddy. PMC players will need a Scav friend to access this point and vice versa. Once a friend is made the extraction point is down the main road heading south from the Pawn area. Near the end of the road is a blocked up area with Cyrillic letters scrawled across a concrete barrier. This one is very difficult to use because players both Scav and PMC tend to shoot on sight.
- Sewer Manhole: This manhole is in the night area. The manhole is located in the northwest corner of the fenced-in area behind an orange flatbed. To use this extraction point the player cannot be wearing a backpack. The biggest problem with this one is that it is in clear view of the dome and any snipers that might be hiding out in it.
- Heating Pipe: Only Scavs can use this extraction point This point is located just south of the train yards storage area. There is a concrete flat with trucks and storage containers scattered all over it. Go past the red containers and follow the pipes. The pipes that act as an extraction area will go over the fence.


Published: Feb 9, 2020 03:57 pm