The Codices is the second mission in Hitman 3’s Elusive Target Arcade. Much like The Ellipses, you must kill three Elusive Targets throughout three levels to fully complete the mission. However, while you may be familiar with these Elusive Targets, you might not know how to kill them with a rank of Silent Assassin. This guide explains how to do that so that you don’t waste your chance on it today.
Elusive Target Arcade Warning
As with all Elusive Target Arcade missions, you only have one chance per day to complete each mission. If you fail, you’ll be locked out of the mission for 12 hours. We recommend following our routes a few times without completing objectives, like killing targets or collecting items. Then, once you’re familiar with the hazards of a mission, you can take it on and complete it.
Level 1 – The Stowaway
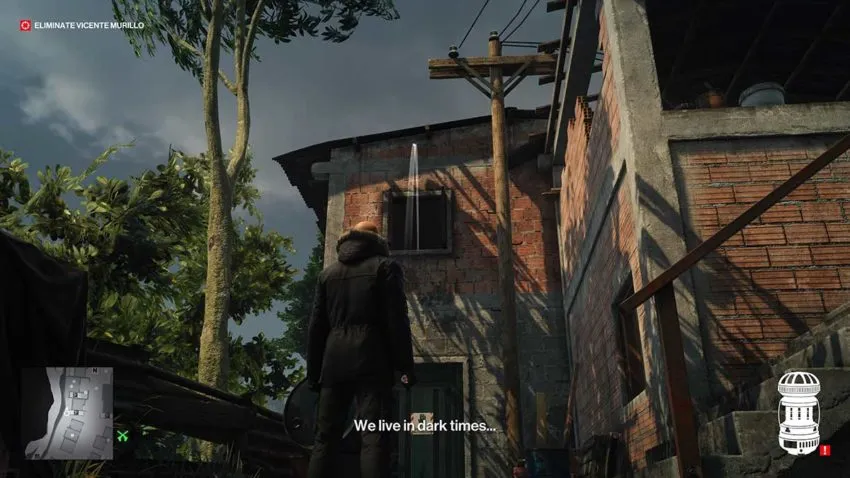
The first target in this mission is The Stowaway Elusive Target. It comes with the added complication that you can’t eliminate anyone other than the target, or you’ll fail. The loadout we recommend is the default harbor starting location. This target is pretty easy to kill, so you won’t need to bring any fancy tools with you.
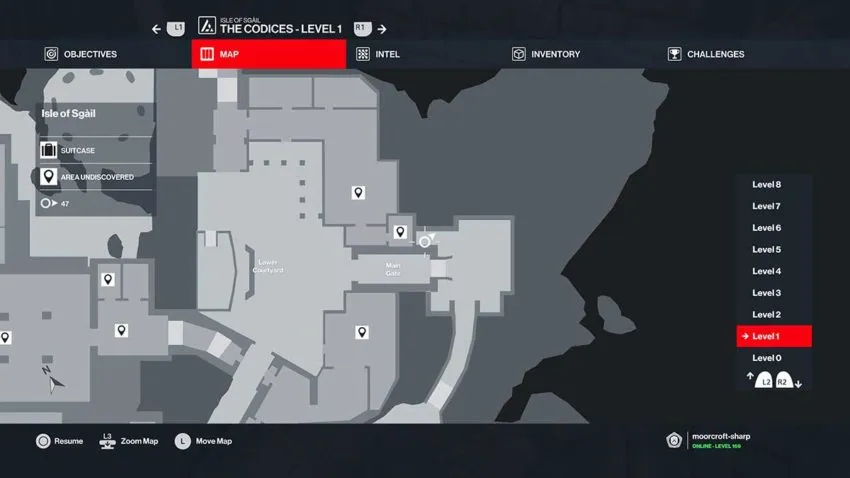
From your starting location, run up the stairs and follow the main path to the right. There are two guards in the area just below the main doorway into the location, and you need one of their outfits. Head into the corner to the right of the stairs and flip a coin or throw the brick there against the wall. This will draw one of the guards over. Subdue him and take his disguise, but don’t bother hiding his body because no one will find it. See below for a map reference for this location.
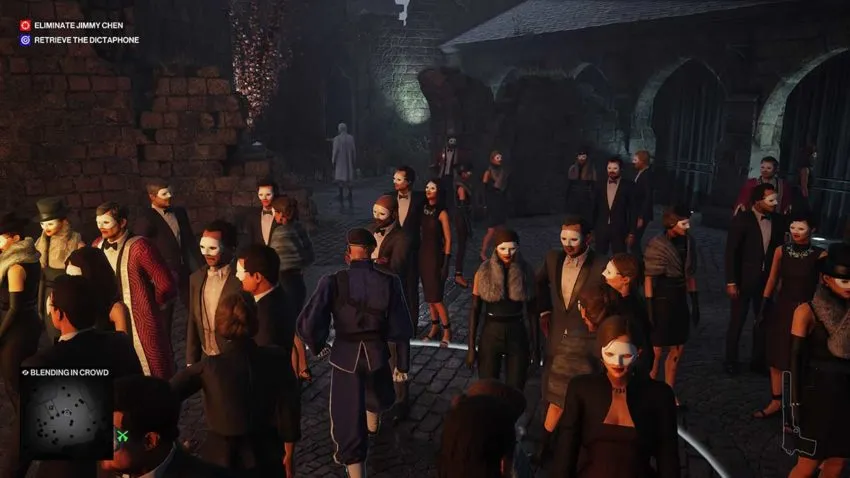
With your new disguise on, run up the stairs, through the main doors, and follow the path left. This leads to the large crowd around the firepit. Move through the crowd to the back corner, where you can see a man dressed in a white robe. You need to sneak past him and to the right so that you can get past the church and climb the large red staircase without alerting the guard at the bottom of them.
Go up the stairs and stick to the left-hand side as you pass through the walkway. A camera on the right will spot you if you don’t. Turn left and the end and then go through the door ahead of you. Turn left once you’re through that door, and you’ll be in the gallery. This is where your target should be hanging about.
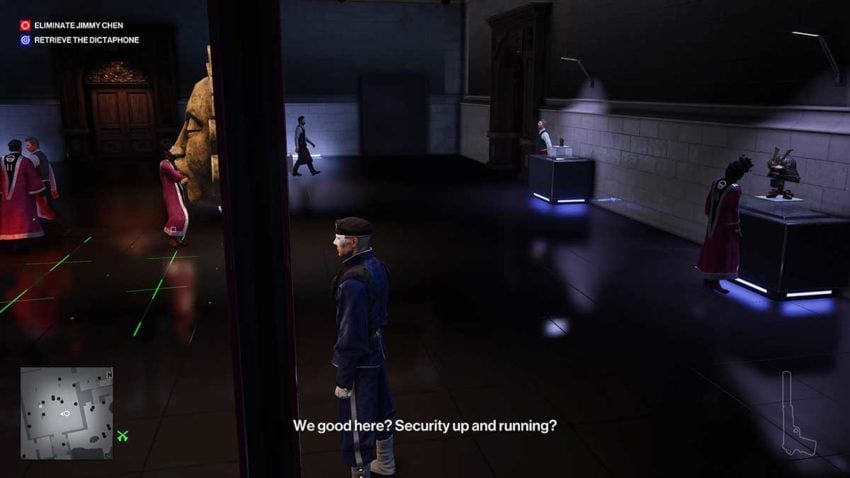
Once inside the gallery, you need to go to the right-hand side of the room and stand facing one of the pillars. Ensure the artifacts are directly behind you; otherwise, you won’t trigger the animation you need. Next, wait for a waiter to walk over and take a picture of one of the pieces. See below for a map reference for this position.
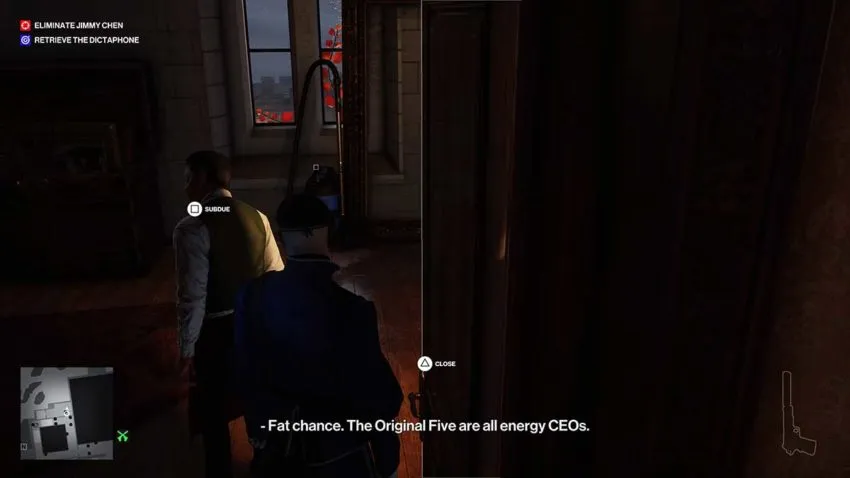
When the waiter takes a picture, walk over to him and talk to him. Agent 47 will reprimand him, and after some dialogue, the waiter will start to walk away. Follow the waiter up the stairs. When the waiter pauses at a turn in the corridor, turn away from him because he’s checking to see if you’re following him. When he starts to move again, follow and stay close.
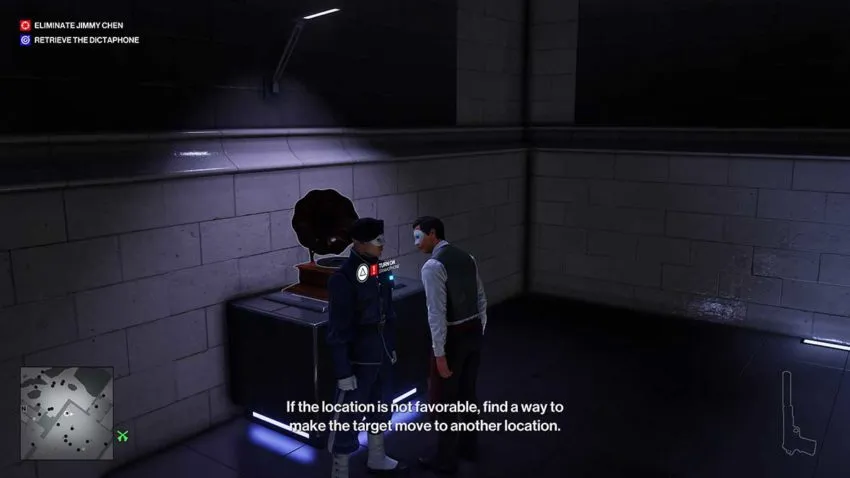
The target will open a door at the end of the corridor and peer inside for a moment. Sneak past him and get into the room quickly because the door will be locked once it’s closed. Now you can kill the target without anyone seeing you. Drag his body away from the door and pick up his dictaphone for the secondary objective.
Once you’ve picked up the dictaphone, you can leave through the same door you entered and return to the harbor to exit. However, it’s worth picking up your suit before heading down to the exit because some guards might see through your disguise. It’s also possible to sneak to another exit in the mission, but it’s much more challenging and comes with the risk of being caught.
Level 2 – The Revolutionary
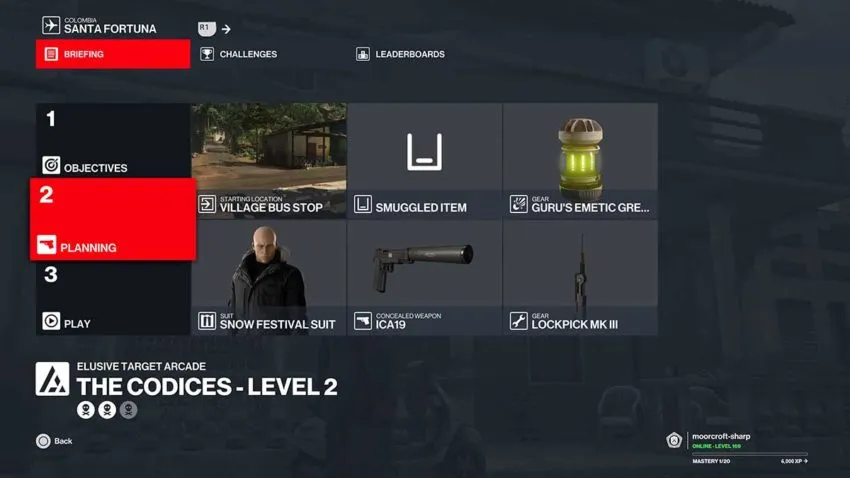
The second target in this mission is The Revolutionary. This target can be pretty complicated, but we’ve kept things simple with the base starting location of the village bus stop. You’ll also need to bring along the Guru’s Emetic Grenade from The Gauchito Antiquity Escalation in Hitman 3.
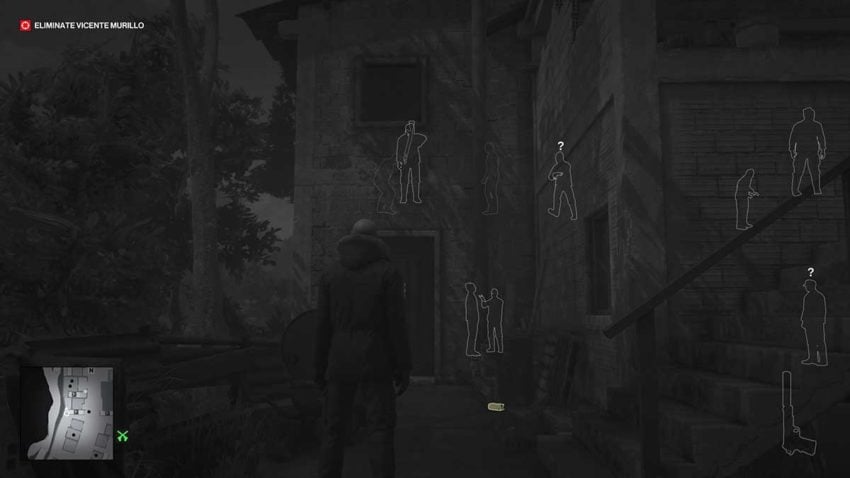
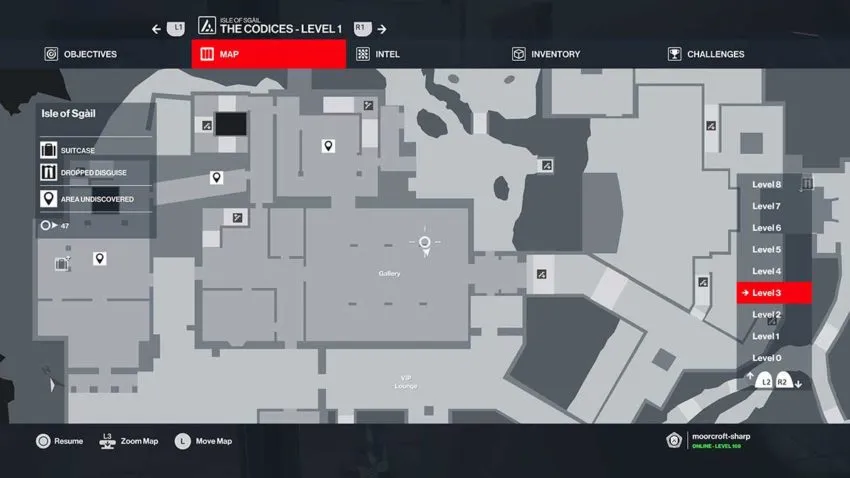
You need to run to the left and use instinct to check if the target is in the building down the street from your starting location. You’ll know if he is because there will be several guards on the second floor, as you can see in the image above. See below for a map reference for this building.
If you don’t see the target in this building, restart the mission and go and look again. You’ll need to restart a couple of times before he appears there because there are three locations he can spawn in, but our route only works for this one. When you can see him there, run to the back of the building and throw the Guru’s Emetic Grenade into the window. From this angle, you’re guaranteed to poison him, so don’t worry too much about your aim.
The target will feel sick and come downstairs to the back of the building to throw up over the wall. If you’re quick and close the door behind him, you can push him over without needing to take out a guard. However, it’s also possible to throw a brick or subdue the guard with him, then push the target over the wall. After that, run for the nearest exit to ensure you retain your Silent Assassin rating.
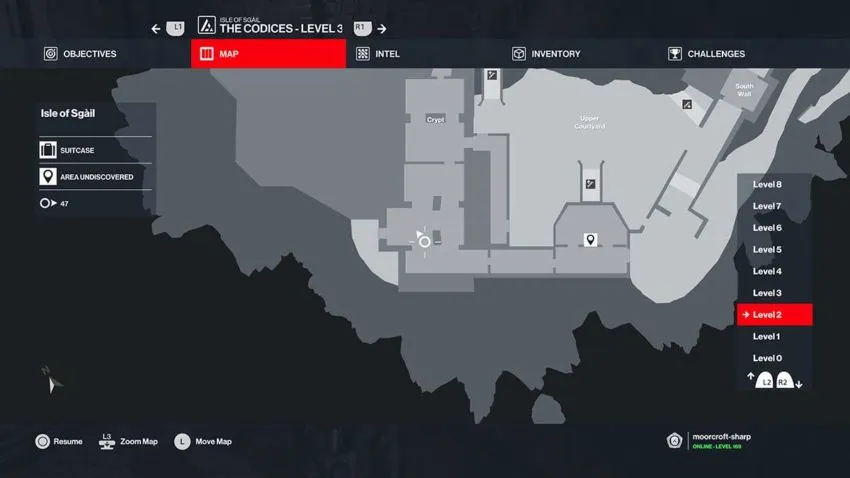
Level 3 – The Appraiser
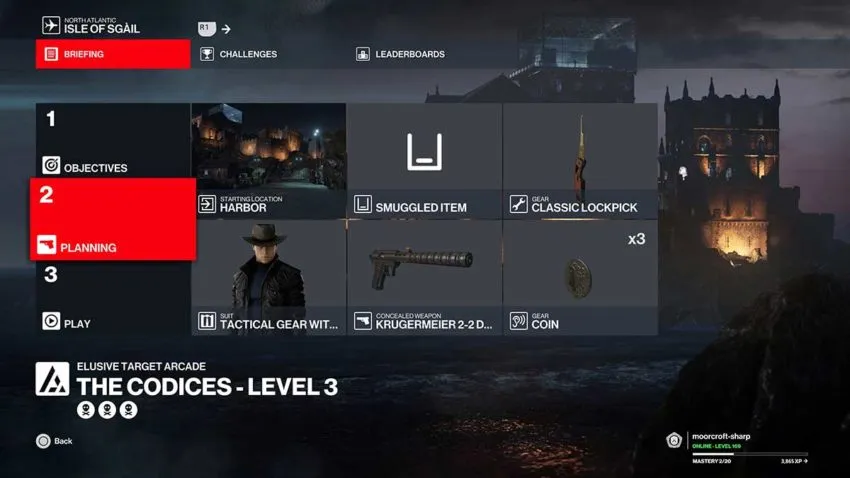
The final target in this mission is The Appraiser. The added complication you have to work with is that you still can’t kill any civilians, you must retrieve a book from the location, and you can only change your disguise once. For this mission, we recommend the harbor starting location once again. You don’t need to bring anything fancy with you, but a silenced pistol, like the Krugermeier 2-2 Black, and lockpick are essential.
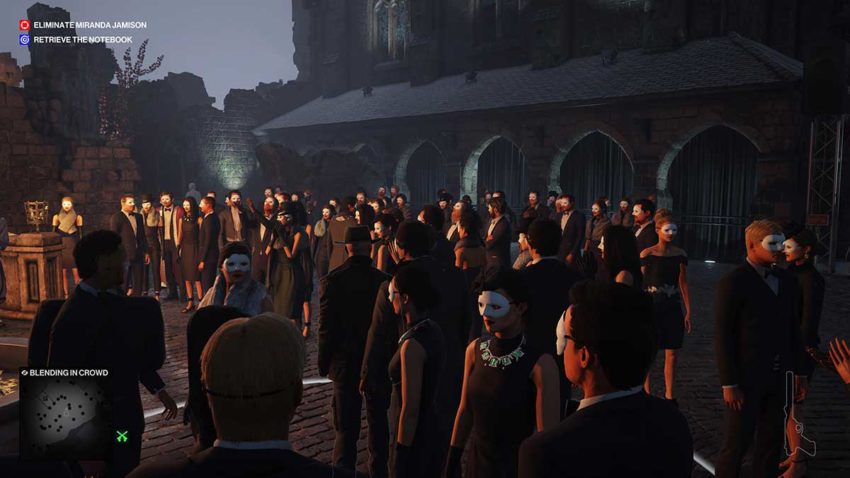
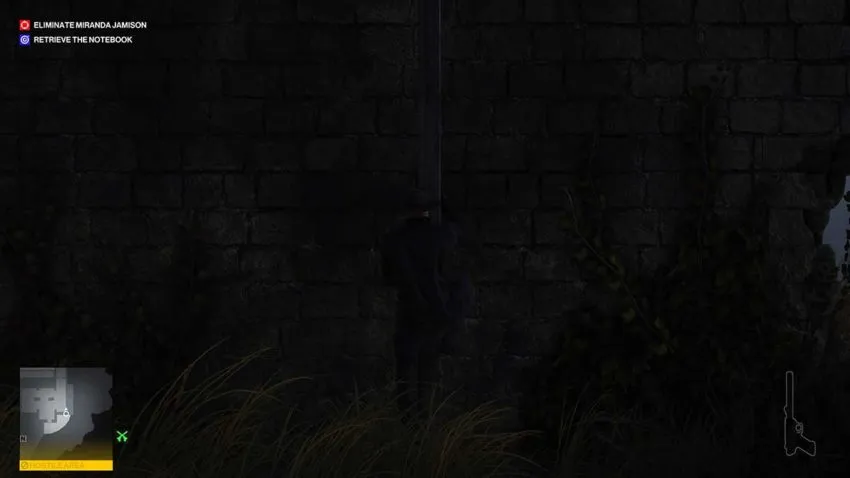
From your starting location, run up through the main doors and turn left. Follow the path until you reach the large crowd around the firepit. Work your way through the crowd to the left, where you can see a man in white robes looking for a token. You can turn right here and follow the side of the church until you see a break in the wall.
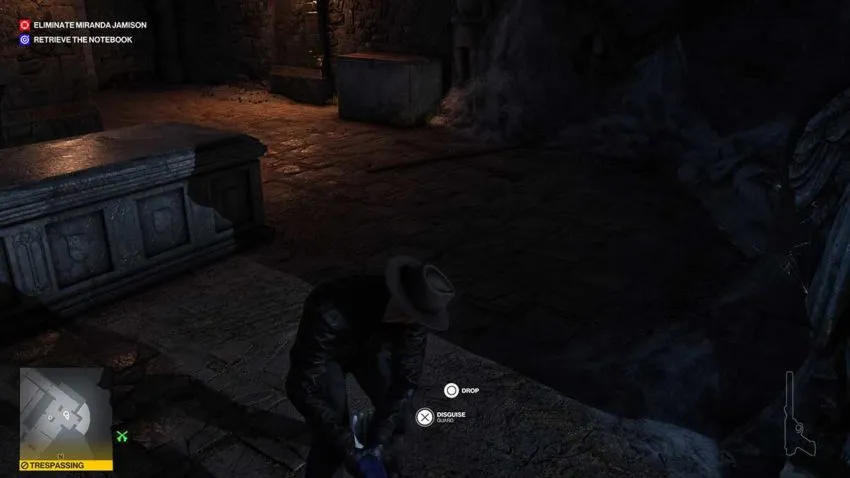
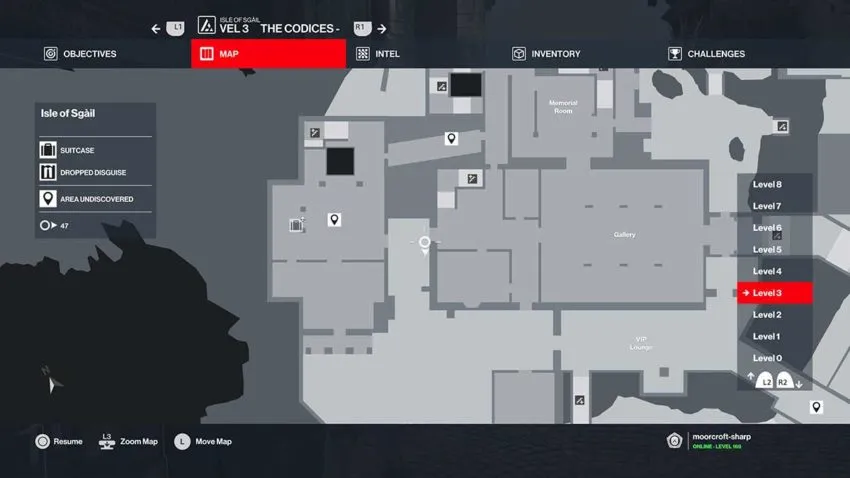
This leads you into the crypt, where two guards are hanging out. Take these guards out using distractions or melee weapons and hide their bodies in the nearby container. See below for a map reference for the crypt.
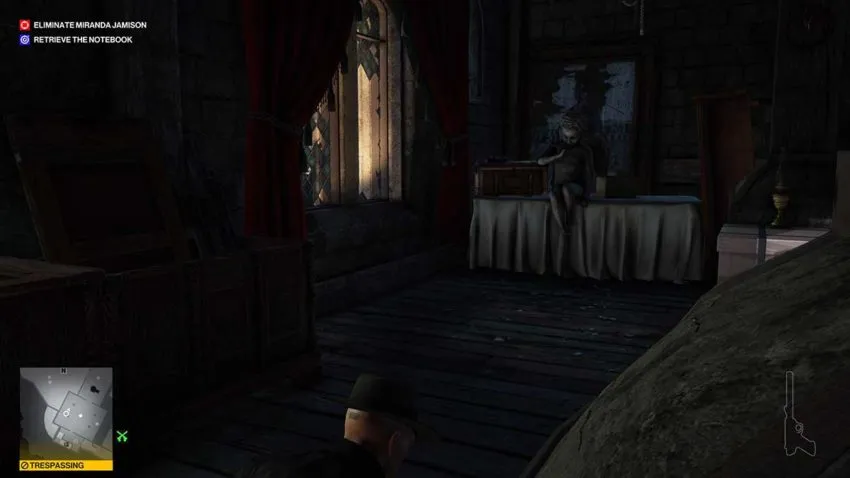
Go through the gap in the wall that leads outside and turn left. There’s a drainpipe here that you can climb up, so climb to the top.
Head down the stairs at the top of the drainpipe until you see a door. Use the lockpick to open this door and sneak through the room inside. Then, vault out of the broken window on the left-hand side. This will lead you to an open area with a lot of NPCs.
Turn the generator just to your right off and then on again. Then, hide in the nearby crate and wait for the distracted NPC to walk over. When they do, leap out, subdue them, dump their body in the container, and take their disguise. This is the only disguise change you’ll make.
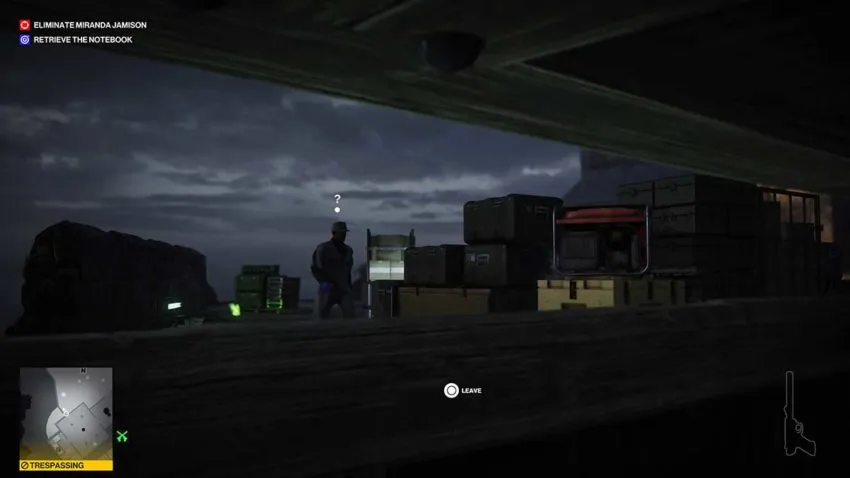
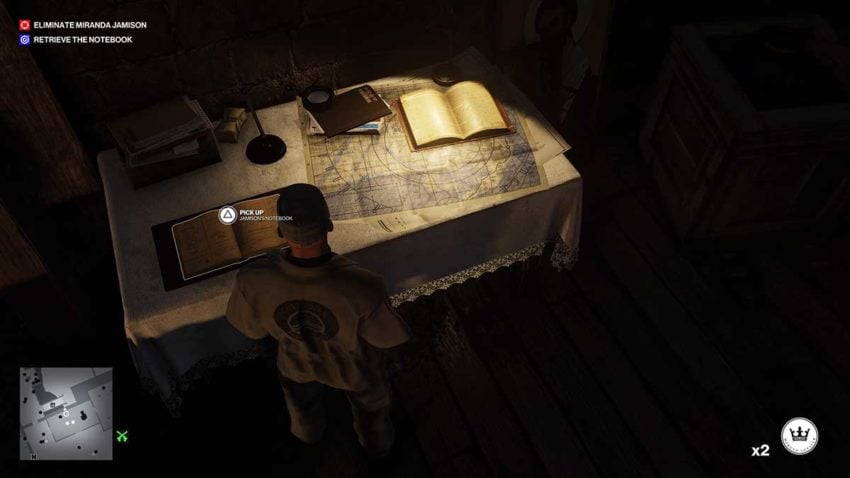
Next, you need to steal the book that the target is after before she has a chance to get it. Move to the right of this area and go into the building with the large double door. There’s an NPC that can see through your disguise inside, so sneak around them, steal the book, and leave before they see you.
Finally, it’s time to take out your target. She’ll eventually try to see the book but find out that it’s gone. When she does, she’ll head off for a cigarette in the corner of this area.
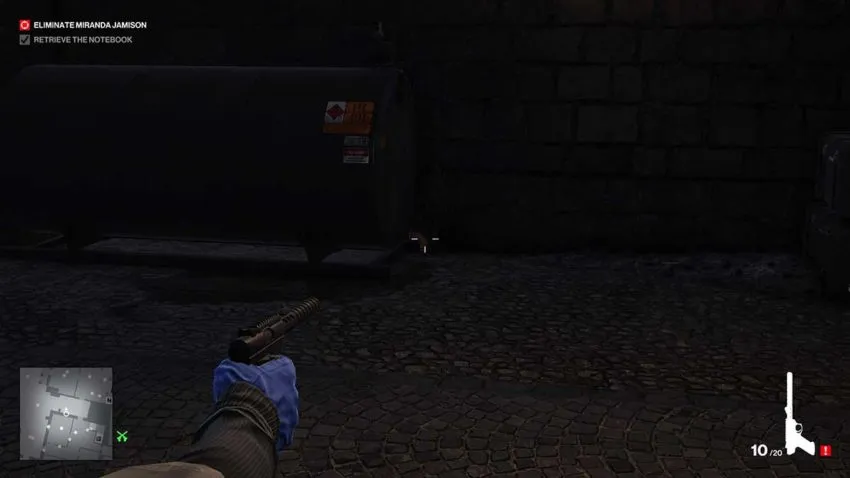
Make your way over to the gas canister early and shoot the pipe sticking out of the right-hand side of it. See below for a map reference for the gas canister.
Once that’s done, you can return the way you came and head to the exit. The target will soon blow themselves up without killing any civilians, so you’ll be able to leave with a Silent Assassin rating as soon as they’re dead.
Note that Elusive Target Arcade is extremely buggy at the time of writing. You may need to turn your device on and off a few times to get into the mission, and even once you’re in, you can lose your Silent Assassin rating for no reason. However, we’ve tested these routes and know that they work for a Silent Assassin rating when the game mode functions correctly. Despite this, you may need to try the mission a few times before you get away with the rating you want.


Published: Jan 24, 2022 05:24 am