The Lesley Celebration is the first piece of new content added to Hitman 3 as part of the game’s March roadmap. It’s also the first Escalation set in Berlin. Here, we’ll show you how to complete all three levels of this Escalation with a rank of Silent Assassin.
Level 1
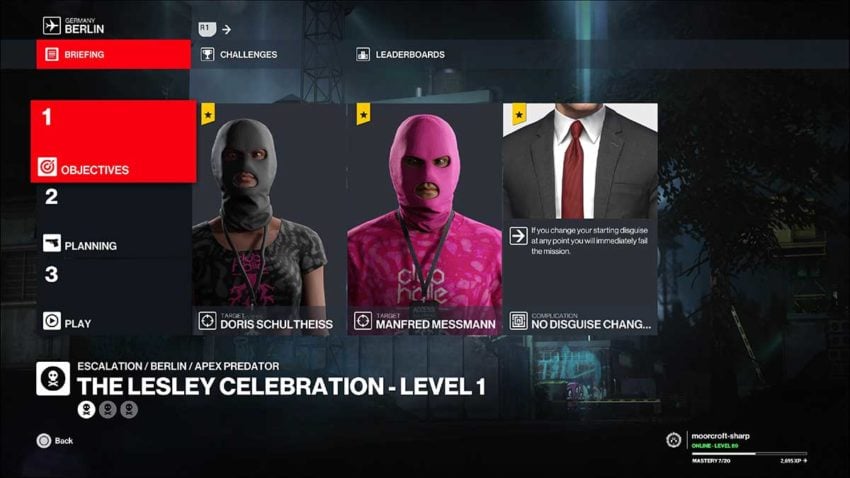
The first level of this Escalation gives you two targets to kill. However, you can’t change your disguise throughout this mission, or you’ll instantly fail.
Loadout
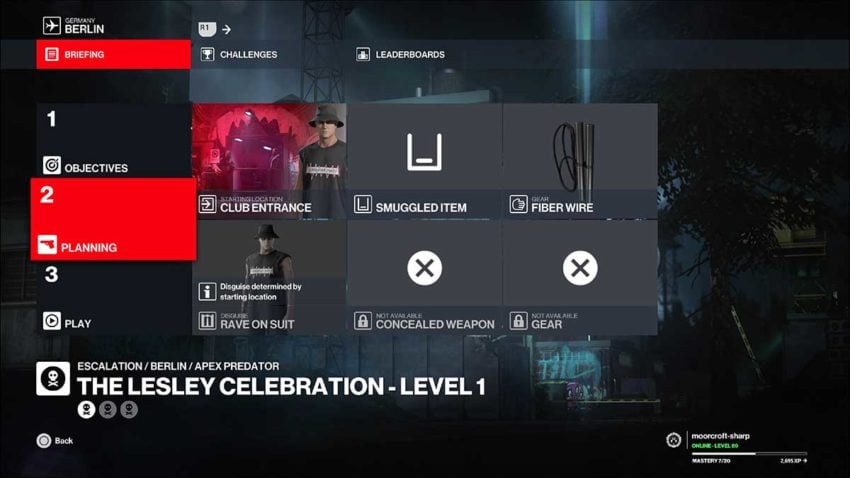
The loadout for this entire Escalation is extremely restrictive. For the first level, you only have one starting location to use, that being the Club Entrance. For this run, bring the fiber wire and nothing else.
Part 1: Doris Schultheiss
One of these targets is much more challenging than the other, so it’s best to start with her. The first thing you need to do is get frisked at the entrance to the club.
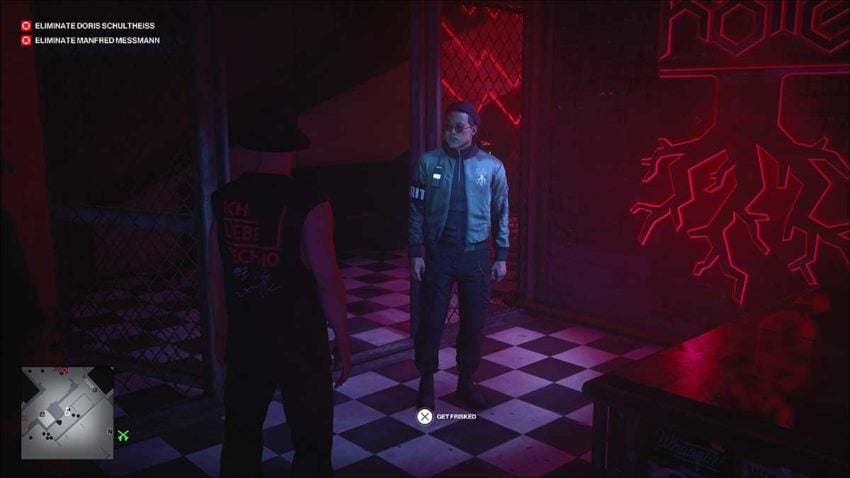
This is the easiest way into the club. From here, head into the club proper and get to the outdoor bar. Once you’re into the club, turn right and follow the corridor until you come to an opening on your right. The bar is through there.
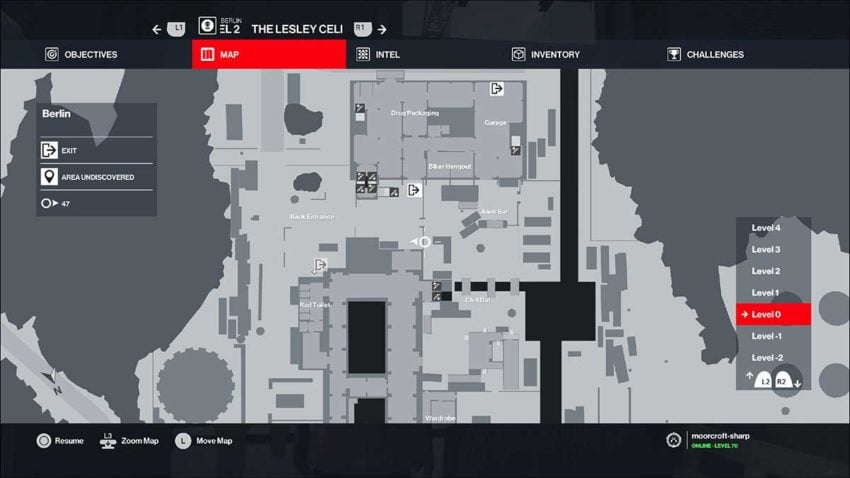
Below is a map reference for the bar.
Once you’ve arrived at the bar, you need to head down the small walkway to the left-hand side of it. Here, you’ll find a door that you can enter.
Go through the door — there’s no one in here to spot you. If you want to make the next section a little easier, pick up the frying pan on the stove on the right-hand side. Move through this area and out the door at the opposite end. This leads to a small courtyard behind the bar. To your left is another door — crouch and go through it.
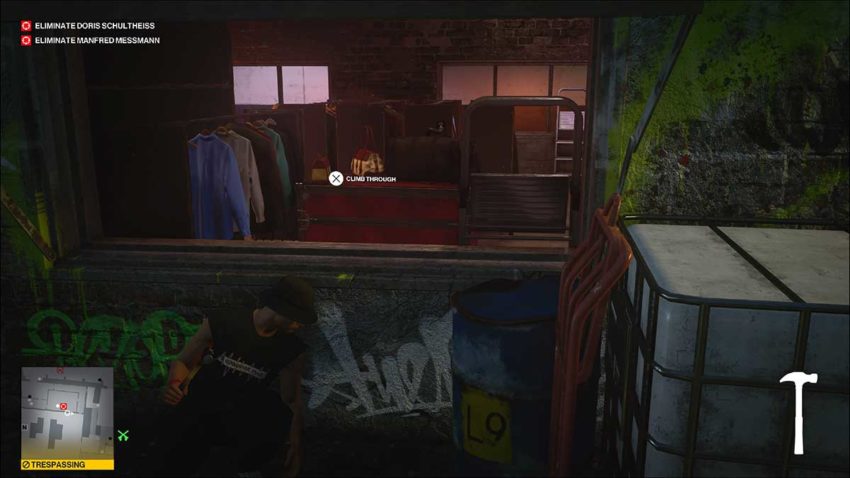
On your right will be an NPC patrolling the area in front of your first target. Lean against the low wall here and pick up the hammer.

Wait until the NPC is sitting down in the chair and then throw the hammer to knock her out. Hide her body in the container next to the door. Make sure you pick up her staff key. The next thing you need to do is vault through the opening and into the same room as your target.
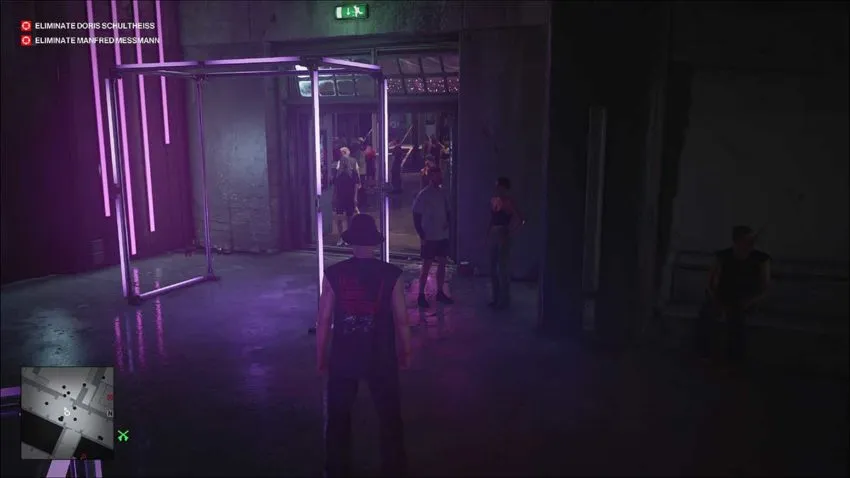
Once you’re inside, you have to wait. There’s an NPC in this room who will walk around gesturing at clothing for a while. Then, his patrol takes him out of the room for a few seconds before he comes back in to do the same thing.
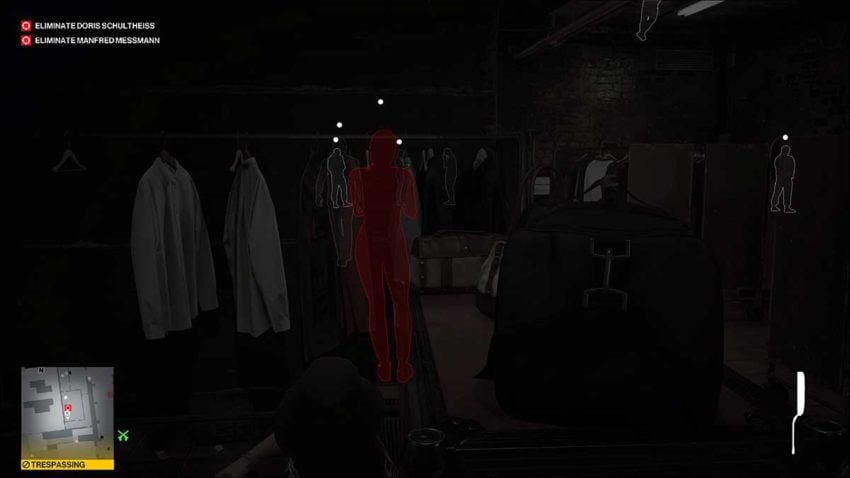
Use Instinct to see when this NPC walks out of the room. As soon as he has, throw whatever item you have on you just next to the red box you’ve been hiding behind.
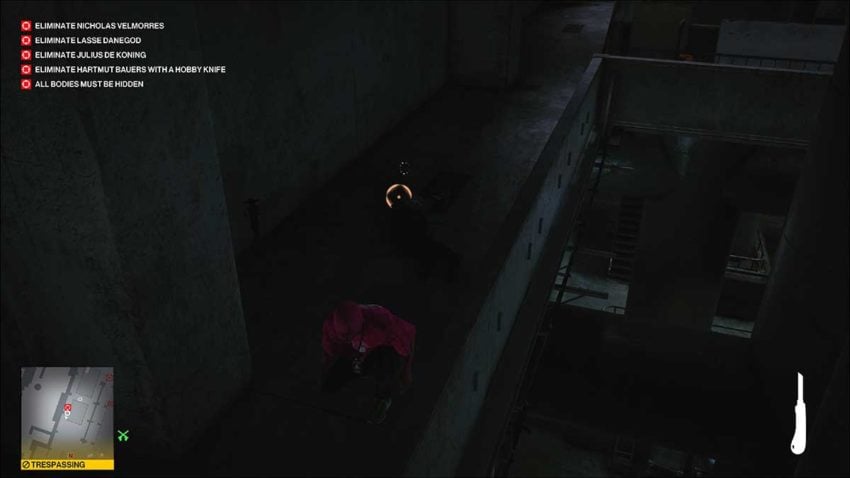
As the target comes to investigate, subdue her. Then, you need to dump her body out of the open window immediately. Before you vault out, check to see if the other NPC has returned. If he has, then stay put until you can escape without him seeing you. If he’s not back yet, vault out of the window.
Snapping the target’s neck takes slightly longer than subduing her, so snap her neck outside once the body is away from any eyes that might see it. Now all you need to do is hide it in the container out here.
Part 2: Manfred Messmann
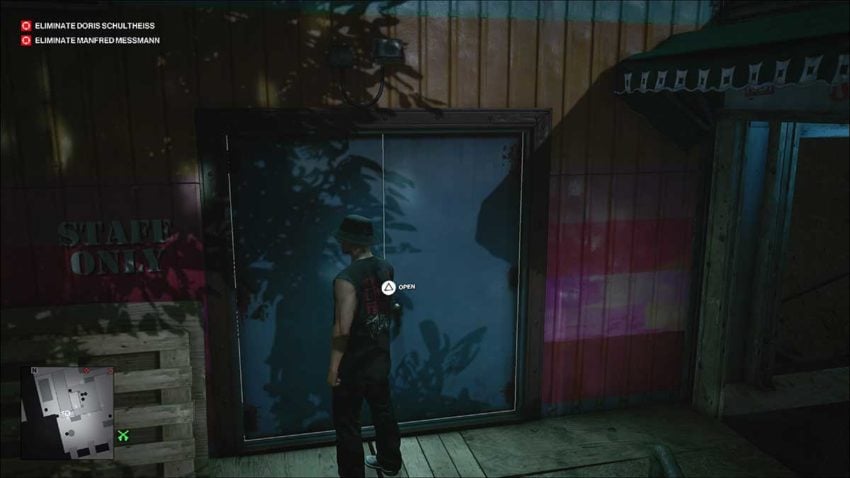
With one target down, use the staff key to get in through the red door next to the container. Follow this corridor around to the left. The door at the end will lead back into the club proper. You need to move quickly through a small area where you’ll technically be trespassing, but if you’re quick, you won’t get spotted.
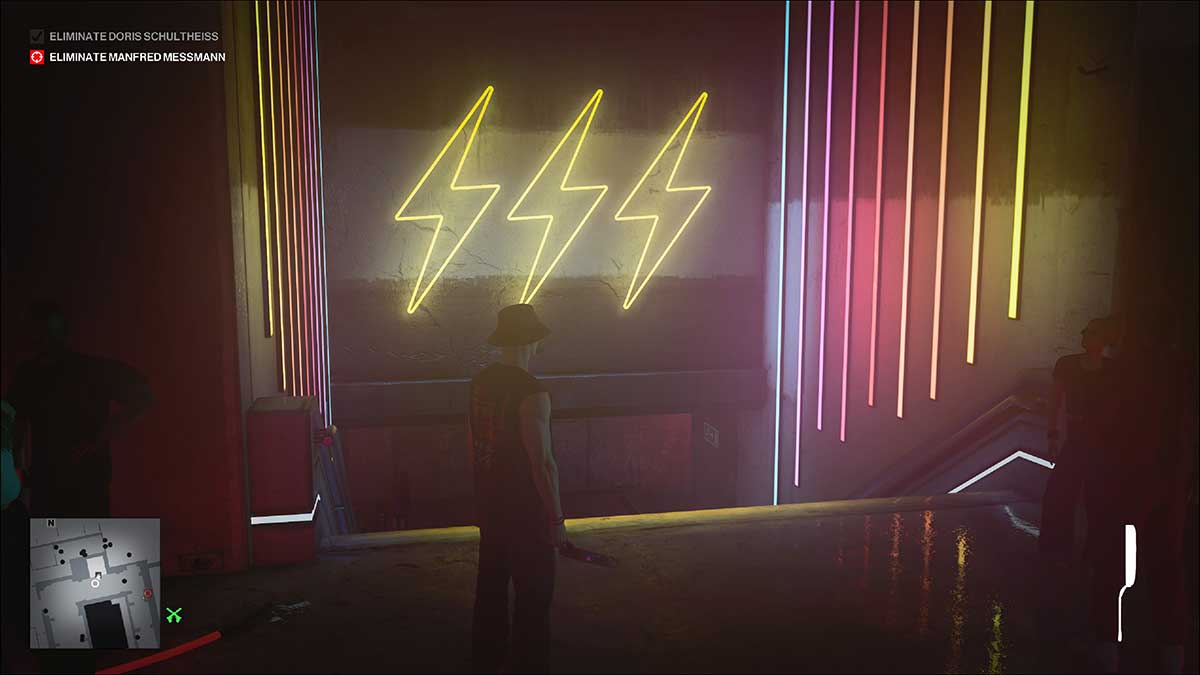
Once you’re through here, turn right, and you’ll be in the club again. Follow the path ahead, and you’ll see the big neon signs for the stairs. Go down them.

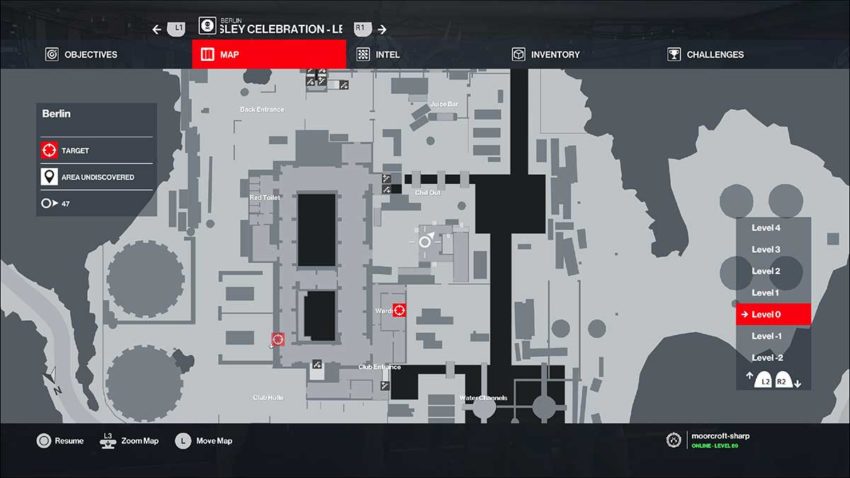
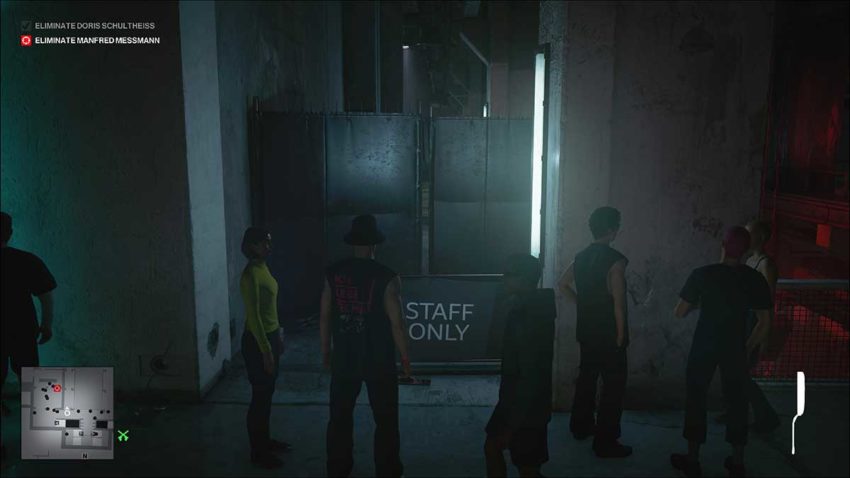
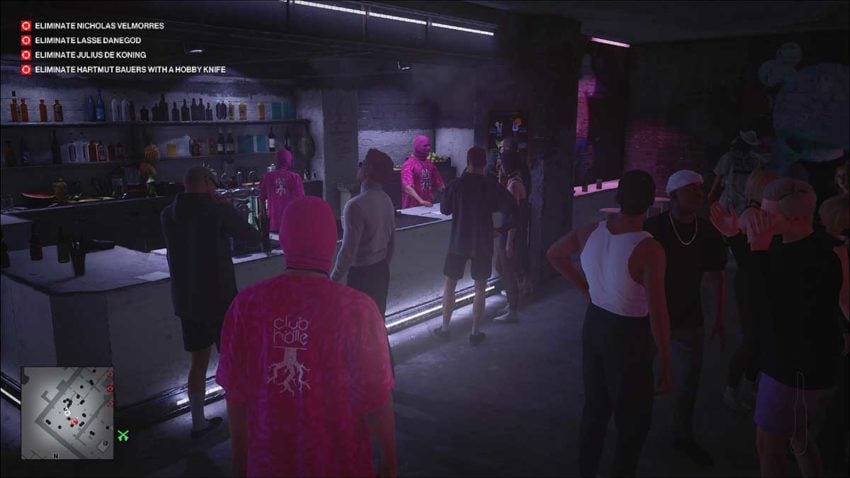
Once you’re on the next level down, you’ll be close to the target. They’re at the back of the projection bar, but you can’t approach them from here. Instead, head left from the bottom of the stairs until you see the staff area on your right.
Below is a map reference for the staff area.
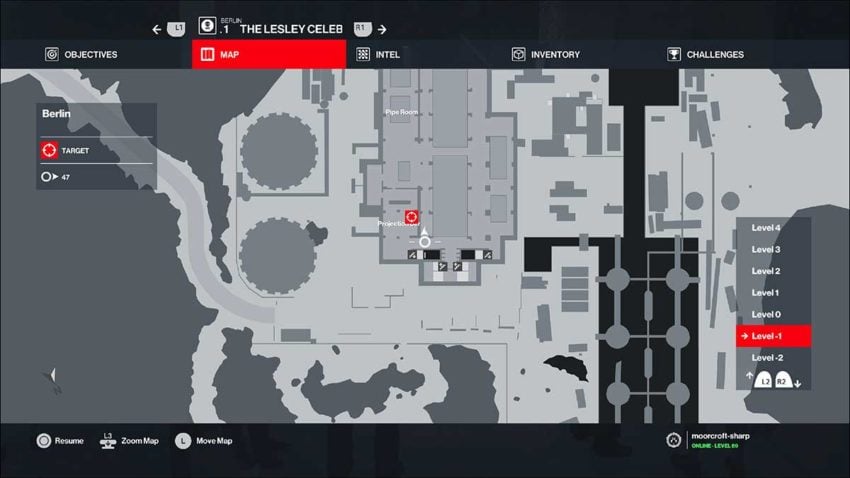
Run into this area as quickly as you can. You’ll be spotted if you linger where you can be seen. Once inside, you need to vault the ledge and shimmy to the right until you can vault back over again.
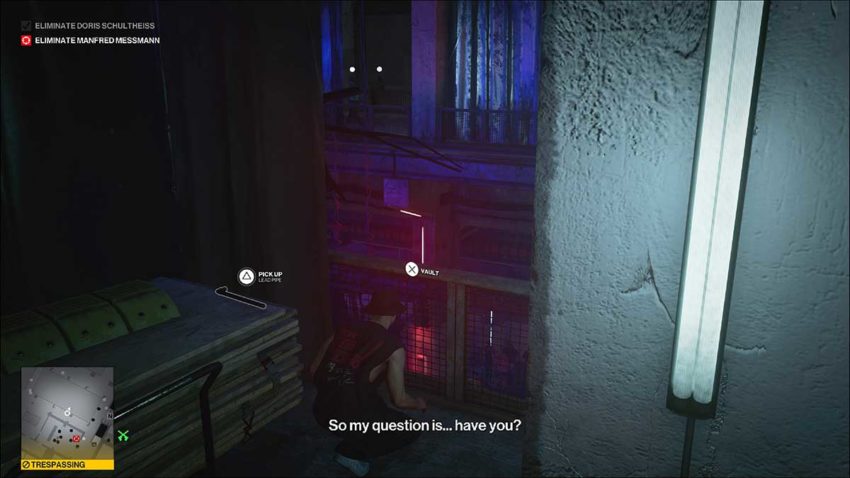
Vault back over and head out of the small area you’ll be in, but stick to the left. You need to reach the back door of the projection bar.
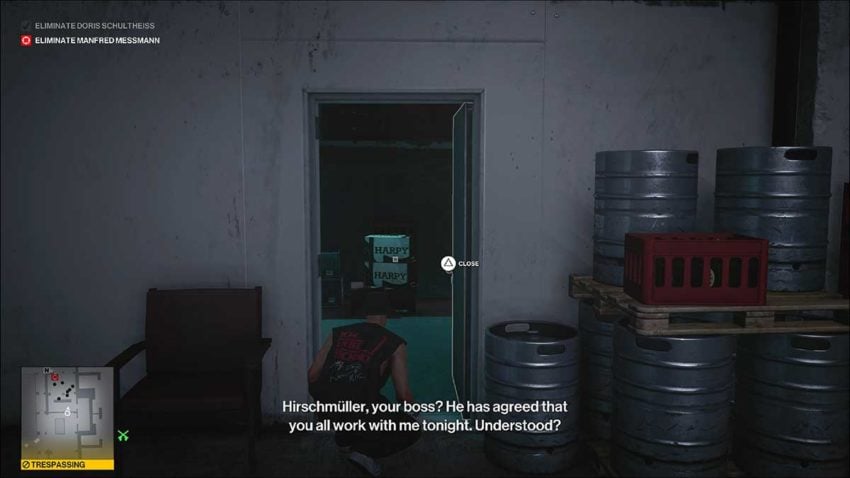
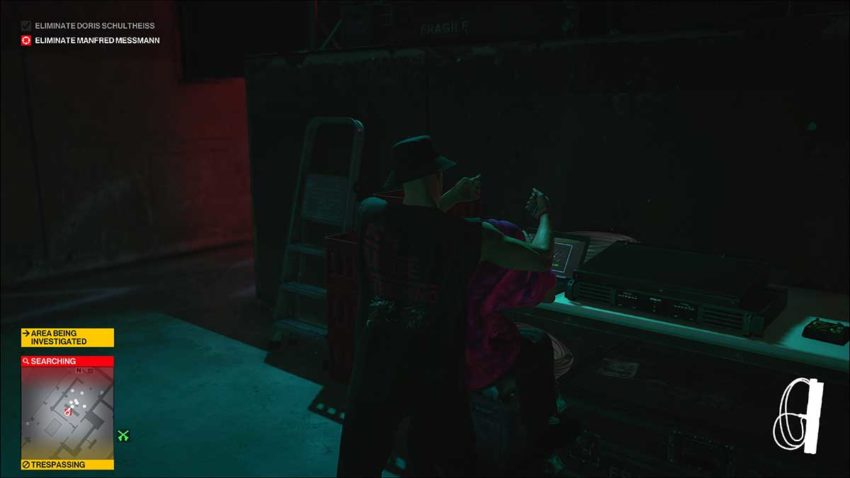
There’s a laptop on the counter in here that will allow you to tamper with the projection. Tamper with it.

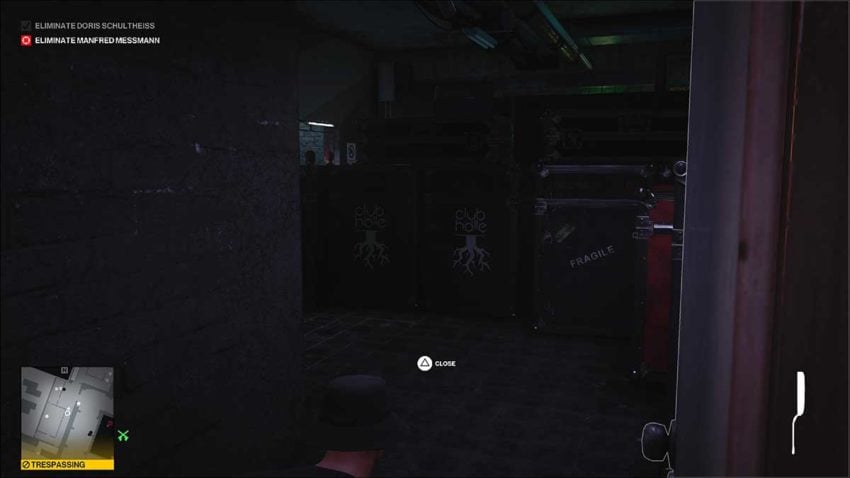
Wait outside of the door for the target to come and investigate. When he does, kill him and hide his body in the container in this same room.
Now all you need to do is return the way you came. Vault the ledge and shimmy along, sneak out of the staff area, and then walk out of the club through the main entrance like nothing has happened.
Level 2

The second level of this Escalation provides more starting locations, but it also gives you three new targets. If you change your disguise, you’ll still fail the mission.
Loadout
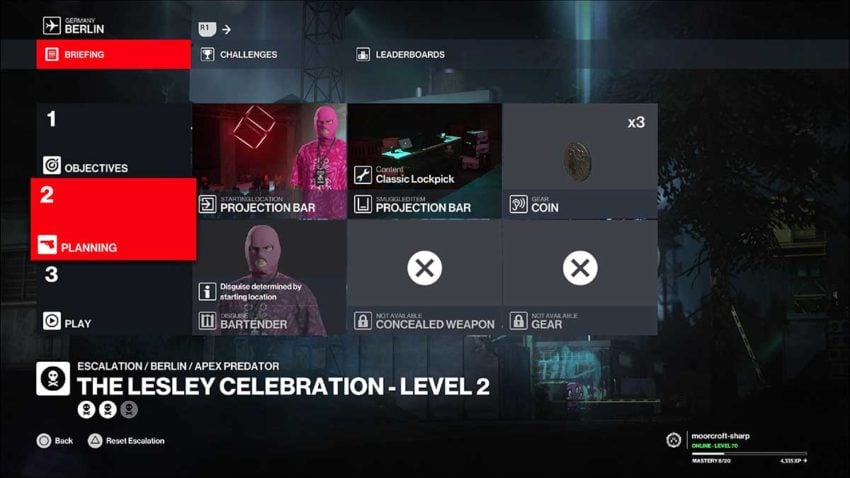
For this level, we’re going to be starting in the projection bar. The item you need to bring is the coin. You’ll also need a lockpick, which you can smuggle through the projection bar.
Part 1: Harmut Bauers
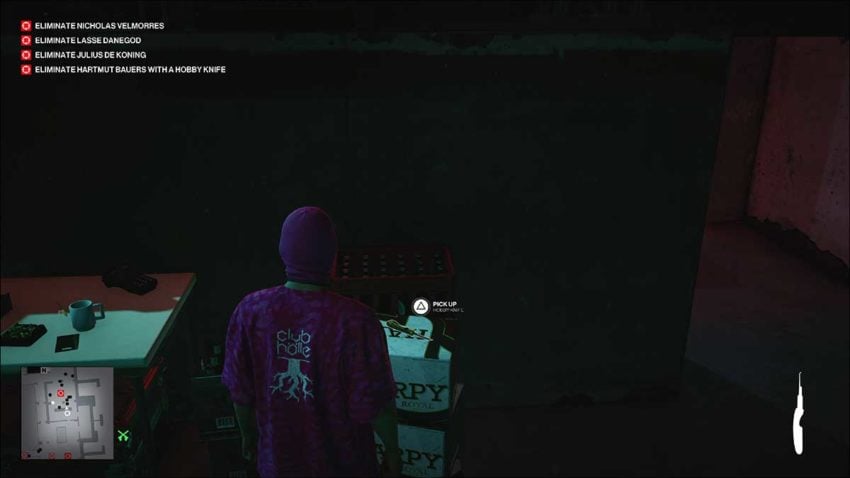
Head to the back of the projection bar from your starting position. Pick up the lockpick from the red crates near the laptop, and use it to get out through the back door. You can see your target from here.
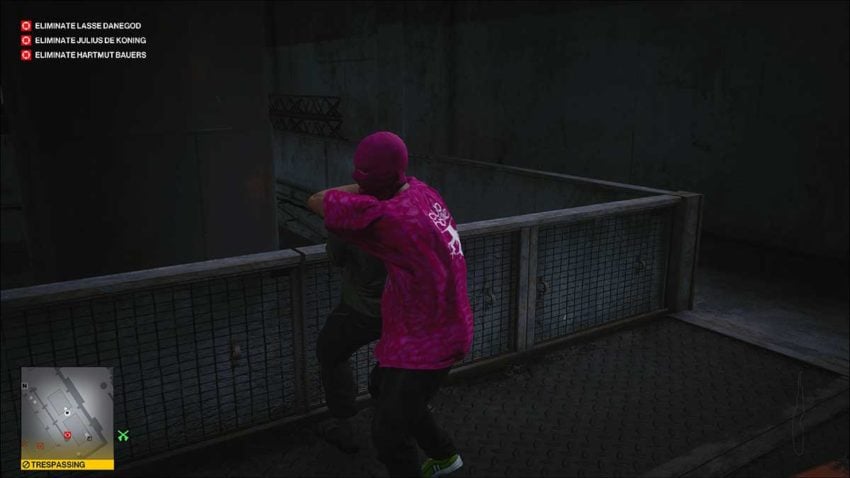
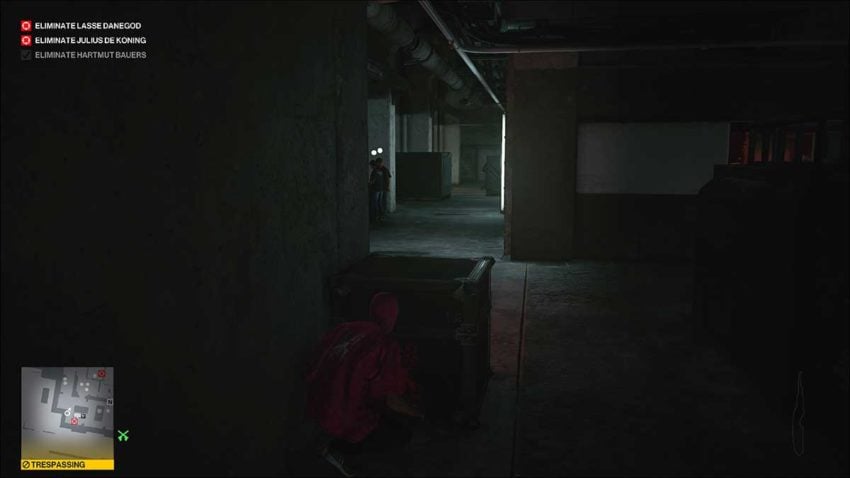
Once the target is walking away, sneak down there and follow him. The guard to your left won’t see you if you’re crouching. Lean against the pillar when you get close.

As the target walks back, subdue him. The guard back here won’t notice because he’s asleep. You then need to run back to the other guard you passed and subdue him. With that done, snap the target’s neck and drag him into this same walkway.
Now you need to hide these bodies. The best container for this is at the back of the room. This is the same location you’ll have vaulted up into when closing in on your second target in level 1.
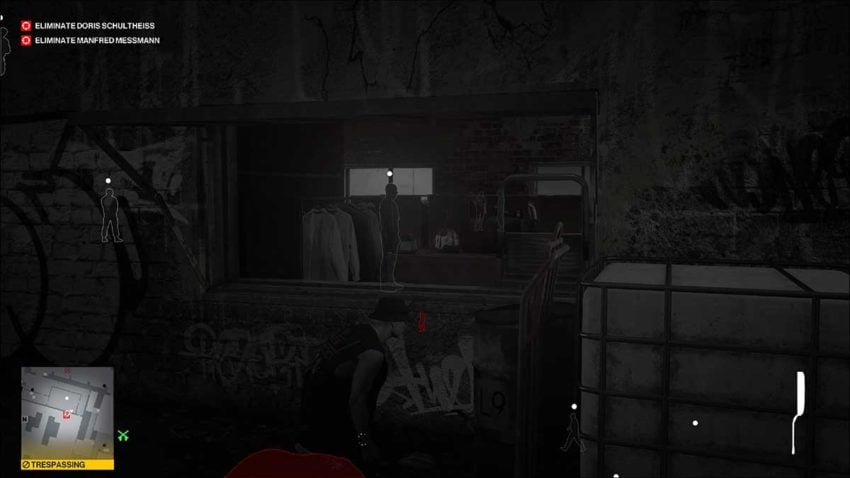
However, as you drag the bodies back, you need to be careful of the tech staff to the left of this area.
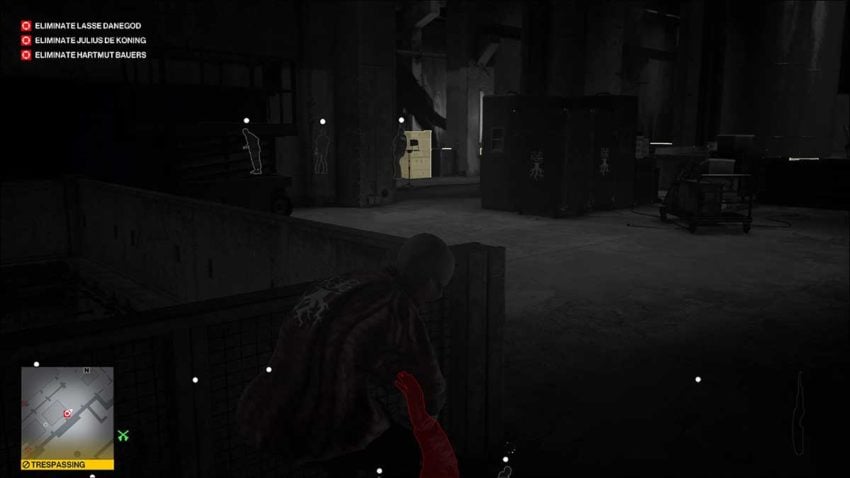
One of the tech NPCs will move left and right in the distance. When they’ve stopped next to the equipment highlighted in yellow in the image above, they can see you dragging the body. Wait until they move to the left, as they are in the image above before you drag the bodies to the back of the room.
Part 2: Julius De Koning
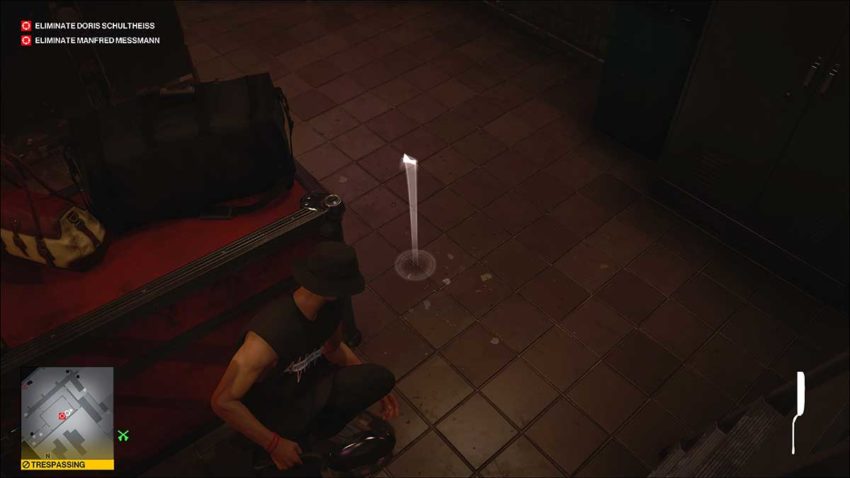
With those bodies hidden, return to the projection bar’s back door, but don’t go in. Turn around and face the room. There should be a low wall to your right with pipes behind it going down to the floor below. Head towards it, and you’ll see a gap that allows you to drop down.
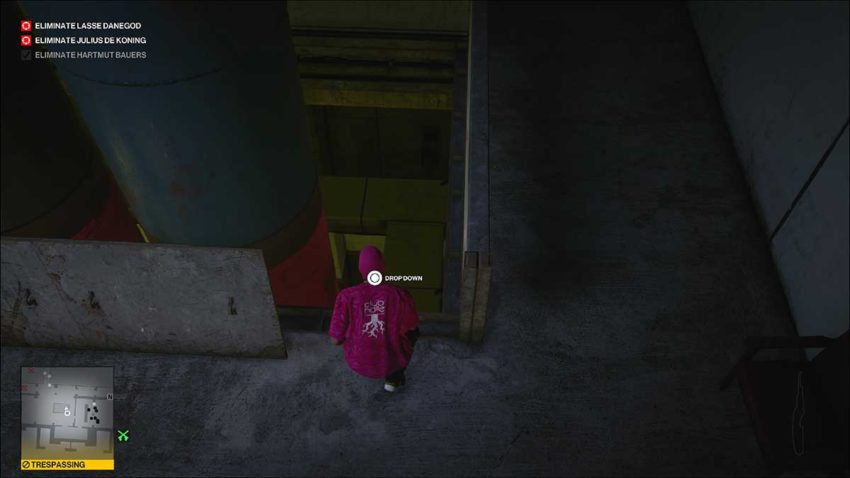
Below is a map reference for this gap.
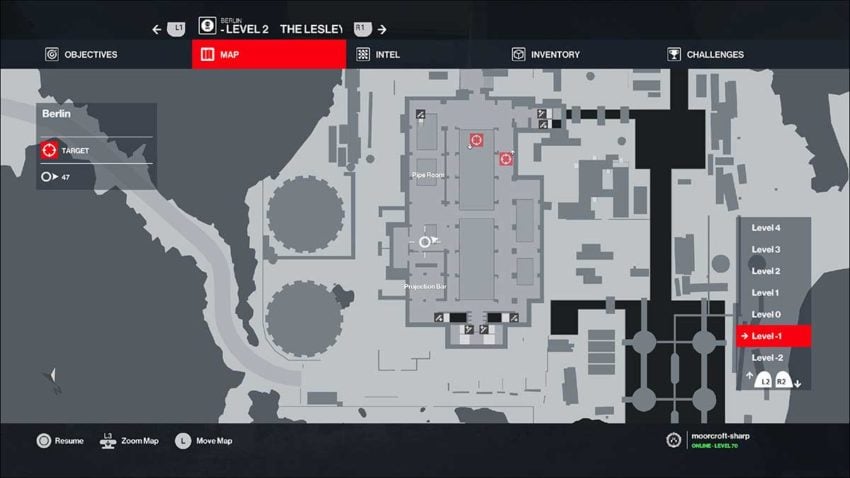
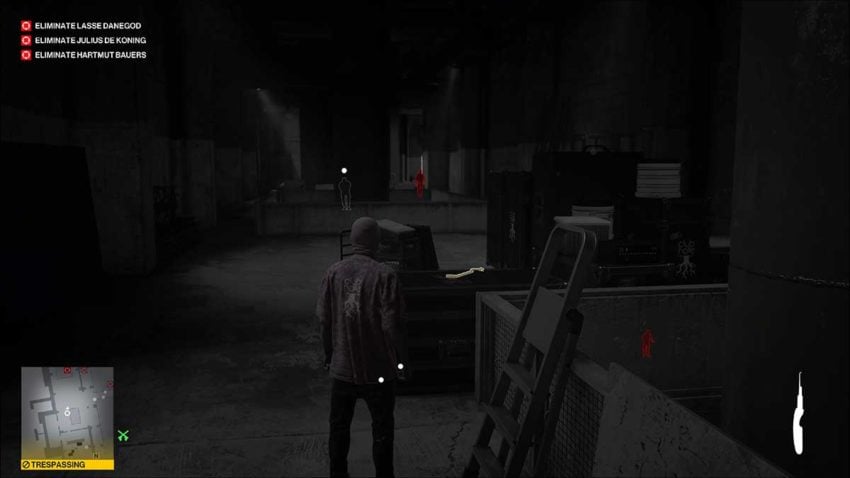
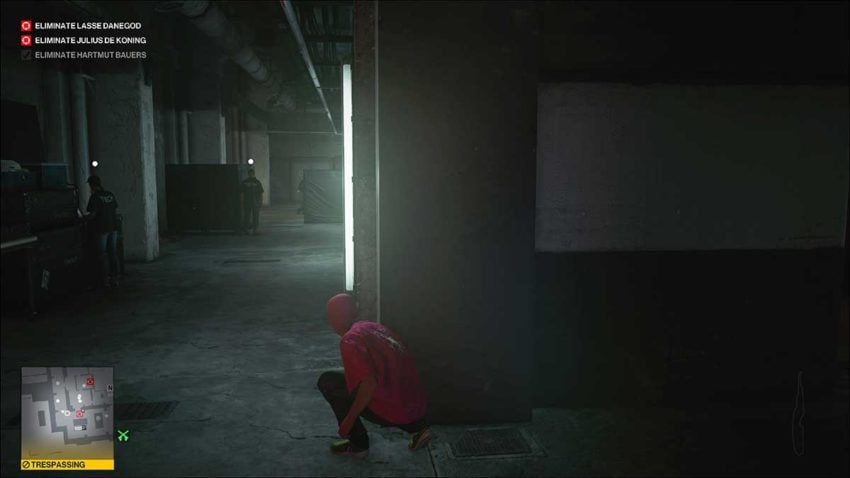
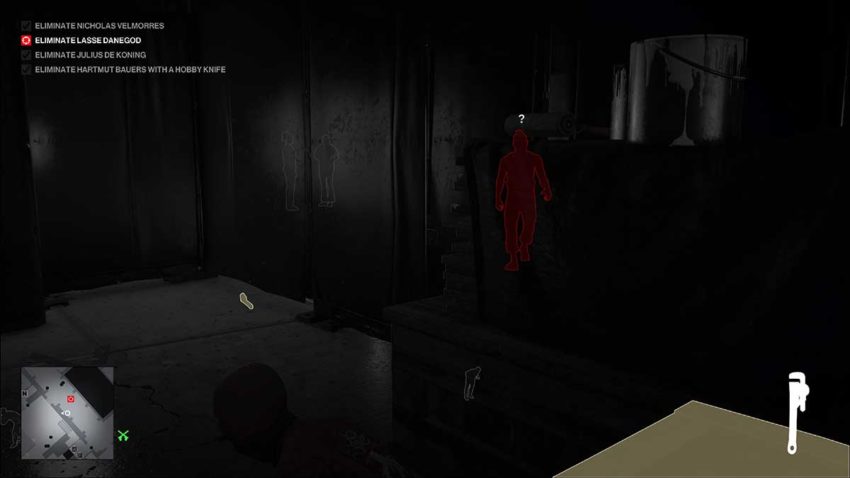
Drop onto the vent and follow it all the way to the end. You’ll drop onto a platform and need to slide down a ladder. Now you’ll be in the maintenance area. You need to sneak all the way forward from the bottom of the ladder to the end of this area that you can see in the image below.
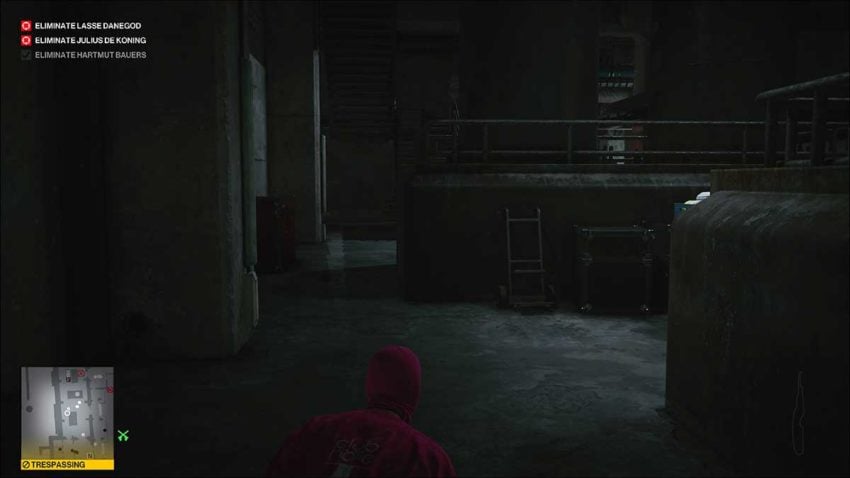
Once you get to the end, hide behind the box.
One of the tech NPCs here will patrol up and down that corridor. When he moves all the way down and stops, you need to sneak down after him and head into the door on his right. Don’t worry if someone almost spots you — there are plenty of places to hide in there.
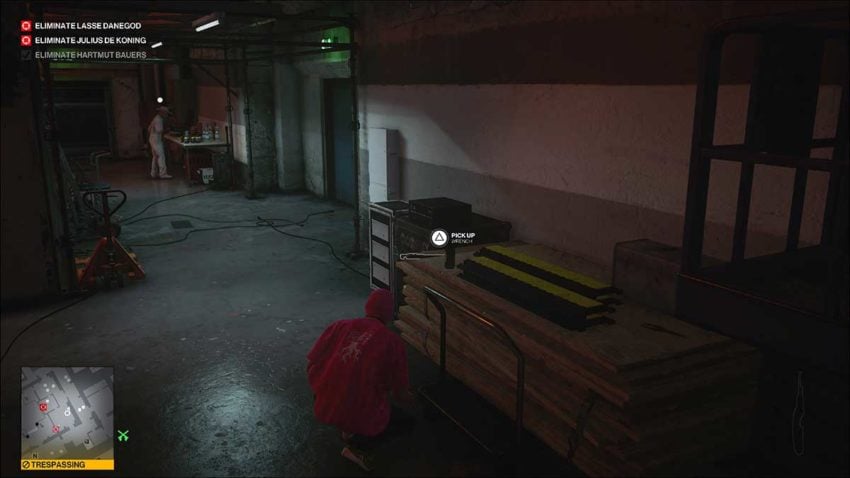
Now that you’re inside, grab the wrench from the side and unlock the DJ booth.
Lean against the door of the DJ booth and throw the wrench just outside of the door. This will draw out one of the DJs and allow you to subdue them. Hide their body in the container opposite this door on the far side of the room.
Do this for both DJs. Your target will be the second one, so snap their neck before you hide their body, and they’ll be out of the way.
Part 3: Lasse Danegod
This final target is the easiest to kill. Head out of this backstage area through the door to the left of the DJ booth. It leads into the main club, so there’s no chance of you being caught trespassing.
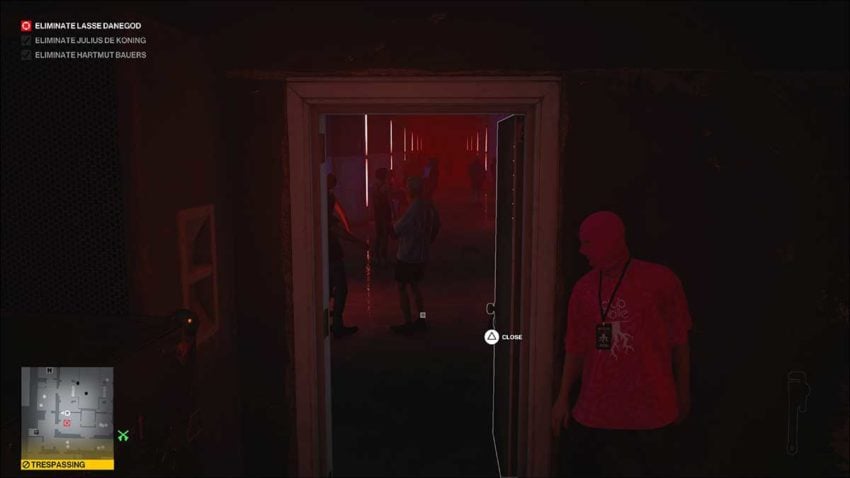
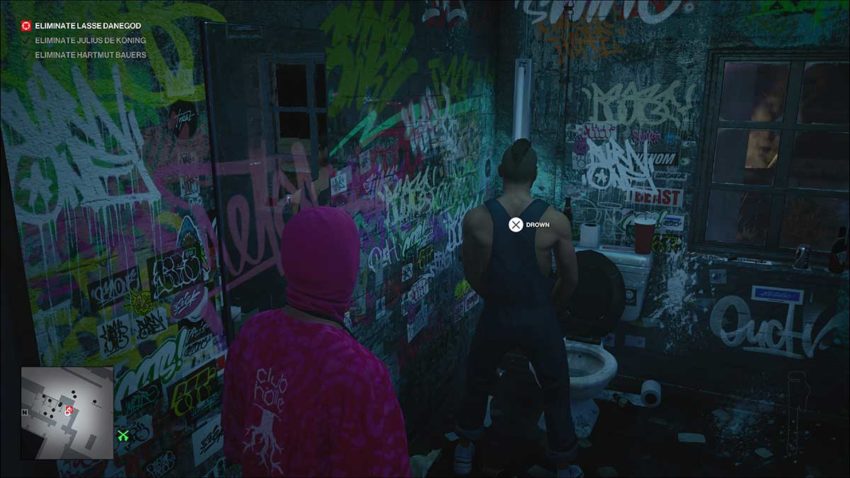
Head up to the top level of the club. There’s no need to sneak around. You can walk right up to your target. Wait for them to be done partying and follow them as they walk away. Eventually, they’ll be using the bathroom. Drown them and then get out.
Exit
Unfortunately, there’s an enforcer at the club entrance who will spot you if you try to leave that way. If you have the shortcut around this area unlocked, then you can use that to exit. If you don’t, follow our exit strategy.
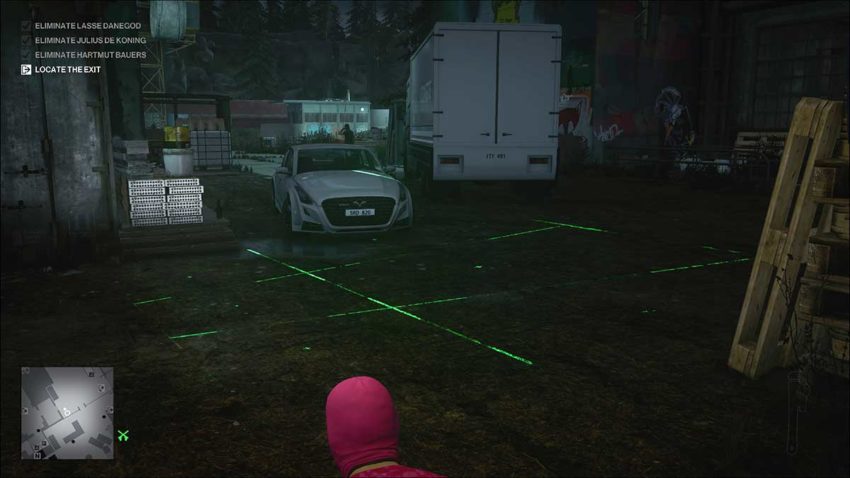
Make your way from the bathroom to the outdoor bar. Now follow the public area to the left. There’s a bridge here that you need to run over.
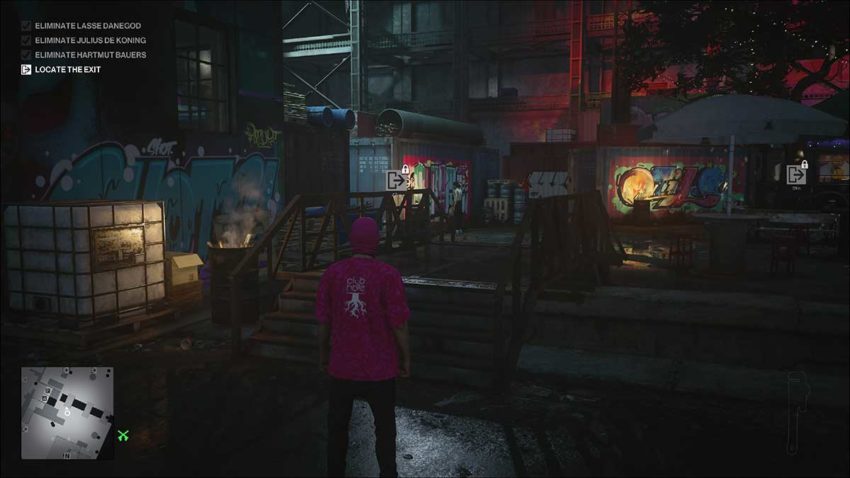
Once you’re over the bridge, turn left and make your way through this area until you find a wall that you can vault over.
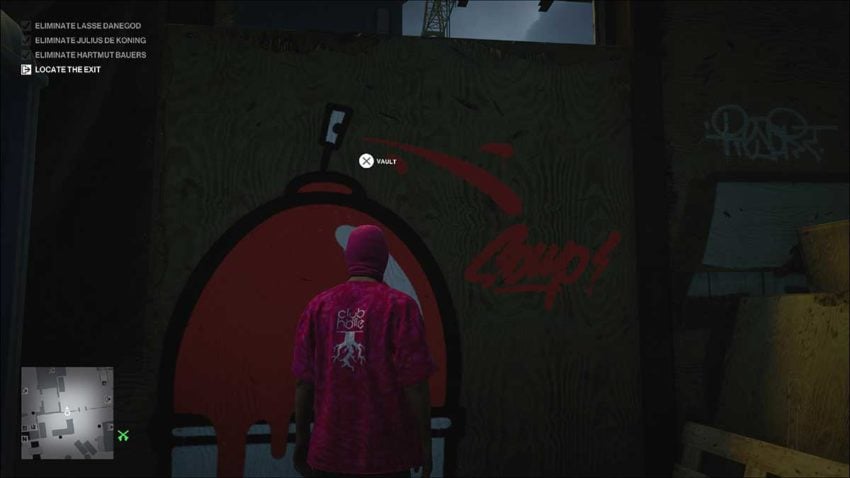
Below is a map reference for this location.
Once you’re over the wall, don’t move. There’s a camera here that can spot you at the last second. Wait for the camera’s vision to leave a gap to your right that you can sneak through. Once you have, you can exit the mission. In your current disguise, you’re not trespassing, so take your time.
Level 3
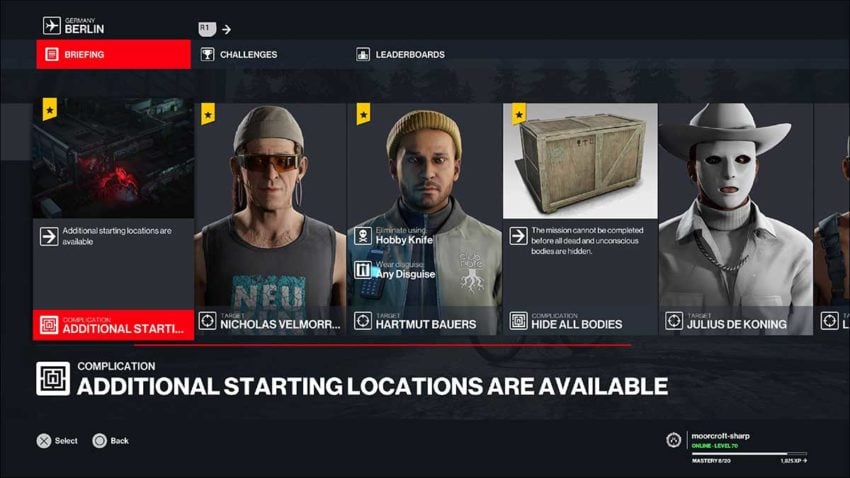
The third level of this Escalation adds one new target into the mix. There is also now a stipulation that Harmut Bauers must be killed with the hobby knife. Finally, you cannot end the mission without hiding all subdued or dead bodies.
The loadout for this level is the same as it was for the second one. The additional starting locations don’t help us, unfortunately.
Part 1: Harmut Bauers
The method for killing the first target is almost the same as it was in the last level. The first thing you should do is pick up the hobby knife from the back of the bar. Make sure you also grab the lockpick, or you won’t be able to go anywhere.
Head out of the door, follow the target over to the pillar, subdue them and the second guard, and drag their bodies to that walkway. As you’re dragging their bodies to the container, pause where no one can see you and throw the hobby knife at your target to meet the level’s optional kill requirement.
Part 2: Julius De Koning
To kill your second target, the DJ, follow the same route as you used in level 2. You don’t need to do anything different.
Par 3: Nicholas Velmorres
To kill the third target, we need to do some setup. Head out of the backstage area and run towards the main stairs up from the club. Don’t go up them, but run to the right of them and follow the corridor. This will lead you to the basement bar.
Below is a map reference for the basement bar.

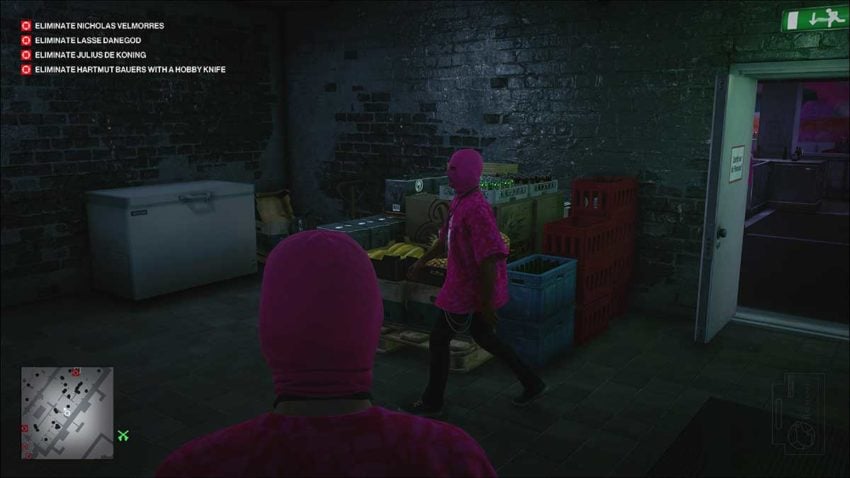
Go behind the bar. There’s a coconut on the back counter that you’ll be needing, so pick it up. Then head through the door at the back of the bar into the storage room. Pick up the coconut in here as well.
Now, wait until an NPC from the bar comes through here. Use a coconut to knock them out and dump their body in the freezer.
Use instinct to watch for the target. As they get close to the door leading out of this room, open it and drop a coin near the freezer. This will draw the target into the area. Use the coconut to knock him out, snap his neck and store his body in the freezer.

Part 4: Lasse Danegod
Since you need to hide all the bodies for this level, the last target strategy is slightly different. Head back up to the top floor of the club and find the target. Nearby you’ll notice an NPC working on some lighting. You need to go inside the door behind them.
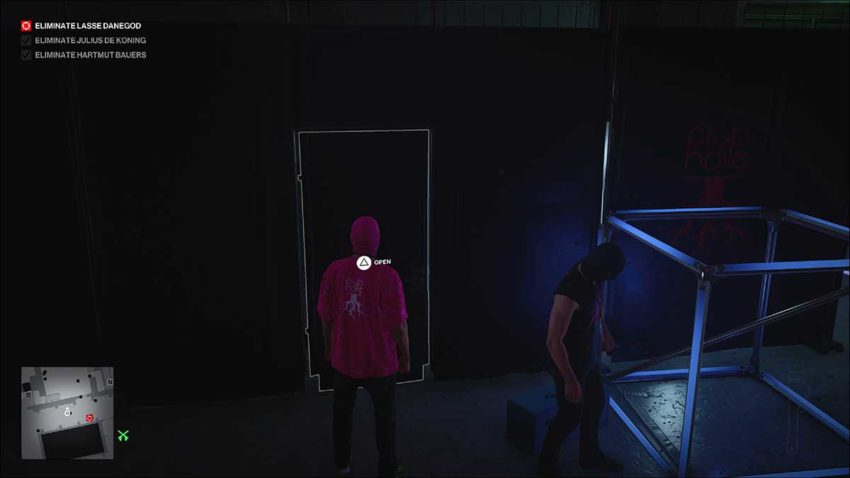
Below is a map reference for this door.
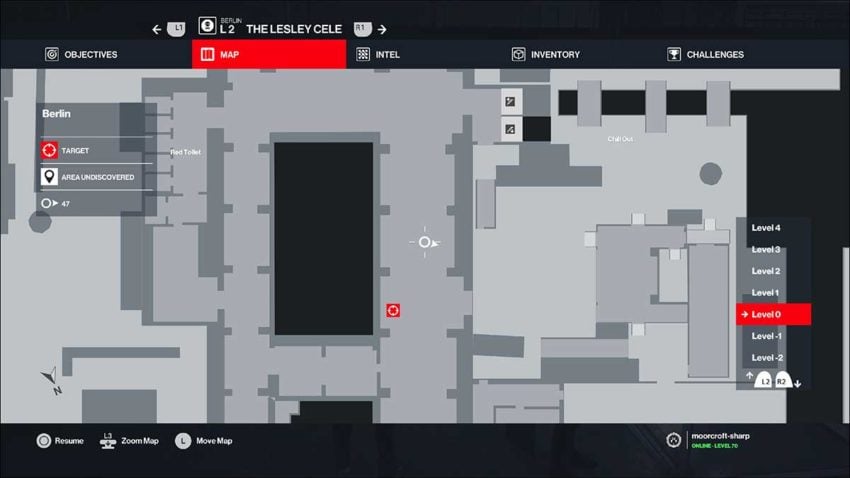
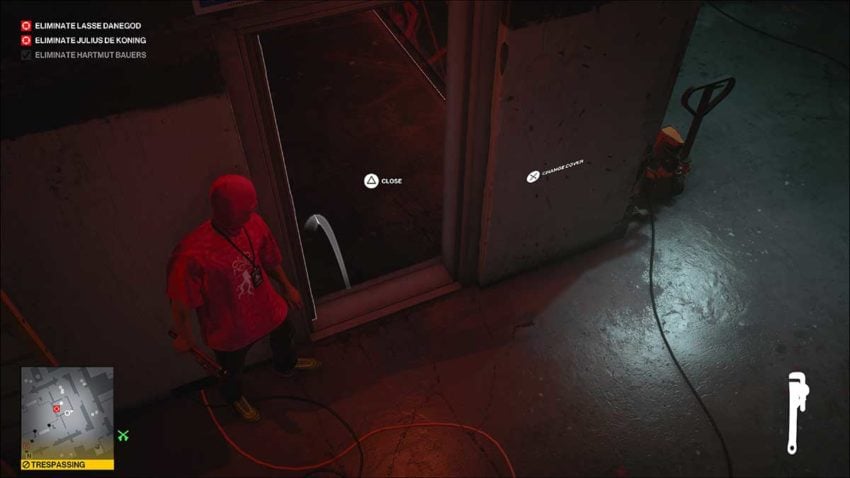
Head inside, pick up the wrench and turn off the fuses. This will draw the NPC outside into the room. Make sure you turn them back on after a second so that no one else will investigate later.
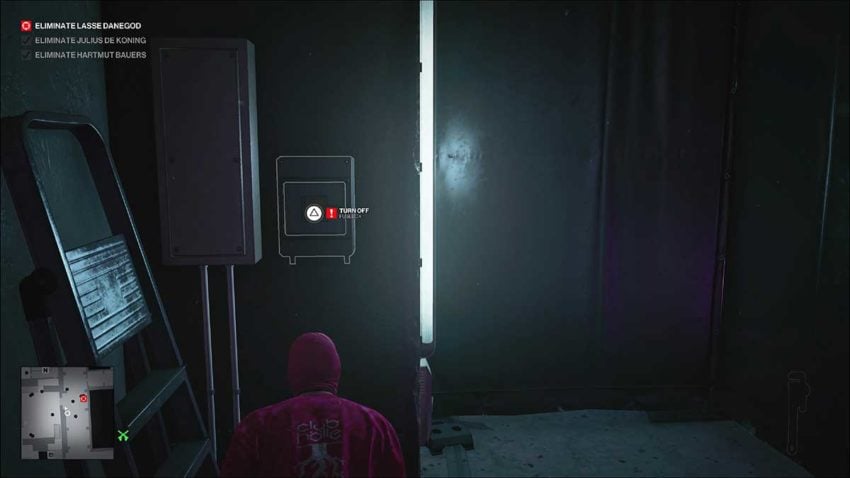
When the NPC comes in, hit them with the wrench and hide their body in the container. Now you need to wait for your target to return from the bathroom. As they do, they’ll be the closest to this room. At that point, throw the wrench in the back corner to draw them in.
When the target enters, snap their neck and hide their body. The disguise you’re wearing means that you’ll need to take the slightly less convenient escape route outlined in level 2. Bask in the Silent Assassin rating once you’re done.


Published: Mar 5, 2021 06:00 am