Blood for Blood is a side quest in Horizon Forbidden West that is unlocked after completing The Kulrut main quest. Dekka needs Aloy’s assistance in a personal matter, and it spirals into one of the most challenging side quests in the game. This guide explains how to complete Blood for Blood, so you don’t get stuck on its beast of a boss fight.
Step 1: Clear the Shining Wastes South Rebel Outpost
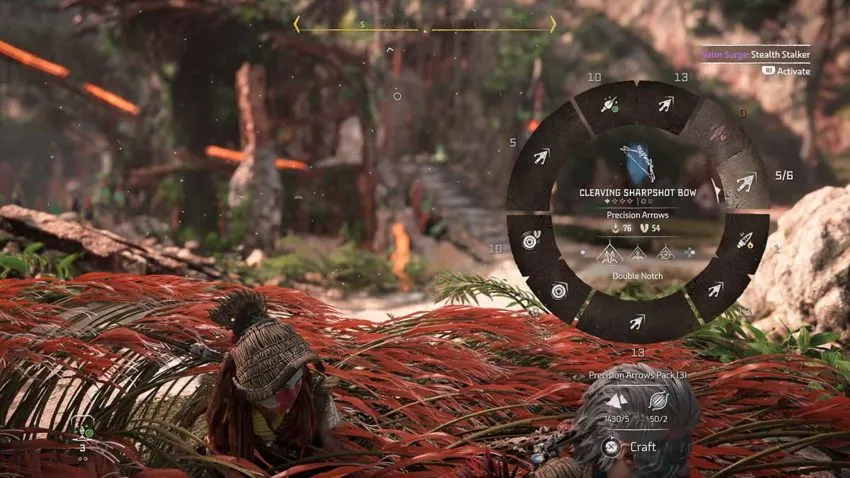
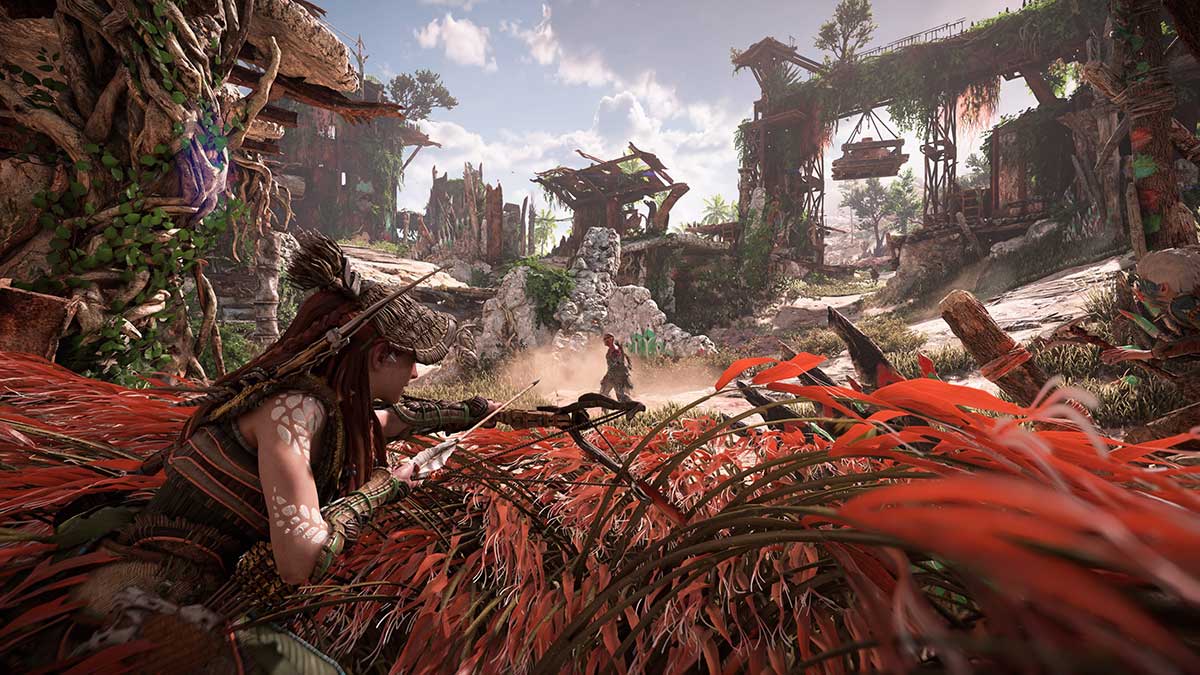
After speaking to Dekka, you need to either follow her or meet her at the nearby Rebel Outpost. The Shining Wastes South Rebel Outpost is a small camp that Regalla’s rebels have set up, but it can prove formiddable you if you’re not stealthy. Use the opening to the right of the outpost to sneak inside and systematically kill every rebel. Many of these rebels aren’t wearing masks, so you can hit them in the head with an arrow to kill them in one shot. We recommend precision arrows because they deal the most damage.
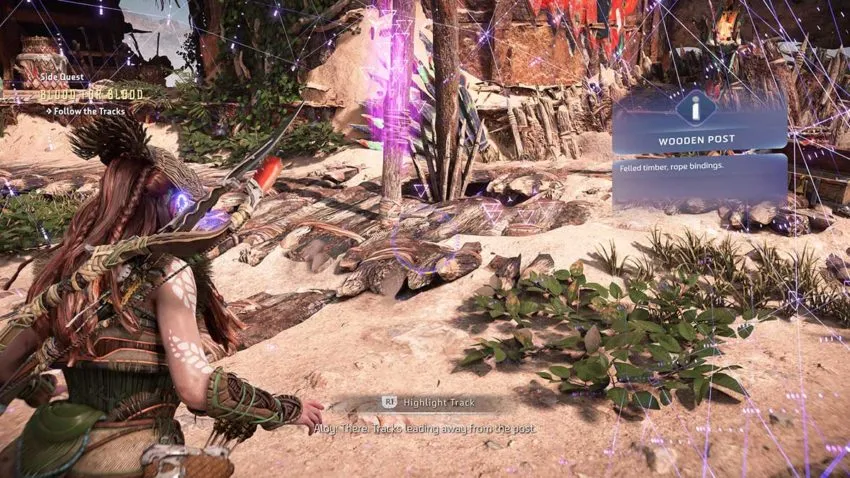
Once all the rebels are dead, you need to use Aloy’s Focus on the pillar in the center to identify where the Tenakth soldier who was tied there was taken. Then, follow the trail and help them up from the space beneath the floor. This survivor will give you a clue about where to go next.
Step 2: Go to Fall’s Edge

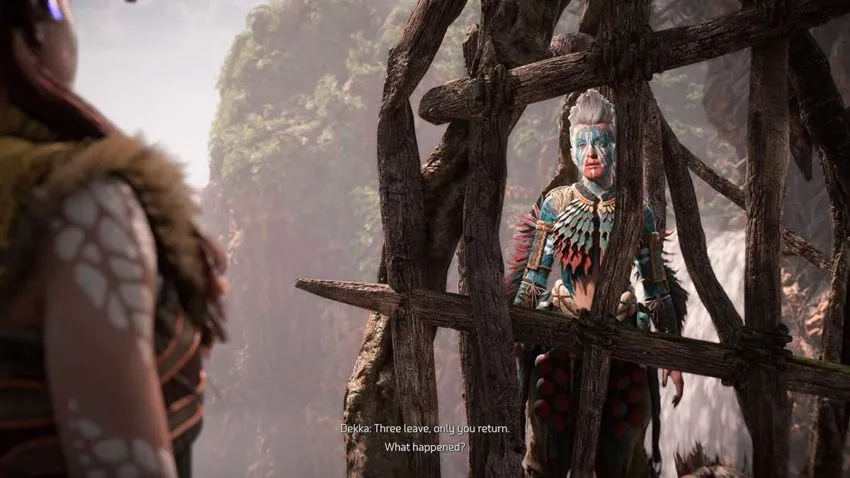
Head to Fall’s Edge, a small settlement to the west, and you’ll discover that Dekka’s grandson has been captured. He’s due to face trial by combat until Dekka invokes Blood for Blood, a rule that states she can take his place until he returns after showing Aloy the nearby rebel camp. Regalla’s rebels are planning an assault from somewhere nearby, and they need to be stopped.
Step 3: Deal with the rebels
Next, head to the campfire where you’re due to meet the captive and his captor to discover a small group of rebels. You need to kill them and wait for the others to arrive at the campfire. After that, you’ll be guided along the cliffs to the main rebel camp, where it becomes apparent that you aren’t being lied to at all.
Step 4: Kill the Behemoth
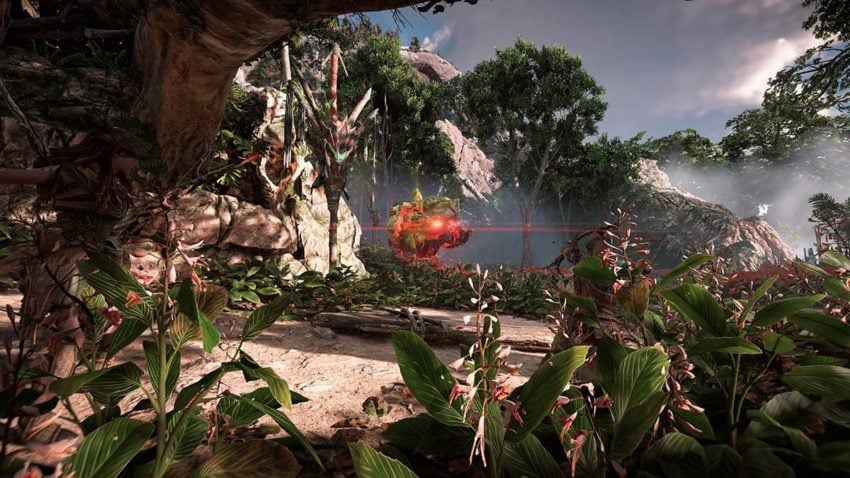
This step is interwoven with the last one. Rebels emerge from the waterfall with a Behemoth, an absolute monster of a machine that towers over humans and looks like it packs a serious punch. Use the tall grass in this area to stealthily kill as many rebels as you can. Do this before taking on the Behemoth because the last thing you need to worry about is a tiny rebel when this thing is gunning for you.
The Behemoth is weak to acid, so use all of your acid weaponry to build it up to cause damage over time. There are six good weak points along the side of its back, which you can aim for and deal additional damage with if you’re good. Try to use the environmental traps around this area to build up different types of damage too. The Behemoth is sturdy, but it will fall if you hit it with enough elements. We found that the machine was easier to fight on the upper part of the arena, to the left of the waterfall as you enter. The Behemoth seems to get stuck up there or at least stands far enough away that you have some breathing space in the battle instead of it trampling you all the time.
Step 5: Return to Dekka
When the Behemoth is down, go back to Dekka and free her. She’ll be reunited with her grandson, her only living relative. You’ll be given the Perimeter Tripcaster as a reward, a legendary weapon with three ammo types, including one that generates shields. This is a powerful weapon and one that is useful in almost all situations.


Published: Feb 25, 2022 02:35 am