
Yo-ho, yo-ho, you scallywag — it’s time to go on an adventure and set sail to the Shrouded Islands in the Sea of Thieves. On this expedition, players will search for answers on why a strange fog has overtaken the Golden Sands. There’s sure to be swashbuckling, treasure hunting, and being at a loss of where exactly to go, but that’s why we’re here to guide players’ shaky sea-legs to shore and through the Shrouded Islands in the Sea of Thieves.
1. Start your adventure
To kick off your sea fairing adventure into the Shrouded Islands, start by taking the adventure from Larinna at any of the Outpost Taverns. After accepting the adventure, you and your mates should make your way to the Golden Sands Outpost, which has been overtaken by an ominous fog.
2. Get the Shrouded Compass on Golden Sands Island
Once you’ve dropped anchor and disembarked at Golden Sands Outpost, you and your crew will need to pass through an abandoned outpost and head for The Captain’s Head Tavern. To your right inside the tavern is the Shrouded Compass, which will lead you to the Crescent Isle, so you best be getting ready to set sail again.

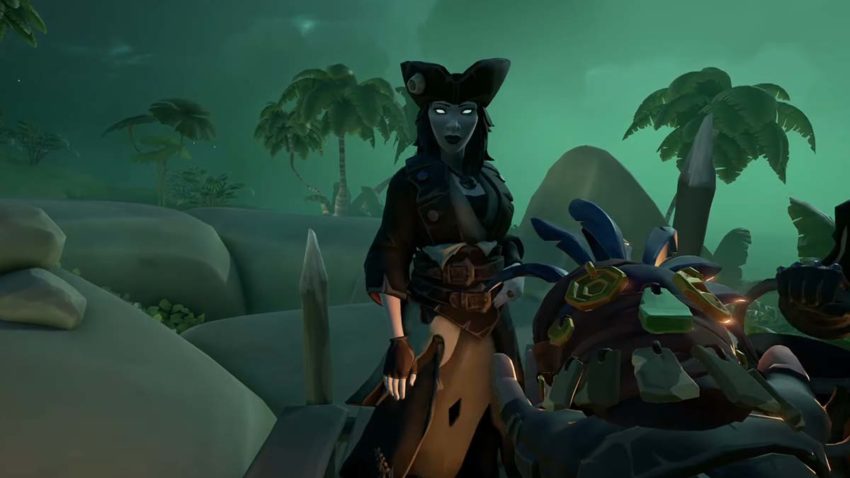
3. Get the Soulflame from Belle on Crescent Isle
After breaking shore on the Crescent Isle, you’ll have to head to Belle for lore and green firer. Once Belle has finished regaling you and your crew with tales of her time exploring the Sea of the Damned, she’ll point you toward Shipwreck Bay after you and your crew have set your torches ablaze with the Soulflame.

4. Light the lanterns at Shipwreck Bay
You’ll know you’ve made it to Shipwreck Bay when you see the ghost ship shimmering among the rocks and wreckage. After paddle boating to shore, a series of ghostly figures will point you towards eight consecutive lanterns to light with the Soulflame.
After each lantern is lit, a set of green pirate phantoms will play out a little scene providing lore as to why the shroud has settled over the sea.
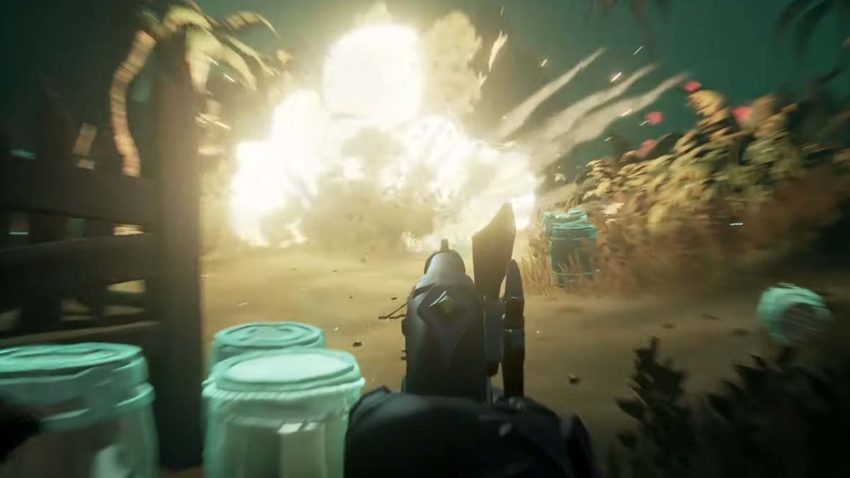
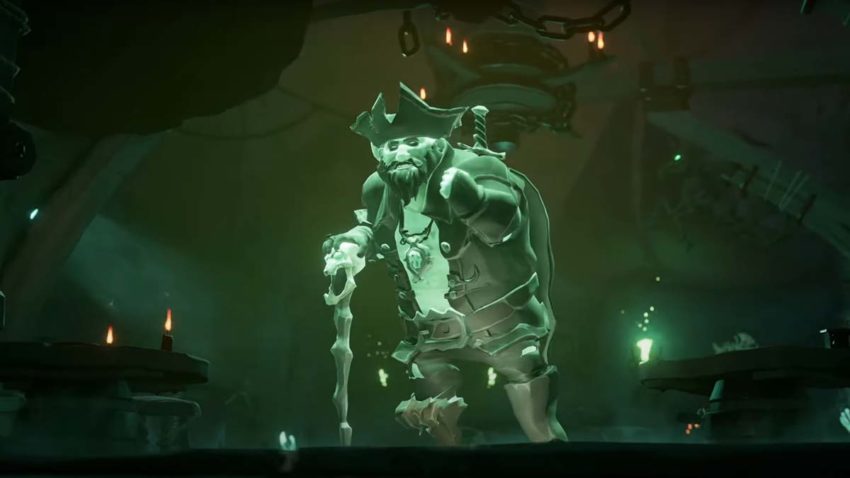
5. Fight the pirate phantoms and the Soulflame Captain
Once all eight lanterns are lit, you and your crew will move on to lighting the hanging cage, which in turn will spawn in two cannons, some explosive barrels, and a few waves of ghost pirates. Be sure to pick up any runes that the ghost pirates drop since you will need to turn them into Belle later.
After fighting off enough of the ghostly pirates, the Soulflame Captain will spawn in for you and your crew to wail on until he drops dead, leaving behind a map.
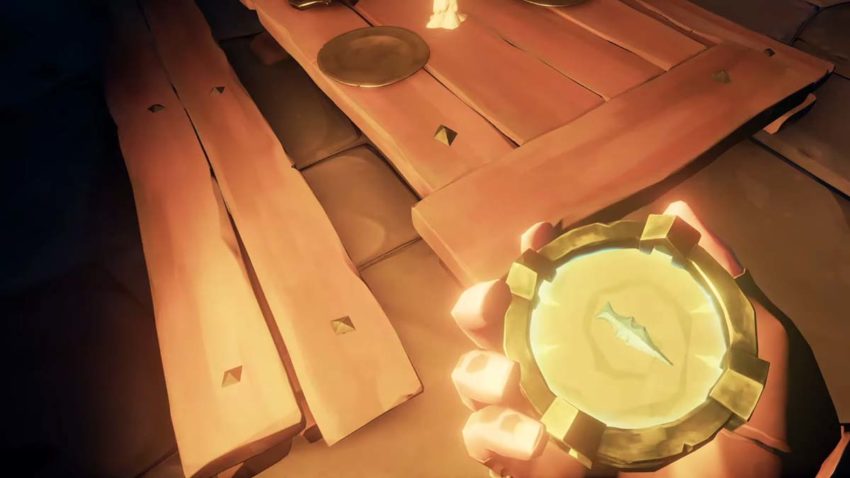
6. Collect the Hexing Skull
The map dropped by the Soulflame captain leads to the Hexing Skull dig. After this, set sail and find the Skull using the map. You and your crew will face off a few more ghost pirates before setting sail back to the Crescent Isle with the Hexing Skull. Once you arrive back on the Isle, turn the Hexing Skull into Belle to complete your adventure.


Published: Feb 23, 2022 04:14 pm