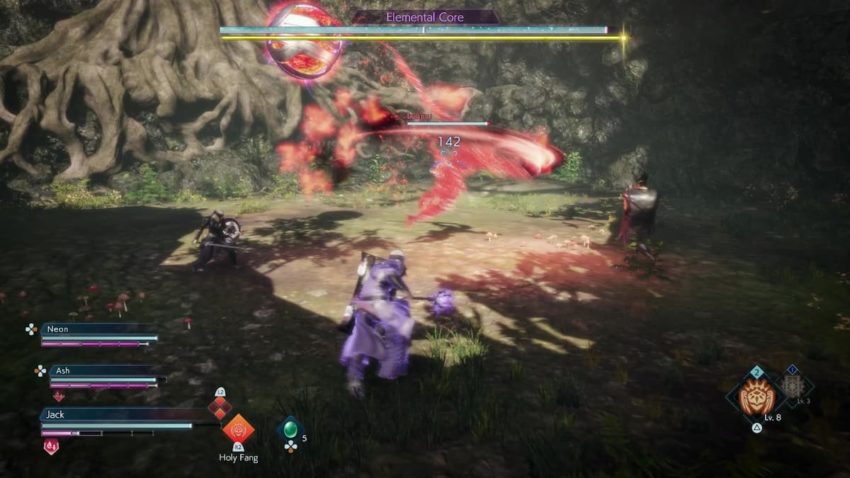
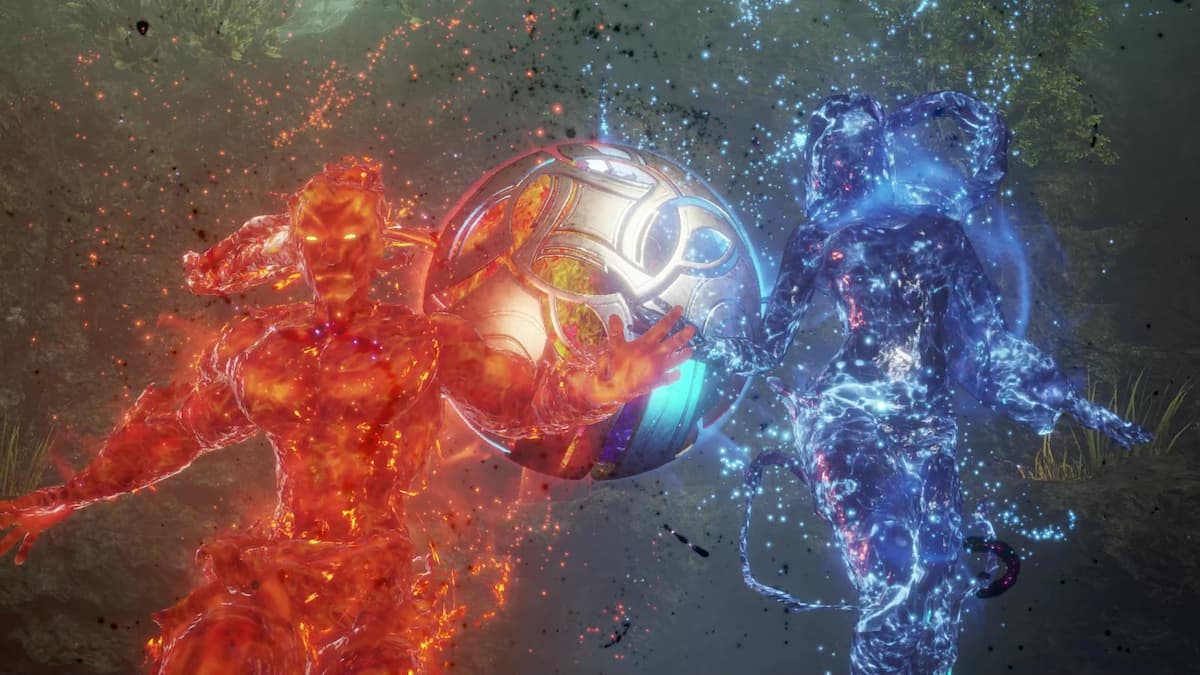
After surviving the Sunleth Waterscape — sorry, the Refrin Wetlands — you will come face to face with a strange orb that commands two elemental spirits. These spirits, one of fire and one of water, act as guardians for the Elemental Core hovering ominously overhead. Don’t lose your cool, however, as a few solid whacks can send those spirits home and give you a window of opportunity. Here’s how to defeat the Elemental Core and Fused Elemental in Stranger of Paradise: Final Fantasy Origin.
The Elemental Core, after a few seconds, will summon one of the two spirits randomly when you enter the boss arena. While they both have the same amount of health, their attack patterns couldn’t be more different. Here are their attacks for Phase 1:

Fire Spirit Lahmu
- Basic Attacks: Lahmu will typically do a three-hit combo in a set direction. All three attacks can be parried, however he can immediately follow up this combo with some other attack, so it is best to dodge it entirely.
- Charge: Lahmu will rush towards a target. This can be parried, but it also leaves behind a trail of burning pitch that does hurt quite a bit, so don’t chase after him in a straight line.
- Scorching Flames: Lahmu will throw a line of explosions towards a target. This spell can be parried or dodged, but keep in mind that it will not fade away and will continue forward until it hits the environment. This is Stealable and usable as an instant command.
- Pyrotechnics: Lahmu will, after a brief delay, explode the area immediately around him. This attack can be parried.
Water Spirit Lahamu
- Basic Attacks: Lahamu will do a one or two hit swipe near her, but she can also throw water orbs as a basic attack at range. Additionally, her basic attacks can summon a geyser of water underneath her target, which will explode after a delay. The geysers can be parried.
- Bubbling Deluge: Lahamu will summon six orbs around her. These orbs can spawn in any location, set equally distant apart from each other. This attack is parryable, but it’s very difficult to parry due to the short animation.
- Bubble Nova: Lahamu will send out a giant bubble towards a target. It’s slow and tracks well, so if you’re far away it will chase you. This attack is parryable, and also Stealable as an instant action.
- Jeering Mire: This is a grab attack, and as such it cannot be parried or blocked. You must dodge this attack.
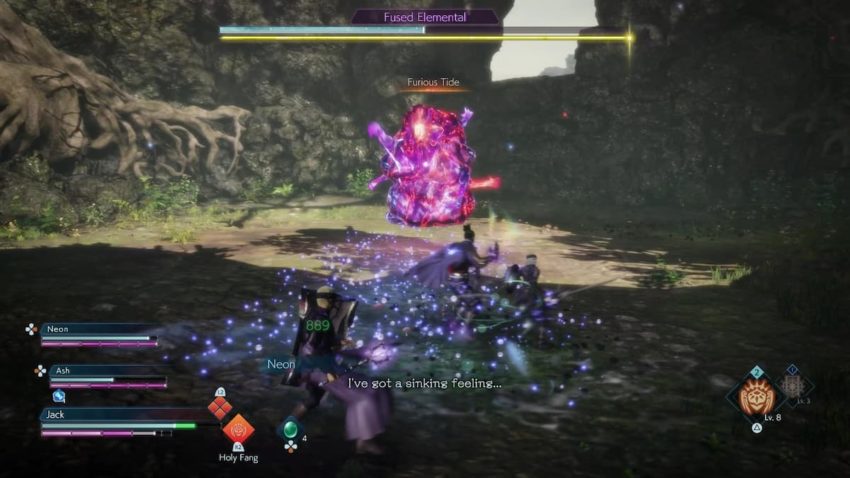
When you reduce the HP of one spirit to zero, the Elemental Core will fall to the ground, allowing you to attack it. You must reduce the Core to half HP, or reduce its break meter fully in order to proceed to Phase 2. After a few seconds, the Core will reignite and summon one of the two spirits to continue the attack. Every time you kill a spirit, the max break gauge of the Core will reduce significantly. After dealing enough damage and ripping open the Core, the spirits will fuse together in an unholy abomination. Here are the attacks for the Fused Elemental in Phase 2:

- Basic Attacks: Fused Elemental will swipe up to three times ahead of it, and it can be hard to tell which direction the elemental is facing. However, what makes this truly dangerous is it can option select a grab attack instead of a third swipe.
- Eagle’s Talon: The grab attack mentioned above. The boss body slams you on the ground, and after a two-swipe combo, can kill you if you’re not at full health.
- Splatter: Fused Elemental will spew both Fire and Water around it, dealing damage if it connects with a target. If not, it becomes a hazard on the ground that can inflict Burn or Dropsy, elemental vulnerabilities that will increase the damage you take from that element.
- Crack: The boss will explode in an area around it, but in addition it will cause a chain reaction with every puddle nearby, regardless of element. This attack can be parried, and also is Stealable as an instant action.
- Conflict: This is like Crack, but covers (and triggers explosions in) a much wider area. Still parryable.
- Fuse: The boss will send forth three ground AoEs that are parryable, but since it’s a line AoE, it’s easier to dodge this attack by dodging to the side.
- Furious Tide / Raging Blaze: Fused Elemental will cause a conal AoE attack in front of it of either a water or fire element. This attack is parryable.
This new form is surprisingly mobile, so you need to stay mobile as well. It’s best to avoid getting into long attack chains, and instead wait a little after one or two attacks to see what the boss does next. Parrying Crack and Conflict is important for melee attackers, while keeping an eye out for Eagle’s Talon and Fuse as these attacks can kill from high health.


Published: Mar 18, 2022 02:19 pm