
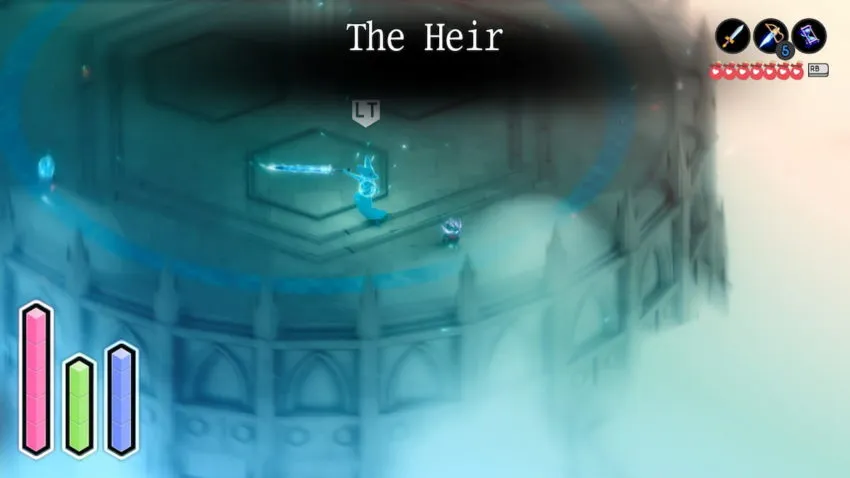
The Heir is your final challenge — well, final combat challenge at least — in Tunic, and she’s not going to make it easy for you. This boss is a brutal gauntlet with two phases that will test everything you’ve learned about Tunic’s combat, weapons, and items. You’ll need to use everything at your disposal to take her down, but it’s definitely achievable. Here’s how.
The first time you fight the Heir, you’re unlikely to make it much further than a few seconds before she takes you out. Don’t worry, though, since this will give you a chance to claim the laurels and power up your character before you give it another go. You’re going to want to stock up on everything you can before you return to the arena for round two, so pay a visit to the shopkeeper when you can too. Stamina management will be key here, so consider buying some stamina-restoring herbs.
In terms of equipment, the Hourglass will be your best friend in this fight. The Heir hits hard and hits fast, so giving yourself a wider window to react to her tells can be the difference between success and failure. The Magic Dagger and Ice Bombs are also handy, as the Heir can be frozen briefly to give you a bit of breathing room. The Magic Rod is less useful, as she’s capable of dodging the shots easily, and while the Magic Orb will get you close to her, it doesn’t interrupt her attacks, making it a risky maneuver. Don’t forget to bring some berries with you to restore your MP.
As for accessories, you’re likely to want to equip the Orange and Cyan Peril Rings, which will boost your attack and defense respectively when your health reaches critical levels. Consider the Anklet as well, which will cause a little bit of damage when you roll (or flashstep, with the laurels) into an enemy. If you’re willing to be a bit risky, equip the Inverted Ash accessory to change all of your health potions into magic-restoring potions instead. This will mean you won’t be able to heal (you can with other items, but inventory management is not recommended mid-battle), but you may be able to keep the Hourglass on the entire fight, which could give you the edge you need to dodge incoming attacks.
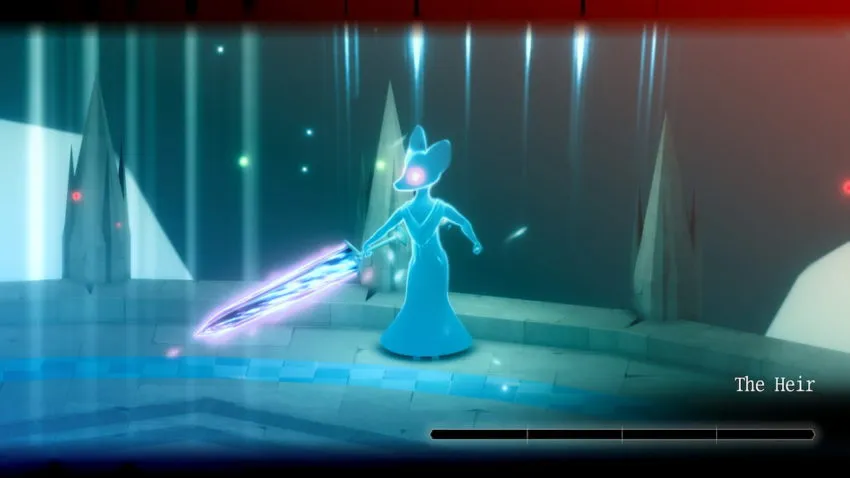
The Heir has a substantial arsenal of moves to choose from, and they are all bad news for you. She can move very quickly and will frequently charge at you and take a swipe with her sword, occasionally leaving a trail of energy in her wake. Sometimes this will turn into a three-strike combo, which you can dodge with good timing. Be mindful of the final slash, though, as it falls slightly later than you might expect.
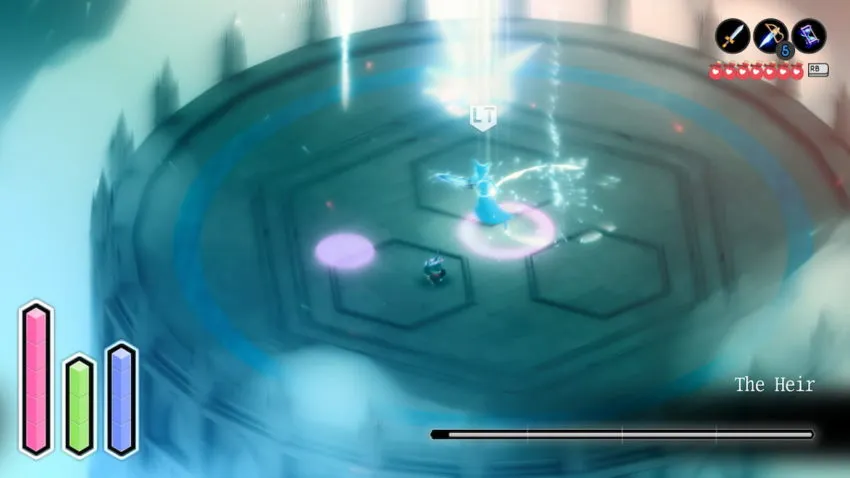
She also has a few ranged and area-of-effect attacks available to her. She can summon a brief rain of energy bolts and can also stab the ground to cause a ring of energy to emanate out from her or cause three trails of energy to shoot out in a wedge. On top of all that, she can also cause three energy rings to fan out from the edge of the arena and overlap with each other, through which you must dash to avoid getting hit. Finally, much like the Garden Knight, she can just straight-up shoot three energy blasts at you like a gun.
This is a very tough fight, but the key, in classic Soulslike manner, is not to get greedy. You’ll want to dash in when there’s an opening — usually right after an attack — get in a few hits and get back to safety. Keep an eye on your stamina, since you’ll take 1.5 times as much damage if it gets depleted. Remember that you can release the target lock button to let your stamina recharge a little faster. If you have any bombs in your inventory, they’ll do a little chunk of damage, but don’t get caught in the blast. Be patient and cautious and you’ll eventually whittle down her health.
However, that isn’t the end of the fight. Drain her health bar once, and the Heir will get a second wind and come back for a second, much more dangerous phase. Attack patterns in this stage are similar but more intense and with the added threat that making contact with her sword or the trails of corruption that will be created by some attacks will drain your maximum HP. Attacks will often have extra hits — she can now summon five overlapping energy rings, for example, and can send out six corrupted energy trails in a star pattern.
This is where the Hourglass really shines as a tool. Things can get pretty chaotic, especially if she summons her longer, more intense energy rain while doing one of her other souped-up attacks. Slowing down time can give you a beat to figure out a safe spot in the arena. Otherwise, the strategy remains the same: don’t get complacent, get in a few hits before backing off, and utilize bombs and ice attacks as needed.
It’s an extraordinarily punishing fight, but once you learn her attack patterns and the best way to approach the fight, you’ll finally get her, and you can watch the end credits roll in peace. Now there’s just all the secrets to unravel.


Published: Mar 16, 2022 02:50 pm