Immerse yourself in an amazing world with these simple steps.
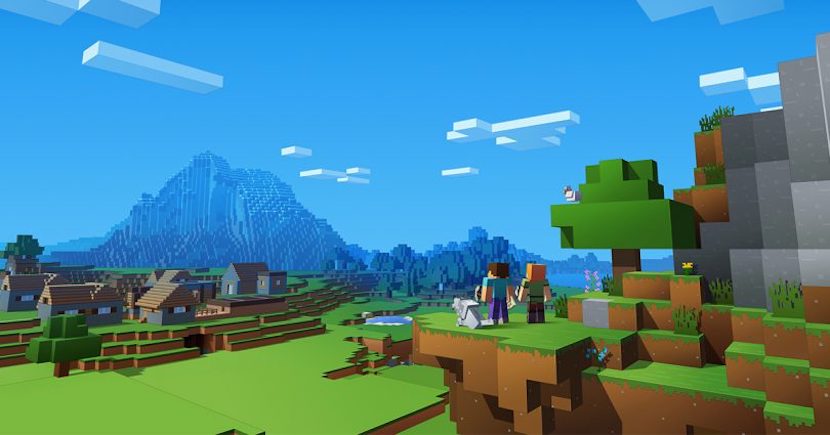
Playing Minecraft is one thing, but you can play it in virtual reality with Vivecraft.
It does take a bit of effort to set up Minecraft with Steam VR. Here are the steps you’ll need to follow to get started.
Here’s What You’ll Need
First, you need to download Minecraft: Java Edition. You may already have it in your game library. But, if it isn’t, no worries, you can get it here from the official Minecraft website. Follow the steps on the site to download it to your PC.
Next, you’ll need to have Steam set up because the program runs through SteamVR. You’ll need to install and configure everything for that on Steam’s page. You’ll also need a SteamVR-enabled headset, such as the HTC Vive, the Oculus Rift (S), the Valve Index, or the Windows MR.
Alternatively, you can set up SteamVR emulation software and a device that works with it. These include the Oculus Quest/Go, the GearVR, the Google Daydream/Cardboard, the Vive Focus, or the PlayStation VR.
Now here’s where it gets a little tricky. You need a PC with a dedicated GPU, which is a graphics card separate from the motherboard. Every computer comes with a basic graphics card, and if this is all you have, you won’t be able to play the game. Vivecraft won’t work with integrated Intel graphics. Fortunately, your setup should be up to snuff.
Finally, if you don’t wish to play with motion controllers, you’ll need a keyboard and a mouse. The game doesn’t support traditional game controllers.

How To Install Vivecraft
Now you can install and set up Vivecraft.
First, run the Minecraft Launcher on your PC. Don’t run the game itself, though, or it won’t work. The Launcher sets up the necessary files. After they’re in place, go ahead and close the Minecraft Launcher.
At this time, run the Vivecraft Installer. Go through the installation options that pop up. You’ll be able to see what they do by holding your mouse cursor over each option. It’s best if you leave defaults the way they are, though.
It is optional to have Forge mods turned on, and if you don’t have them installed, do not worry. The program does that for you automatically.
With everything set, go ahead and install Vivecraft. This process might take a bit because you need to download some files. After those complete, rerun the Minecraft Launcher. You’ll automatically see a profile for Vivecraft, and you’ll be good to go.
You can now hit play and dive into the world of Vivecraft with the control options you wish to us.
To learn more about VIvecraft, check out the official page here.


Published: Dec 31, 2019 06:25 pm