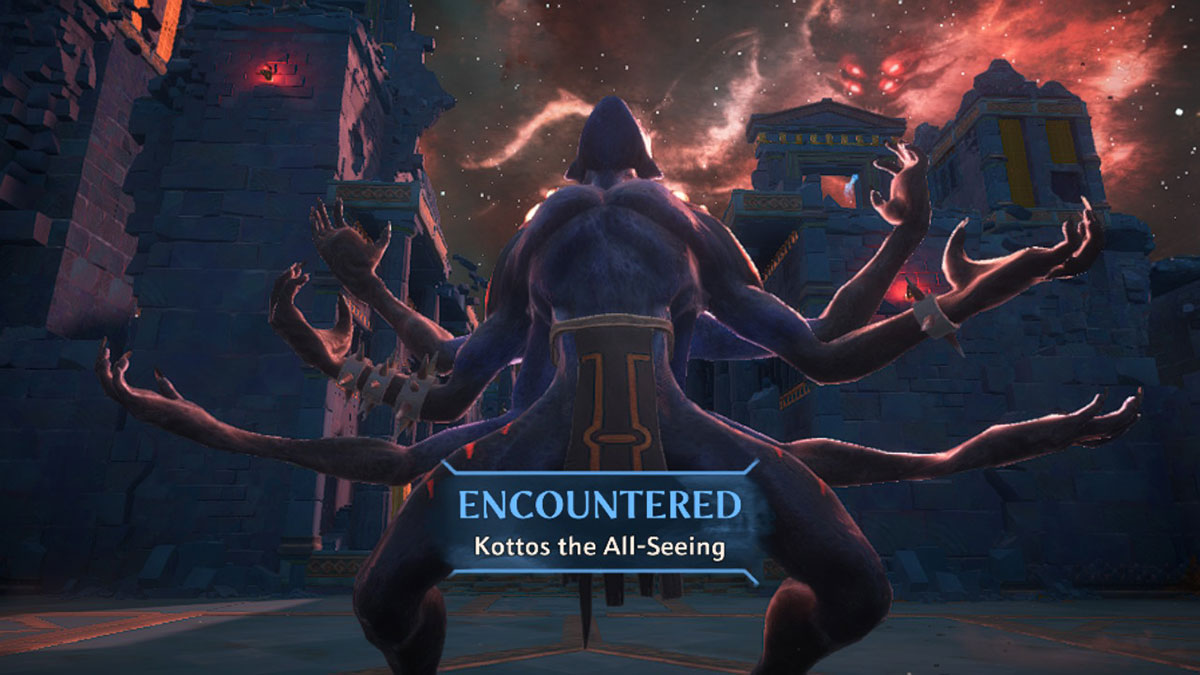
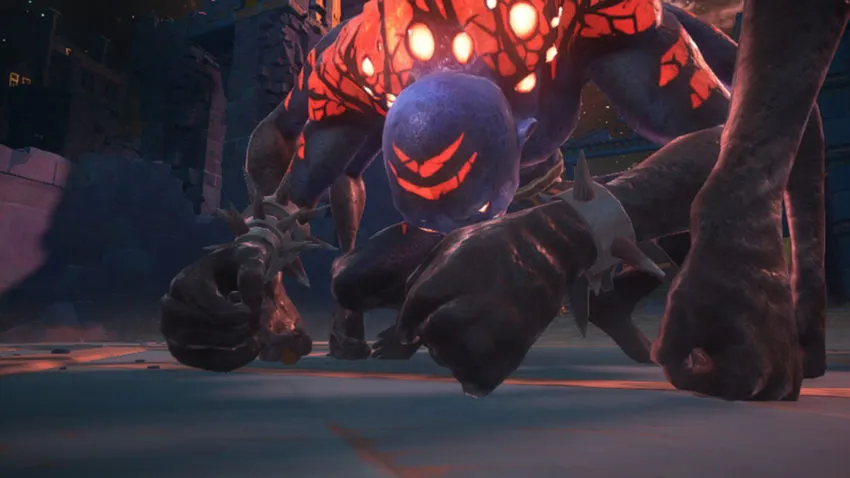
The Vault of Ares is one of the first core quests that you’ll have to complete in Immortals: Fenyx Rising. While that should mean that it’s a relatively painless experience, that’s far from the case. The one thing that makes this area so unbearably challenging is the boss you’ll fight at the end, Kottos the All-Seeing. That’s why we’ve put together this guide for destroying him, causing as much pain to him as possible.
Heavy Attacks Only
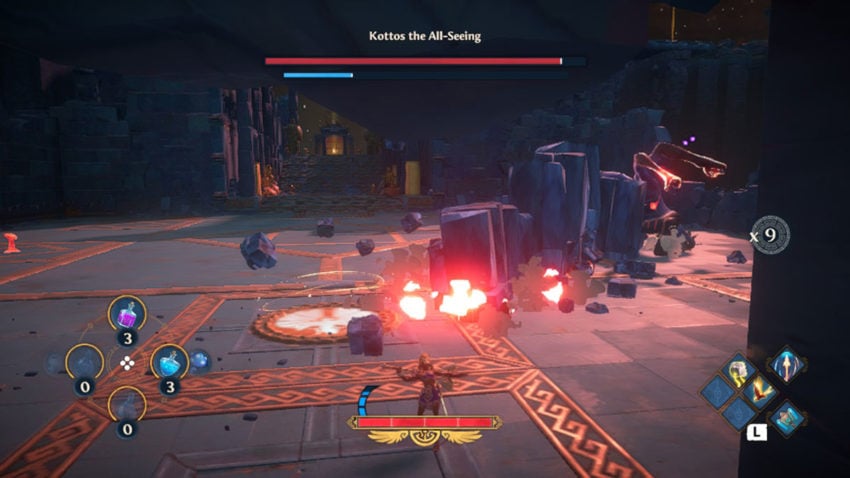
The first thing to know about this fight is that you should mainly be using your heavy attack. This may be slower, but it deals both damage and builds up Kottos’ stun meter. The goal with this fight is to max out the stun meter so that you can then get in a flurry of light attacks on Kottos while he’s down.
As long as you stick to heavy attacks while he’s up and about, you should be able to defeat Kottos shortly after stunning him for the second time. Maybe even before if you get in a few light attacks in-between.
Gear
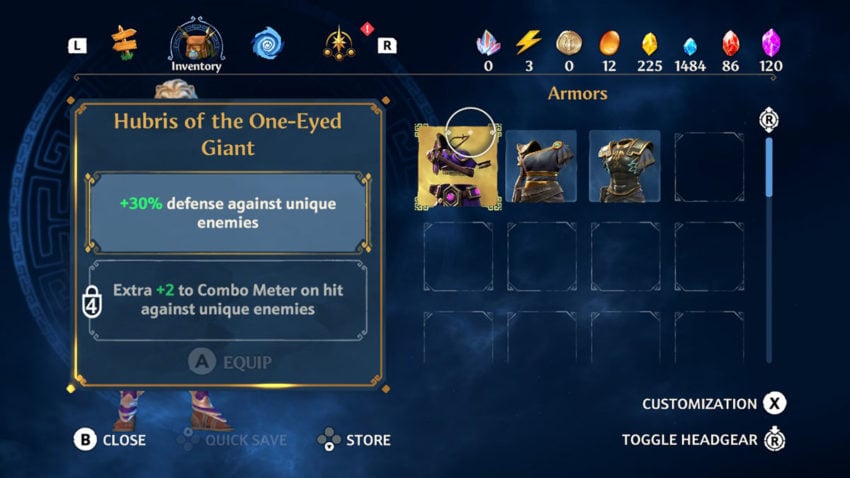
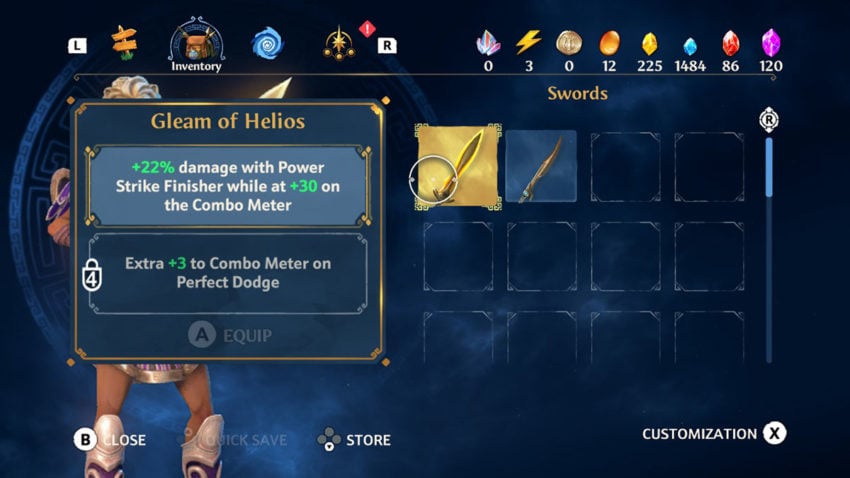
Certain items may help you more than others in this fight. It totally depends on what else you’ve done in the game. Any gear or weapons that deal more damage against unique enemies are a real boon. Kottos the All-Seeing is completely unique, so you’ll benefit from the additional damage dealt.
If you’re confident in your dodge skills, then equipment that deals more damage while Fenyx is at full health could also benefit you. Fair warning, this is a tough fight, and we didn’t stay at full health for more than 30 seconds.
Don’t be afraid to use Phosphor’s attack. The bird will deal both damage and increase Kottos’ stun meter. Depending on the skin you’ve equipped him with, you might also get a few helpful stamina or health orbs from the attack too. Just be sure to manage your stamina with this attack. You don’t want to be running on empty as Kottos uses an unblockable move.
Kottos’ moves and how to avoid them
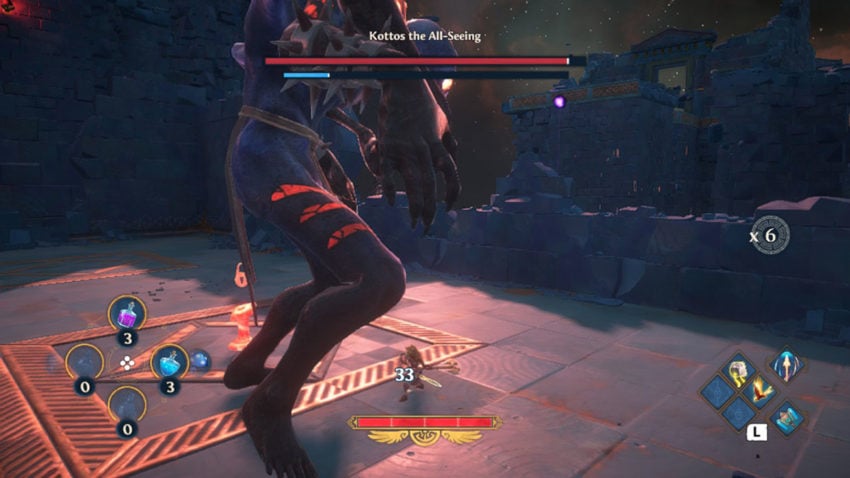
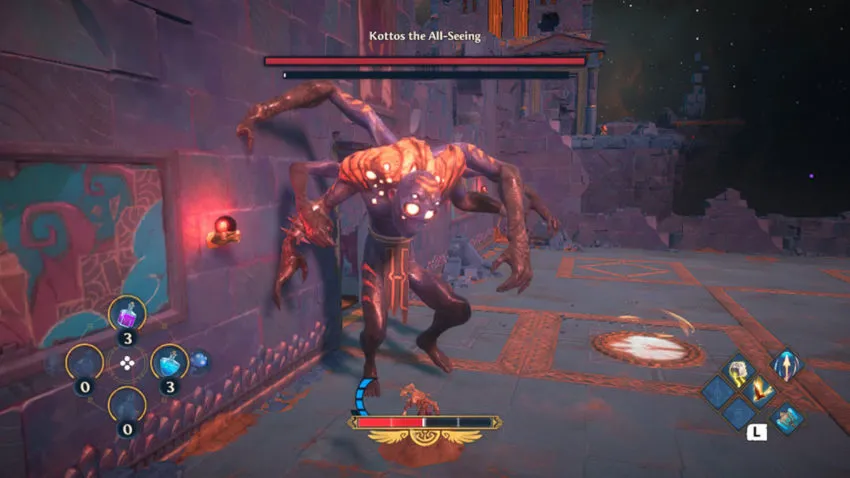
The boss fight will begin as soon as you’ve cut the last of the red chains and have landed in the final main hub of the vault. Kottos will come to life and immediately try to murder Fenyx. While he doesn’t have a wide range of moves at his disposal, he’s got more than his share of unblockable ones.
Roll (unblockable)
The first move that Kottos will make in the fight, and every time you respawn after he kills you, is his roll attack. Kottos curls up into a ball and rolls towards Fenyx at an unbelievable speed. When he hits, he deals about half of Fenyx’s health bar in damage.
There’s no way to block this move. However, it is easy to dodge if you know when to move. As soon as you see Kottos crouch down to get ready to roll, before glowing red, run to one side of him. As long as you keep running in one direction, Kottos’ roll will miss you.
After the roll attack, Kottos is open for a couple of hits before he attacks again. Get your blows in while you can.
Pillar Smash (unblockable)
The second unblockable attack in Kottos’ arsenal is the first of his smashes. You’ll see him glow red and reach before smashing the ground. When his fists do land, he’ll send pillars of stone rising exactly where Fenyx is standing, unless you move that is.
The best way to avoid these is by running away as soon as you see Kottos reach up. The pillars will come close, but as long as you keep sprinting, they won’t even clip Fenyx. Don’t even think about trying to double jump out of their way. It doesn’t work.
Spike Smash (unblockable)
This final unblockable move is telegraphed in the same way as the one above. Kottos will reach before bringing his fists down to smash the ground. This time though, a straight line of deadly spikes will emerge directly in front of him. This line can stretch for the entire length of the arena, and you can’t jump out of its way.
The only way to avoid this attack is by running left or right. The attack does bend slightly towards Fenyx, but not enough to deal damage if you’re sprinting directly to one side.
Swipe (blockable)
The last attack in Kottos’ arsenal is his swipes. These are what he’ll use to attack between the above unblockable moves. He’ll wait a few seconds after an attack. Then he’ll bring his arms back to one side before swiping at Fenyx. He’ll swipe twice, once to each side, before moving to an unblockable move.
While you can block or parry this attack, it’s best to dodge it at the last minute. This will slow down time and open up Kottos for a frantic flurry of attacks. You can dodge away, but it’s better to dodge directly between his legs. This leaves you in the prime position for dealing damage.
The only attack strategy
Now that you know what Kottos is going to be doing, you need to know how to take him down. As we’ve already mentioned, you should only be using heavy attacks. Building up that stun meter is essential.
The best way to attack Kottos is not with ranged attacks, though they help build up some damage between unblockable moves. It’s better to get right up close to Kottos and attack his legs. You almost need to be underneath the boss to make the most of each opening for dealing damage.
The boss telegraphs every move early enough that you’ll be able to dodge swiftly or run if that’s what’s required, without sacrificing distance and therefore an opportunity to attack him. It feels rash, but by being up close, you can see exactly what move Kottos is about to make and avoid it successfully almost every time.
The only issue you might encounter is with his smash attacks. Even though you can dodge these, you still need to run to avoid taking damage.
It’s possible to dodge the spike smash through Kottos’ legs, leaving the trail of spikes to extend harmlessly away from you. This is the best point to get in as many heavy attacks as possible. The pillar smash will follow Fenyx though, so you need to keep running, even if you make a successful dodge.
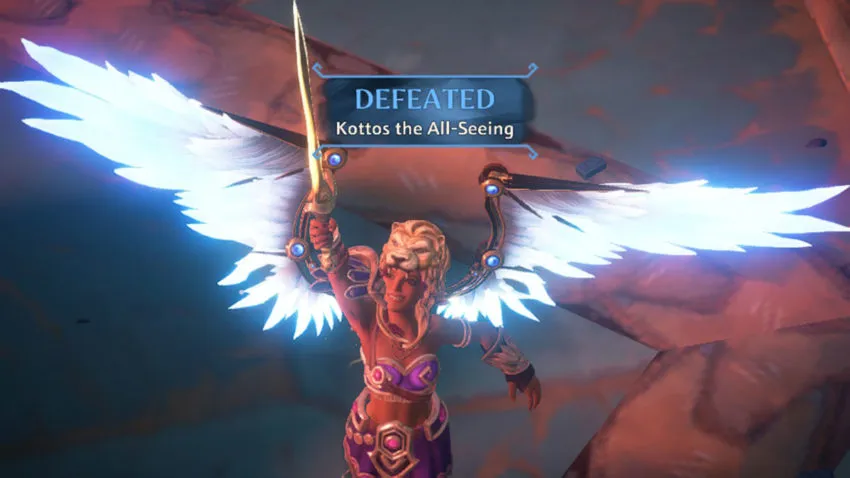
Using this strategy you should take Kottos down shortly after stunning him for a second time, as we’ve already covered. Don’t be afraid to take your time with this boss. As long as you’re vigilant of his moves and dodge or run when we’ve suggested, you’ll find this fight so much easier.


Published: Jan 14, 2021 09:38 am