Valtan is the first Legion Raid featured in Lost Ark, a series of extremely difficult battles that require a great deal of coordination between you and your teammates. You and your allies can form groups of up to eight to fight against Valtan, a two-part boss that’s intimidating, powerful, and can take many tries.
Knowing all of the mechanics Valtan has is imperative to clear the fight and gain the rewards featured at the end of the battle. Valtan has two difficulty modes: Normal Mode and Hard Mode. There aren’t any special mechanics that Hard Mode has over Normal Mode, so this guide will be usable for both modes.
Valtan is made up of two “gates” or checkpoints and essentially features two different boss fights. After a small series of mob battles, you’ll come face to face with the first boss, a series of wolves that change colors and have different attacks. As for items, bring Panacea, Whirlwind Grenades, and Dark Grenades for this fight.
The first boss has x50 HP bars to chunk through, with different mechanics based on different thresholds. As you deal more damage, pay attention to the boss’ HP bar.
What are Sidereal skills?
A unique mechanic of Legion Raids is Sidereal skills. Sidereal skills are usable by the raid leader and summon allies who cast powerful effects for your team. Sidereal skills are located on the top-left of your screen. Once the bar underneath the skills fills up, your raid leader will be able to cast a Sidereal skill.
- Thirain
- Hotkey: Ctrl + Z
- Thirain appears on the battlefield and deals tons of damage to the boss. This ability is used to reach different thresholds quickly, and you’ll use Thirain more on the second gate.
- Wei
- Hotkey: Ctrl + X
- Wei deals tons of stagger damage to the boss. Wei is essential in a cheese strategy during Gate One of Valtan.
- Balthorr
- Hotkey: Ctrl + C
- Balthorr summons a circle of light. Anyone in the circle will gain damage reduction and push immunity. Balthorr is useful to ensure survival during certain patterns on the second gate.
Purple Wolf to Red Wolf
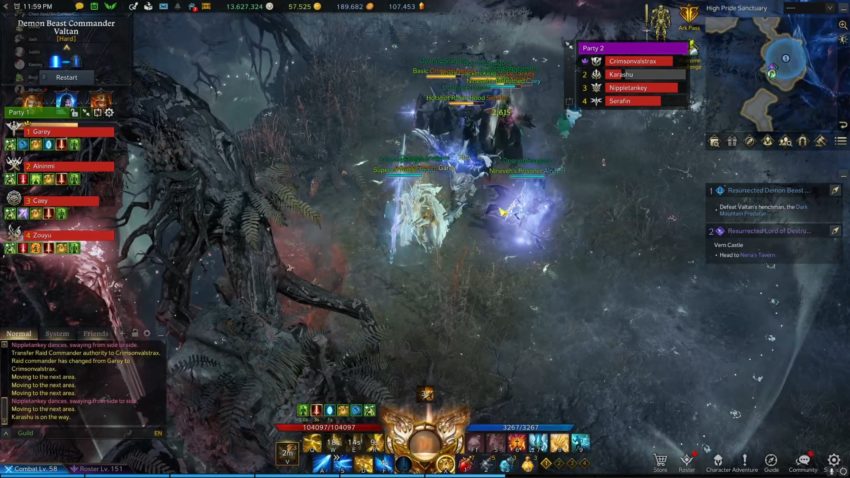
Starting at x45 HP, the Purple Wolf will rush to the center of the map and transform into the Red Wolf. During this transformation, you will take major damage if you are within a certain AoE while the wolf is transforming. Direct your team to go to either 9’o clock or 11’o clock on the map, which means West or North West.
As the Red Wolf, the boss will apply a “Bleed” stack to all allies hit by his attacks. If any of his attacks hit you, you will be afflicted by this ailment. The “Bleed” ailment can stack up to three times. If any of your allies reach three stacks, a large AoE will appear and deal substantial damage to your team. Use Panacea’s when you are at two Bleed stacks to prevent this from happening.
The Invader
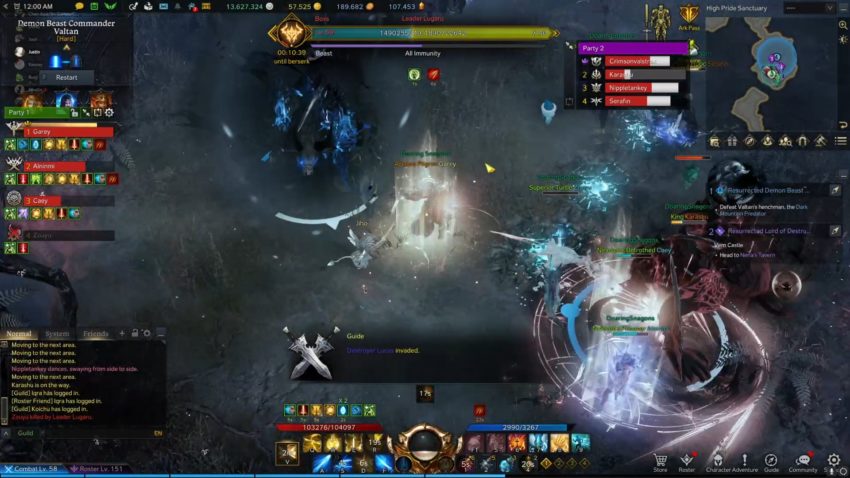
This mechanic will happen two times, once at x40 HP and another at x25 HP. When this mechanic happens, another version of the wolf will appear: Blue Wolf or Red Wolf, depending on what phase you’re on. The “Invader” refers to the second wolf that appears during the fight. To proceed, you have to defeat the “Invader.” However, not everyone can damage it.
Four players will receive a buff that resembles a golden orb. Check your buff bar to see if you have the buff. On top of that, one of the four players with the buff will be targeted by the Invader. First, whoever is targeted by the Invader should head to a side of the map, opposite where the original Wolf is. For example, if the OG Wolf is South, the targeted player should head North. This is because both wolves will receive a DEF buff if they are too close to one another.
All players have to do now is ensure that they defeat the Invader. You can still deal damage to the OG Wolf while the Invader is out, so do your best to deal as much damage in that period if you do not have the buff.
If you do not deal enough damage, a mist will envelop the field and stack a Dark debuff on all players, which imprisons players if they reach five stacks. You should aim to skip this phase by dealing enough damage, as this only appears if you take too long getting to x30 HP.
Alternating Orbs

This phase happens twice, once at x30 HP and another at x15 HP. In this phase, different colored orbs (blue and red) will spawn across the map at different positions. These positions start at the top and go clockwise across the map eight times. In this phase, each player is intended to collect one orb each, but each player must collect the orbs in an alternating color pattern.
In other words, player one must collect a Red orb, second player must then collect a Blue orb, then player three must collect a Red orb (continuing to the entire party.) If you mess up the order, the boss will one-shot your party. Players also cannot collect two orbs.
At the same time, you must meet a stagger check and deal enough Stagger Damage to the boss before time runs out.
Cheese Method
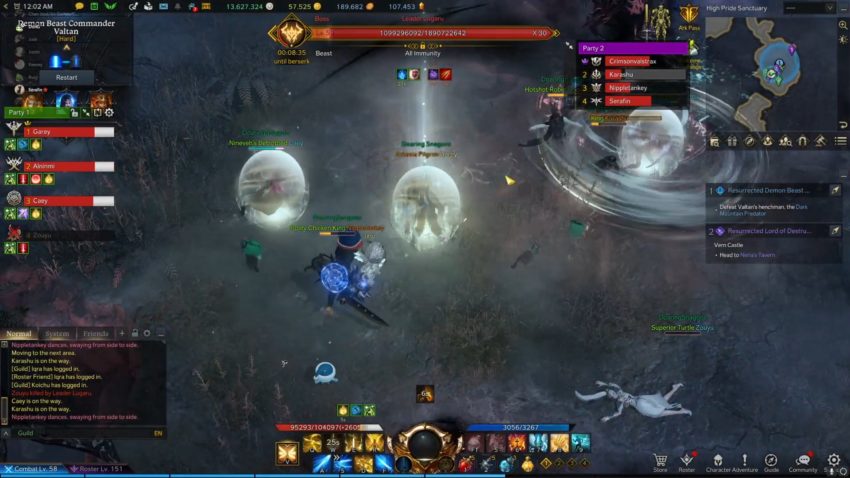
You can cheese this mechanic by doing the following, and this is by far the easiest and most common way to clear the mechanic. Send your raid leader to collect one orb. Following this, the raid leader should use Wei on the boss. This will deal tons of stagger damage, at which point your party can clear the stagger check first.
Use Whirlwind Grenades to quickly Stagger Damage the boss after using Wei. If you can stagger the Wolf quickly enough, you can skip collecting the orbs altogether. You may still need to collect some orbs if your party is low on Stagger Damage.
Other Attacks
The Wolf has a variety of other dangerous attacks that can damage you if you are not prepared for them. These attacks do not follow set HP thresholds and can appear at any time.
Tornado
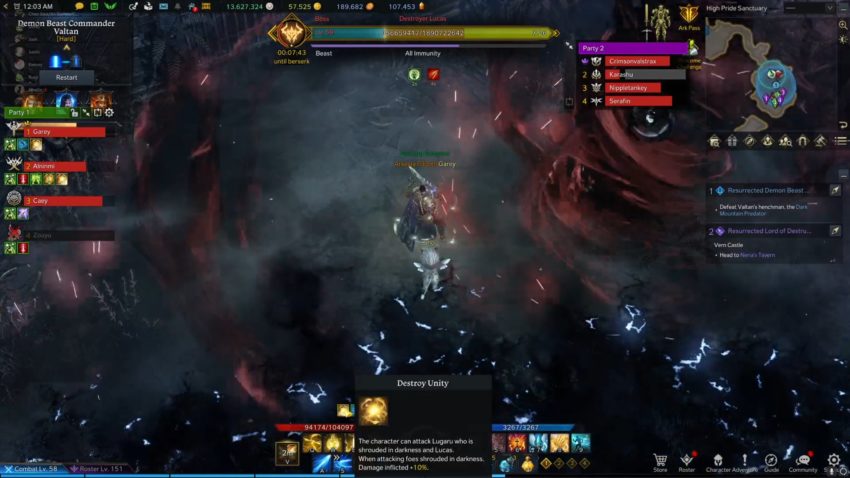
The boss will occasionally turn into a tornado. There is also a huge wind wall that contains the tornado. Players trying to escape the wind wall will take major damage. If you are caught inside the wind wall, you have to dodge the tornado as it swirls within the circle.
Bombs
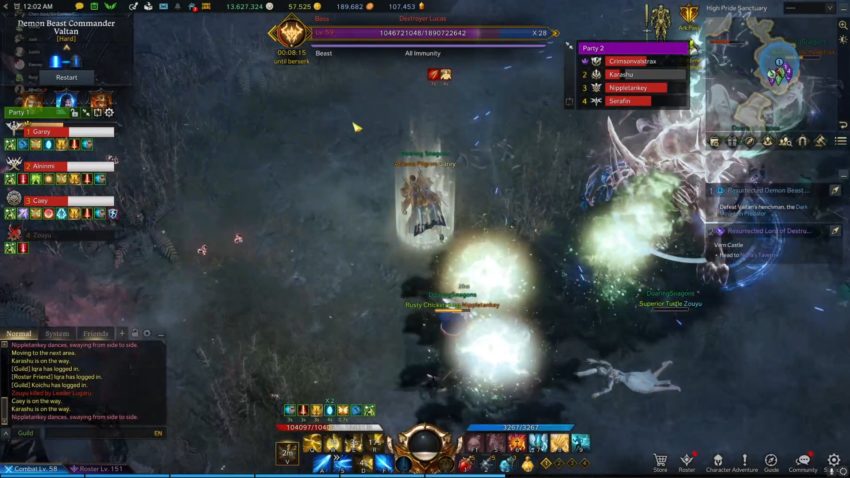
Each Wolf phase has a set of bombs of a different color. Each color bomb has a different effect. The Red Bomb tosses grenades in a random spread that detonates after a short period of time. The Blue Bomb detonates after a short period of time and freezes anyone caught in its blast. The Green Bomb detonates and triggers a huge AoE attack which you must run away to dodge.
Fear Attack
During the Purple Wolf phases, the boss can teleport behind a random player and Fear them. If a player is Feared, the other players must deal Stagger Damage to prevent the Wolf from instantly killing the Feared player.
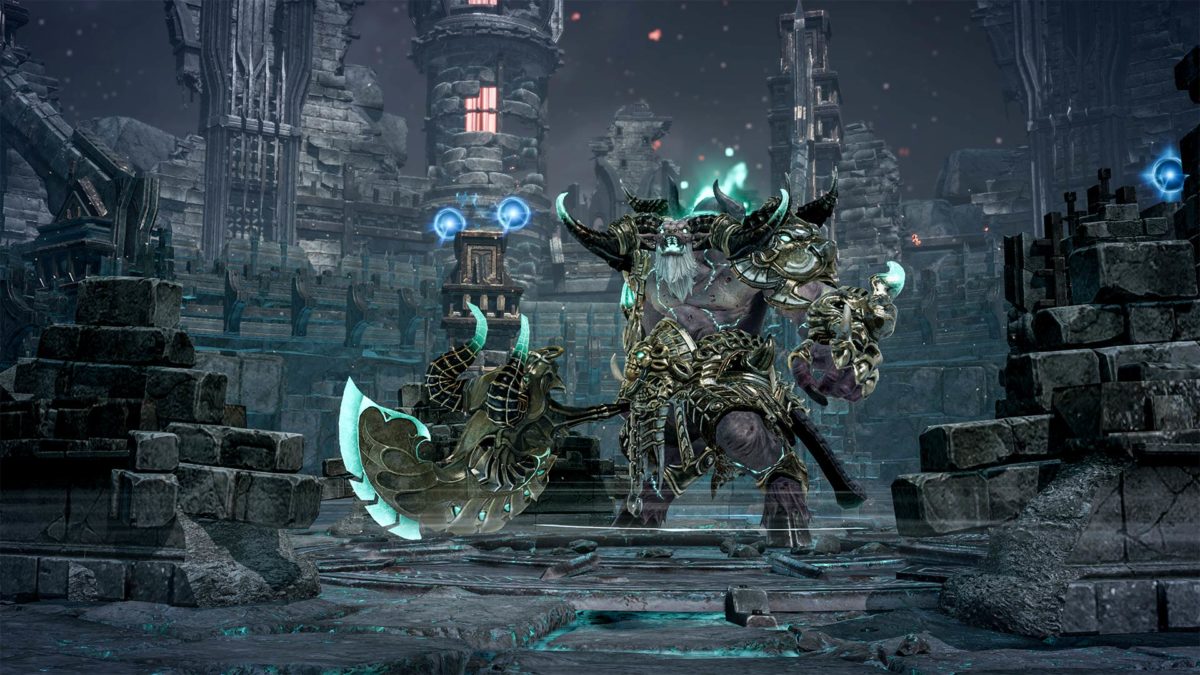
Once you defeat Gate One of Valtan, you can proceed to Gate Two which poses a much greater challenge.



Published: Jun 2, 2022 07:43 pm