During Sea of Stars, you’ll have a lot of puzzles and dungeons to clear on your journey, with the Air Elemental Skyland being particularly emotional due to its story implications.
Like most dungeons in Sea of Stars, it can get a bit confusing trying to solve some of its puzzles, knowing where to go, and finding all the treasures inside. To help you clear this dungeon easily, we’ve compiled this guide on completing the Air Elemental Skyland dungeon in Sea of Stars.
Related: Sea of Stars Walkthrough Guide – Dungeons, Collectibles, Wheels, Side Quests, & Tips
How to complete the Air Elemental Skyland in Sea of Stars
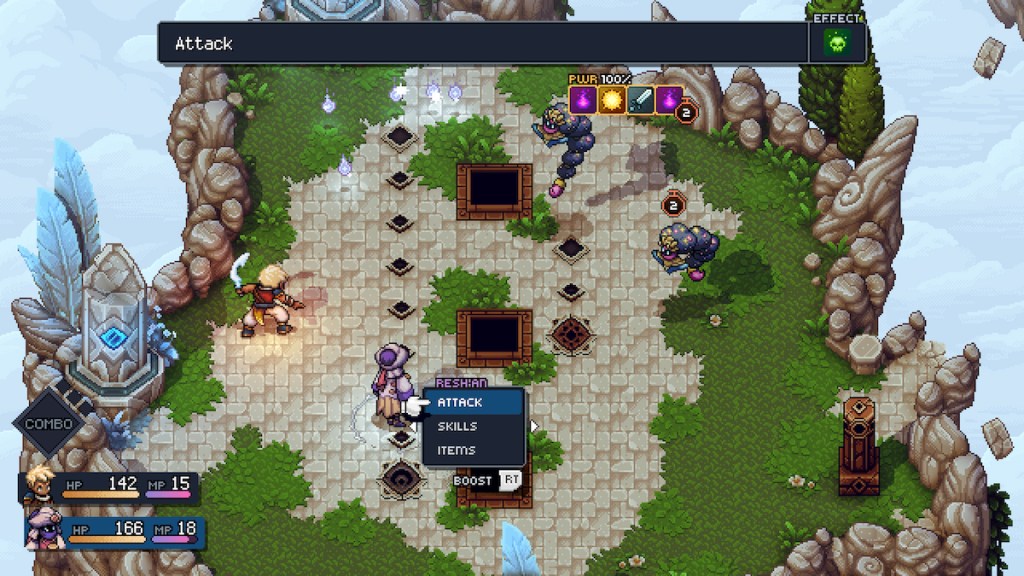
For starters, open up the main door with the Wind Key, which will have been given earlier in the Cloud Kingdom, and head past the giant blue crystal to some ledges behind it. Climb up here, and you will find some enemies to defeat. This is a pretty easy fight, but remember you only have Zale and Resh’an at this point.
Once they are defeated, an eclipse puzzle will appear to solve. Fill the left side’s light path first and quickly switch it to the right, shorter side. This will cause the laser and mirror to appear, lighting and triggering a nearby switch and spawning a wind tunnel. Now, platform over to the tunnel, interact with it, and you will be launched to another area. Here, you will find a save point and campfire if you need them.
Defeat the enemies here, then head to the top right and Graplou across to some platforms, following the path until you come to another eclipse puzzle. Before you tackle this, look to your left, and you will see a small open doorway to enter with a Rainbow Conch and the Conflagrate Combo Move, so make sure to grab these. Now, head back out and climb up to the puzzle.
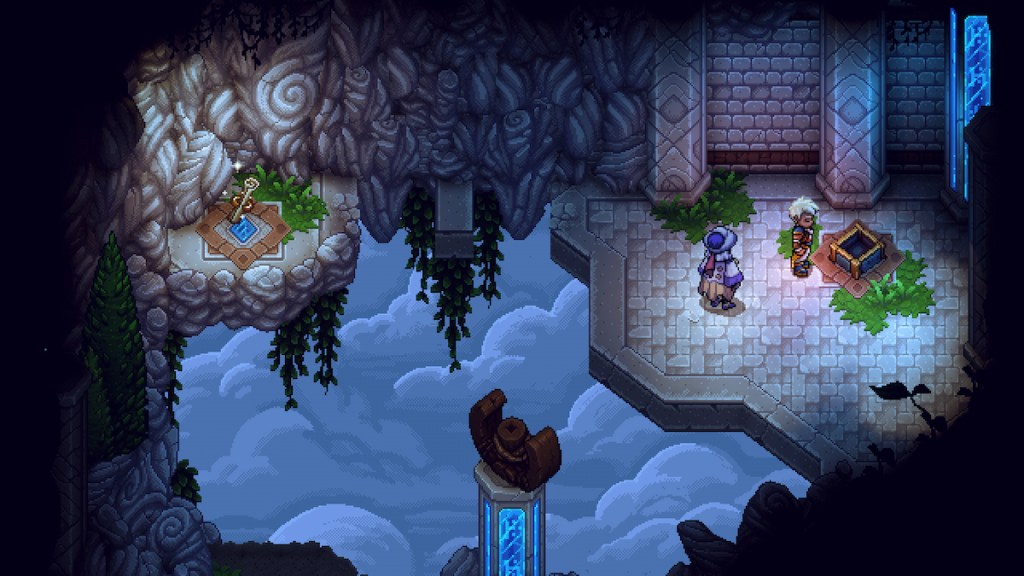
First, set the light of the eclipse pillar to the top right, which will spawn a chest with the Cypress Cork, a weapon you can give Resh’an. Now, rotate the light anti-clockwise and light the other three light paths. This will make a laser and two rotatable mirrors appear. If you are quick, you can rotate the mirrors before they lower down again, and you want to have the laser hit the switch pillar on the other side. With the laser shooting down, have the first mirror shoot the laser off to the right and the second mirror angle the laser up into the switch. Use the newly revealed wind tunnel, fly to the other side, and defeat the enemies here.
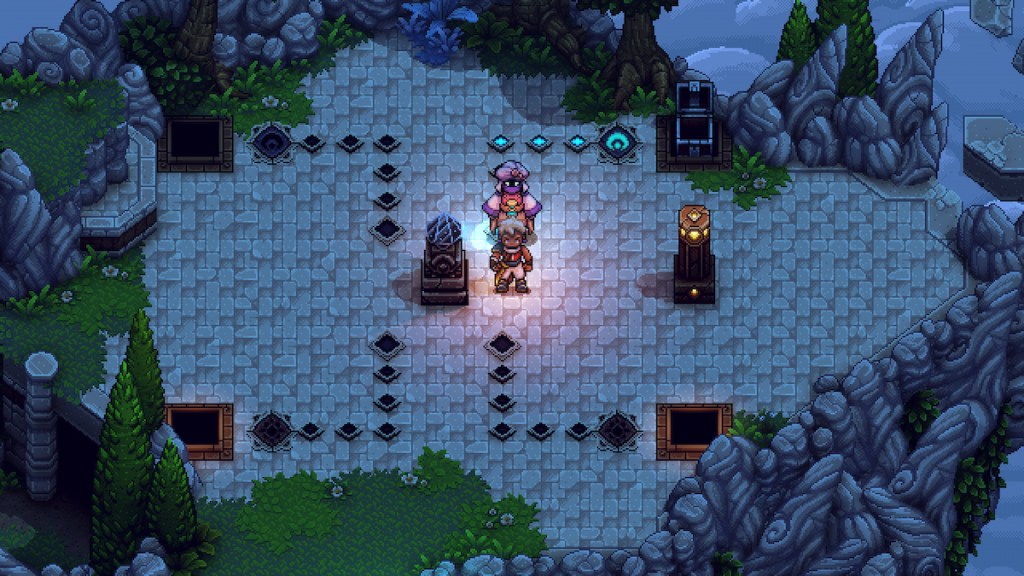
Next, head to the left and climb up the rock wall, following the path around until you see a hovering blue crystal. Interact with this, and you’ll pick up the Triangular Slab. You need this to solve some puzzles later on. Now, climb up the rock wall next to you and defeat the enemies here to get to another hovering crystal, the Hexagonal Slab. Grab it, and head back through the wind tunnel to the previous area.
Next, head over to the open door, where you found the Rainbow Conch and Combo Move, and you will see a triangular socket. Interact with this and select the Triangular Slab, which will spawn a Graplou point just above you. Head over to this Graplou point and use it to get to the other side, following the path until you return to the campfire and save point from earlier.
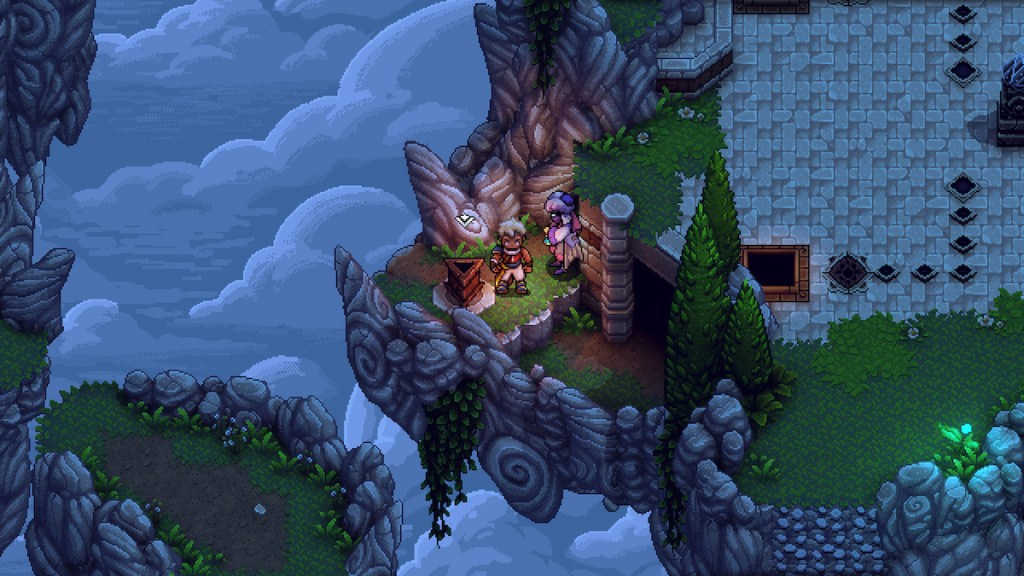
Now, head up toward the top left of the area, and you will find a Hexagonal socket. Place the Hexagonal Slab here, and it will activate the wind tunnel next to you. Fly on up, and before moving on, jump back down the tunnel, and you will land on a floating stone that is part of the tunnel. Grab the chest here, and you will get the Assassin’s Pin. Now, jump down to the ground, fly back up the tunnel, and head to the left and up the next wind tunnel. Head across the tightrope to the right and grab the chest here, which will have the Sky Armor for you. Now, head back across the tightrope and to the left down the waterfall.
Defeat the enemies here, head down to the left, and follow the Graplou path until you come to a series of wind tunnels. Use them all to reach a rock wall, climb up, and follow the path around to another waterfall. Jump down and head to the right, where you will see a few platforms that are out of reach and require a piece to connect them together. To do this, go up onto the grass platform above you and around to the top landmass, where there are some enemies to beat.
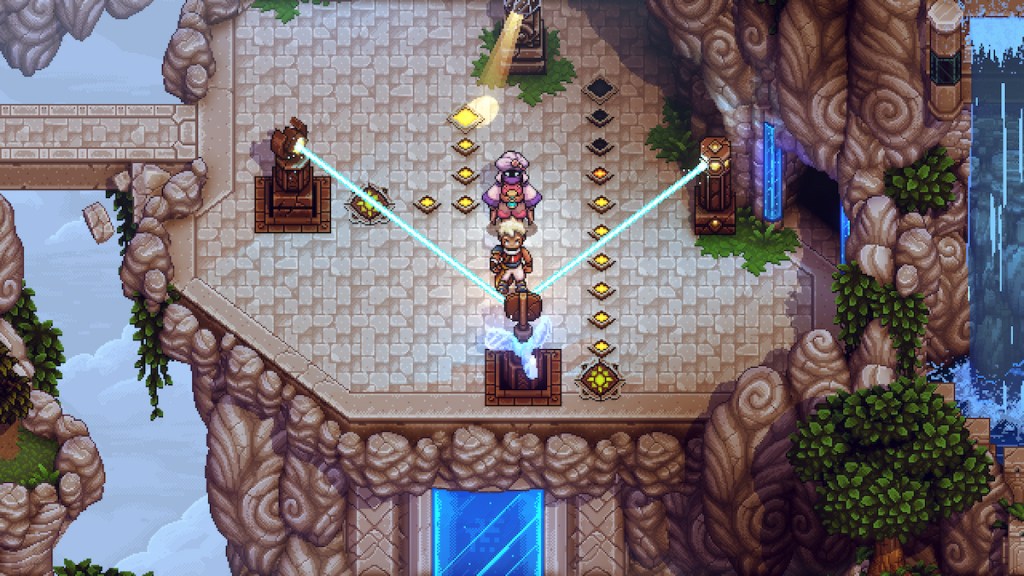
Head to the top left, climb up the ledges, and head down toward the propeller. Spin it with your gust ability, and a cross-platform will rise and connect all the bridges together. With that now there, you can reach the right side area where you will find another eclipse puzzle. This time, light the right side light path first, then rotate it around anti-clockwise to light the smaller path on the left. This will raise a mirror and laser to open the nearby door. Head inside and prepare for the last main puzzle.
When you enter, you’ll have a quick combat encounter to clear, and once that’s done, You will see multiple mirrors and a laser in front of you. Here, rotate the first mirror the laser is hitting to direct the laser into the switch pillar in the top left of the area. This will cause the back wall to become a climbable surface. Next, you want to move the mirrors to make the laser hit the yellowish gem on the right wall. You can see the setup in the image below.
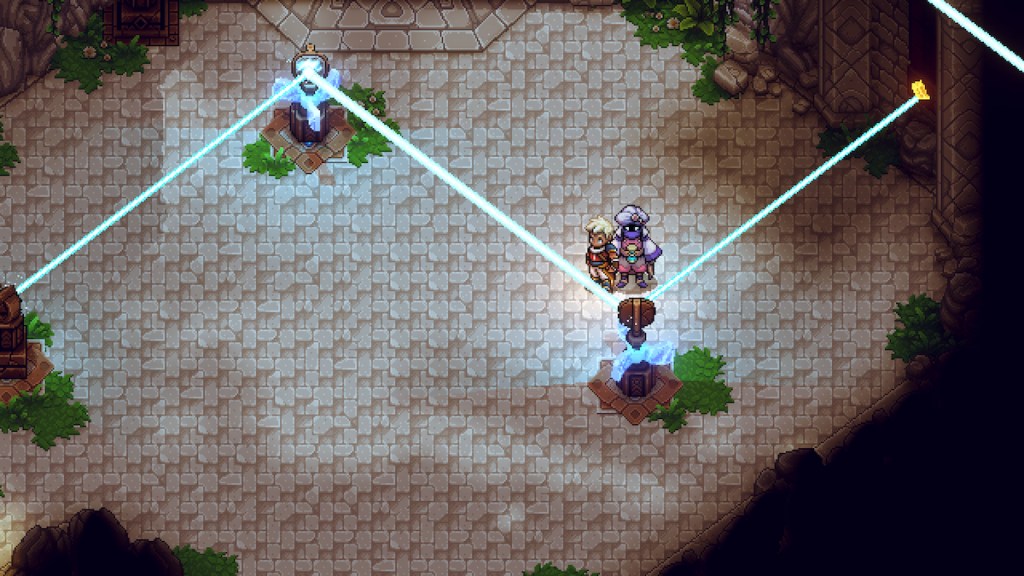
Now, climb on up to the next level, and the laser will be shooting through the right side wall. Here, you want to make the laser hit the switch pillar on the left side of the room. For this, you will make the same shape as you did on the lower level using the mirrors you can see. You can see the setup in the image below. This will form a bridge you can walk across to get outside. Before heading out, make sure to grab the chest with the Azure Cape inside.
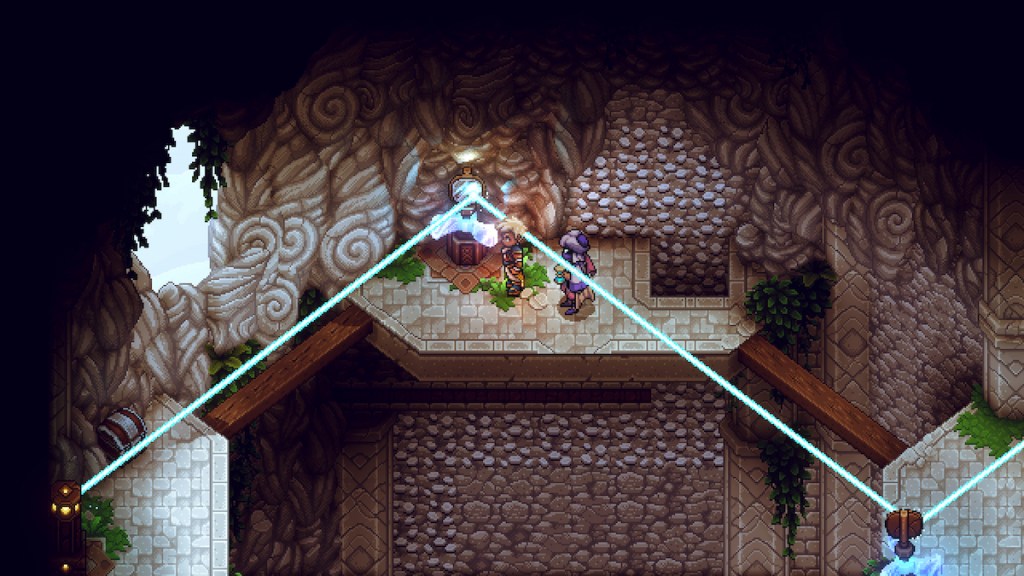
This will lead you outside to a combat encounter. Defeat the enemies, and then you’ll have another laser puzzle. Here, rotate the mirrors to activate the switch pillar in the top right of the area.
This will make a blue crystal appear on the right side of this area. Head over and interact with it, and Resh’an will use his magic to infuse its power with your Coral Hammer, turning it into the Cobalt Hammer. Now, you can smash the blue crystals here and in the world, including the massive one at the beginning of this dungeon area.
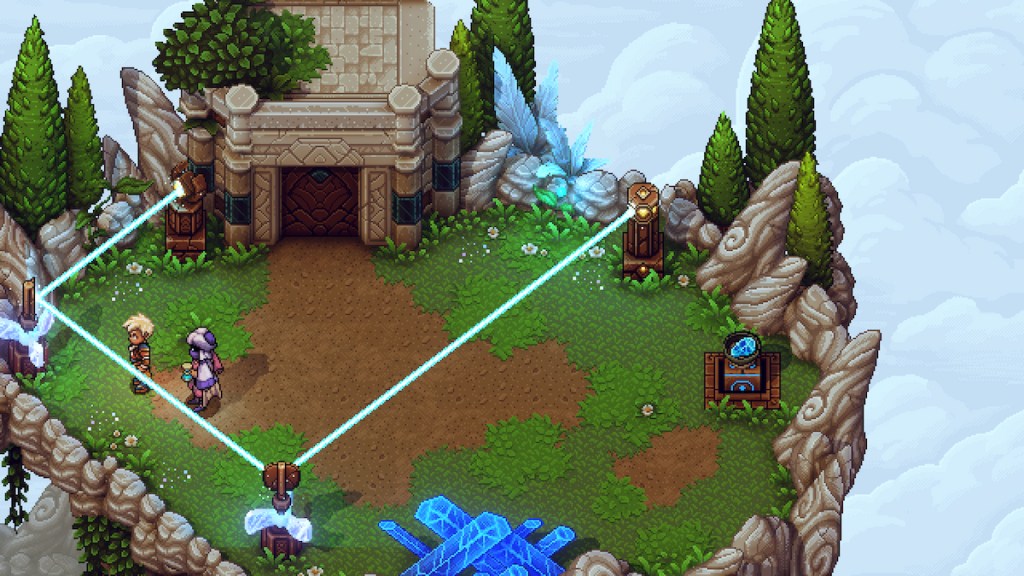
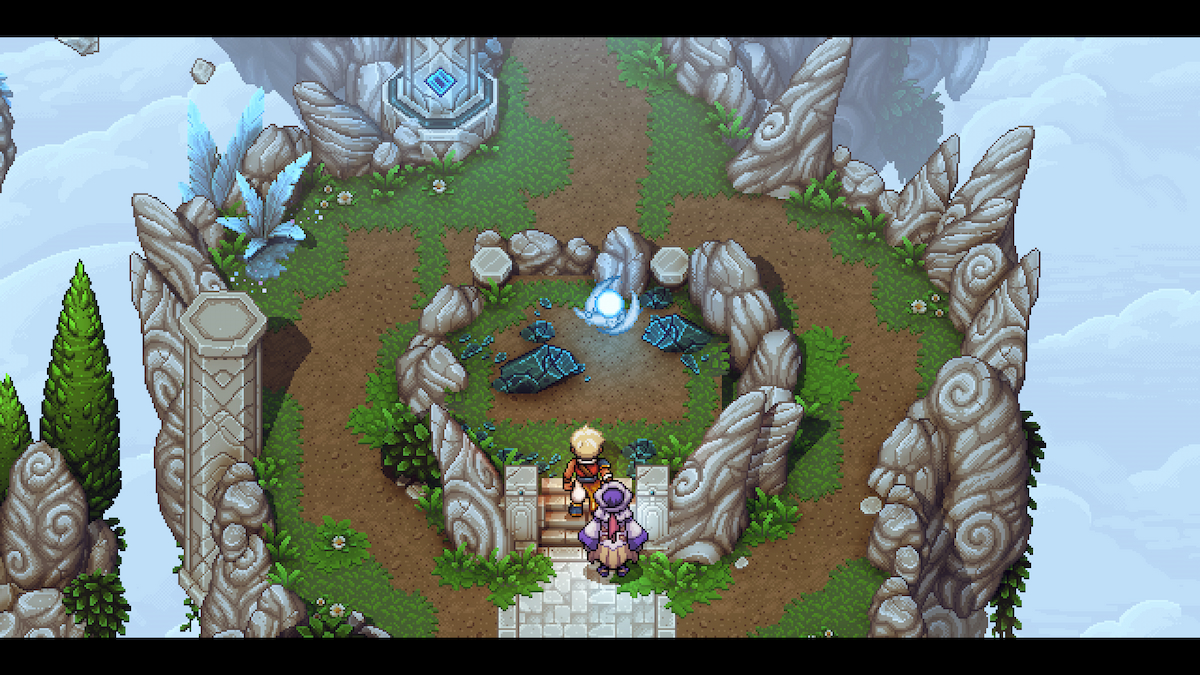
With your new item, smash the blue crystals at the bottom of this area, follow the path and waterfalls down to the campfire and save point once again. From there, head to the bottom left wind tunnel, and take it back to where the first eclipse puzzle was. Now, head down to the giant blue crystal, interact with it using the Cobalt Hammer, and you will smash it open, freeing the wind inside, which Resh’an will capture. Now that the dungeon is finished, you will move on to the next step in this emotional quest.



Published: Sep 22, 2023 06:04 pm