The Trial of Strategy’s Initiation that you will need to complete for Athena in Immortals Fenyx Rising is far more complicated than the first trial. For this one, you will need to move a lot of stone and metal balls through the area, using your mighty hammer to send them flying through the air and into the right places.
It can be a little frustrating, but in this guide, we will walk you through exactly what you need to do to finish it. Keep in mind, the hammer-smash ability can be a little awkward, so make sure your character model is always directly facing what you want to hit.
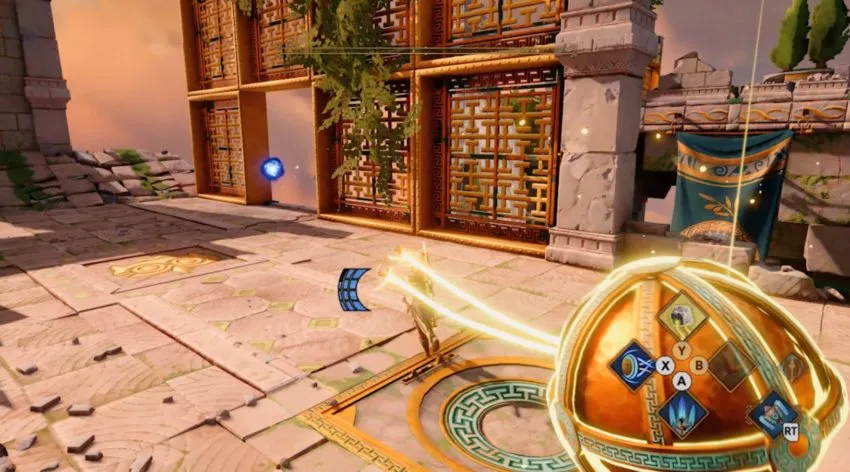
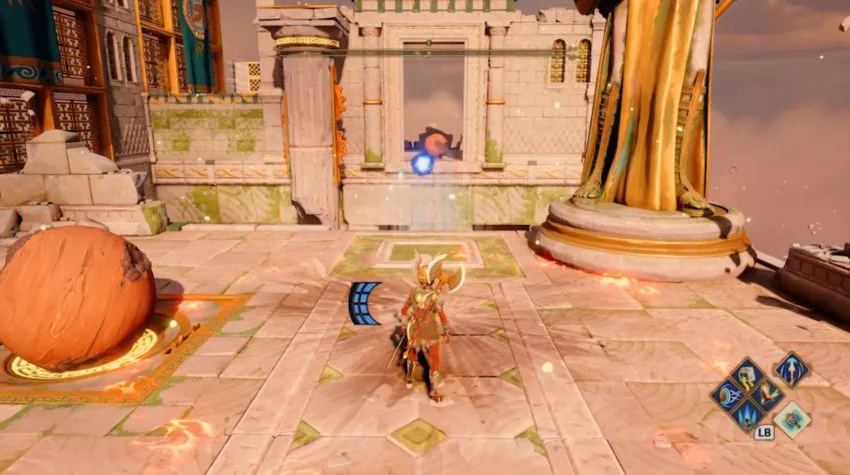
Area 1
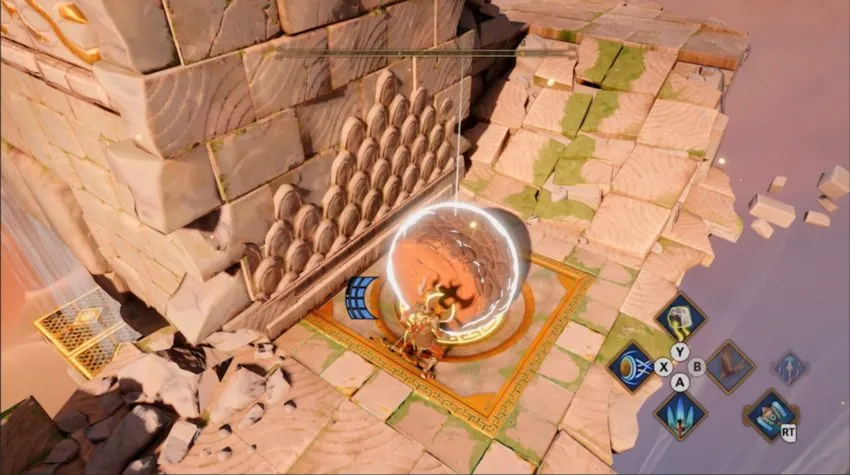
The Trial starts with an important lesson. Interact with the podium to spawn in a metal ball on the left, and a normal ball on the right. The metal ball will be kept aloft by the yellow energy, while the normal ball will float in a wind current. Use your grab ability to drag them both down to the ground.
On the right side of the area will be a small divot in the ground you can put a ball in. Place the metal ball in this to activate the wind currents, then send the normal ball flying across the wind to the platform on the other side by hitting it with your hammer.
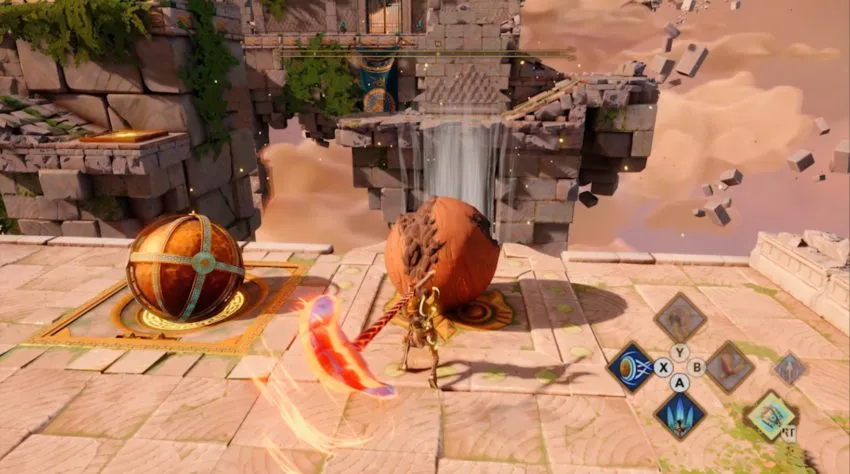
Once the normal ball is safely in the divot on the other side, it will activate another yellow energy column. You can then drag the metal ball out of the divot and send it flying towards the yellow energy which will grab it, cause it to float upward.
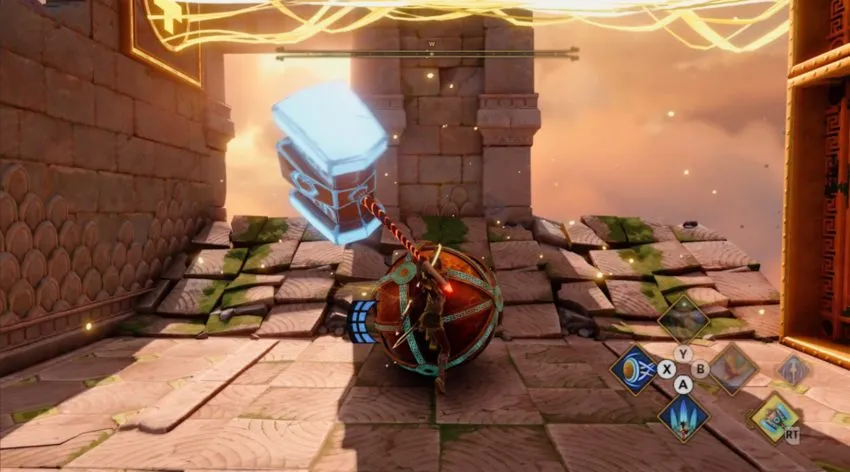
Jump to the other side and up onto the platform, then use your grab to pull the metal ball out of the beam. Drag it to the small green square on the ground and prepare to whack it across to the other side. You want to hit the blue minus symbol on the far wall, which will attract the metal ball, stopping it from falling.
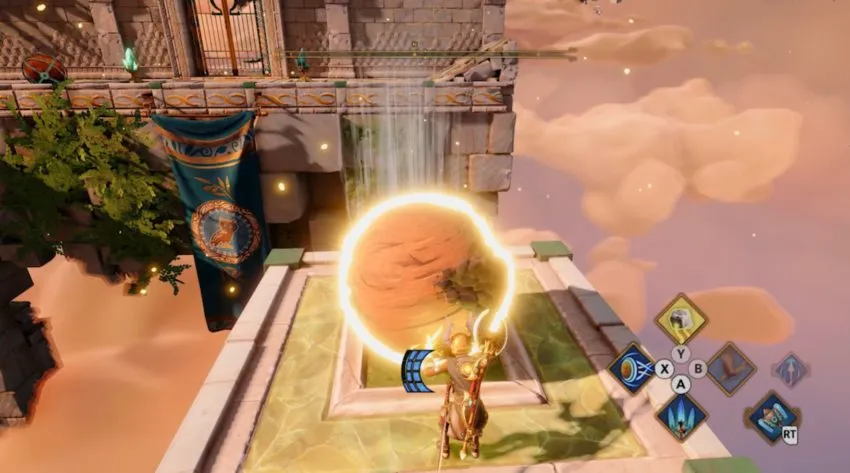
Jump across the gap and wait until the moving platform is under the ball, then use your grab ability to pluck it off the wall. Bring it around beside the wall that the minus symbol is on and put it in the divot that you can find there. Make your way back to the normal ball at the start of the level and drag it up the ramps, placing it on the green square at the top.
Once again, use your hammer to send the ball flying across the air currents, and place it in the divot in the ground on the far side. This will activate the second crystal and open the door, allowing you to move on to the next area.
Area 2
The next area begins with a metal ball and a normal ball. On the left is a platform with a wind vent facing outward. You need to send the metal ball here, as the wind cannot blow it away. Make sure the ball ends up in the divot and it will activate wind currents on the right side.
Use these wind currents to send the normal ball over to the right platform, and make sure it lands in the divot. When it does, a new yellow column will appear on the very far left.
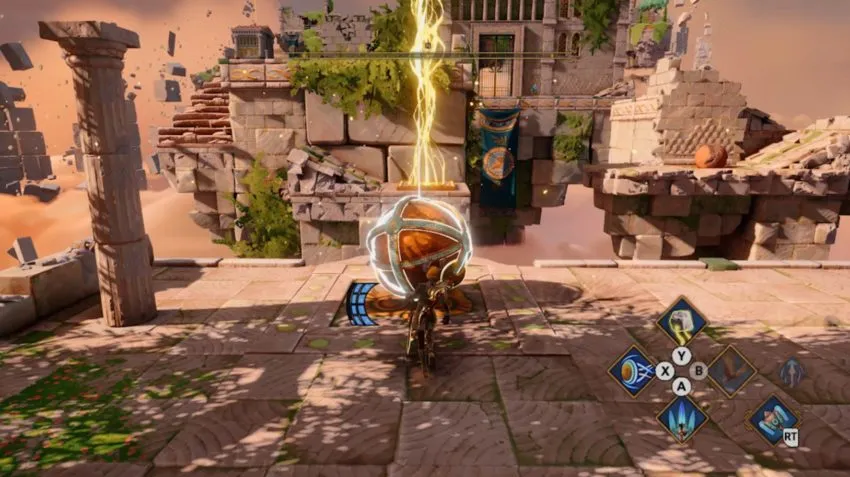
Now, jump back to the platform on the left, pull the metal ball out of the divot, and send it flying up the ramp with a hammer smash, into the yellow column.

Climb to the top of the new building and then grab the metal ball and place it in the divot at the top. This will cause a new ball to spawn in that you need to get into the next yellow energy column that travels horizontally across the screen.
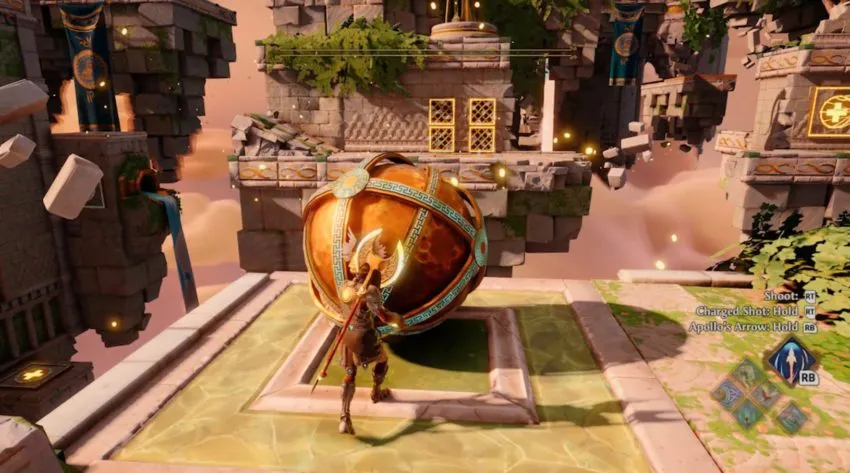
There are two ways to do this. You can either smash it into the ramp and bounce it up, or you can hold the button to charge the attack, which will result in more of an upwards swing, sending the ball up into the air.
It will land in the yellow energy, the travel right across the screen, so jump into the wind currents and follow it over, then grab it on the far side. Place the metal ball on the owl tile, then repeated the charged swing to knock it up into the next column of energy. You want to quickly jump up and to the right, into the next section, then grab the ball before it reaches the end. If you don’t, it will just fall to the ground and you will need to repeat the last few steps. Grab the ball, then place it in the divot to spawn in a new one.
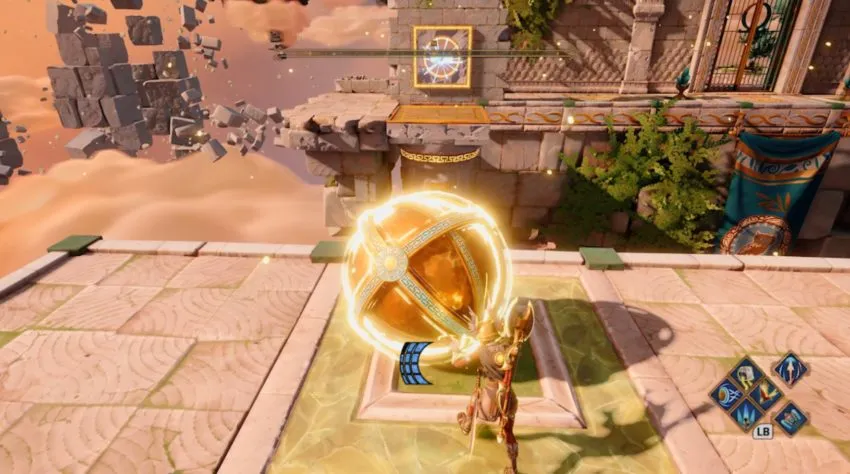
This will also activate a moving block on the far side with a minus pad on it. You want to send the new ball flying to that pad, then jump over to the steps on the right.

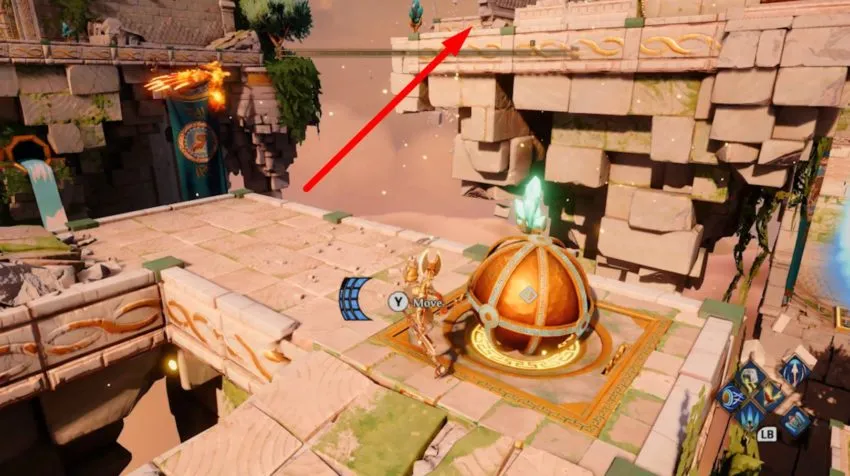
Grab the ball when the tile is on the inside path, then drag it along the path behind that moving tile to a new divot. This will activate a new yellow pad, but don’t worry about that just yet. You want to jump straight ahead, up to the platform shown in the image below.
Now, we need to get back to where we started, so follow the path, jump over the gaps, all the way to the end. We are making our way back to the original normal ball from the very start of the area, as there is now a new path open that allows us to move this to where we need it.
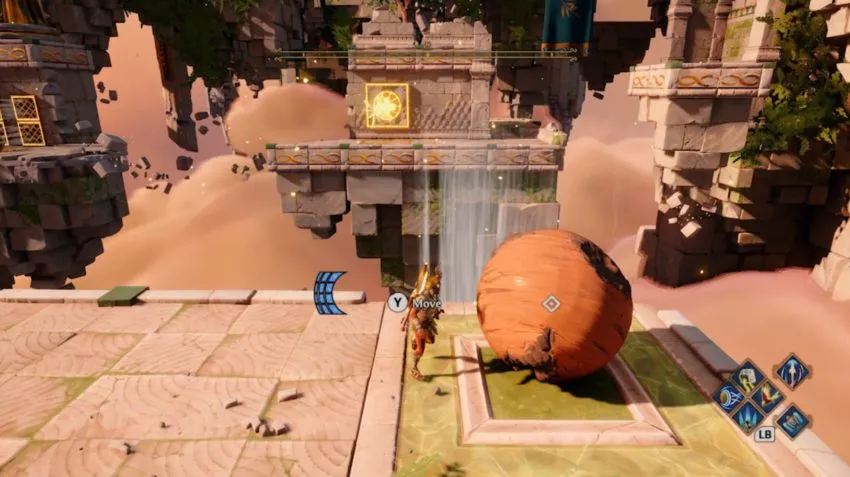
Jump down to where the normal ball is, grab it, and then push it around to a green square on the path behind it. Hit it with your hammer to send it flying across to a wind vent, then jump after it. Float to the top and grab the ball and pull it onto the ground.
A new ball will spawn in that you can send across the wind vents in front of you through the narrow door. Make sure you do not hit the moving column that is moving back and forth across the opening.
The next part is the most awkward in the whole section and boils down to trial and error. Line up the ball on the right side and then bounce it off the wall and into the other side, while avoiding the wind vents that are moving up and down.
Jump after it, then place it on the divot, and hit the next ball that spawns in through all the wind currents in front of you. Make sure you wait until the third vent, which is moving, is lined up with the others.
Follow the ball up to the next platform and hit it into the vent on the right side, jump across, and grab it. From there, roll it into the divot to fully activate the two plates in front of you. Jump across and grab the metal ball, then roll it onto the yellow plate. It will be pushed up, then grabbed by the blue plate. You don’t need to follow it, and can instead jump back to where you left the normal ball.
Drag it out of the divot to deactivate the yellow and blue plates and the metal ball will fall into the correct position, activating wind currents you can use to send the normal ball across the gap. Make sure it ends up in the divot and the doors will open, allow you to get to the chest and finish the trial.


Published: Jan 29, 2021 09:01 am