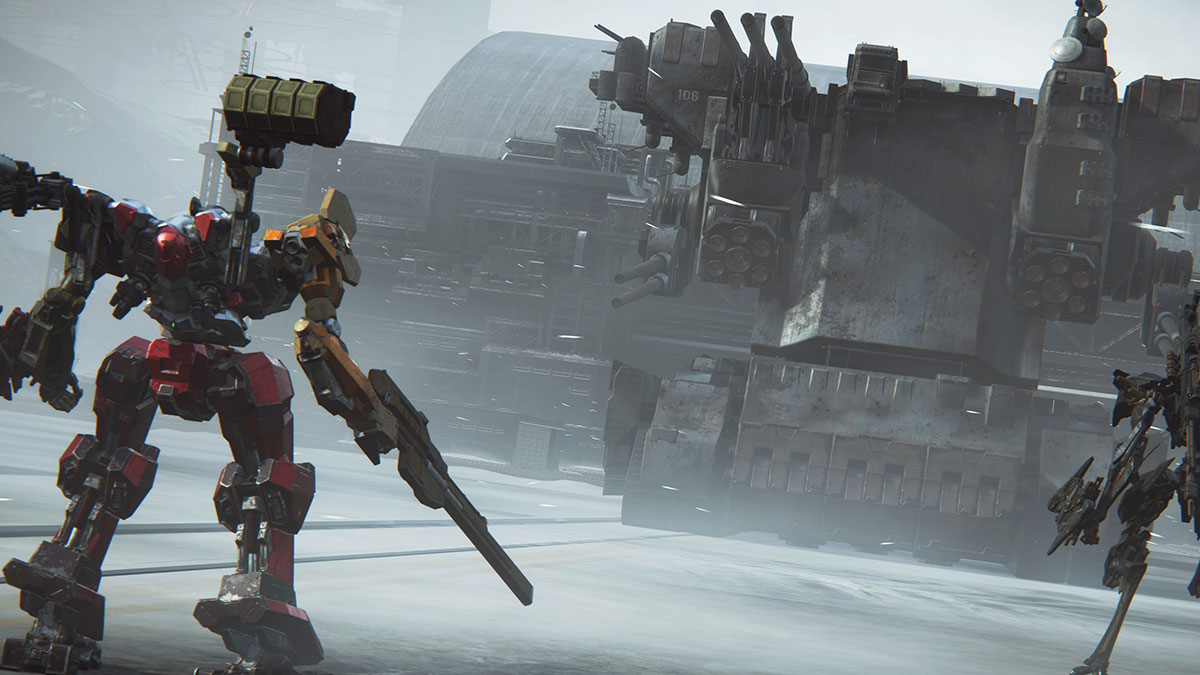
After players defeat a giant weaponized mining ship in Armored Core 6: Fires of Rubicon, they need to scale a wall outfitted with more firepower than Resident Evil 4’s Merchant in the Operation Wallclimber mission. This mission is no cakewalk, and it’s made all the more challenging by its tough-as-nails boss, the Juggernaut.
This guide explains how to complete Operation Wallclimber by working through the defenses in what seems like an impenetrable wall. It also delves into the build and strategy we used to defeat the boss, the Juggernaut, who is the game’s hardest enemy up to this point.
If players are struggling with the Juggernaut boss fight, the first thing they should do is check out the Juggernaut build guide below to see the best loadout to fight it. Unlike the PCA Heavy Combat Helicopter or STRIDER bosses, this one requires players to change up their Armored Core build to cater to the strengths the Juggernaut boss has.
Related: Armored Core 6 Complete Guide: Combat Mechanics, Bosses & Story in AC6
Armored Core 6 Operation Wallclimber Walkthrough
In Operation Wallclimber in Armored Core 6: Fires of Rubicon, players must scale a massive wall occupied by Rubiconians. Littering the wall are turrets that dealt half our Armored Core’s health in damage, and there are Light MTs scattered around its base to ensure that it’s impossible to approach head-on. Throwing an Armored Core at the face of this wall isn’t the way to climb it. Players need to think strategically. There’s also another Armored Core to worry about, the Tetrapod MT.
How to Destroy the City Gattling Cannon and Tetrapod MT in Armored Core 6
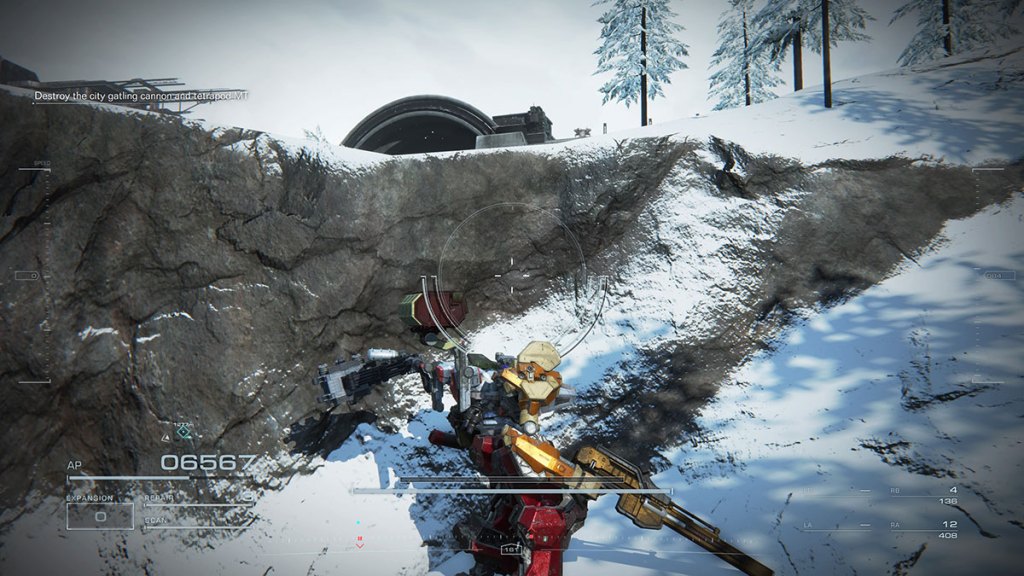
To attack the wall or even get close to it, players should use their Assault Boost to get to the right-hand side of it. From the mission spawn point, we recommend using Assault Boost to head forward until players reach the end of the map. There’s loads of cover from incoming fire, which should mean no damage gets through.
From the right-hand edge, players can then move left to approach the wall with plenty of cover. Dart between cover to reach the wall’s edge. Then, use the Armored Core’s Assault Boost once again to blast down to the right-hand side of the wall, where no enemies or turrets can get a target lock-on. There’s a wrecked AC here with a combat log for players to collect.
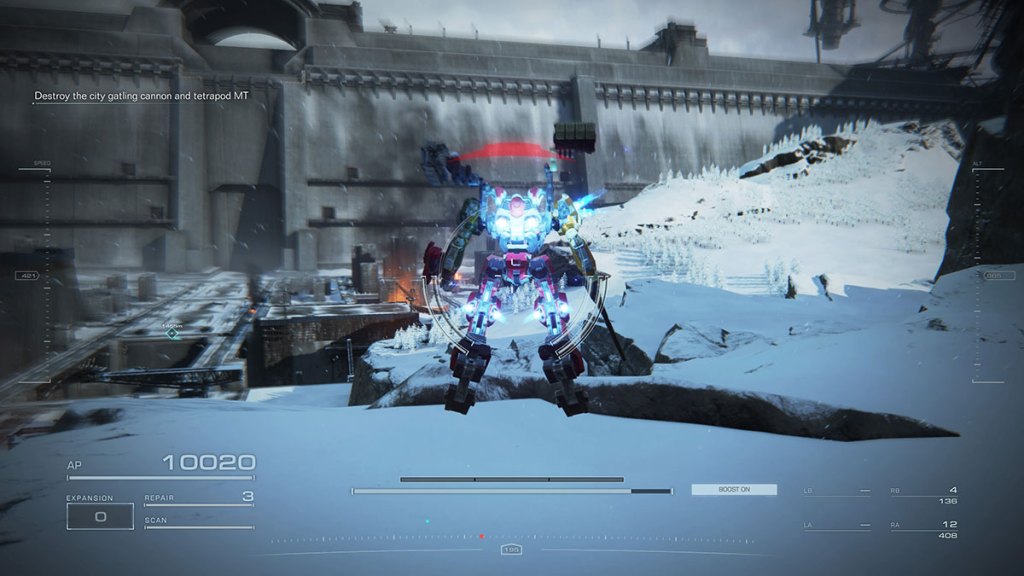
Players can now jump and fire at the turrets on the lower and upper levels to take them out from this point on the wall. We managed to work our way along the right-hand edge with no trouble. Once players get to the center of the wall, they’ll need to battle the Tetrapod MT.

The Tetrapod MT is a force to be reckoned with. It’s a decent Armored Core with missiles and can jump around to make the player lose their lock-on. We found it easy to dodge the missiles at the last second with a boost. The enemy takes a tonne of damage from melee attacks, so getting up close is the best way to stagger it and destroy it before the nearby Light MTs come to help it.
Once the Tetrapod MT has been dealt with, players can scale the other side of the all and repeat the process of destroying all the turrets. This means that nothing will be firing from behind when they start to clear out all the enemies camped out in front of the wall. There are a few Light MTs to destroy, but the two gatling cannons in the central channel are what must be taken out to advance the mission.
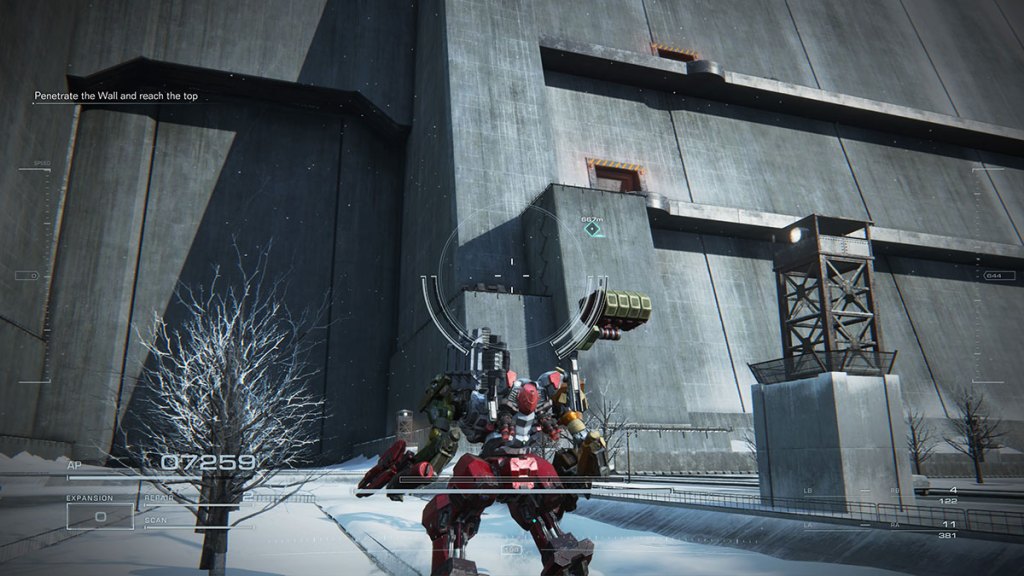
Once the gatling cannons have been destroyed, players can head into the wall through a nearby doorway and launcher. Players should explore the left-hand side of the wall for another wrecked Armored Core with a combat log if they’re collecting them.
Inside the wall, there are a few rooms of enemies to tackle, but nothing that will challenge the player compared to what they’ve seen so far. Eventually, they’ll reach an elevator that takes them to the top of the wall. Once the elevator stops, we suggest players grab the available Supply Sherpa. This restores all supplies so that they’re ready for what comes next. The Juggernaut boss fight. This is also the only checkpoint, so players will restart as they’re about to face the boss.
How to Defeat the Juggernaut Boss in Armored Core 6
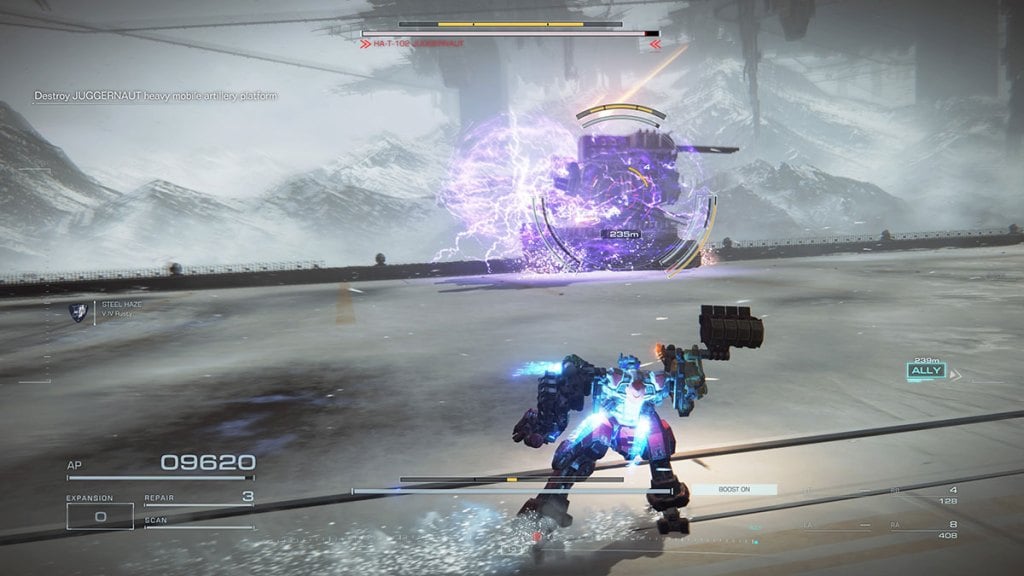
The Juggernaut boss is a formidable foe. Players will begin the fight with a fellow Armored Core controlled by AI. The second Armored Core will distract the Juggernaut while players focus on dealing damage.
The only way to damage the Juggernaut is to hit the sections of it behind its massive metal plate. The front is well-defended and will cause any shots to ricochet away. During the initial phase of the fight, it’s best to move around until the boss focuses on the allied Armored Core. Then, while its focus is diverted, it’s easy to get a few shots or melee hits in and stagger it.

However, once the Juggernaut is down to half its health, the allied Armored Core will be called away to deal with an ambush. This leaves the player to deal with the boss by themselves, and with its full focus on them, it can feel like an insurmountable fight.
The best strategy is to avoid staying too far away from the boss. Get up close and dodge its charge and missile attacks. As per our recommended build below, the player should be nimble so they can fly over the boss or dodge around its defenses to deal damage. Time and time again, we were able to fly over it and land missiles before hitting it with two melee attacks to stagger it.
The key seems to be flying over the boss to avoid the mines it drops. If it starts to spin out and throw these, flying above it dodges the damage and allows players to target the area behind the shield. Keeping up the pressure will always lead to damage being dealt to the boss, but it’s also important to know when to back off to avoid taking too much damage.
In our fight with the Juggernaut boss in Armored Core 6, we beat the boss while our health was in the red. It was nail-biting but such an incredible experience. Initially, we were destroyed by it five times and had to quit to the main menu. That’s where we reconfigured our Armored Core to be more agile, meaning we were able to beat it on our next attempt.
Best Armored Core Build for the Juggernaut Boss in Armored Core 6
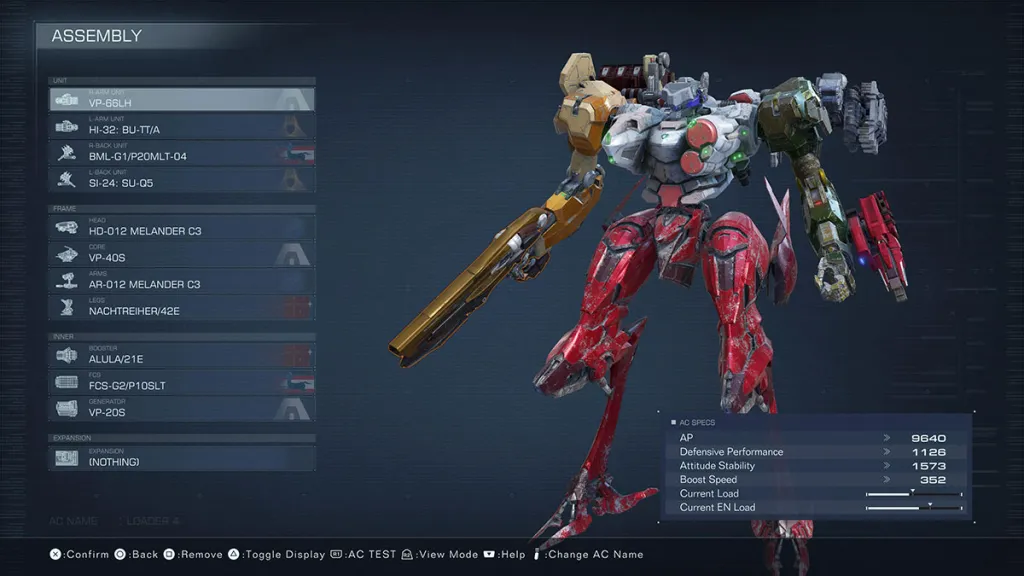
The best Armored Core build for beating the Juggernaut is listed below. This is the build we used to destroy it, and we had to quit the boss fight after multiple defeats to change a few things so we were fast enough to get around it. The key is speed and agility. As long as players have that, they’ll be able to get around the Juggernaut’s defenses and smash it to pieces in Armored Core 6 fires of Rubicon.
- Right Arm Unit: VP-66LH
- Left Arm Unit: HI-32: BU-TT/A
- Right Back Unit: BML-G1/P20MLT-04
- Left Back Unit: SI-24: SU-Q5
- Head: HD-012 MELANDER C3
- Core: VP-40S
- Arms: AR-012 MELANDER C3
- Legs: NACHTREIHER/42E
- Booster: ALULA/21E
- FCS: FCS-G2/P10SLT
- Generator: VP-20S
- Expansion: Nothing


Published: Aug 25, 2023 04:55 pm