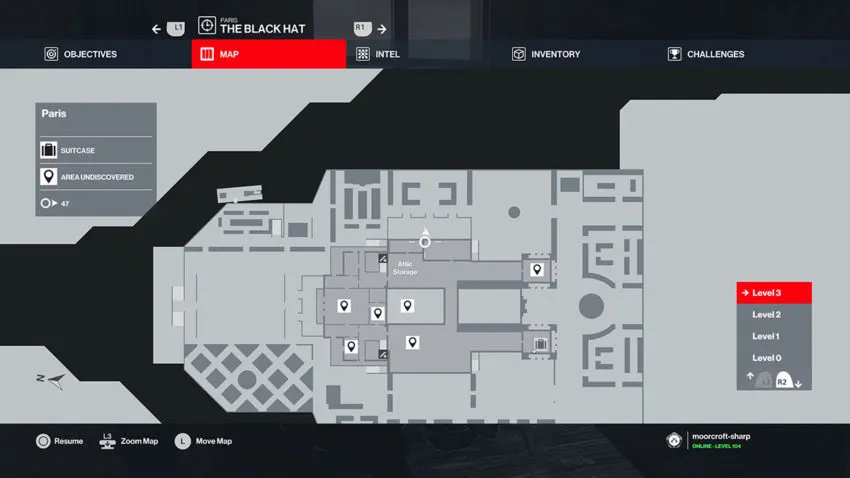
The Black Hat is an Elusive Target first introduced in Hitman 2. The mission is now live in Hitman 3, in the Paris location from the original game. In this mission, you’re tasked with taking out a hacker who has been contracted to perform a high-profile hack during the fashion show. There’s no known image of the target, making this a much more challenging Elusive Target than previous ventures such as The Iconoclast. This guide will cover how to kill your target and complete the mission with a rank of Silent Assassin.
Elusive Target Warning
Before we go any further, it’s important to remember that you only have one chance to complete this mission. Once you start it, you’ll be given a warning telling you that once you begin to complete objectives, as in killing the target, then you won’t be able to restart. We suggest following our route a few times without killing the target. Reach each point and then move to the exit to ensure that you get an idea of the trickiest points on the map. Once you’re comfortable, you can take the mission on for real.
Loadout
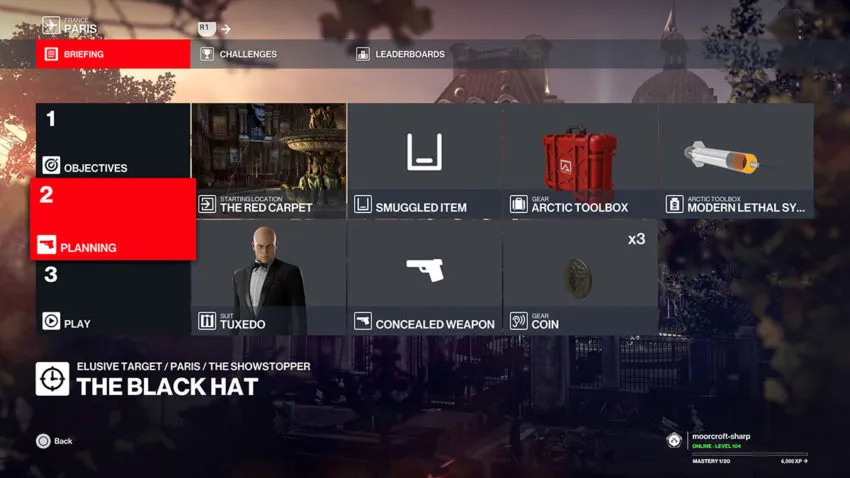
This route has a specific loadout to go with it. First, don’t equip any sort of pistol. There’s a reason for that, which you’ll understand later. The only items you need to bring are a briefcase, and it doesn’t matter which one, a coin, and the modern lethal syringe. Once you’ve equipped these, you can start the mission. The starting location will be on the red carpet outside of the event.
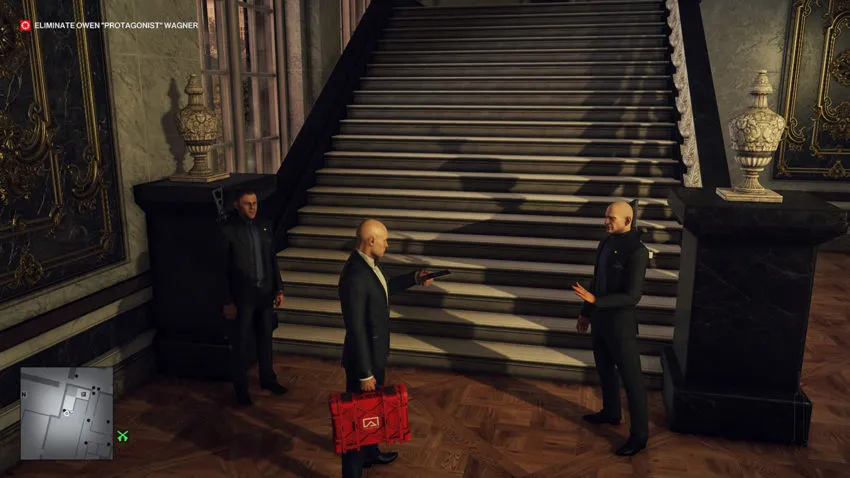
Step 1: Get the invitation
From the starting position, run towards the main entrance. Retrieve your modern lethal syringe from the briefcase as you go because it’ll save you time later on. As you enter, you need to head through the opening to the right of the staircase. Once you’re through, turn right and take the door, then turn right and take the first door again, as if you’re turning back on yourself. As you go through the second door, you’ll see a single door to a bathroom.
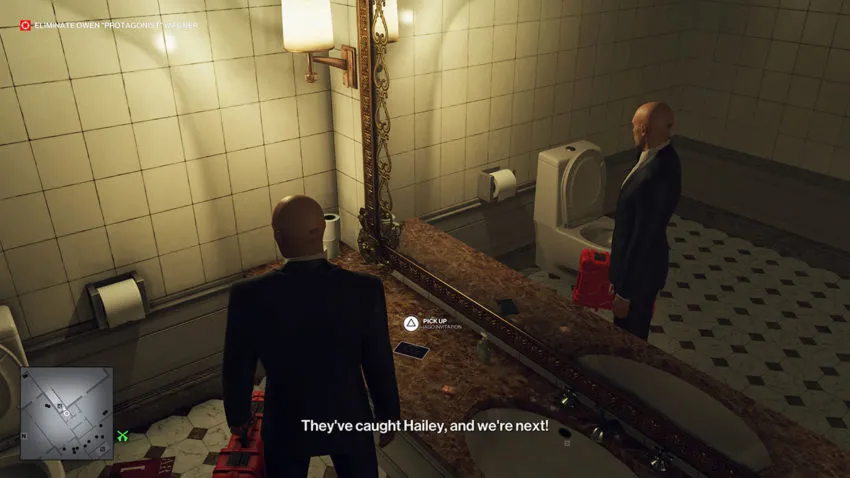
Go inside the bathroom and pick up the invitation. This is what we need to be able to get upstairs without becoming suspicious.
Step 2: Up the stairs
With the invitation in hand, you need to head outside. Go right out of the bathroom, right again, and then into the door on your left at the end of the hall. This leads to the bar, and from there, you can run outside onto the terrace.
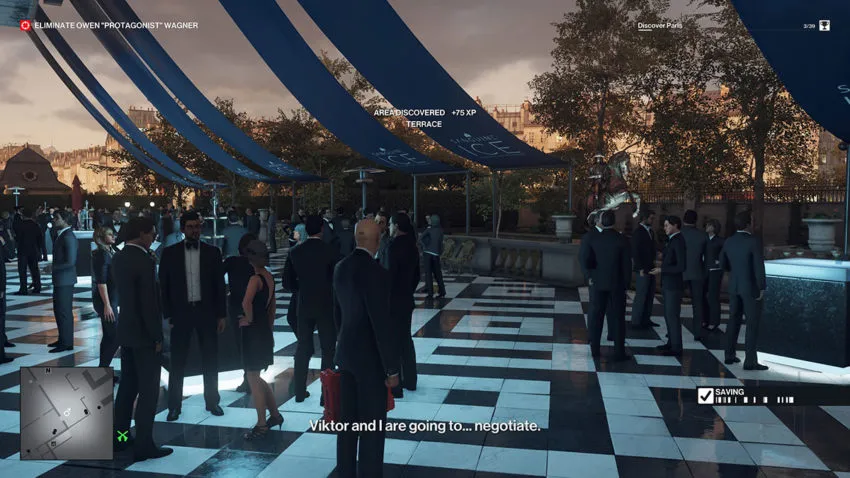
Make your way down from the terrace and around the area until you reach a door that leads back inside. This door is guarded, but you’ll be able to pass through with your invitation in hand.

As you come inside, turn right as you reach the guard at the end of the hall. You’ll see a staircase with two more guards on it. You need to show your invitation once again to get upstairs now.
As you come upstairs, you’ll see another staircase. Yes, we’re going up there as well. However, this one is a frisk zone. If you’ve picked up anything that might make the guards suspicious, drop it before you get frisked. This is also where the guards will check your briefcase, so make sure you’ve removed the modern lethal syringe too.
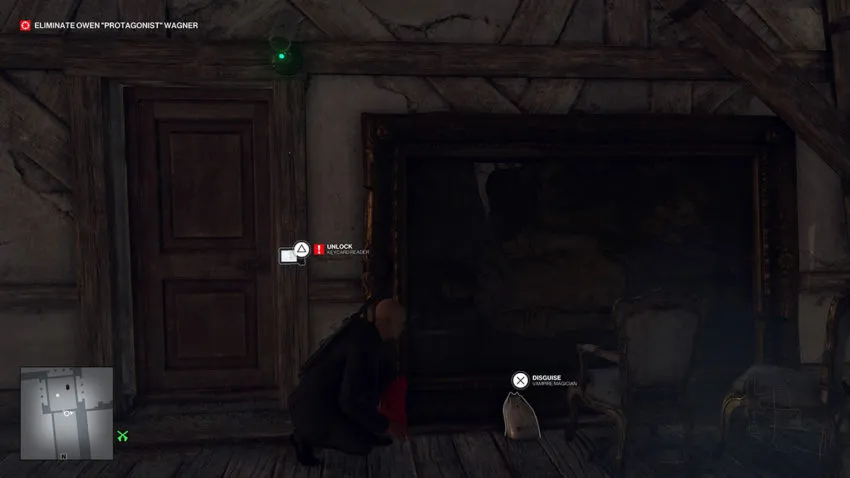
Step 3: The attic
At the top of the stairs, you need to go through the door behind the staff NPC on your left. This is a trespassing zone, so make sure you’re not spotted or caught. Make your way through the attic area to the first guard standing at a window.
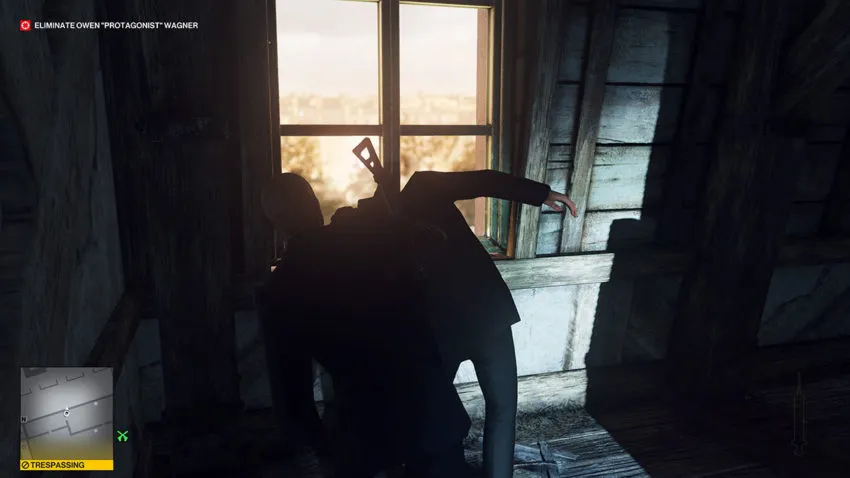
This area is a maze, so we’ve included a map reference for this guard below.
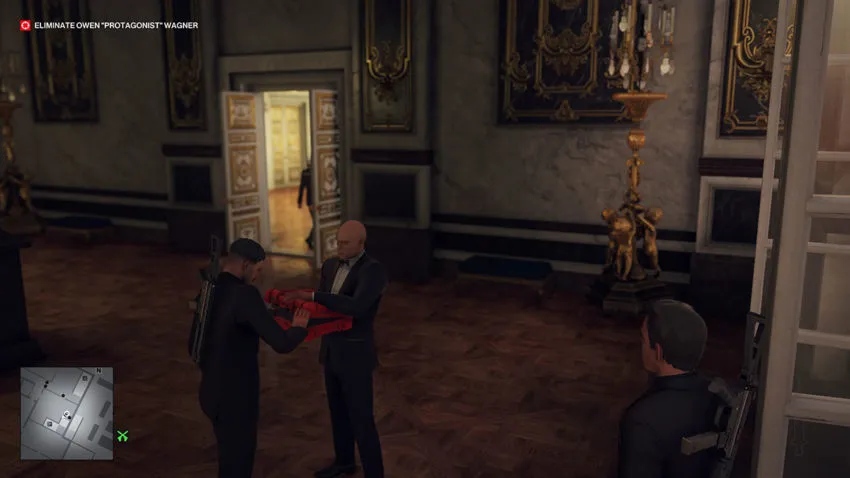
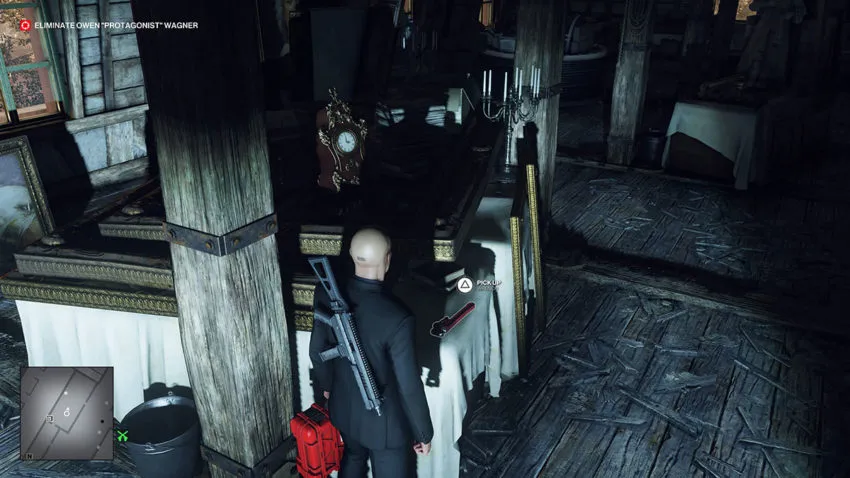
Take the guard out with your briefcase. Take the guard’s disguise and weapon, and then retrieve your briefcase. Now you need to head over to the table nearby and pick up the wrench.
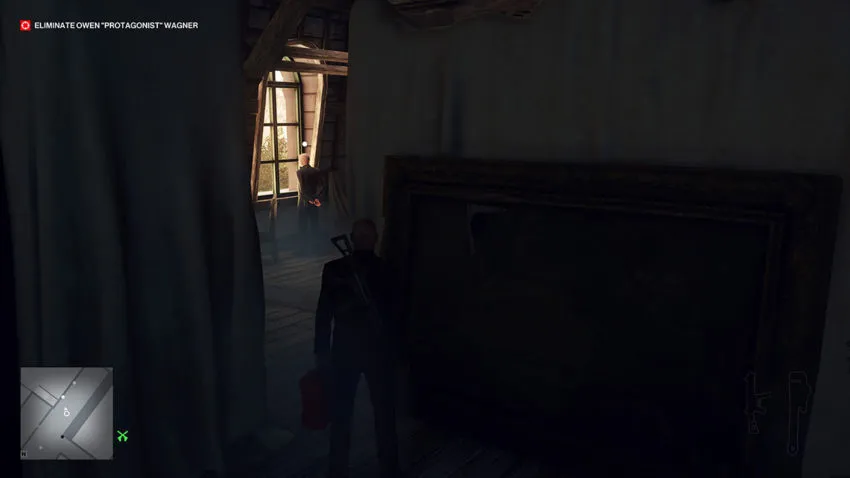
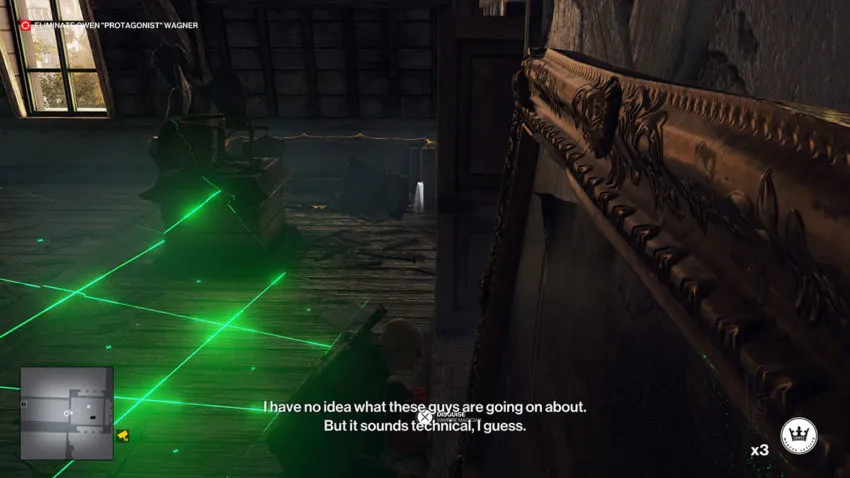
Take the door to the right and then head left as soon as you’re in the next room. You’ll be passing through some sheets that are hanging down and blocking your view.
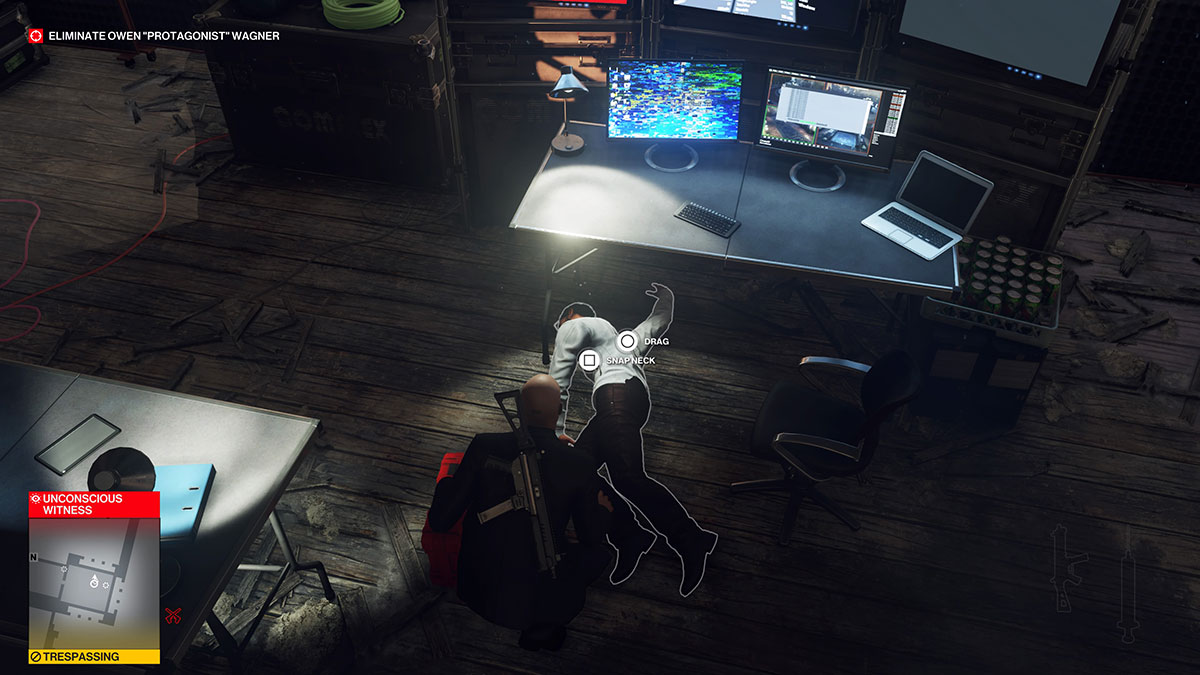
In the next room, there are two enforcers. These guards will see right through your disguise if you’re not careful. You need to hide around the statue in this area and wait for the bald NPC to leave. Move around the statue to avoid being seen. Once the bald enforcer is gone, wait for the other guard to look away. As soon as he does, throw the briefcase or wrench at him to subdue him. Leave his body and everything else where it fell for now.
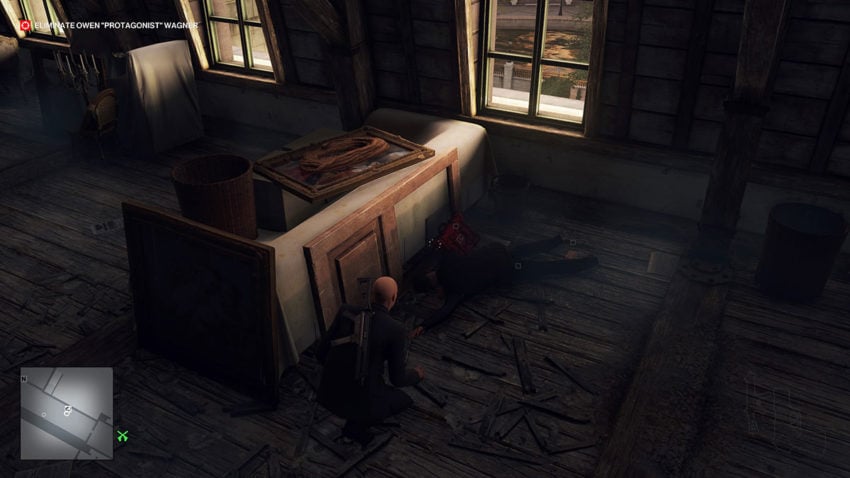
As the bald NPC enters the room, he’ll spend some time looking out of the window nearby. That’s your opportunity to take him out. Subdue him, then drag his body to the back corner near the statue. Do the same with the first guard you subdued and pick up everything that dropped.
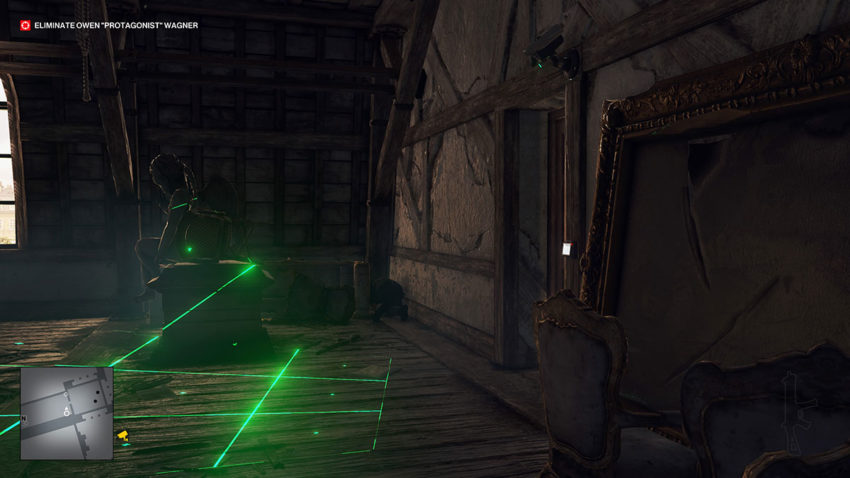
You need to get through the door at the end of this room now, but a camera guards it. Run over to it, but wait for it to pass all the way to the left. You can sneak up to the door by going through the gap to the right. The camera may spot you, but we’ll fix that later. Get underneath the line of sight. If you’re in it for too long, you will be spotted, and no one wants that. Make sure you’re to the right of the door so that no one in the next room will see you when it opens.
When you’re in the right position, unlock the door, open it, and flip a coin to the corner of the room to your left. This will draw out the enforcer inside. However, the camera is still an issue. Get around the line of sight and to the right of the camera. There are some chairs here, and if you’re crouched among them, you can do the following without being caught by the NPC or the camera.
Once the guard is through, throw the briefcase at his head to subdue him. Pick up everything he drops, then drag his body out of the way of the camera’s sight. Make sure it won’t see him even as it turns to both sides. If you’re lucky, he’ll fall out of sight anyway.
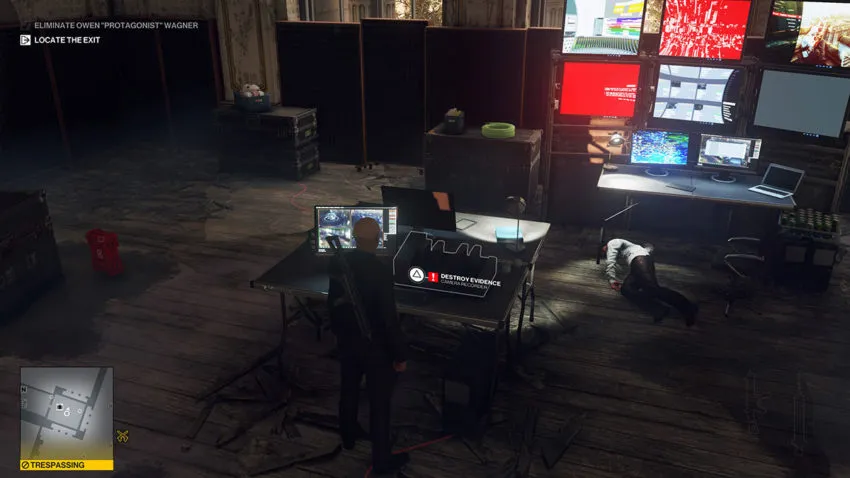
Step 4: Kill the target
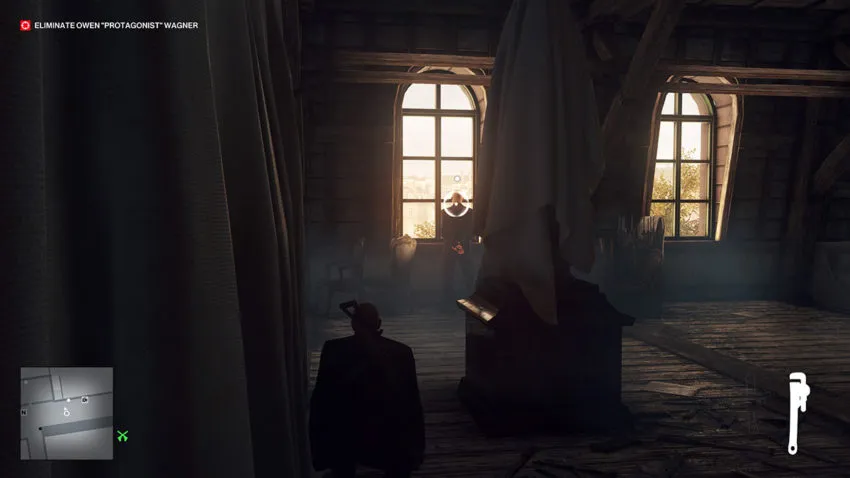
Thankfully, the target is in this next room. He’s the NPC in the white shirt. He’s particularly partial to a certain type of jam, and we’re going to use that against him. He’ll walk over to it and stand there for a while. Once he’s standing near it with his back to you, and the other NPC has his back to you, use the modern lethal syringe to kill him. There’s a chance that the NPCs won’t behave this way. When this happens, wait until the target is distracted, then subdue the other NPC in the room and kill the target in any way you can.
After that’s done, use the wrench to take out the other NPC in the room. We don’t need him seeing the body and causing issues. This is also the room where the security camera footage is stored. Take out the system, and your silent assassin rank will be restored.
Step 5: Exit
Leaving the mission is straightforward enough. You need to return the way you came up here. The only difference is that you need to put Agent 47’s suit back on as you leave the attic. This is because you’ll need that suit to exit through all of the areas you came through on your way up.
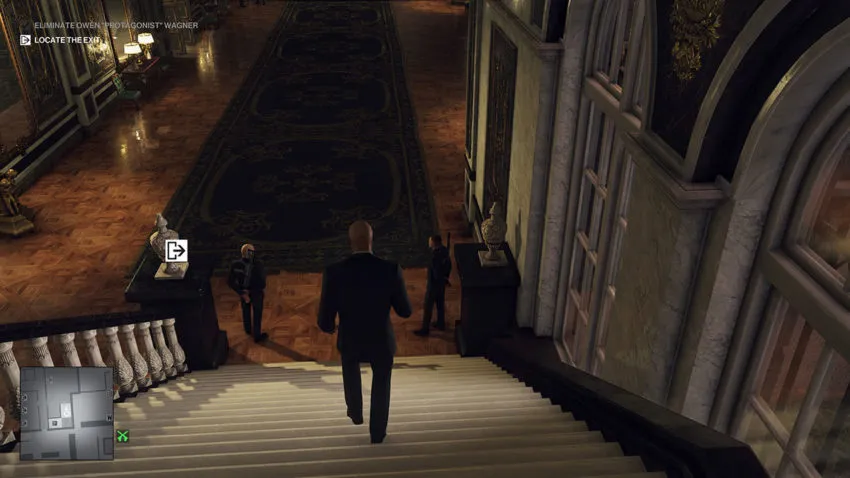
Leave through any exit you want. The main entrance is a safe bet, but there are plenty of others to choose from if you feel like mixing things up.


Published: Jun 4, 2021 07:56 am