The Pride Profusion is the second Escalation to release as a part of the Season of Sins Collection. This mission marks the start of the Season of Pride, offering a few new items for players to collect if they can take it on and complete it. In this guide, we’ll show you how to finish all three levels with a rank of Silent Assassin.
A matter of pride
This Escalation has a unique twist, as did The Greed Enumeration for Season of Greed. You’ll be presented with a choice of weapons to use to complete each level. One will open up an easier path than the other, and there are challenges associated with these. While you can take the easy route, the harder one awards a better score.
Level 1
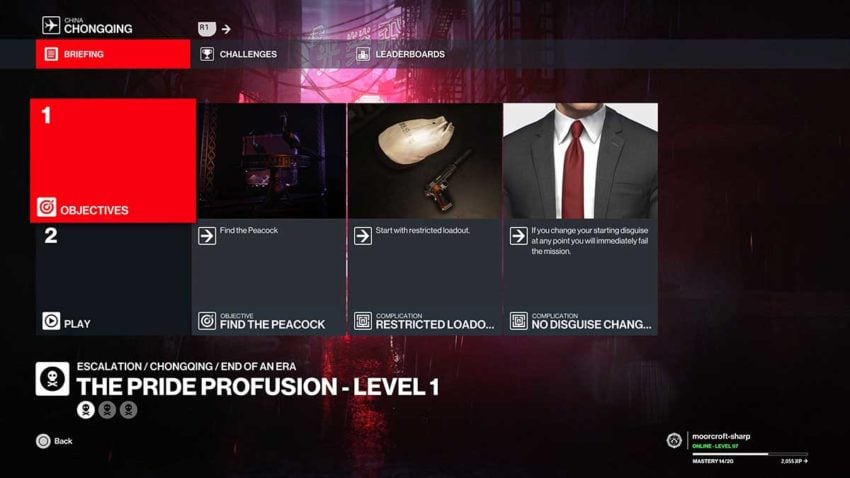
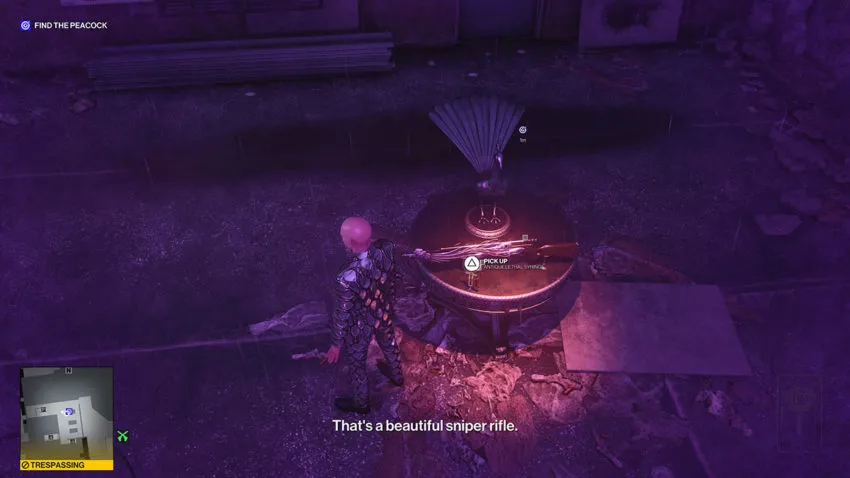
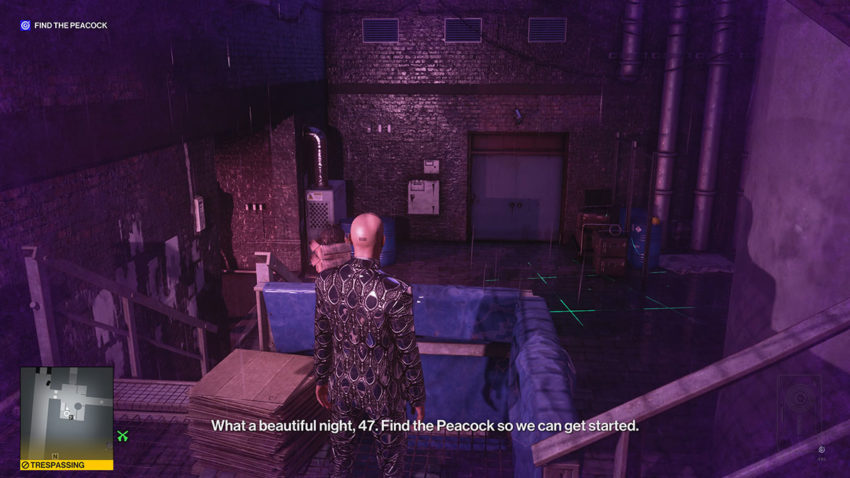
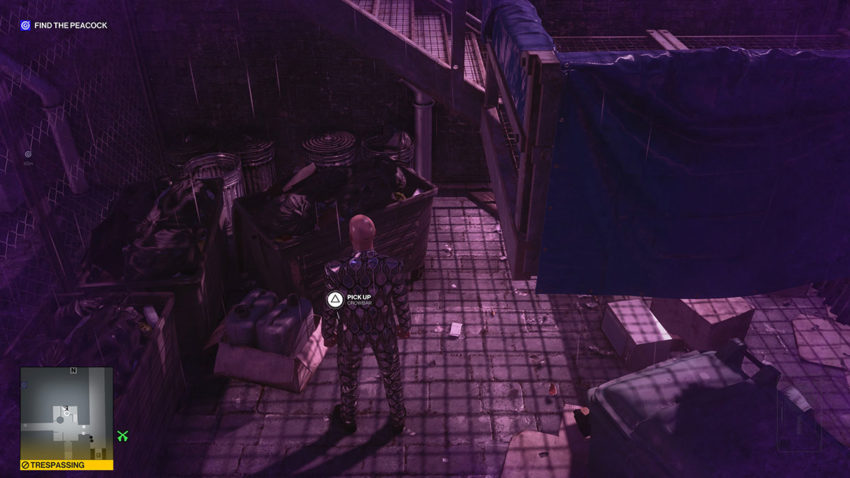
In this first level, the game gives you a restricted loadout, so there’s no changing things up to make them easier. You must find the Peacock, and if you change your disguise at any point, you’ll fail the mission. This ties in with the Escalation’s specific twist on classic Hitman gameplay. The Peacock is in the middle of the square in Chongqing. Follow the walkway from the train station, go up the stairs, and you’ll see it.
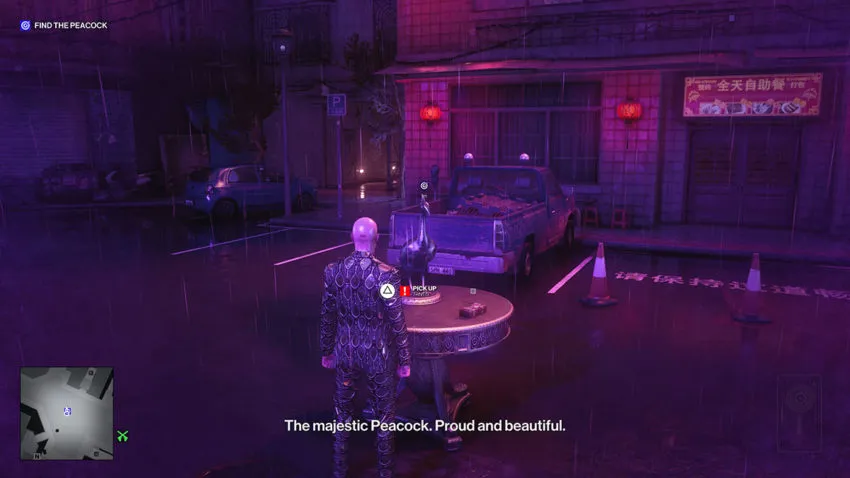
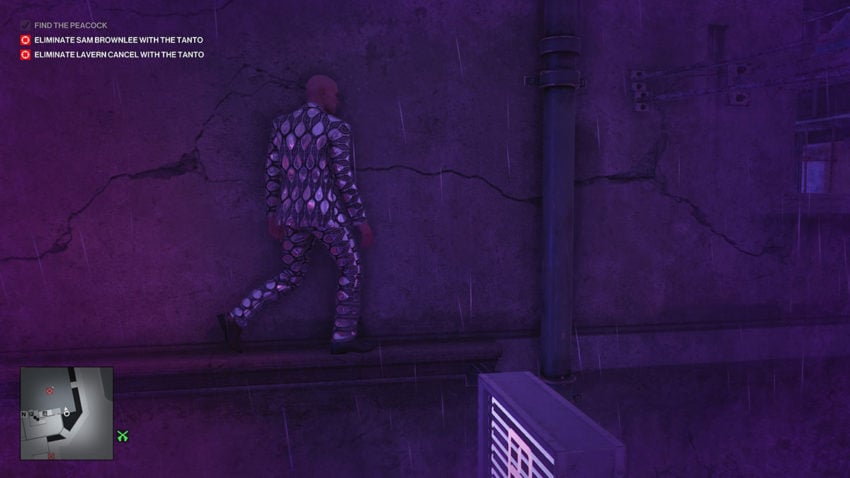
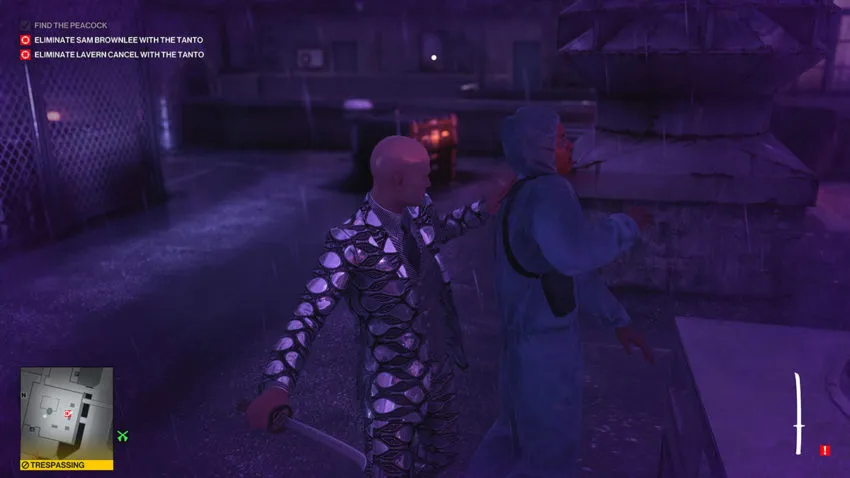
From here you can choose one of two weapons. For the highest score, you’ll need to pick up the Tanto, a sword. It’s tougher to kill your targets with this, but that’s the one you’ll need for this route. As soon as you pick it up, you’ll have a new objective that requires you to hide every body before you can exit, including subdued NPCs. From the Peacock, make your way into the apartment building opposite. Head up the stairs to the top, get out onto the roof, and drop down where the wall is broken. You can shimmy along to the right here, grab a drainpipe, and climb up to the next rooftop.
This rooftop is where your first target is located. They’re the guard that moves around and smokes now and then. The guard will move over to the low cover on this rooftop, but you can also sneak up behind him to kill him. Once you have, hide his body in the crate next to the ventilation outlet.
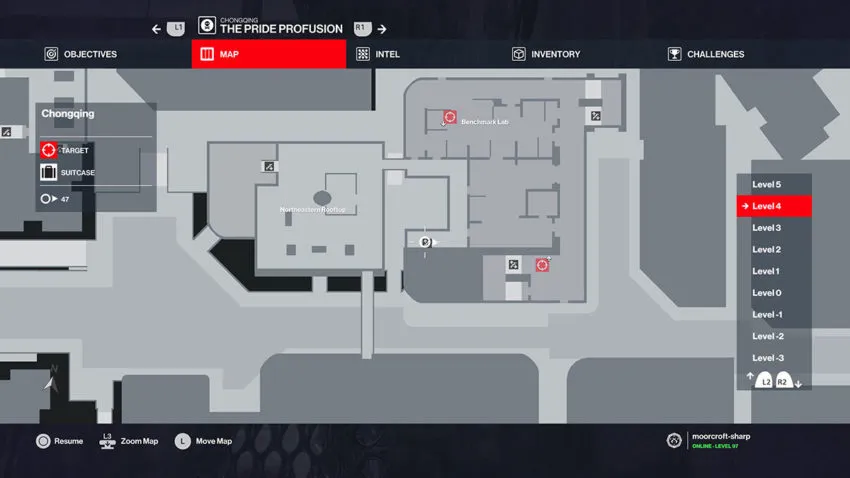
Now return to the first rooftop, the one you opened the door from the apartment building onto. Run towards the red neon sign on the opposite side. You can vault the wall here to get onto a walkway.
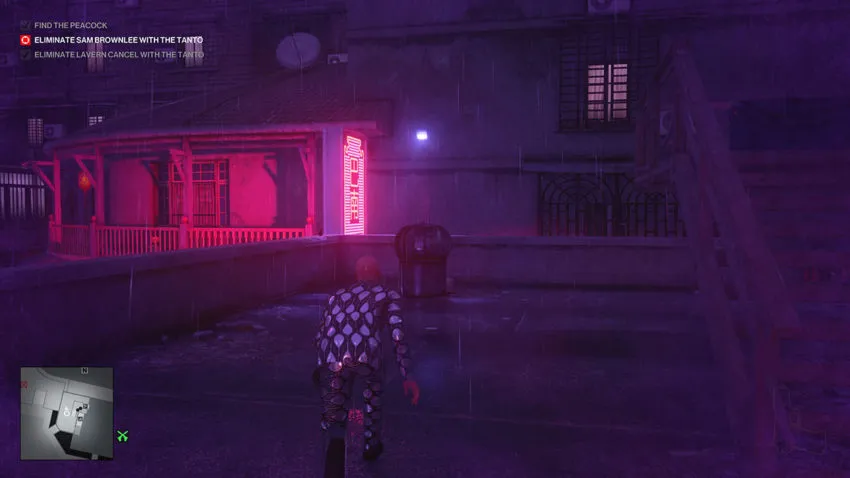
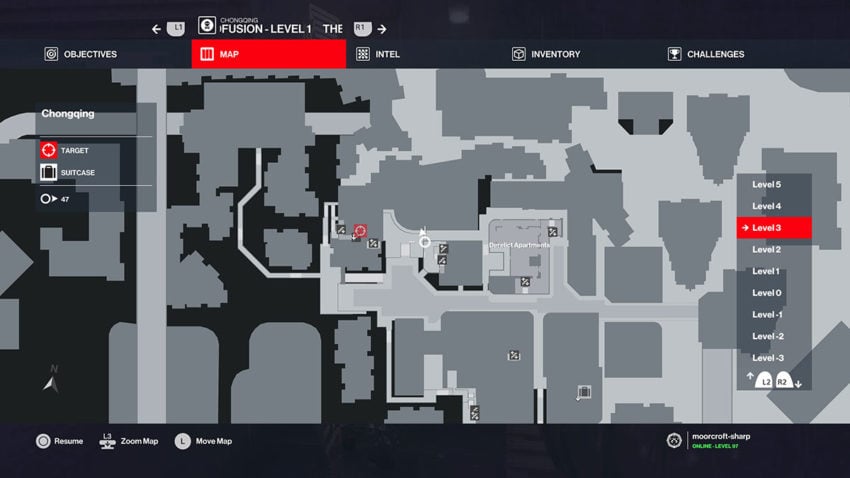
Below is a map reference for this neon sign.
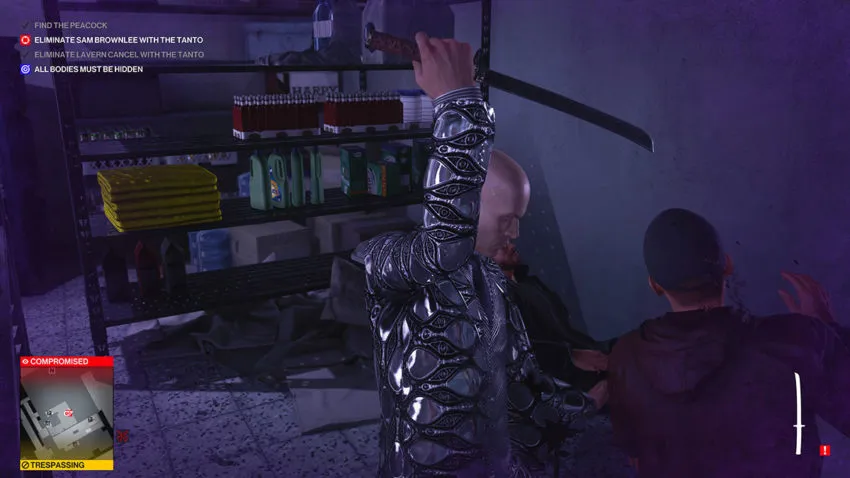
Run all the way along the walkway, vault the railing, and climb the drainpipe. You’ll see an opening to climb up to the next rooftop on your left. Climb up here and head left, open the door to the building, and go down one flight of stairs. Your second target is below.
The target is sat next to another guard, so you’ll need to take them out as well. Pick up the soda can on the table in this area and throw it at the NPC’s head, not your target’s. This will knock them out. Now kill the target with the Tanto. Since you’ve killed the target, you’ll maintain your Silent Assassin rank. Hide both bodies in the nearby locker, and you’ll be able to exit. The closest one is on the roof you just came from, but any will work.
Level 2
The start of this level of the Escalation is exactly the same as the first. Find the peacock, and don’t change your disguise. You’ll start in the main square of Chongqing, but this only serves to speed the mission up a little. However, the Peacock has moved. It’s now located at the point you were in last in the first level.
Head up the stairs in the main square and into the laundromat. You need to use the door at the back that’s locked by the keycode “0118.” Head all the way upstairs to the door on the rooftop that we recommended you use as an exit last time around. This time, the Peacock will tempt you with a sniper rifle, but you need to pick up the three syringes instead. You’ll now have an additional objective tasking you with never being spotted.
With syringes in hand, head to the gap in the wall to the right of the Peacock and slide down the drainpipe. Make your way across the walkway and over to the apartment building’s rooftop. Once again, go to the break in the wall, shimmy over to the drainpipe, and climb up. You’ll now be on the same rooftop as the first target in the first level.

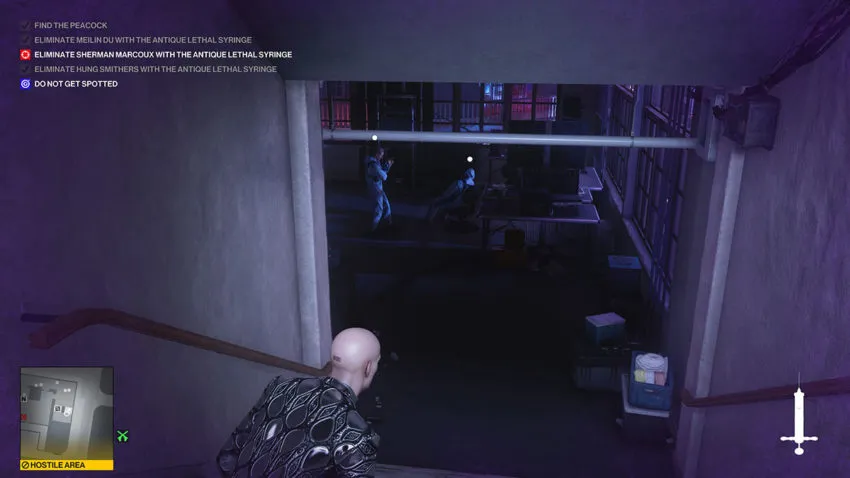
Avoid them and make your way around this area to the small walkway with a camera. Wait until the camera moves, then run across the walkway. Your first target is in a room behind a window with some bars across it. To draw them out, we’ll be allowing them to see us. Once they turn around from their conversation, stand up and allow them to almost spot you, but duck before they do. They will now come outside to try to find you.
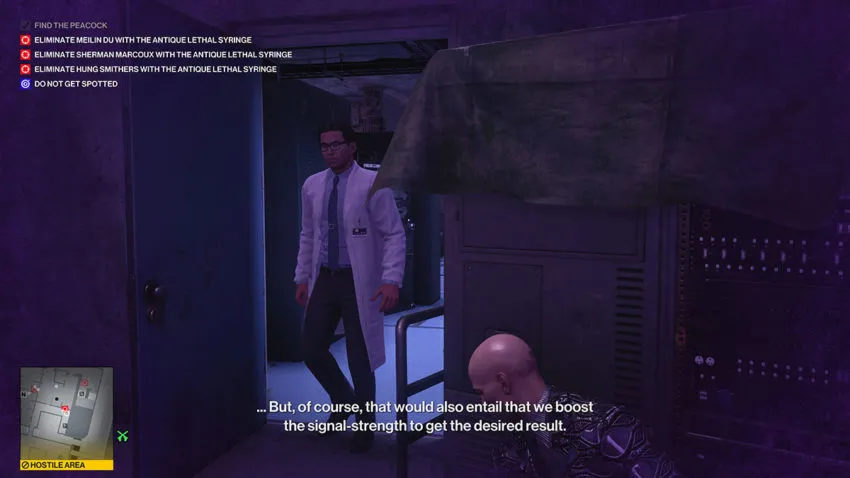
The target will come out of the door to the right, so hide behind the large machinery nearby. Once they’re outside, take them out with the syringe. The next target is even higher, so make your way to the bamboo scaffolding and climb the ladder.
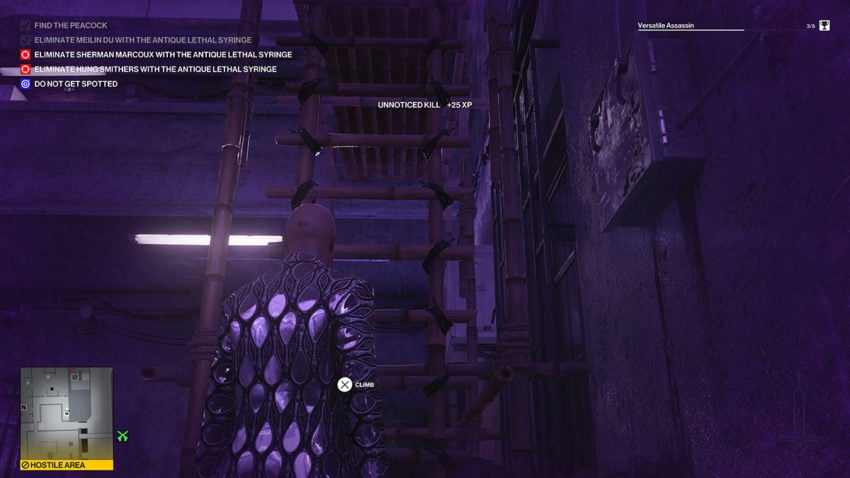
Below is a map reference for this ladder.
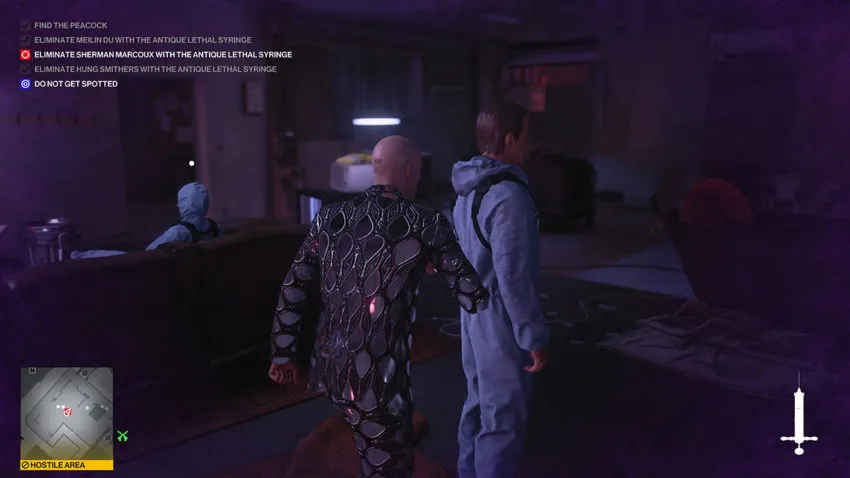
At the top is another door locked by a keycode. This time type in “2552” to open it. This leads to the room where Hush does his experiments. Make your way around it to the right, get out the main entrance, and turn right. This leads directly to your next target, and they’re not alone, but the other NPC won’t notice if you kill them.
The final target is downstairs, so turn around from your second target and head down. You need to go all the way downstairs until you end up in a room with a few NPCs. Vault the low cover to your left and go through the broken wall to avoid them seeing you.
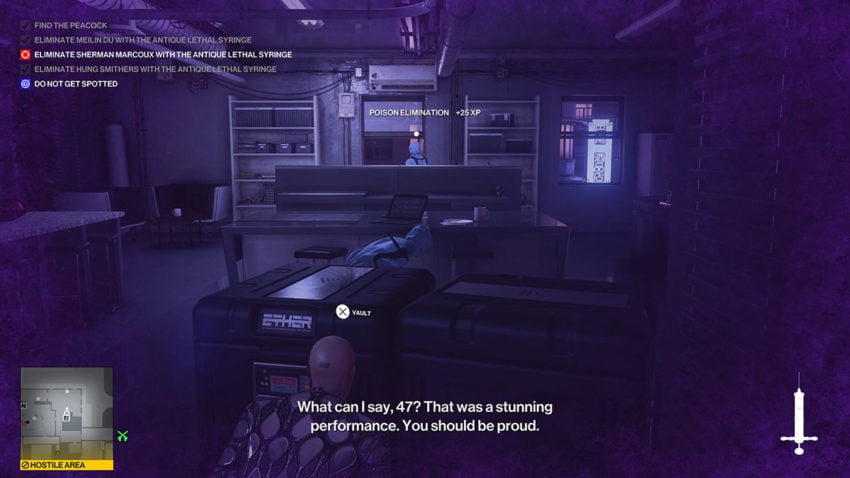
Your final target is in the next room, to your right. He’s patrolling the area and will walk from one end to the other, coming quite close to some nearby cover. Stay here and wait for the target to move to the middle of the room. They’ll stand there for quite a long time, and no one will notice them. Once they’re positioned correctly, head over and jab them with a syringe. His body won’t ever be found.
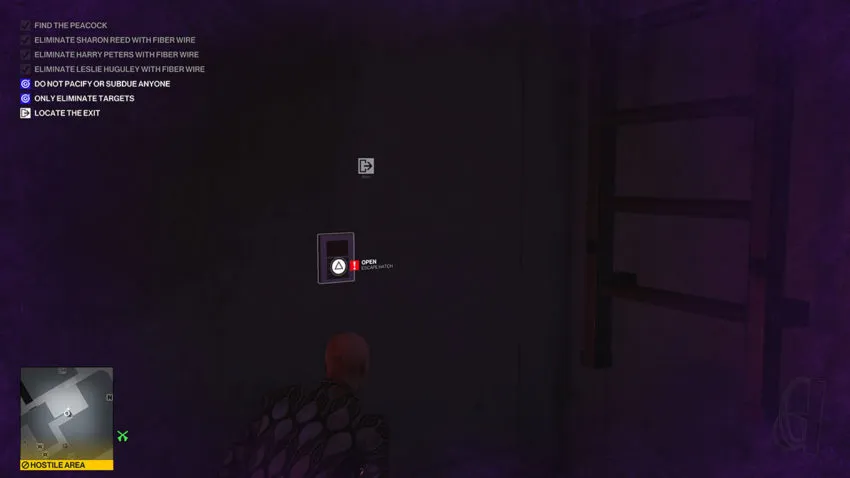
All you need to do now is exit, so leave through the door at the back of this area. Any exit will work, so you can head all the way back through the laundromat and leave via the scooter if you want the safest route possible.
Level 3
As with the second level, nothing changes immediately at the start of this one. In this final level, you start near the entrance to the underground ICA facility. Head down the stairs, pick up the crowbar from under them, and then break into the facility. Make sure to avoid the camera’s gaze while you do this.
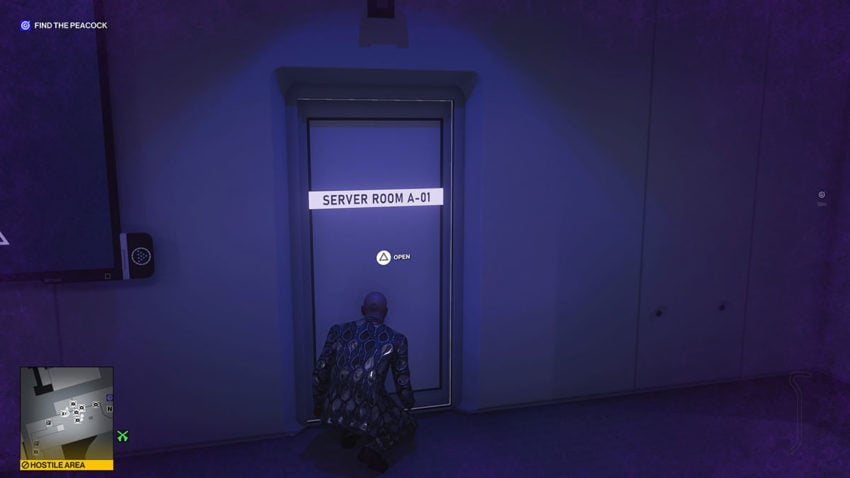
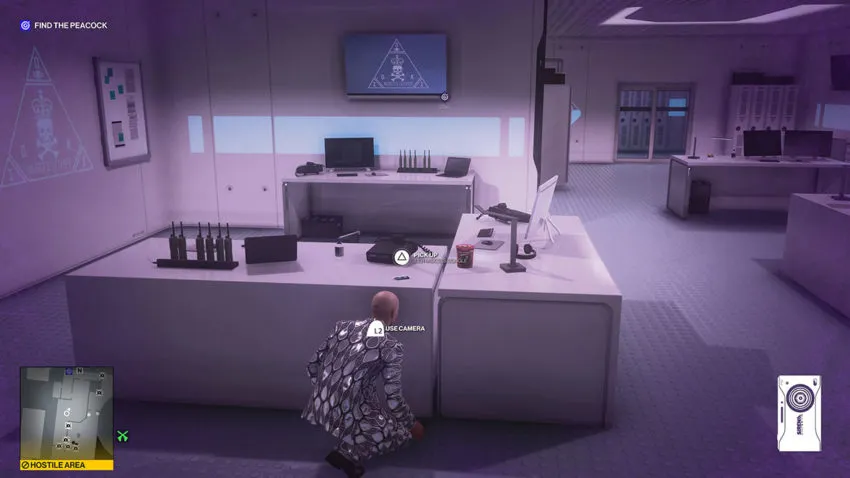
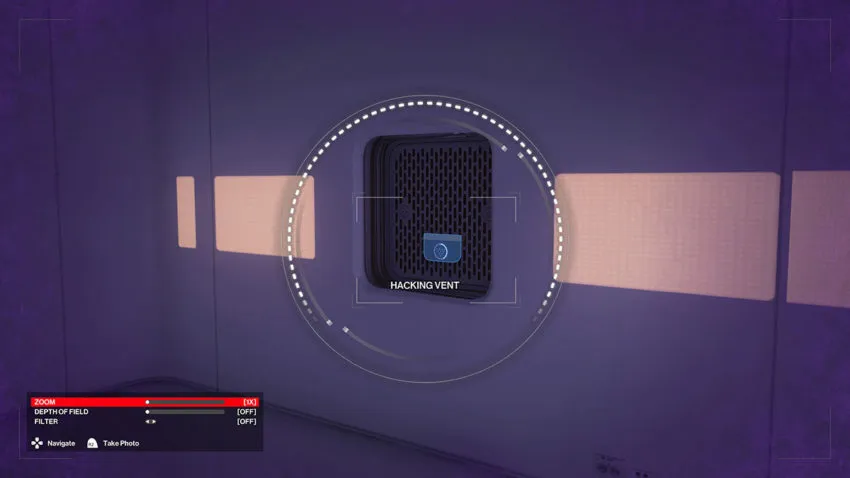
Go down the stairs and turn right. The peacock is in a security room further into the facility. Make your way down all the steps into the main atrium. There’s a door to your left marked as a server room that you need to go through. In here, you’ll see a vent. Open it using your camera.
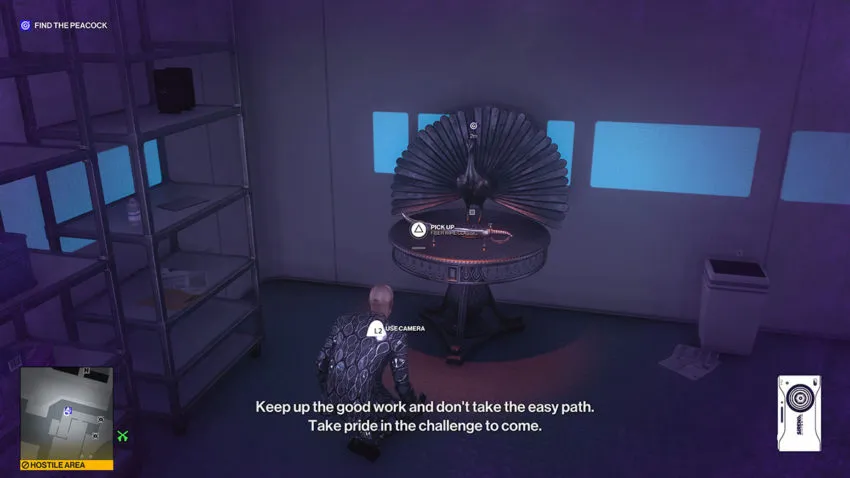
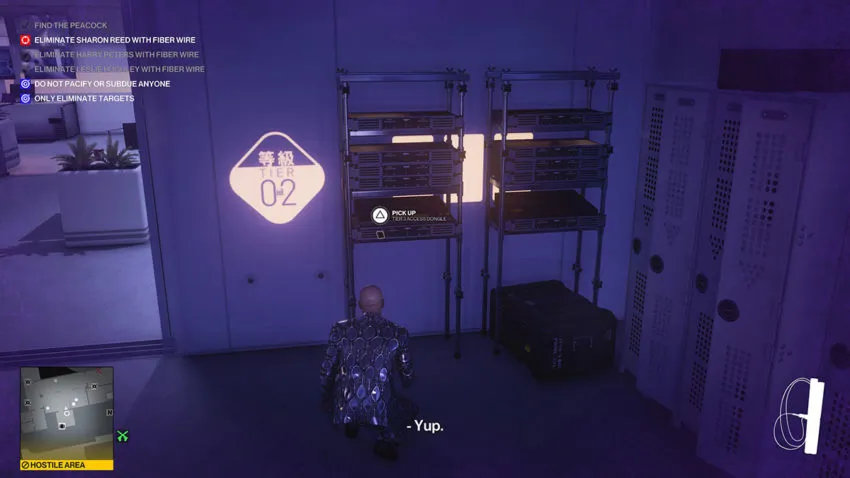
Move into the next room, which should be empty, and pick up the dongle from the table. This will allow you to hack more security doors later, so make sure you don’t miss it. Take the first double door to your left to leave this room, and you’ll see the peacock in the walkway right outside.
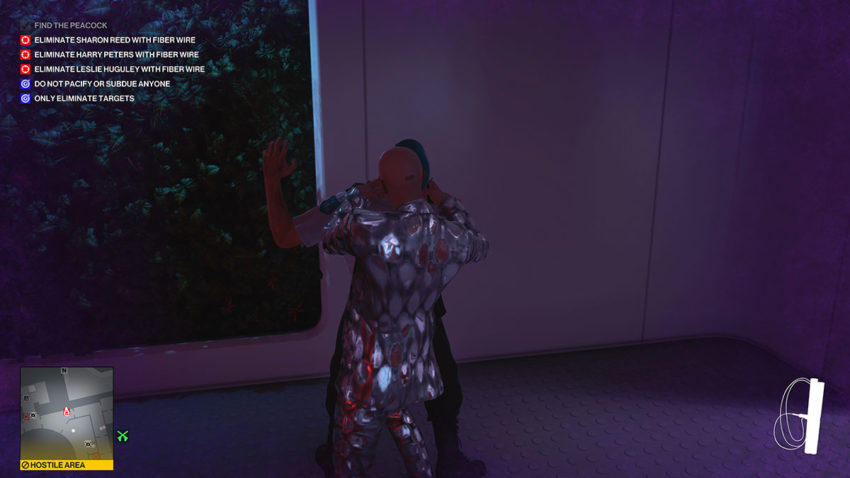
The weapon of choice this time is Agent 47’s staple fiber wire. You’ll gain a new objective that restricts you to only killing your targets. You can’t pacify anyone. Head out through the door to your right to reach your first target.
Go through two sets of doors and keep moving forward. You’ll see a double door that’s locked by security to your right. Use your camera to open it, then throw your crowbar at the wall opposite the locker in the corridor. This will draw out the target. Hide in the locker, wait until the target comes out, then kill them and hide their body.
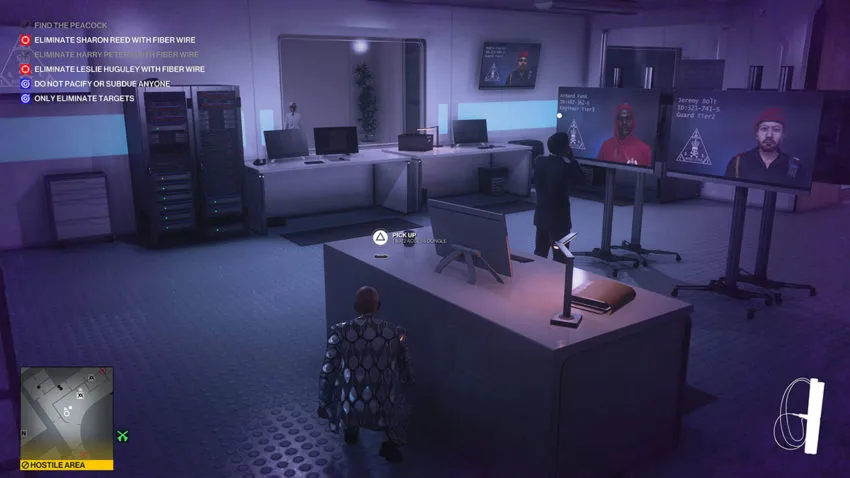
Now you need the Tier 2 Dongle. It’s in the room that your target came from, so sneak past the NPC in there are take it. Now head back out, and through the door you entered the area from. You’ll see the Tier 2 door on your right. Hack it as you would any door with your camera.
Go through the door, down the stairs, and turn right. You need to go through the first door that you come to. There’s someone in here, so stay down to avoid being seen. Work your way around to the right to exit this room.
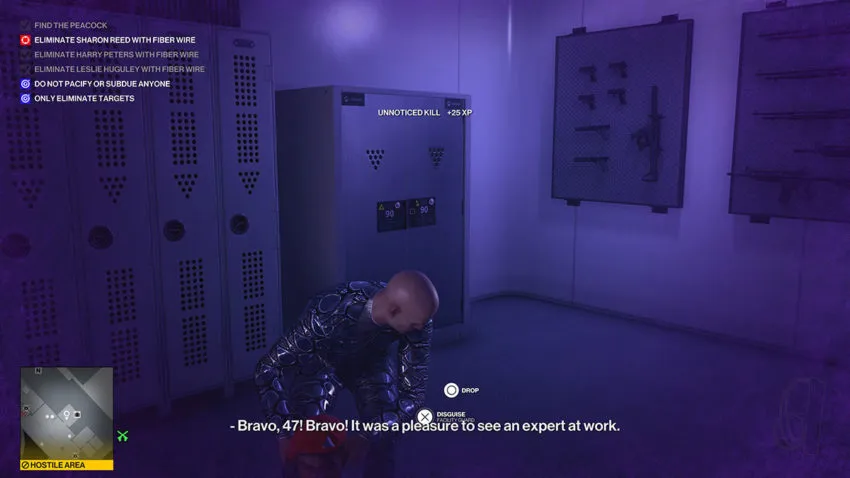
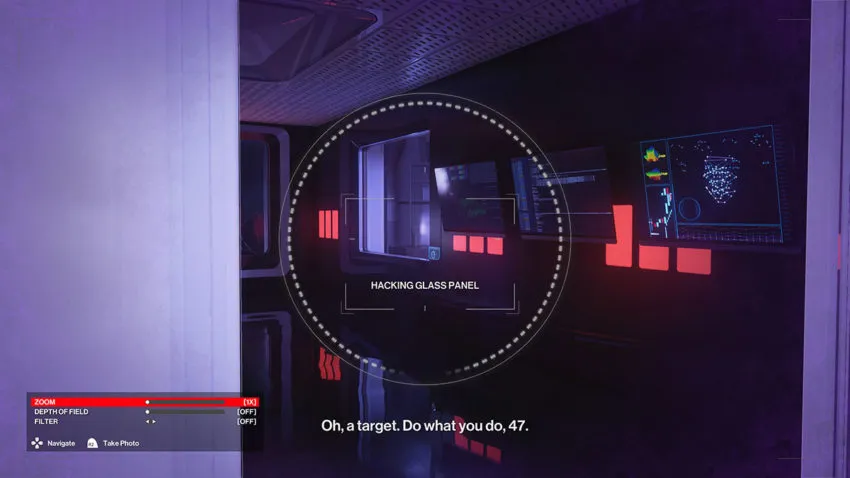
Go through the door to the left in front of you. In the next corridor is a camera. Hack the glass panel to your left to shut the camera down. The next room is where your target is located, but there are a few guards around them as well. You need to wait until your target is near the armory door. Once there, he’ll stand around for a moment before moving on. As soon as he’s positioned there, take him out with the fiber wire, hack the door to the armory, and hide his body in the locker inside.
Grab the Tier 3 Dongle from the shelves near the door before you leave the armory. As you move out, grab the pistol that your target dropped. Make your way to the door you entered the room through, but turn and use the silenced pistole you just picked up to shoot out the evidence in the back corner. This will help with the next target.
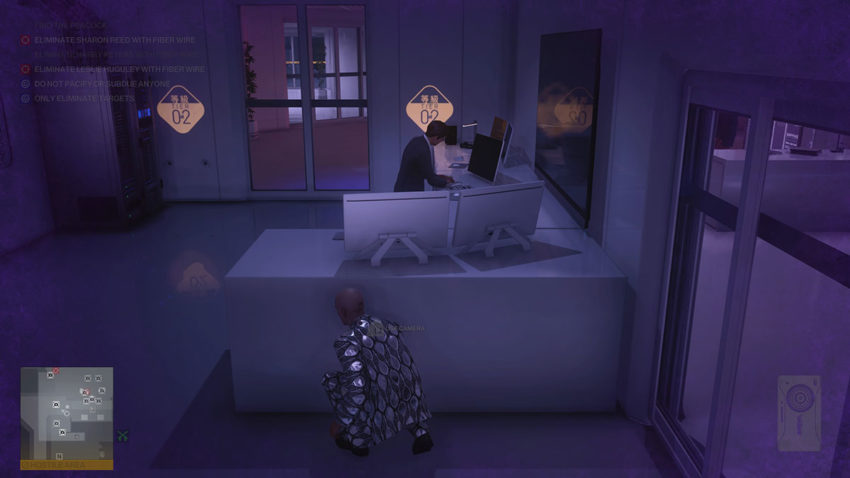
The area immediately outside of this room is where one of the main targets from Chongqing will patrol. Keep an eye out so that she does not spot you. If she’s not around, hack the vent in this area and jump through.
Go down the shaft here, turn left at the end, and get down the ladder. Now you can leave the area through the opposite vent. Turn right as soon as you’re in the corridor and open the door to the control room. You can lean around and use the camera to hack the control panels, which will help us with the next target. She’s in this room, but with the panels hacked, no one can see her.
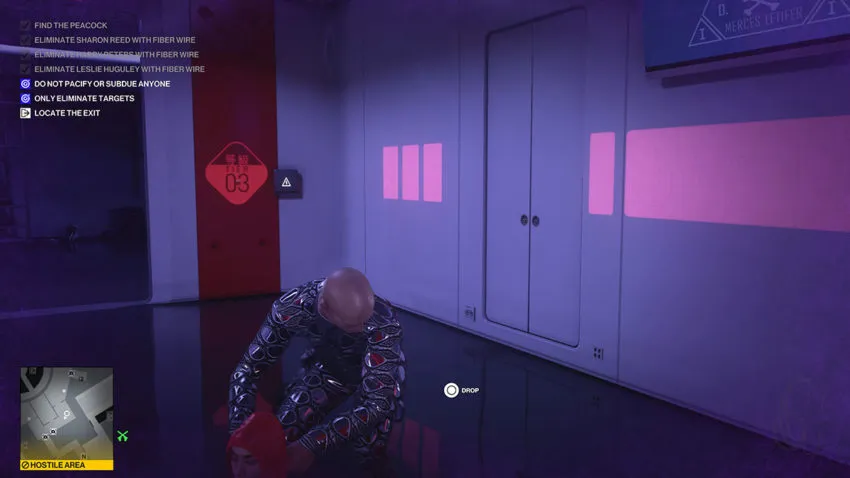
Take out the target once the panels are down. To hide it, you need to drag it into the corridor and turn left. There’s a locker in the wall that you can use. Watch out for the guard in the next corridor. They may spot you if you’re not careful.
To leave, head back into the vent and turn left. You can activate a ladder here that will allow you to get up to the surface. There are two guards up here, so wait until they’re not looking at the gate before you leave. You can then use any exit you want.
For completing this Escalation, you’ll unlock The Narcissus Suit, The Proud Swashbuckler sword, and The Majestic sniper rifle. The Majestic is equipped with several perks that make it effective as a tool for Sniper Assassin runs in any mission in the game.


Published: May 13, 2021 05:40 am