Santa Fortuna’s Three-Headed Serpent mission is set in one of the largest locations in the entire Hitman reboot trilogy. You’re tasked with taking out three targets, each of which barely moves out of their heavily patrolled areas. This guide explains how to complete the mission with the rank of Silent Assassin.
Loadout
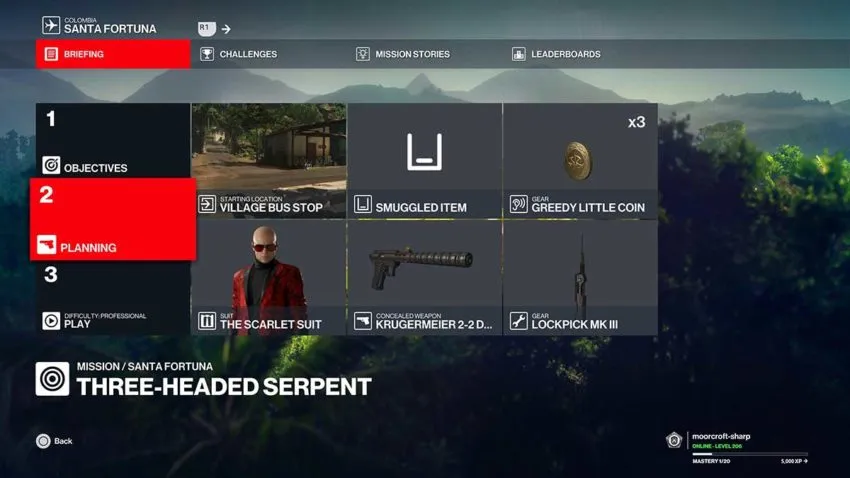
This mission may be long, but it doesn’t require much in the way of equipment. We recommend bringing a coin, a pistol such as the Krugermeier 2-2 Dark, and a lockpick. With all this, you can easily work your way through your targets.
Step 1: Become the drug smuggler
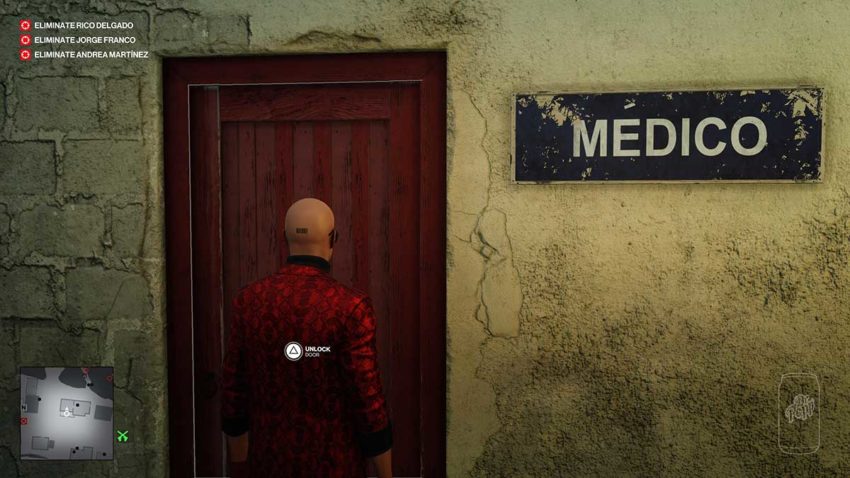
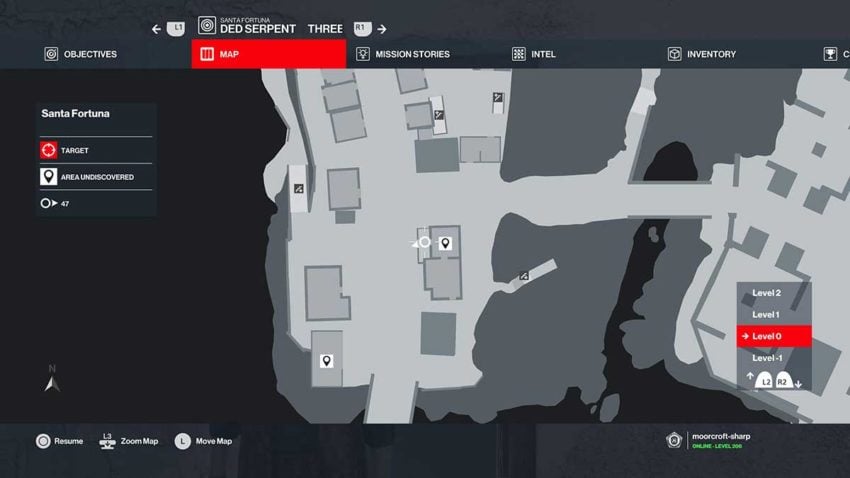
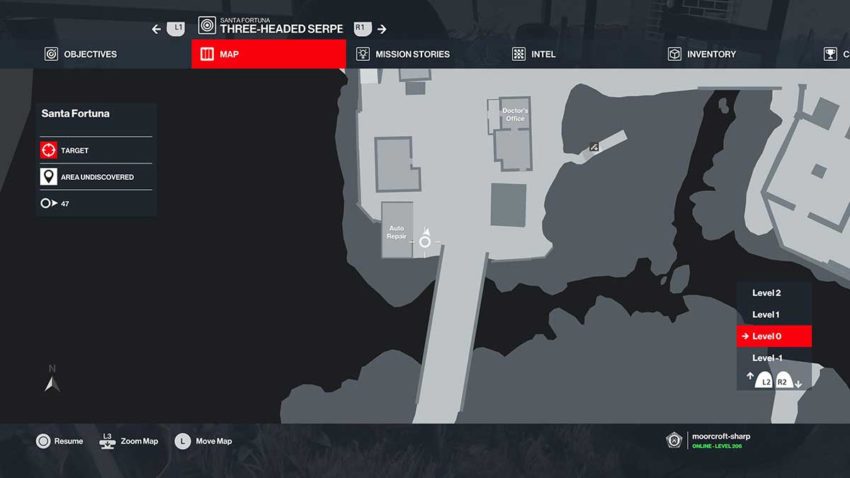
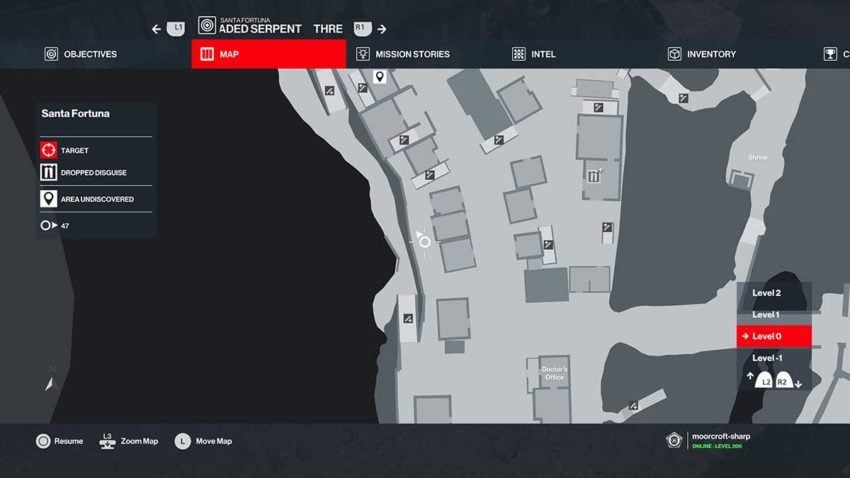
From your starting location at the village bus stop, make your way to the building on your right, the medical center. Use the lockpick on the door and head inside to pick up the lethal poison vial that’s sitting on the desk. See below for a map reference for this building.
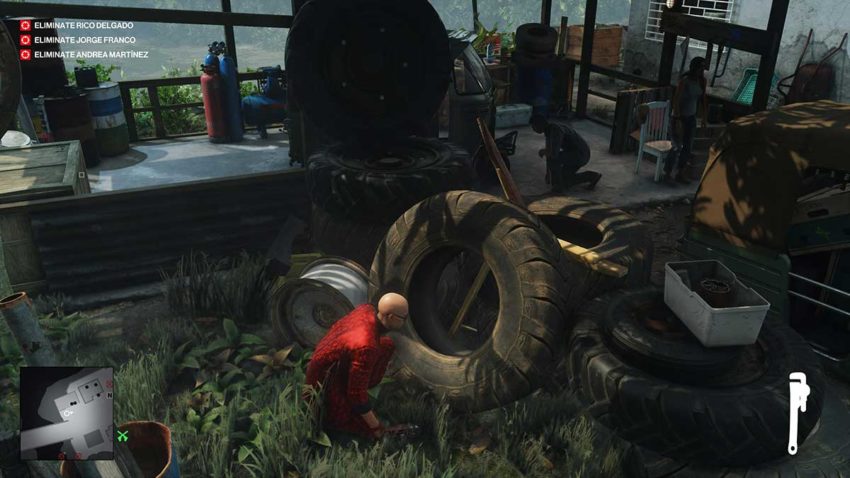
You now need to get some glue. Move across the road to the auto repair shop. There’s a mechanic here working on a car while his partner sits down now and then between getting up and standing at the wall behind the building to smoke far too many cigarettes. See below for a map reference for the auto repair shop.
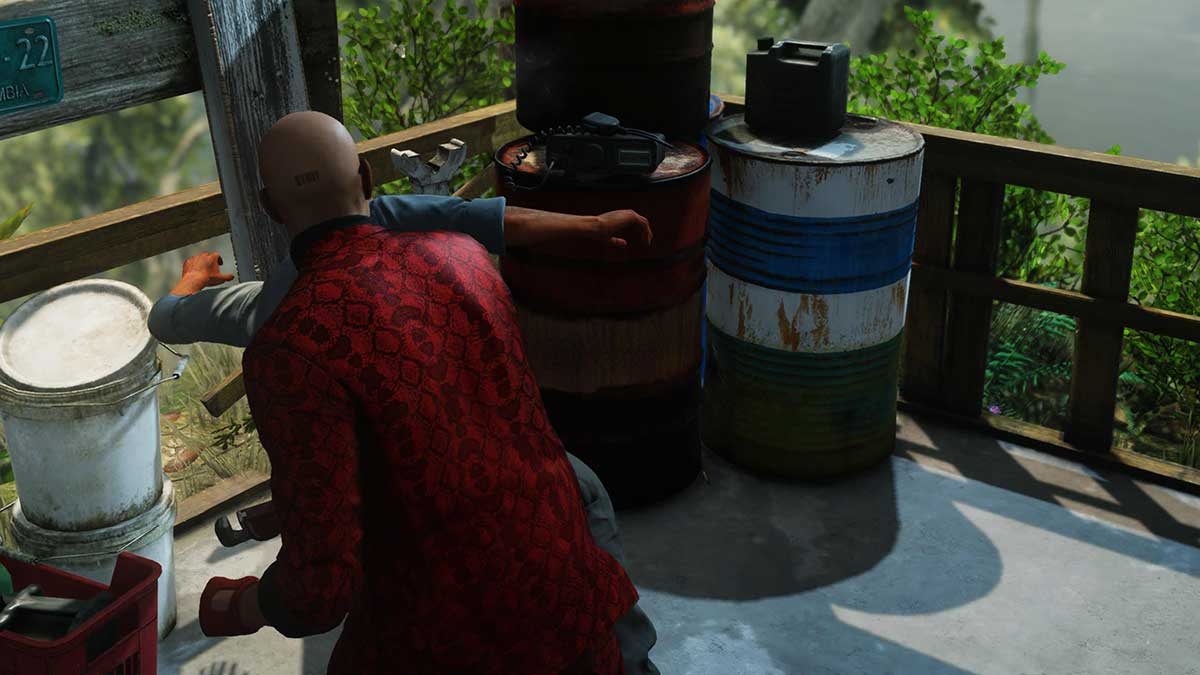
Wait until the female NPC starts to walk away, then flip a coin into the left corner of the area to distract the mechanic over there. Vault the low wall and subdue him when he’s close to the container, then dump his body into it. You can pick the glue he drops up from the floor.
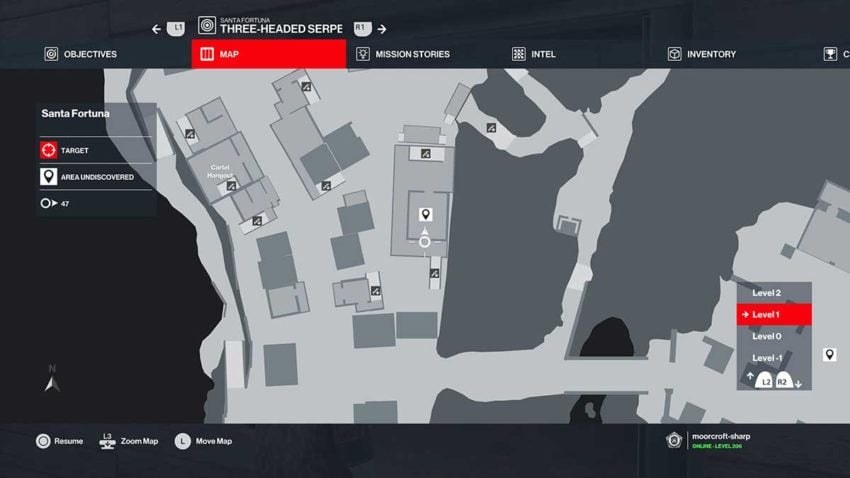
Finally, you need a new disguise. Make your way to the bar along the street and look for the hippie character from Sapienza. He’s smuggling drugs into Santa Fortuna, and by wearing his disguise, you can deliver a lethal package to one or your targets. Go upstairs from the bar and get inside the room at the top using the lockpick. See below for a map reference for this location.
Use the alarm clock to draw in the hippie when you’re inside. If the other NPC comes in first, hide and subdue them, then dump their body in the wardrobe. When the hippie does come in, do the same and take his disguise.
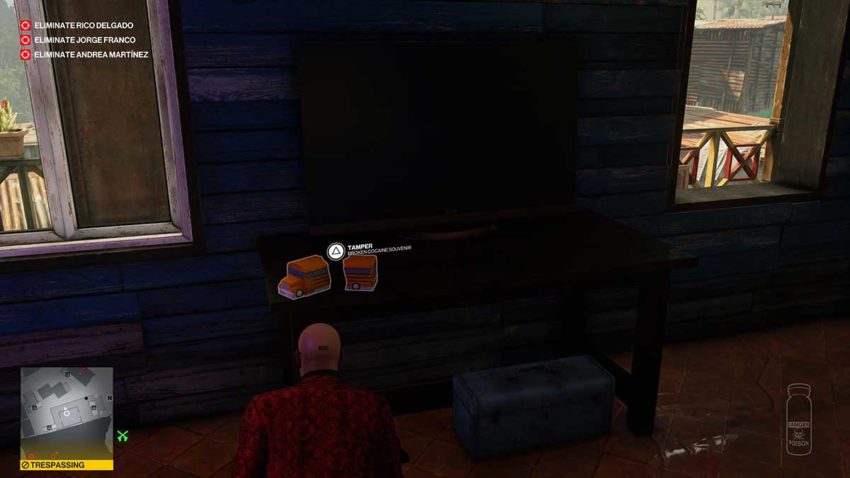
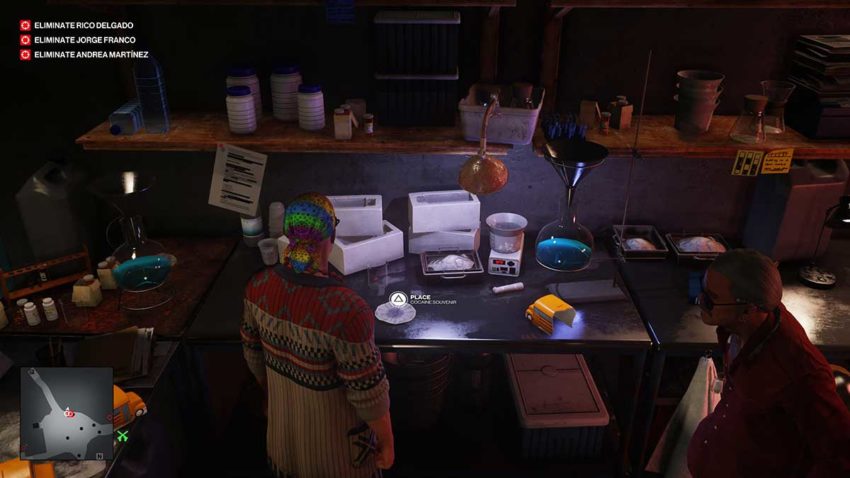
Now you can use the glue and lethal poison on the broken souvenir on the side. Then, once it’s repaired, pick it up and head outside.
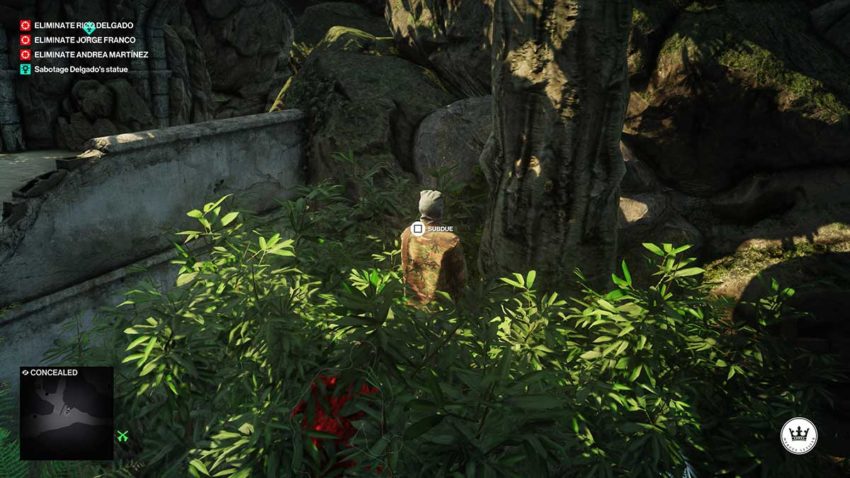
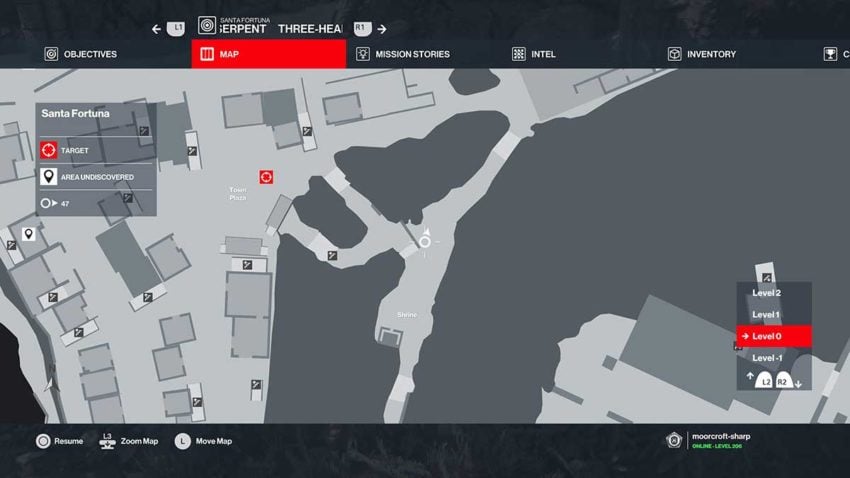
Before following the path to your target, make your way around to the right and find the path that leads up to the covered statue. The guards won’t let you past, but one will eventually walk away to pee in the bushes. See below for a map reference for this guard.
When he does, sneak into the tall grass and subdue him. Leave his body where it falls because you’ll need his disguise later.
Step 2: Take out your target
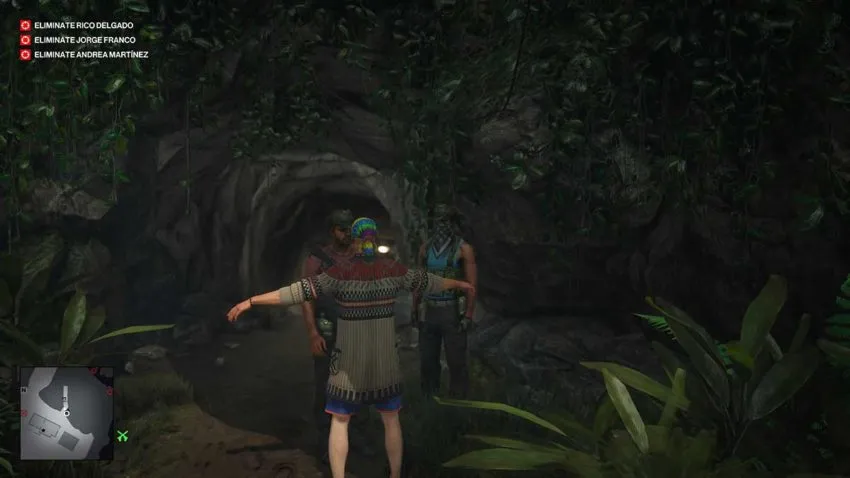
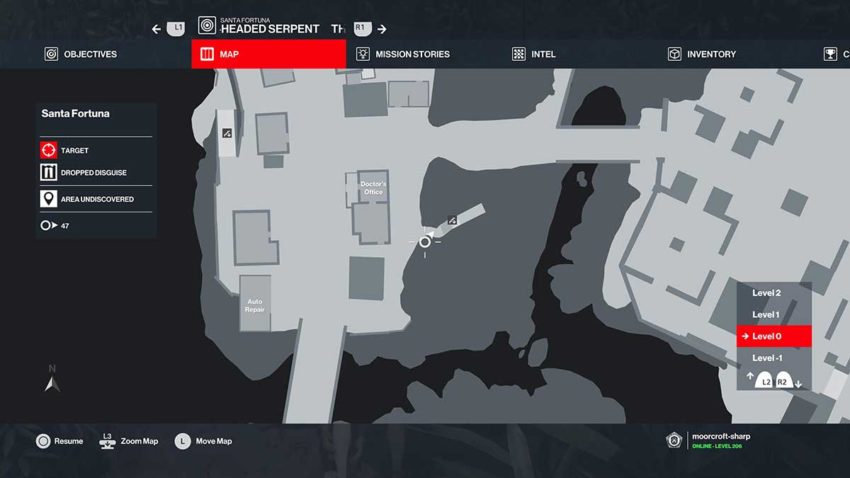
Make your way to the secret cave behind the row of buildings on the main street. You’ll need to hide in the grass as you approach and shoot out the camera before getting near the guards. Ensure that you drop the pistol in the grass because the guards need to frisk you. Once you’ve been frisked, follow the guard through to the main cave. See below for a map reference for the entrance’s location.
Follow the guard through the main cave and place the souvenir on the plate. Your first target will then arrive to inspect it. They’ll break it and try some of the drugs inside before they succumb to the poison. You can remain in the area, but it’s challenging to move around without being spotted, so you need to be careful.
Step 3: Get the love letter
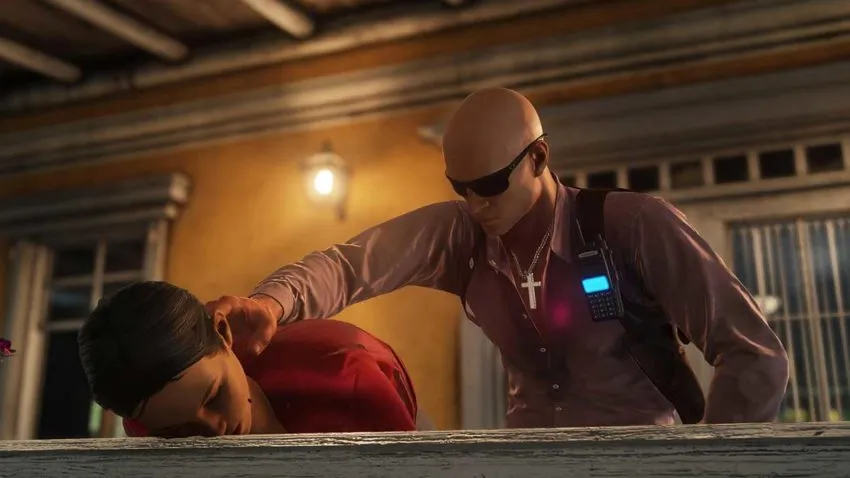
Carefully move out of the cave area and follow the route that your target took to get in there. A few guards will see through your disguise, but you should be able to move freely for the most part. When you come to the dark grey corridor, you need to wait by the boxes. Eventually, a guard with a limp will come through. When he does, you need to subdue him and drag his body into the room behind you, where you can dump it in a container.
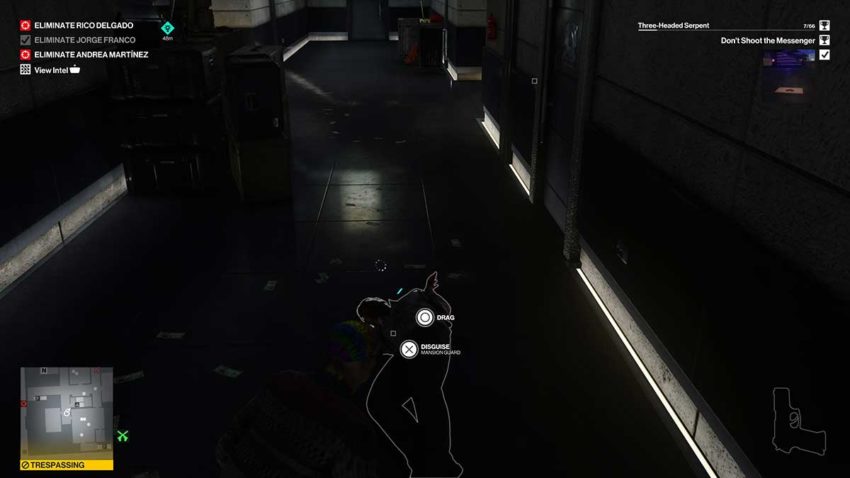
This guard drops a love letter, which is essential for taking out your next target. Put on their disguise and then move into the kitchen across the hall. From there, you can get back into the main town square by heading up the stairs.
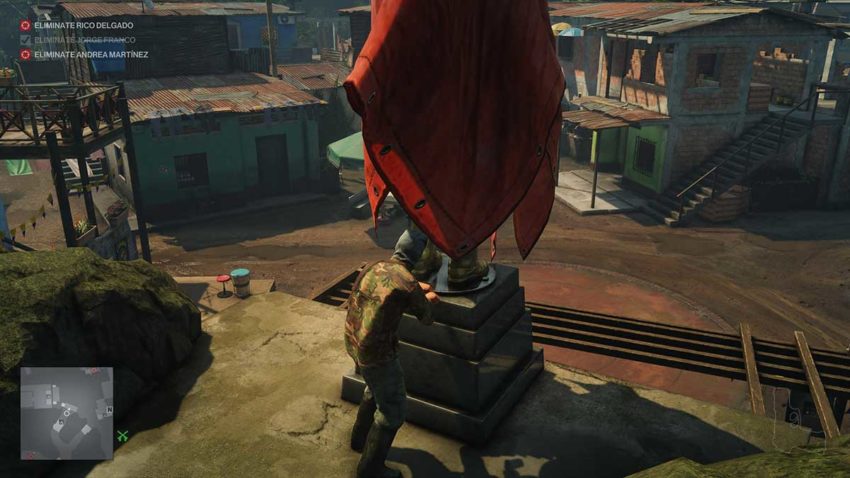
While you’re out in the town, go back to the soldier you subdued earlier and put on his disguise. Then, move up to the statue that’s still covered in a red tarp and give it a good shove. This will break it in preparation for your final kill. Go back and put on the mansion security disguise and then go to the entrance to the mansion.
Step 4: Kill your second target
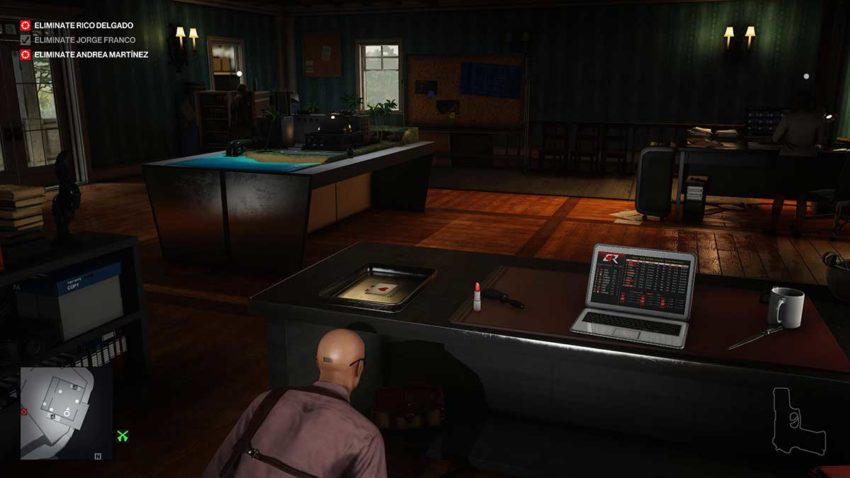
Talk to the guard on the door to discover what the letter is. This will allow you to get inside, but watch out for the security cameras. Next, make your way upstairs to the top floor, but be careful to avoid the gaze of the soldier that patrols the room at the top. Once you’re up there, place the letter on the metal tray and wait.
Now, head out to the balcony. Your target will read the letter and come out onto the balcony. When she does, you can push her over it and kill her.
Step 5: Get the band back together
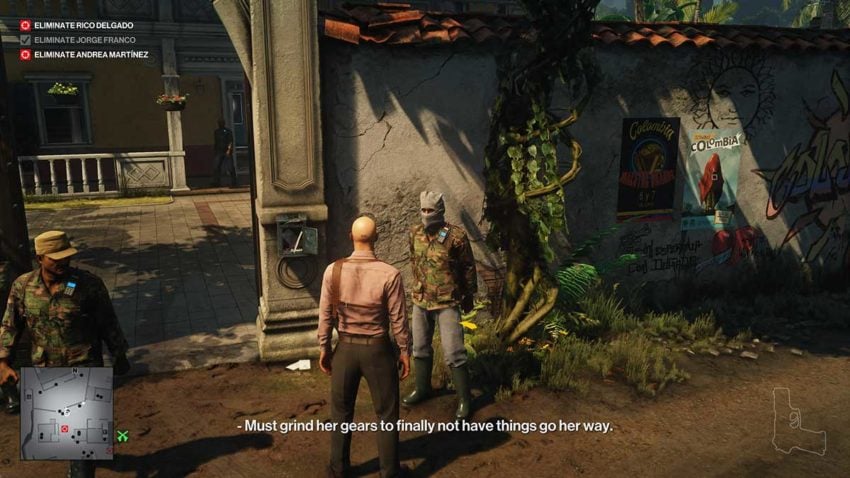
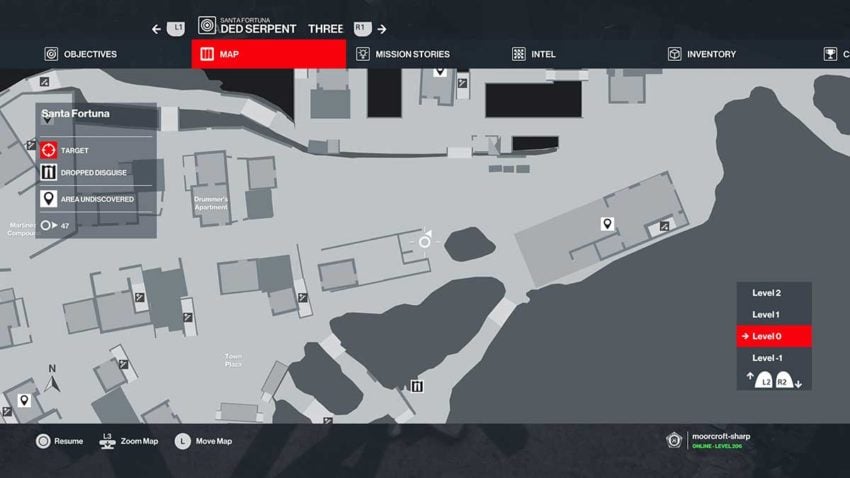
For your final target, you’re going to need to find the four members of the band that’s due to be playing at the celebration where the statue you messed with earlier is being unveiled. The first one is near the entrance to the mansion you’re in. He’s sleeping off the previous night on a bench, and you can wake him by interacting with the poster next to him. See below for a map reference for this band member.
The second member of the band is dead. He’s inside a building with deafening music blaring out of it. You need to use the fusebox on the building to get the NPC inside to come out, then subdue him and put his body in the nearby container. Use the lockpick to get inside the building and find the dead band member. Put on his disguise, and you’re good to go. See below for a map reference for the second band member.
The third member of the band is sleeping the night off near the cliff edge. There’s a tap near him that you can turn on to wake him up. See below for a map reference for this band member.
The final band member is sleeping next to a generator down the road from the main square. Turn the generator on to wake him up, and then head back to the main square to take the position of the drummer. See below for a map reference for this band member.
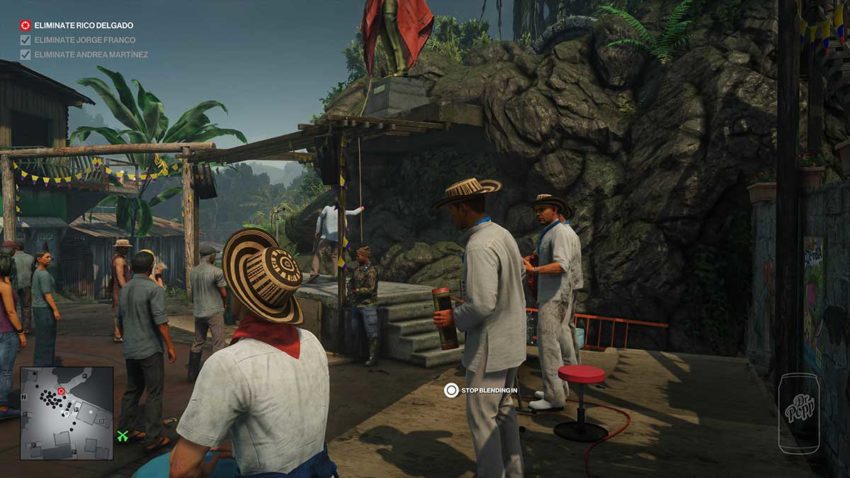
Step 6: Wait for your final target to die
The only thing you need to do now is assume the role of the drummer and wait for your final target to show up. He’ll give a small speech, wonder out loud where your second target has gotten to, then ask for a drum roll. Remain in position on the drum until this point, then the target will pull the chord and drop the statue on himself.
Following that, you can leave using the bus stop exit or any exit you fancy using.


Published: Feb 16, 2022 04:06 am