His Final Act is the final quest in the Horizon Forbidden West: Burning Shores DLC. It sees Aloy and Seyka head back to Walter’s rocket base to confront and stop him from acting out his plan, which would kill everything within a thousand-mile radius. However, he’s got one more trick up his sleeve that’s going to push you to your limit. This guide explains how to complete the quest, including boss fight strategies and detailed stealth guides.
Related: Horizon Forbidden West: Burning Shores DLC Walkthrough – Quests, Collectibles, Challenges & Machines
His Final Act Walkthrough
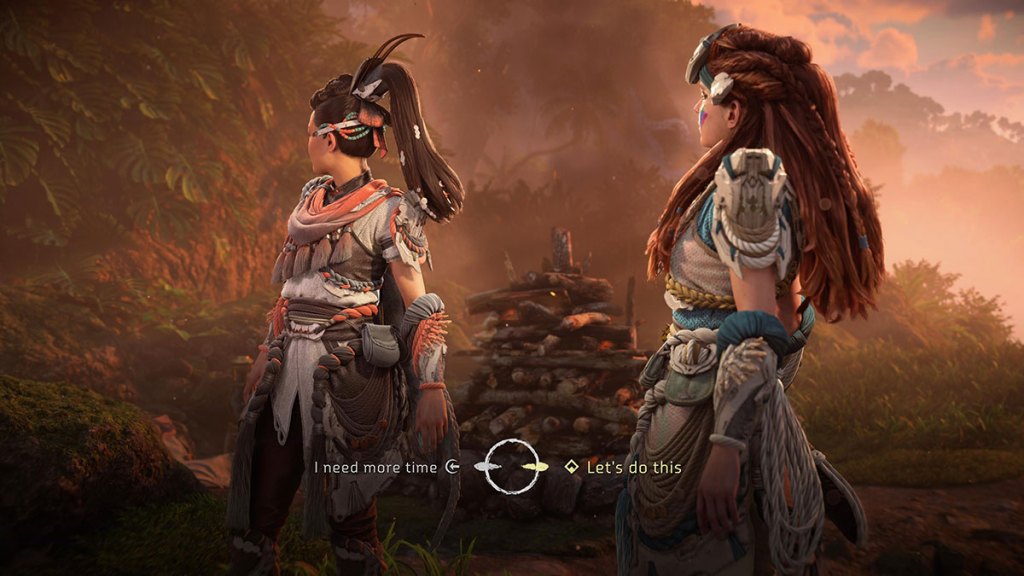
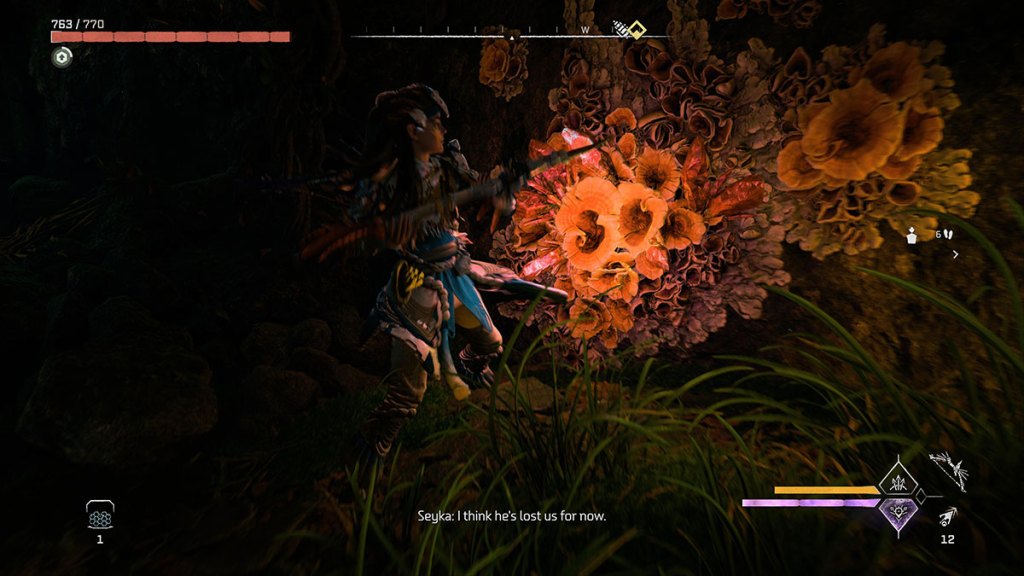
You start His Final Act at the campfire next to the cave entrance to Walter’s base. Once Seyka arrives, you have the choice to tackle the mission or wait a while. The only reason to wait is so that you can go to Fleet’s End to stock up on supplies. We really struggled with this mission even though we crafted all the ammo possible, upgraded everything we could, and bought a few meals. You’d be remiss to approach it unprepared, so take the time to stock up while you can. Then come back and start the mission.
Step 1: Disable the Cooling System

Walter is inside the Horus, trying to get it to work. He has no code to turn it on, so he’s plugging himself in and trying to get it back online through sheer willpower. While doing this, the machine is generating a lot of heat, and, being 1,000 years old, it has no cooling system’s not got the best cooling system. That’s why he’s hooked one up while he’s working away, which Aloy spots straight away. Your first job is to take down the cooling system to prevent the Metal Devil from coming back to life.
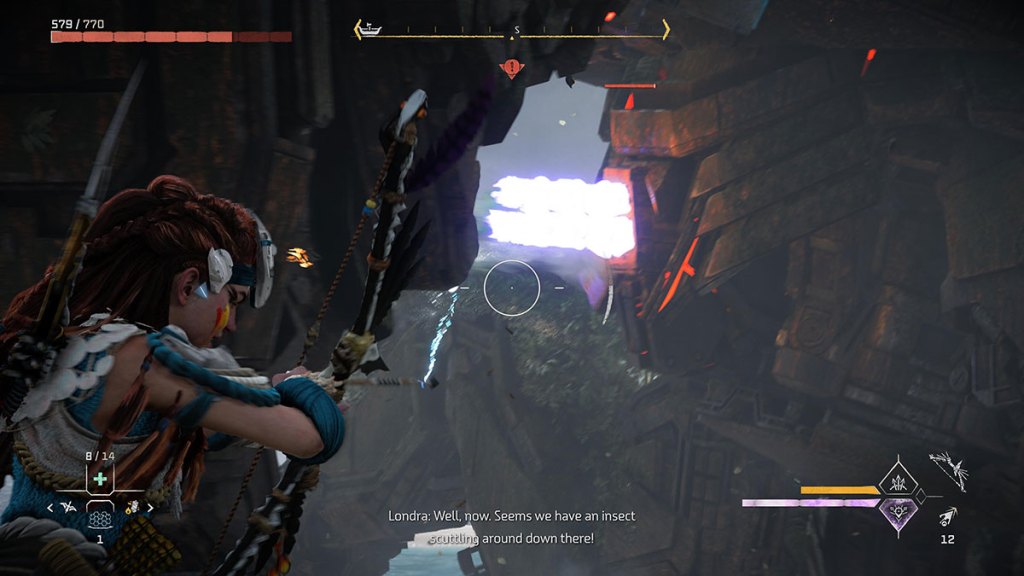
As soon as you gain control over Aloy, you’re up against Corruptors. These are literal war machines designed for battle, so be cautious in your approach. We found that the best way to fight them was to hit them with Acid damage, then remove their weaponry. This leaves them with nothing but a tail, and they’re pretty easy to destroy at that point.
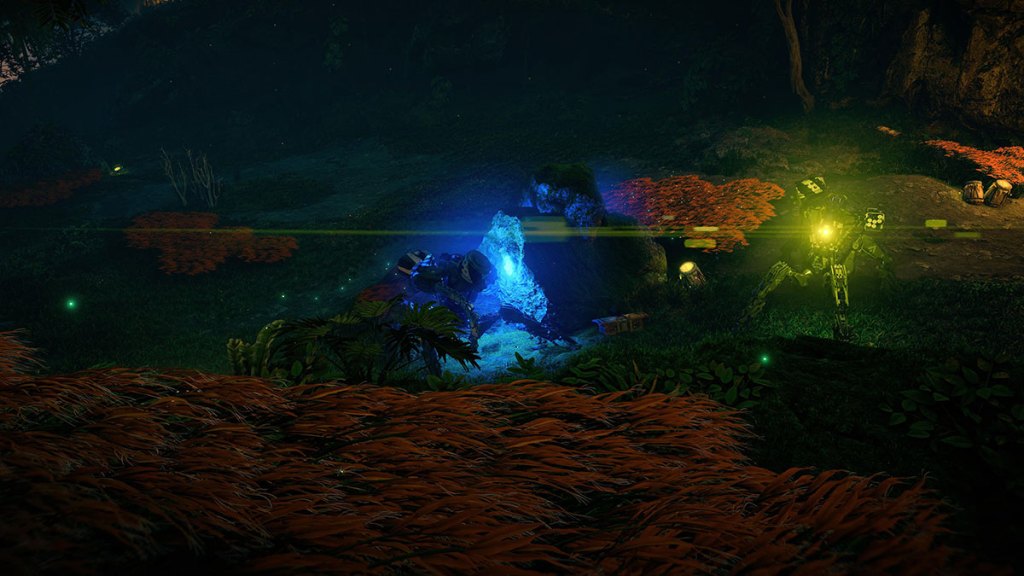
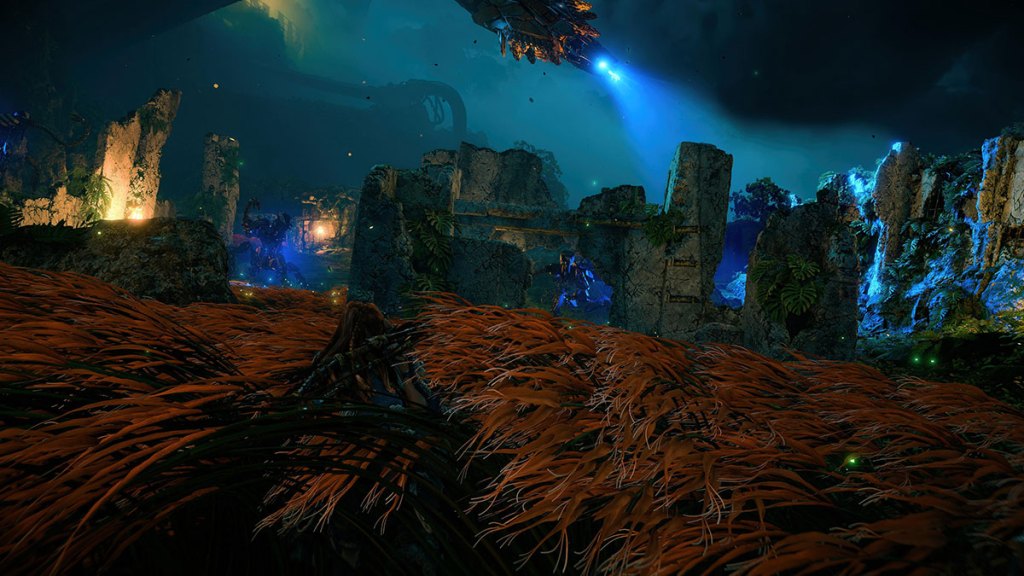
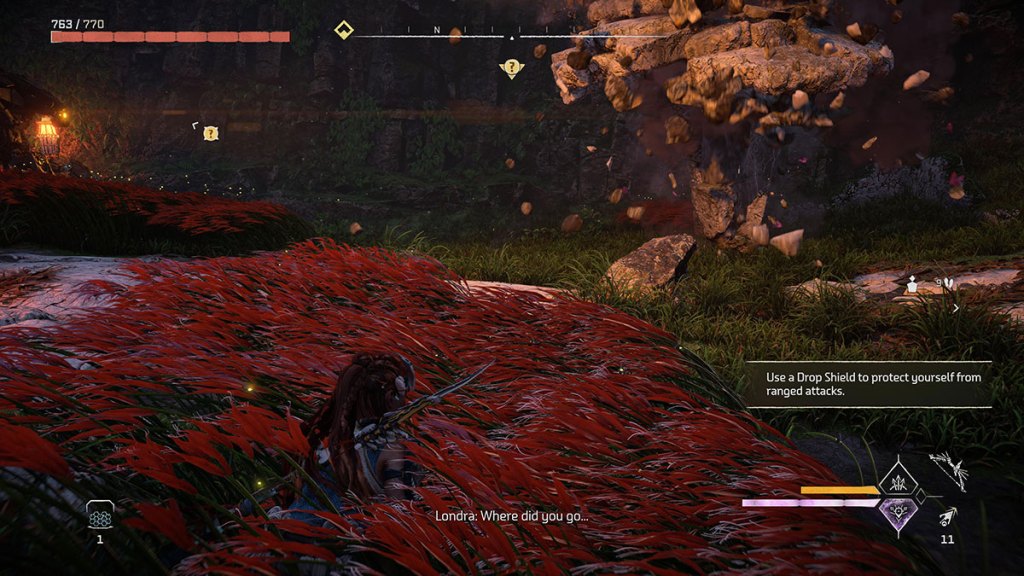
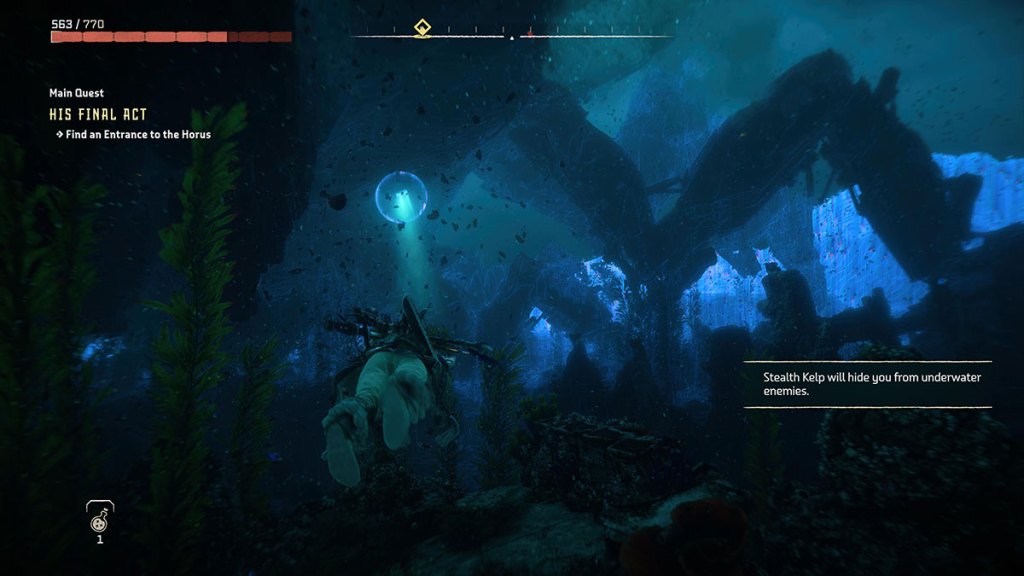
As you move forward, the Horus will suddenly come to life before your eyes. Well, one arm will. This Assault Drill is a tentacle of the Horus, and Walter uses it like an eye to track you down. From then on, you must crouch and stick to the tall grass to avoid being spotted. The blue light of the Assault Drill’s eye shows where it’s looking. Wait for it to move away from the path you want to take before you leave the tall grass.
How to Sneak Past the Horus Assault Drills
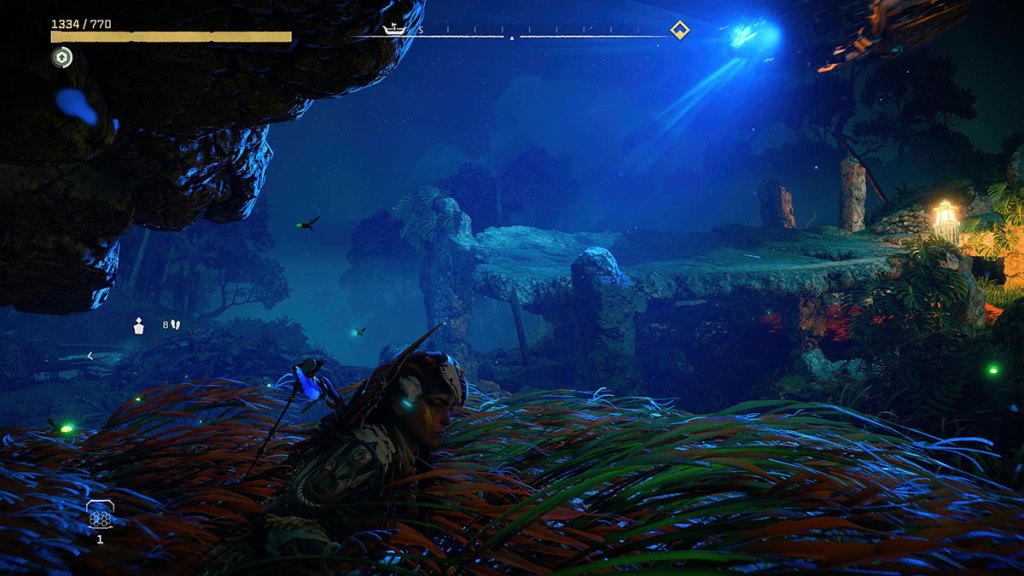
This first Assault Drill will cast its eye over the entire area you’re caught in. Thankfully, there’s a decent amount of cover to move between. When the Assault Drill isn’t watching the path you want to take, make a move. We darted between the sections of tall grass until we were under the structure you see in the image above. This gave us enough cover to look around and spot the Firegleam in the wall ahead. The Assault Drill moves just enough to let you sneak up to the grass near the Firegleam and then blow it up when it’s not looking.
The next area has one more section of sneaking around the Assault Drill. However, you’re then thrown into an area where the Assault Drill is looking for you, and there are four Corruptors stationed around the place.
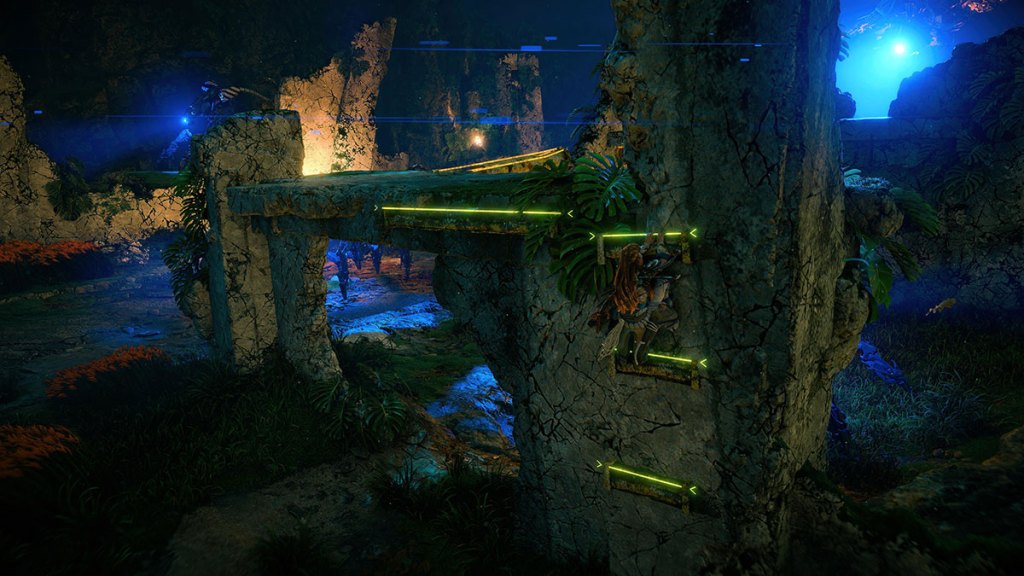
Move through the tall grass until you’re close to the first structure. If you scan, you’ll see a few climbing points you can grab onto. Wait for the Assault Drill to move away, then climb these and get onto the roof. There’s a low wall you can hide behind up there.
Drop down the other side when the Assault Drill looks away and slide into the long grass. Stay here until the nearby patrolling Corruptor has turned around to walk away. Then, you can make a break for the low wall with the climbing strip on it to get into the last sneaking section.
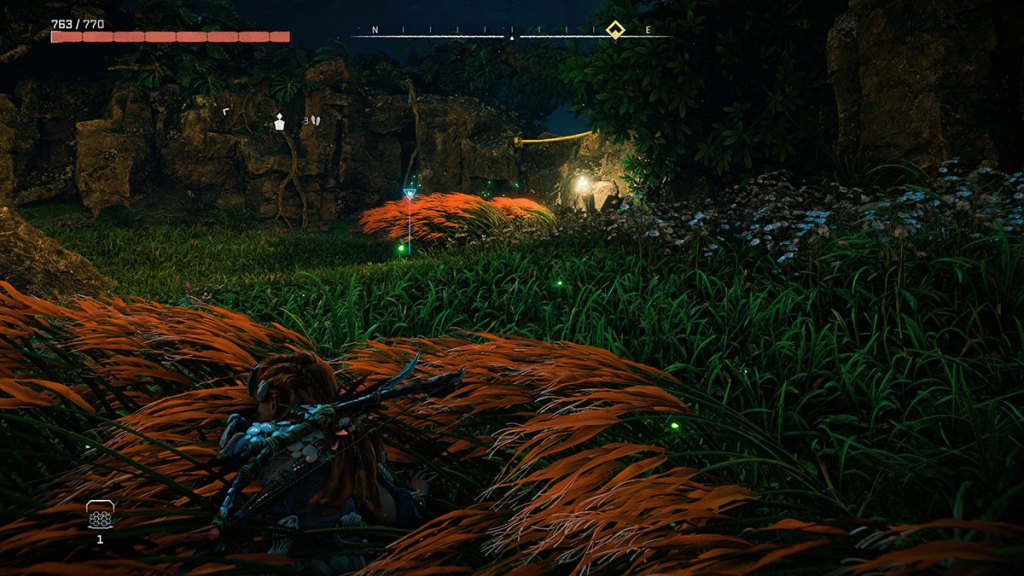
In this last area, a new Assault Drill is searching for you, and Corruptors are blocking the path. You need to shoot the Unstable Firegleam, the purple stuff, to create a distraction. Wait for the Assault Drill to move away, then sneak past the Corruptor. You should then be able to sneak up the hill and out of the area.
Once you’re out of the stealth zone, two Clamberjaws will attack. Mercifully, the Assault Drill won’t look over to see what the noise is about, so use your most powerful weapons to take these machines down. Check our list of the best new weapons in the DLC if you want a guide for which to use.
With the Clamberjaws down, you’re free to open up the heat canisters on the coolant system and shoot them. A nice touch here is that Aloy will hold one open for Seyka to destroy, and Seyka will then do the same for Aloy.
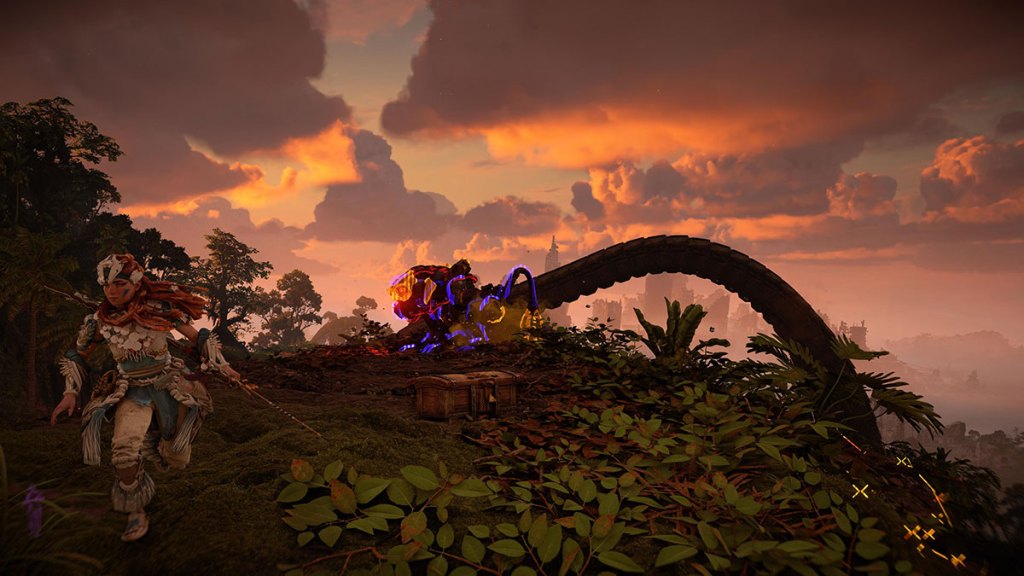
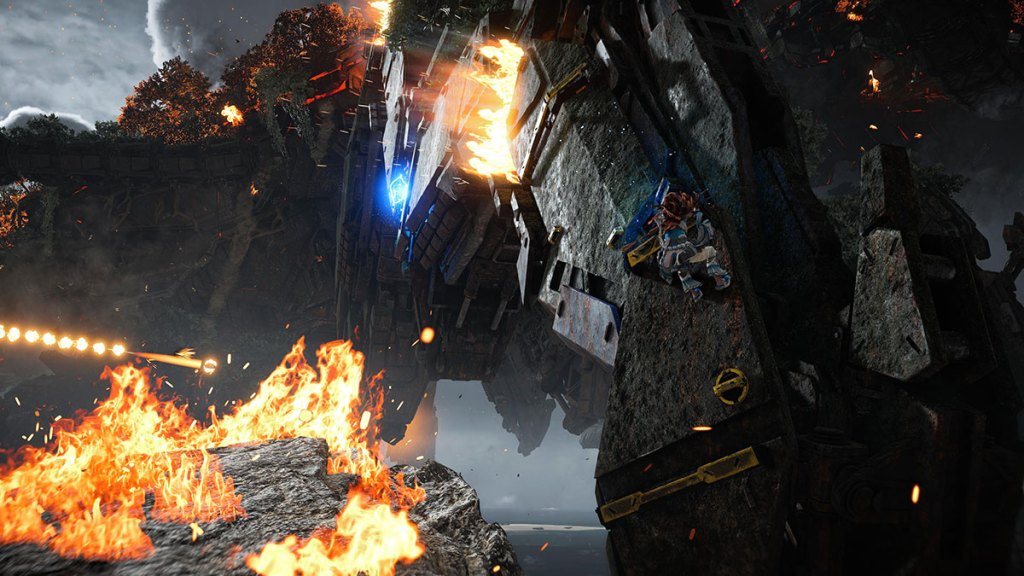
Step 2: Kill the Horus
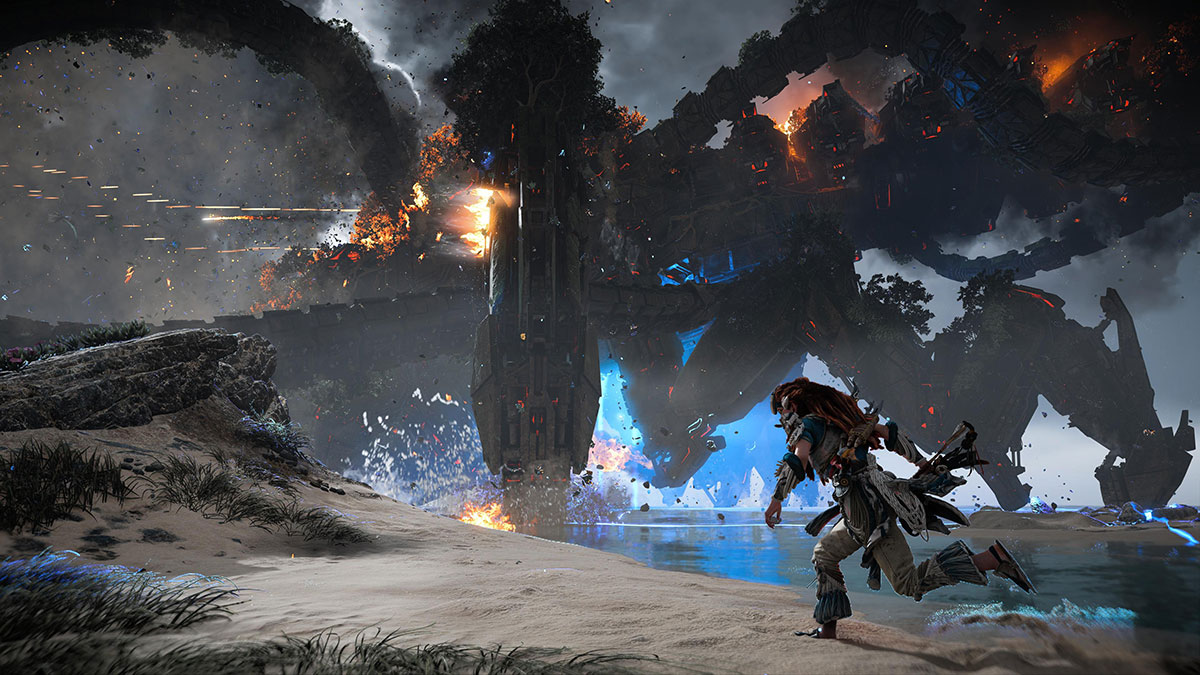
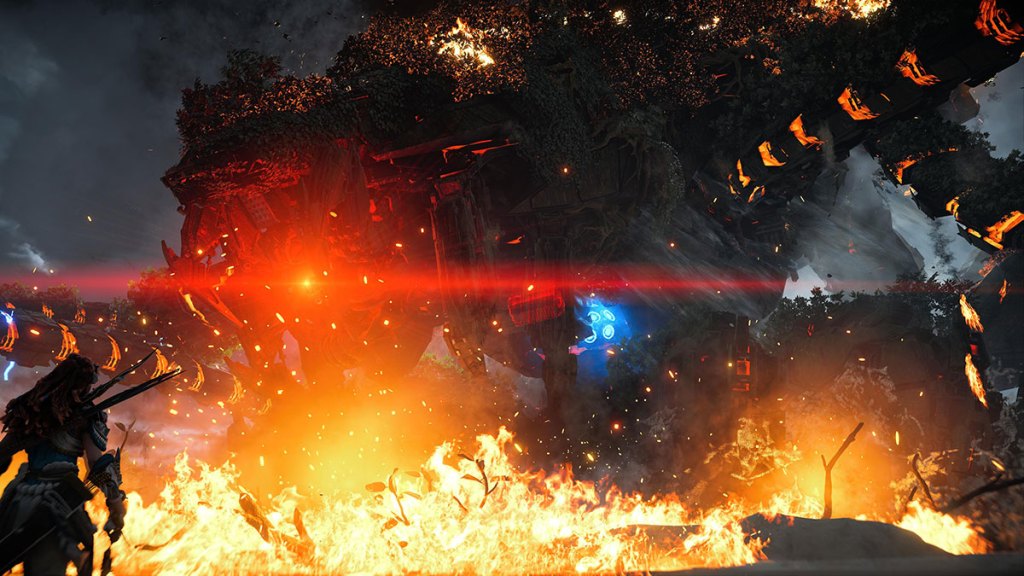
Your valiant efforts to stop Walter from waking the Horus weren’t for nothing, but they ultimately don’t prevent him from bringing the machine back from the dead. After an incredible cutscene-to-gameplay transition, you’re faced with taking out the biggest machine in the Horizon franchise. The Horus have been the stuff of myth and legend for almost 200 cumulative hours over the games that have come before this moment, and now you need to help Aloy effectively kill a god.
While taking in the spectacle of this fight, make sure you scan the machine. This will complete your machine scans for the Horizon Forbidden West: Burning Shores DLC.
How to Defeat the Horus – Phase 1
The first phase of the Horus boss fight requires you to catch up to it and take out its heat sink tubes. These form a tiny weak point on its back that’s protected by various weapons and the tentacles the machine walks on. You need to dodge around the tentacles and the gunfire and shoot the tubes when you get a clear line of sight on them. We found that the best weapon for this was explosive spikes from any Spike Thrower. Even if you miss the initial shot, you’ll deal damage to the tubes with the explosion.
How to Defeat the Horus – Phase 2
The second phase of the Horus fight is similar to the first, but there are two complications. First, the Horus will spawn two Corruptors to attack you. The fight has no time limit, so take these out as fast as possible to keep on chasing the Horus. Seyka is keeping it busy with Waterwing attacks. The tubes you need to attack are locked behind a cover, so you’ve got to run up to and climb one of the machine’s legs.

Along the climb are electrical and fire obstacles. Time your climbing and jumps right so you can dodge as much damage as possible. When you get close to the cover for the tubes, you can jump and use the Pullcaster to attack and bust open that cover. With the cover off, you can use another explosive weapon to destroy the tubes and advance to the next phase.
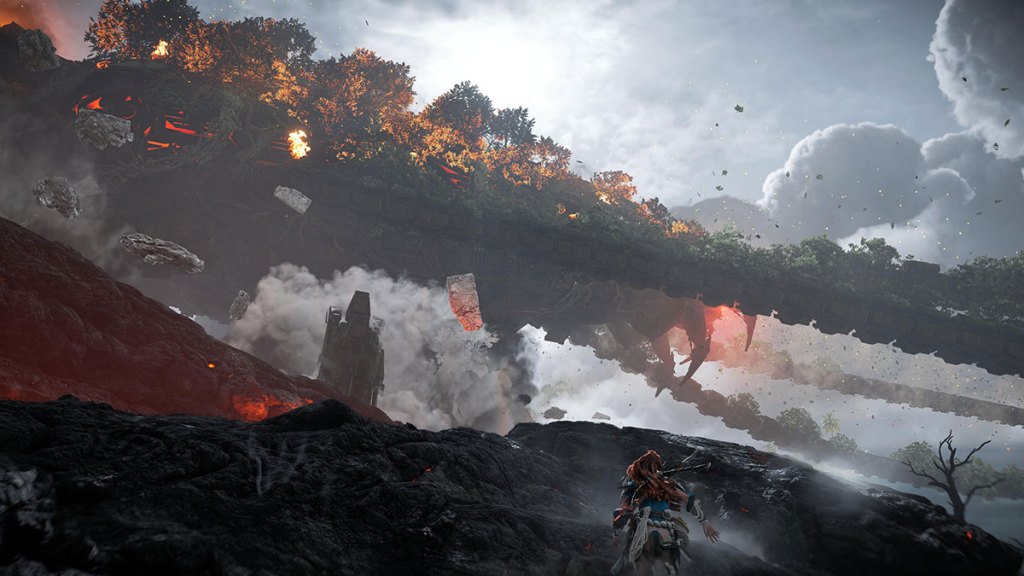
How to Defeat the Horus – Phase 3
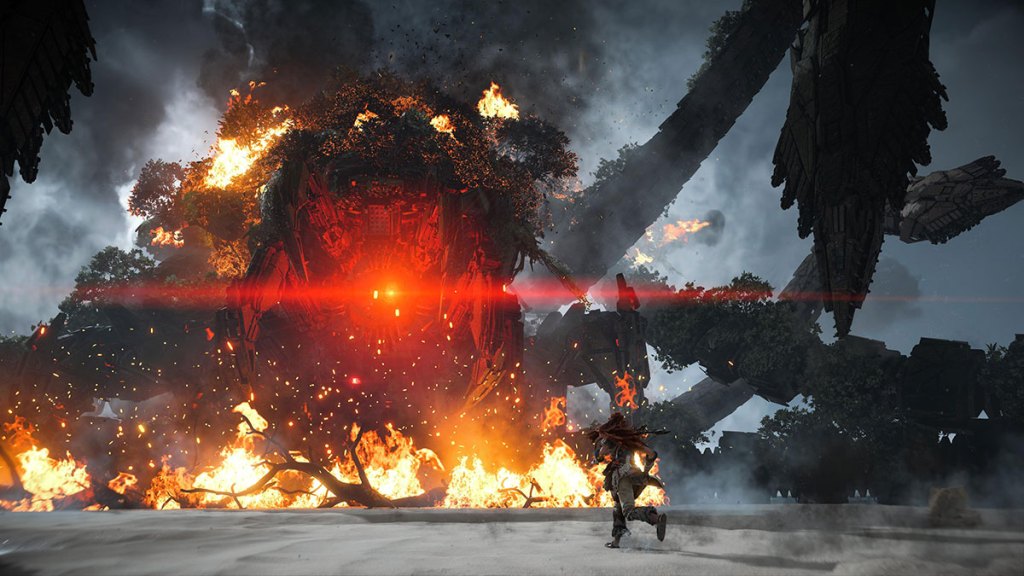
For the third phase of the fight, Walter takes the Horus into the sea. While it’s cooling off, he uses four massive tentacles to trap and attack Aloy on the beach. A few different attacks will be thrown at you during this phase, and you need to dodge them all so you get a chance to take out more of these heat sink tubes.
The Horus is able to shoot you, slam its tentacles down into the beach and bring them up beneath Aloy, or just pummel the sand. It’s brutal, but after every attack pattern, the tentacles will expose their heat sink tubes. You can destroy one per attack, so know where you need to attack next and have your explosive weapons ready.
After four attacks, you need to hit the Horus in the center of its chest. There’s a blue, glowing orb there that’s vulnerable to any sort of hit. We went with arrows for this one because spears aren’t accurate enough at this distance. Once this has been destroyed, you’re in the final phase.
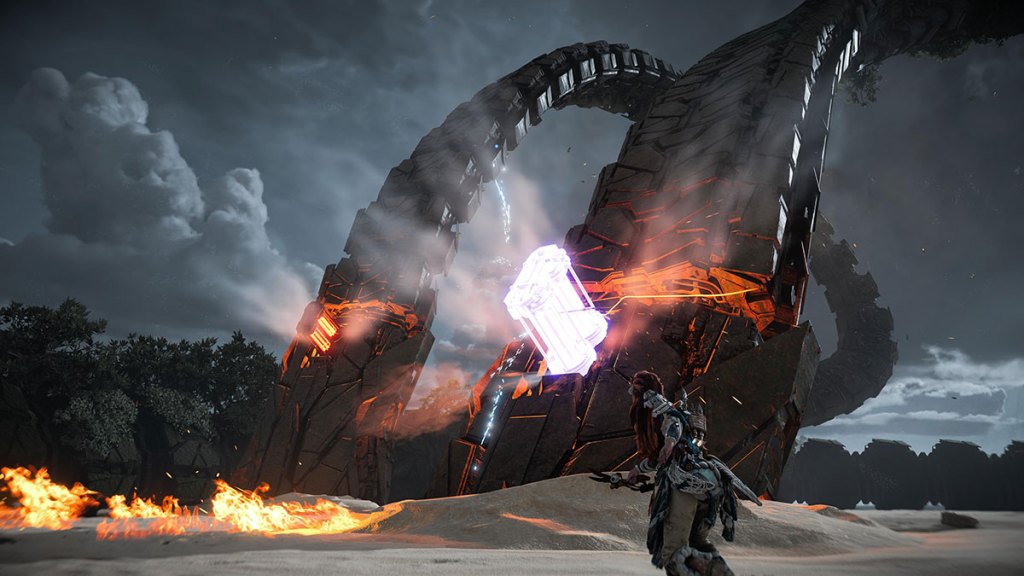
How to Defeat the Horus – Phase 4
For this last phase of the battle, Walter takes the Horus deep into the sea. You need to swim Aloy all the way to the glowing part of its underbelly and have her break in with her spear. Once that’s done, she’ll be deep inside the machine.
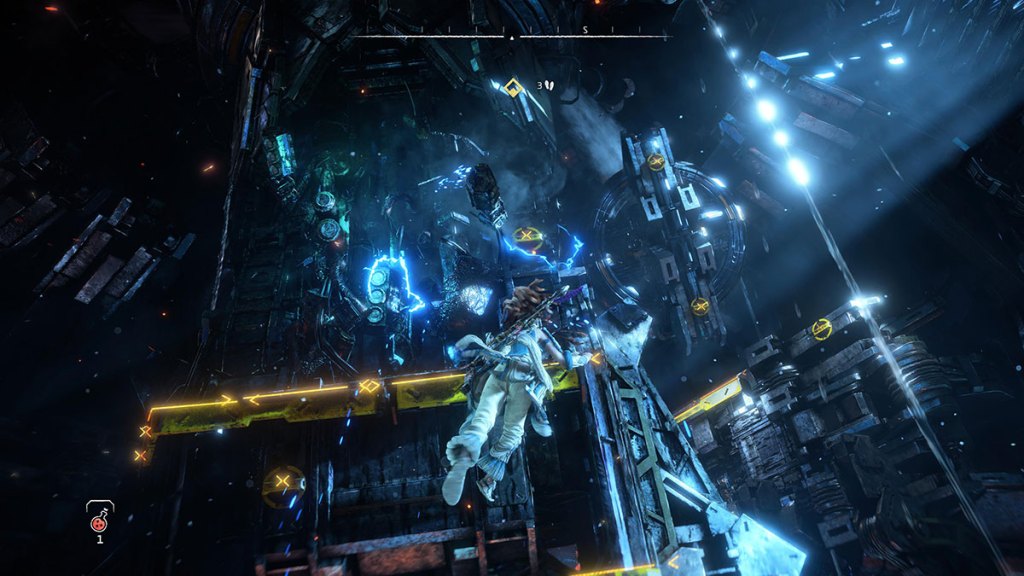
The innards of the Horus are a mess. Swim up until you get to the circular machinery. You must climb up the center of this structure and then around the exterior to reach a crawl space. Keep moving, and you’ll come to a tiny corridor where electricity occasionally sparks down your path. Use the open compartments on your side to hide from the electricity so you can progress.
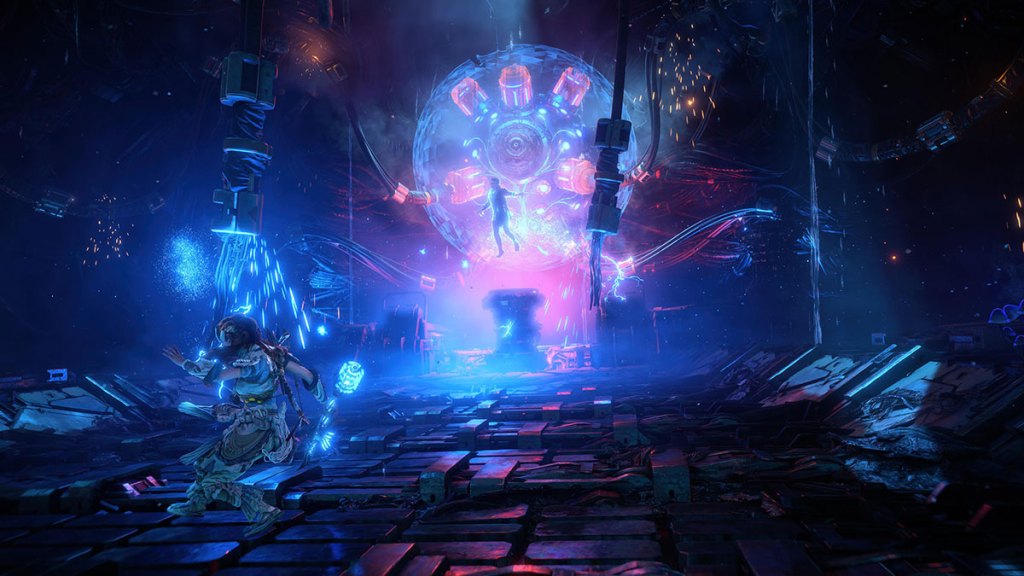
Once you’re through the path, you’ll find Walter. He’s linked himself to the brain of the Horus and is able to manipulate electrical drones and heat vents in the room. Shoot the wires connecting to the brain to cause damage. Then, you need to battle the drones and dodge damage until he fires electrical waves at you. This will expose the brain behind him, and the larger cables that blink orange are your targets. Hit them every chance you get, and you’ll eventually defeat Walter.

As Walter drops to the floor, Aloy can finally kill the Horus. This removes Walter’s shield, but Aloy doesn’t kill him. Instead, she scans his brain to download as much data as possible. We thought this was a nice touch because Aloy isn’t a merciless killer. She would have brought Walter back alive if she could have. However, the Horus starts to overheat, and Aloy only makes it out alive because Seyka rescues her in an awesome Waterwing exit scene.
Step 3: End the Story
After Seyka picks Aloy up off the beach, the pair split up. From here, you can visit Fleet’s End to finish off the quest with Admiral Garrit, rounding out the Quen storyline from Forbidden West nicely. Seyka then asks Aloy to meet her where they first met. You can go to see Seyka’s sister, Kina, before you do so to check in with her. Then, when you’re ready, you can see the emotional conclusion to Aloy and Seyka’s story. The two profess their love for each other and finally get together. It’s a beautiful moment. Even though it’s painted with yearning due to the tasks that each of these women has ahead of them in very separate parts of the world, they agree that they’ll come back to each other once all is done.

This will conclude the quest and give you a new one called Epilogue alongside the Specter Vision Face Paint. This sees you travel back to your base in the Forbidden West to chat with Sylens about Walter’s ideas for how to stop Nemesis. It’s a bittersweet ending for Lance Reddick’s character, who is so clearly ready to open up to Aloy and be her friend instead of her enemy. You can also visit Varl while you’re here for a bit more story Guerrilla dropped in as a tribute to the fallen hero.


Published: Apr 25, 2023 11:40 am