The Baskerville Barney is the first piece of new content in Hitman 3’s February roadmap. It does exactly what we wanted, adding an incredibly tough new challenge to one of the game’s best locations. In this guide, we’ll take you through our strategy for completing this Escalation. There are also some bugs that we’ll warn you about so they don’t catch you out.
Step 1 – A trio of accidents

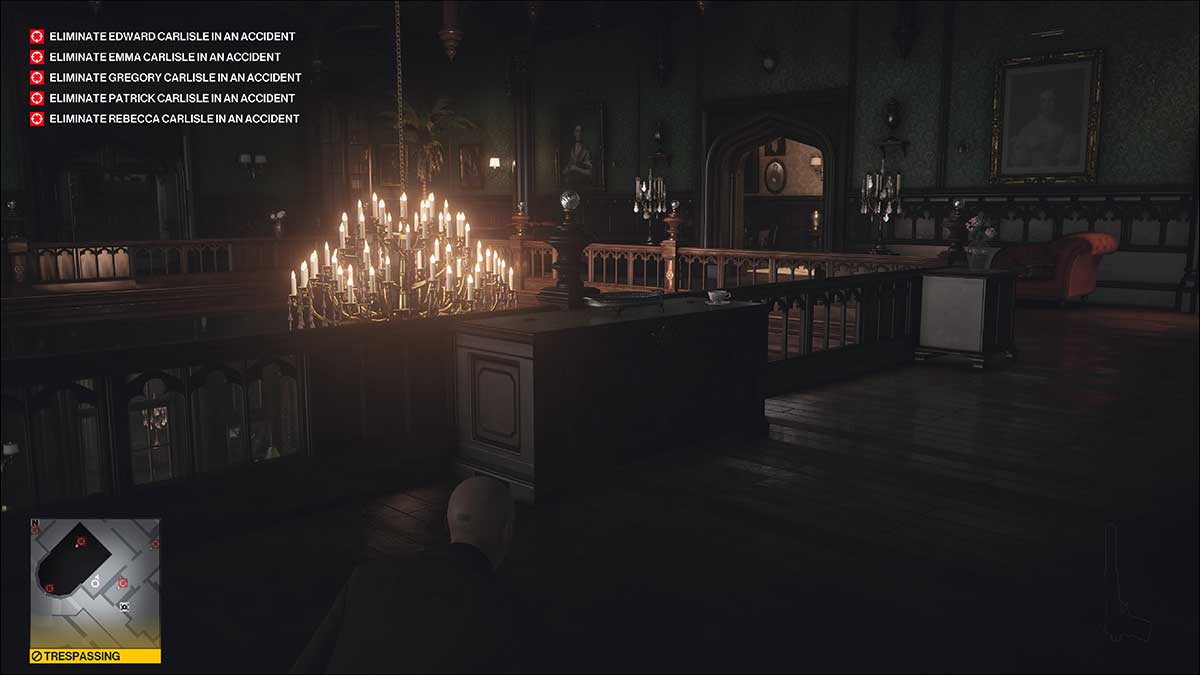
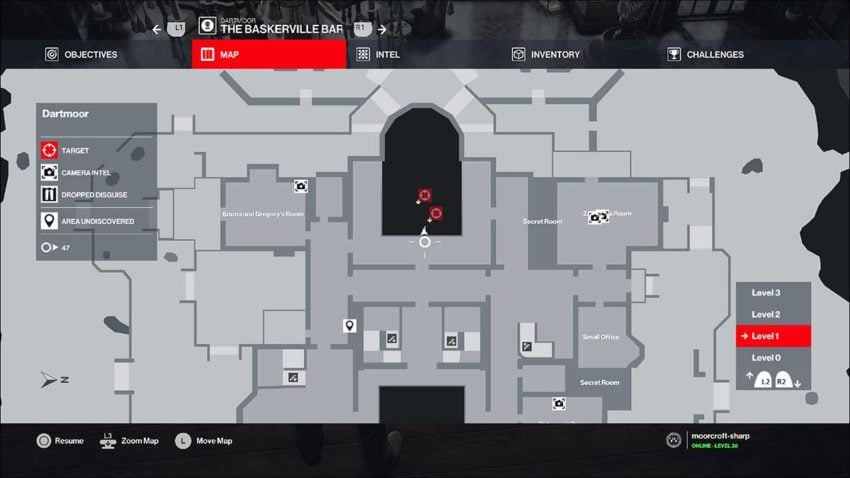
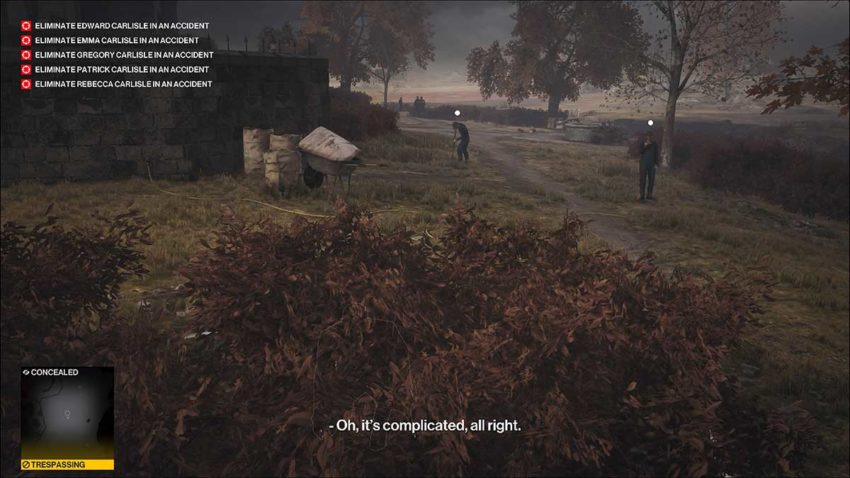
Level 1 of this Escalation tasks you with killing three of the Carlisle family with accidental deaths. You can select any starting location you have unlocked at this stage, but to keep things simple, we’re going with the standard entry point on the drive. The only things you’ll need to bring with you are a silenced pistol and the coins.
We found that the best way to complete this level is as a private investigator. You can steal his disguise by distracting him in the driveway. Use the coins to lure him into the bushes and have your way with him. Once you’ve donned the disguise, walk down the drive to the house, but don’t go in the front door.
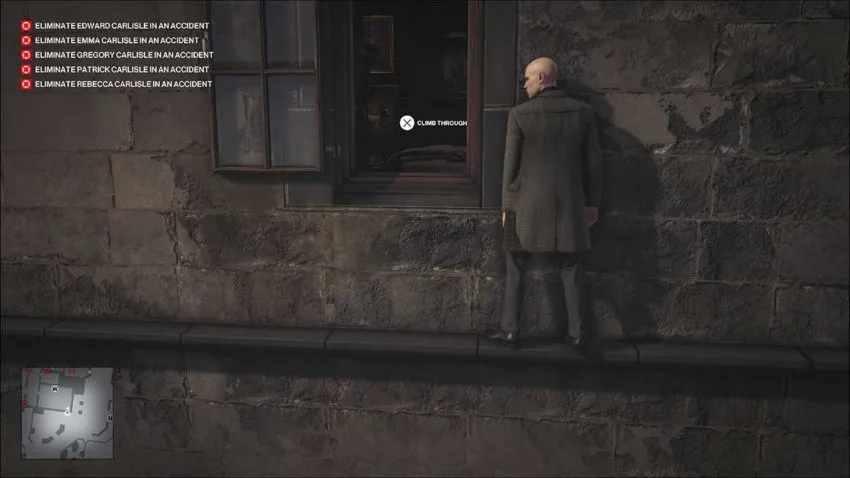
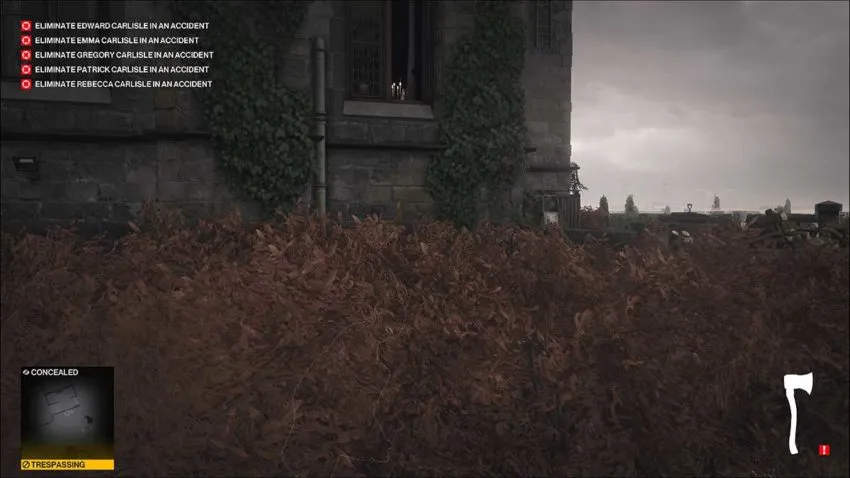
Instead, work your way around to the right-hand side of the house and climb up this drainpipe.
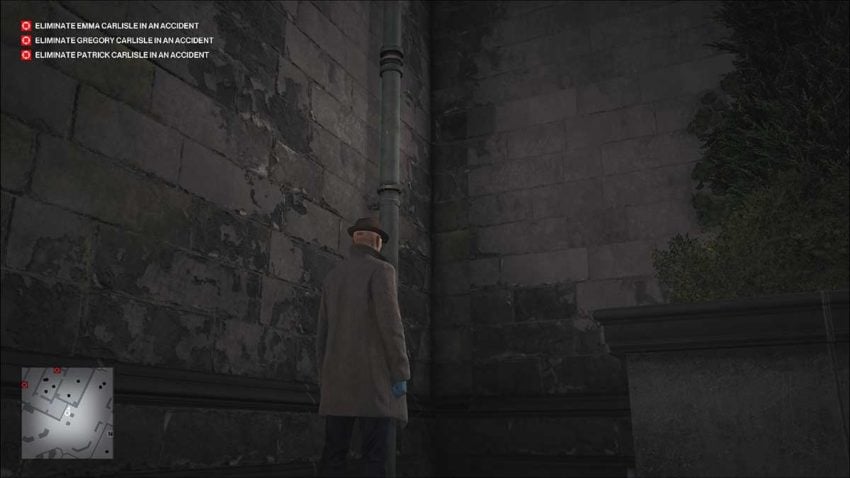
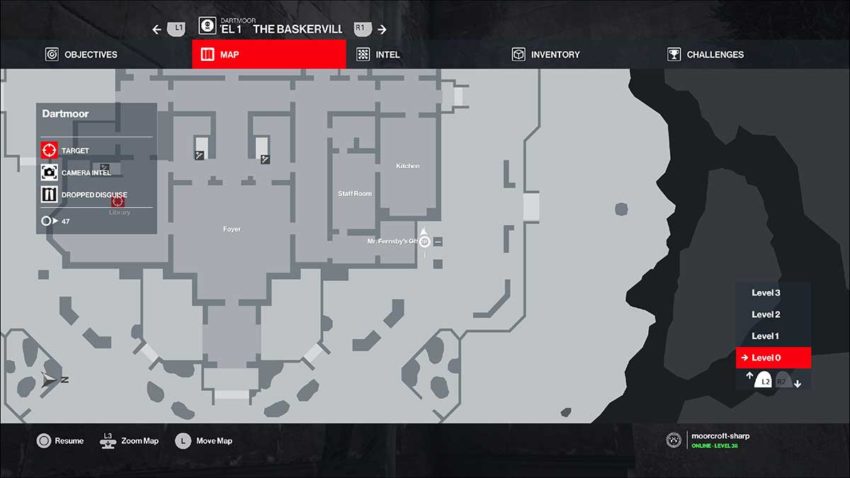
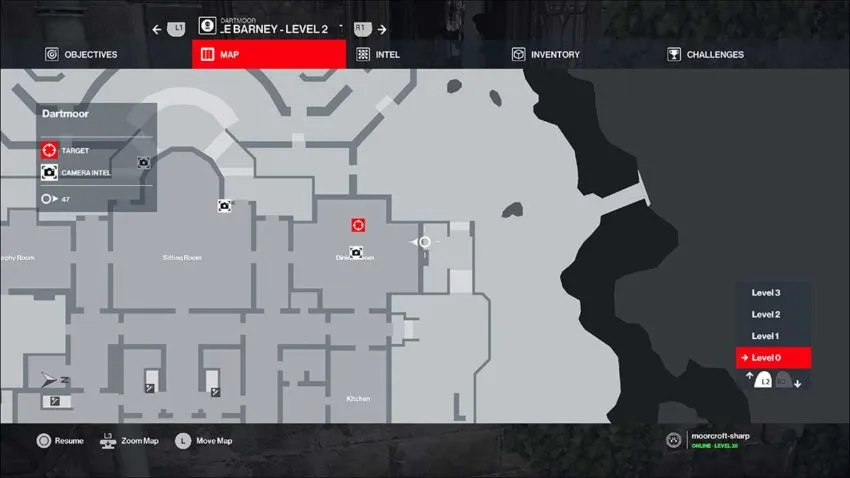
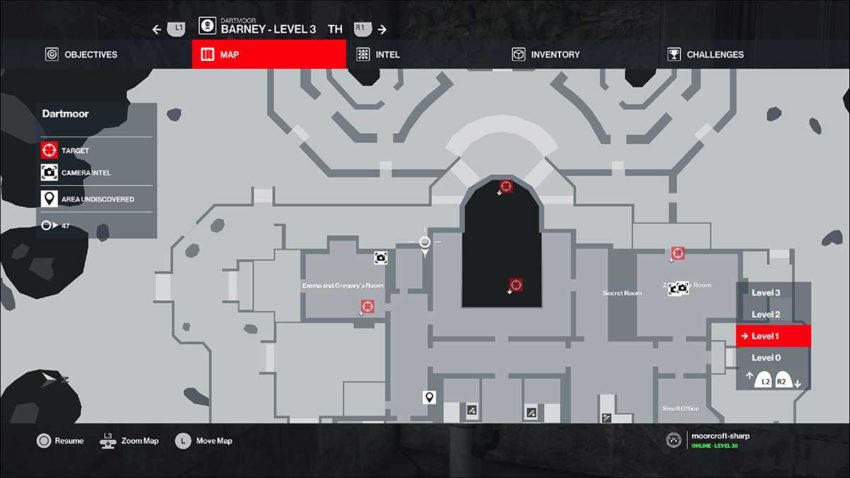
Below is a map reference for this location.
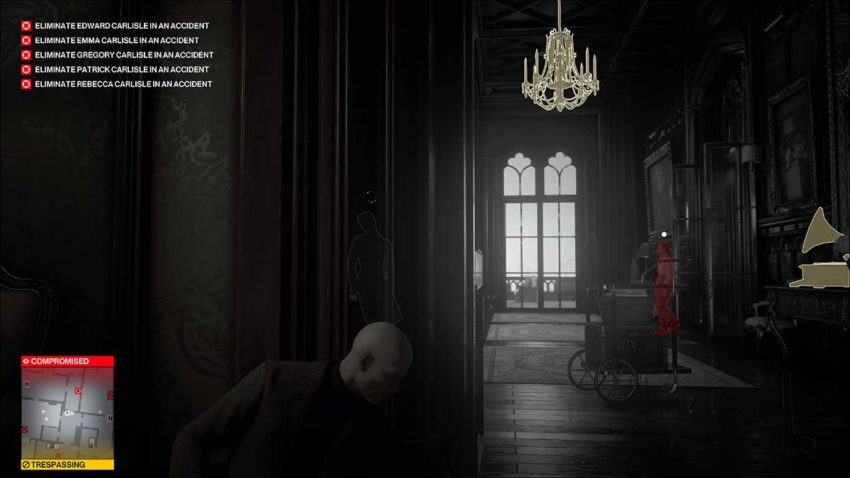
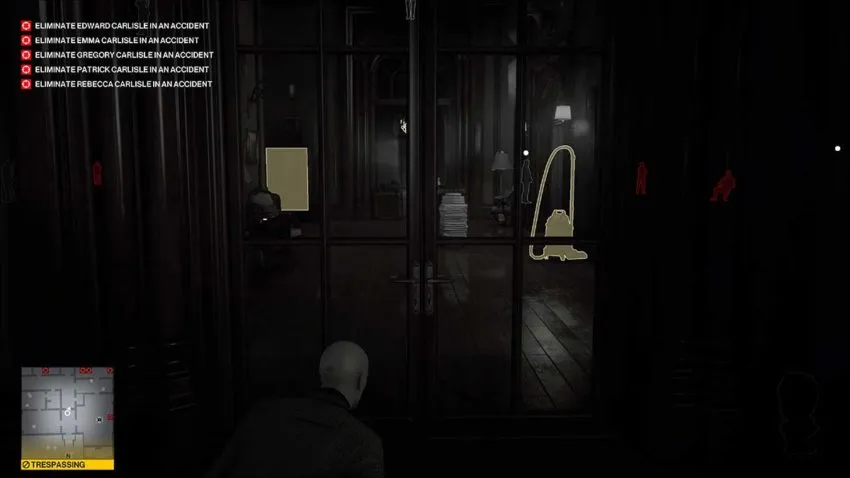
Climb up the drainpipe and shimmy along the ledge to your left. You need to emerge on the first floor through a window and make your way to the walkway above your first two targets, Gregory and Emma. The advantage of your disguise is that no one will question your presence in most places throughout this level.
Below is a map reference.
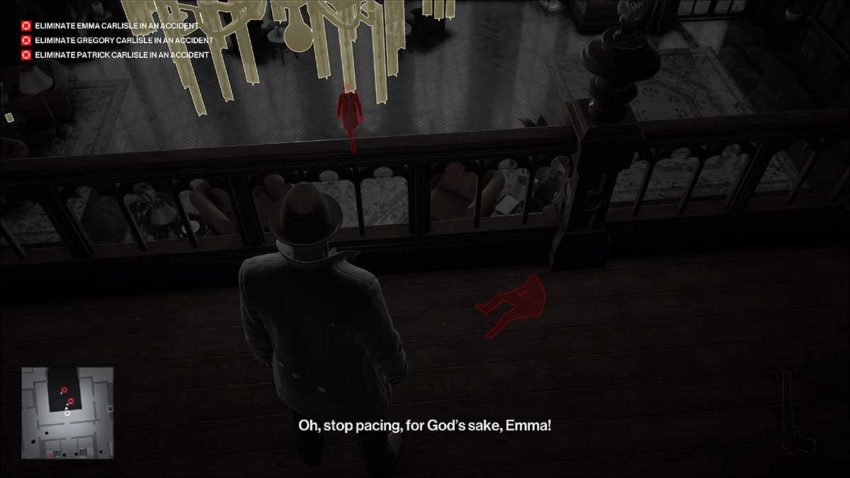
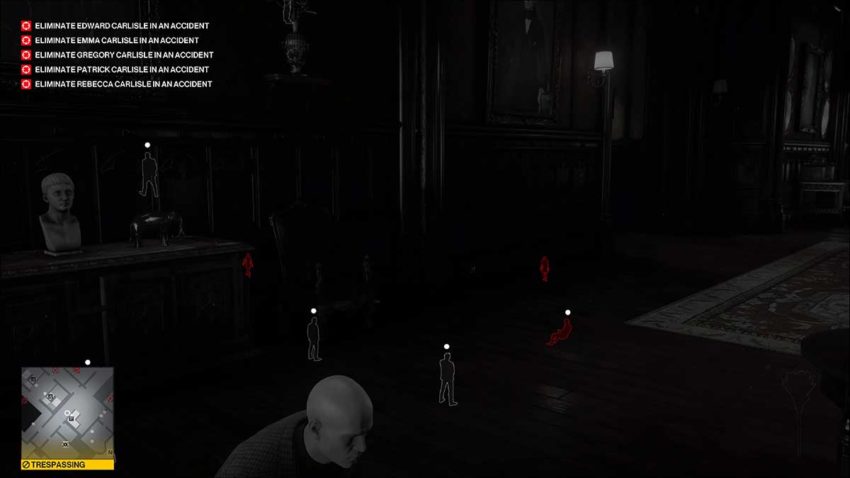
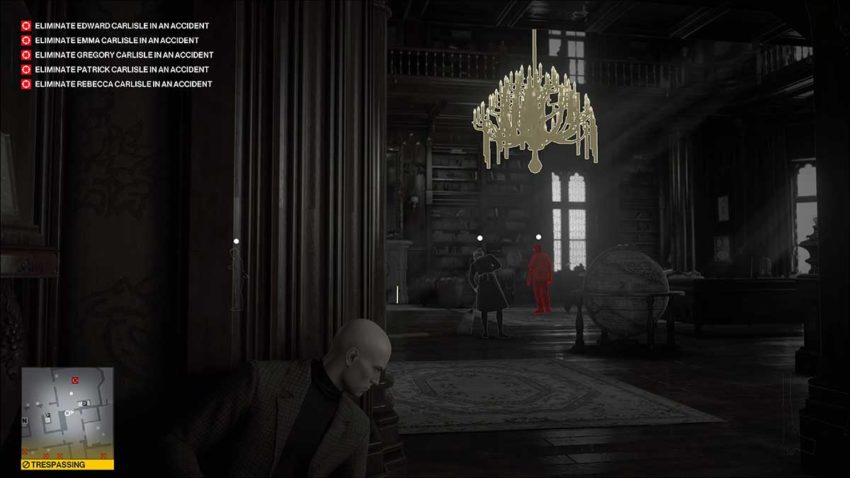
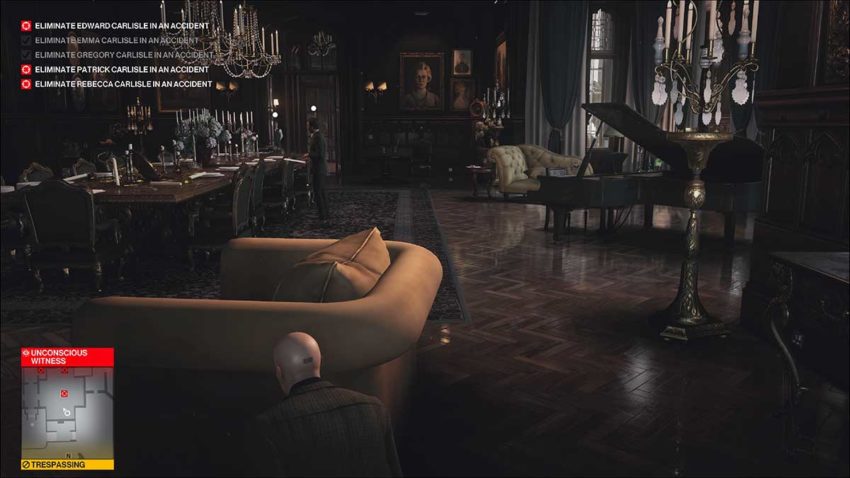
There are two ways to kill these targets. You can lure them under chandeliers separately and bring those chandeliers down on their heads. Or, you can kill them simultaneously.
To kill them both at once, wait until Emma walks over to Gregory, the man sitting down reading the paper. Flick a coin onto the table in front of them, then immediately switch to your pistol. As soon as Gregory stands up, shoot the chain supporting the chandelier above their heads.
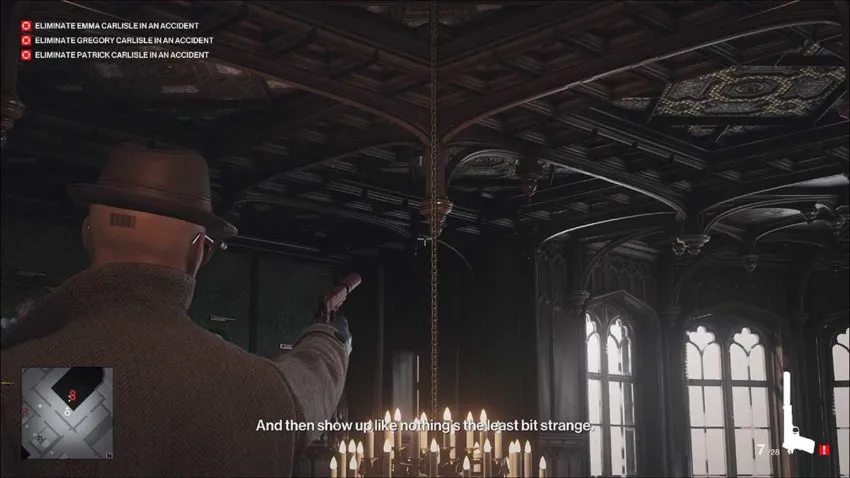
This will almost certainly kill both targets. If Gregory somehow manages to evade the disaster, use the coins to lure him over to the second chandelier in this room. You can bring it down to kill him just as easily. You might need to wait for him to stop panicking, though.
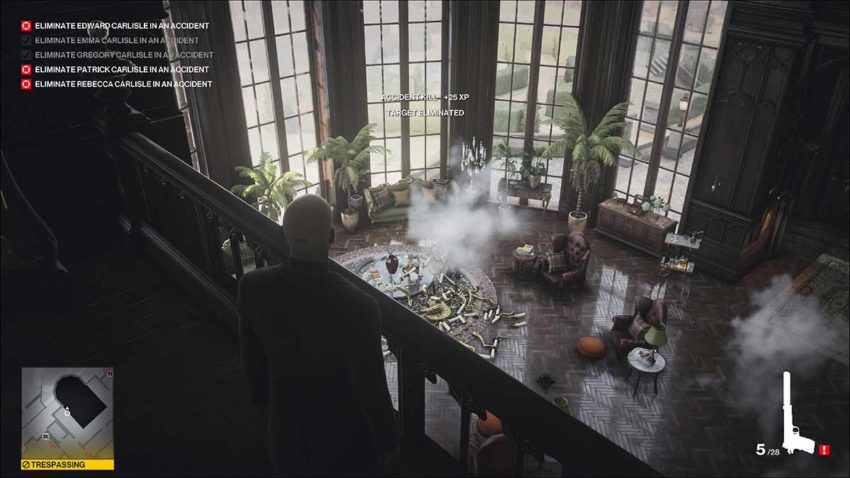
Your final target for this level is Patrick. He’s playing billiards in a room down the hall. Walk through the corridors until you’re on the floor above him.
His natural path will take him under the chandelier in here. Wait until he’s taken a shot at the table and moves away to look at his phone. That’s when to drop the chandelier and kill him.
You can exit in any way you choose. Since you’re dressed as the investigator, you could even jog down the driveway.
Step 2 – Five targets, one suit

For levels 2 and 3, you must stay in Agent 47’s suit at all times, or you’ll fail the mission. You still need to kill all targets with accidents, and now there are five. This means that your starting location is also now restricted, as well as your loadout. All you’ll need are the coins and a silenced pistol. Your skills will do the rest.
From spawn, head to the right of the driveway and vault the gap in the wall there. Once over, turn right and cross the river.

Keep moving forward from the river, and you’ll see a gap in the wall ahead. You need to vault up there into the nicely shaped bushes. There’s a drainpipe in the corner of the house ahead. That’s where you need to go.
Once you’ve scaled the drainpipe, shimmy left and pop through the first open window you come across. This room has a picture of a dog in it, which will unlock a secret passage. That’s not the way we’re going, though.
Outside of the main door to this room, there is a member of staff. Wait for them to come close, or draw them in with a coin and take them out. Hide their body in the wardrobe. Now you have a clear path to get to Gregory and Emma.
You need to wait for the patrolling guard to turn around and walk left. Then you can run up and into that corridor. Take a moment once you’re through the doorway to pause behind the entrance on the left. This will prevent the guards behind you from spotting you. After that, run forward and go through the next opening on your right. It’s time to kill two targets.
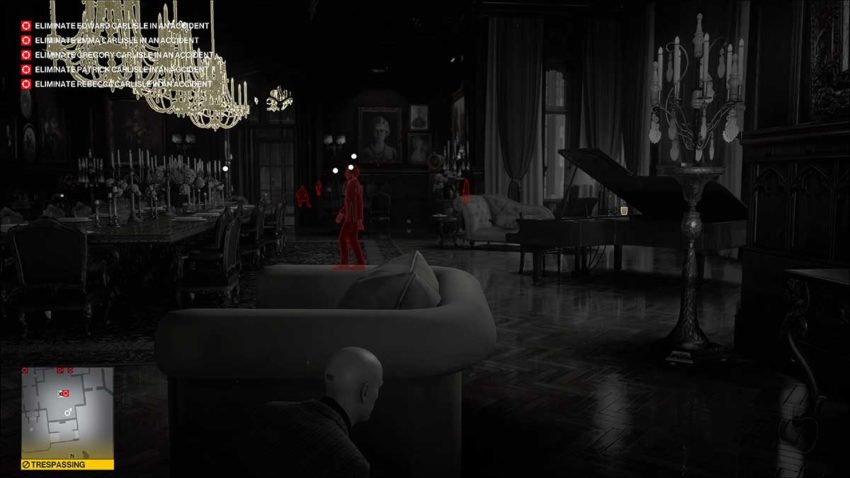
You don’t need to do anything differently to kill these two. Draw them both to the same table as you did in level 1 and let the chandelier do the rest.
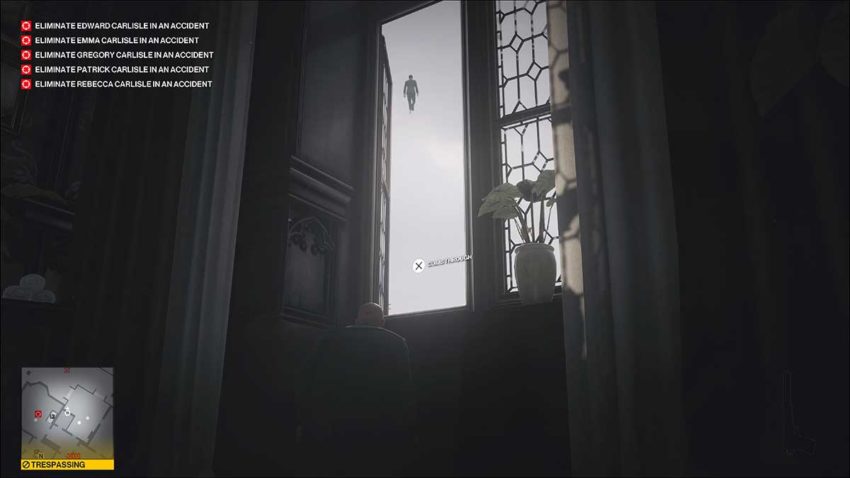
Exit this walkway through the window on the left-hand side.
Shimmy to the right and around the corner. There’s a drainpipe here that you need to slide all the way down. Once on the bottom floor, you can get inside through the glass doors. The path has a maid who is cleaning various objects, though. Take her out and store her in the container outside of the wardrobe.

Move to the inner doorway to this walkway and wait just outside of it. Your next target, Rebecca, will regularly walk through here on her normal patrol. When she does, shoot the chain for the chandelier, and it will land on top of her head.
This doorway is opposite the one to the billiards room, where Patrick is still none the wiser. Move over to it and lean Agent 47 against the left-hand side of it. Here you can watch Patrick miss all of his shots. Wait until he moves away from the table to recheck his phone. Now you can shoot the chandelier’s chain and kill him.
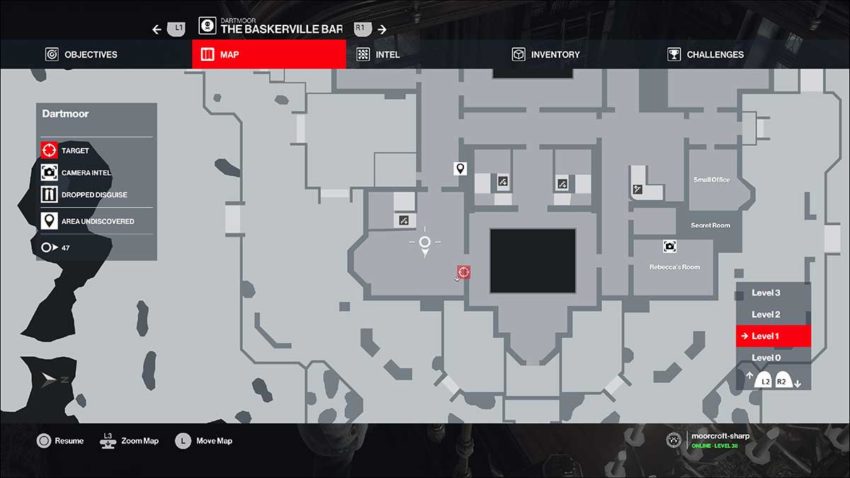
Once he’s down, there’s only one target left. From this doorway, you can walk all the way down the hall to find him. He’s through the last door on the left. He’ll either be sitting at the piano or walking around blathering about his eulogy.
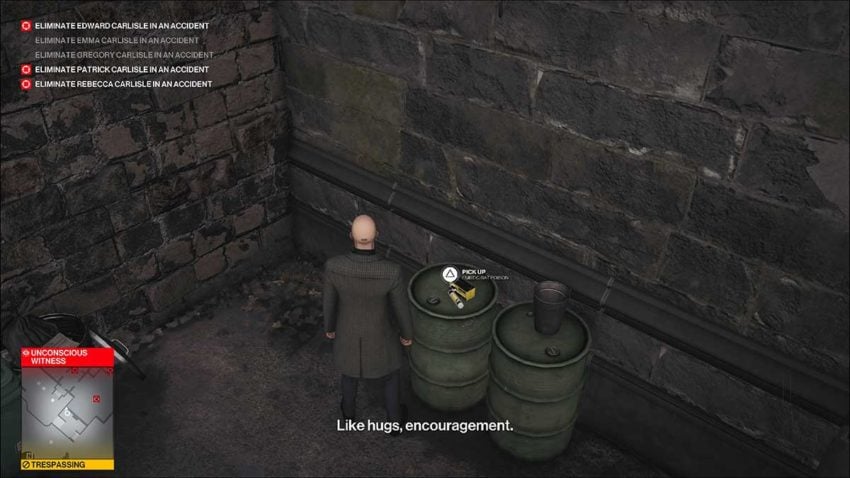
The chandeliers are useless in this room. Instead, jump out of the open window on the south side. Climb down the drainpipe and move to the left. You’ll see some rat poison just sitting there, begging to be used.
Below is a map reference.
Sneak back up the drainpipe and wait. The best time to poison this target’s water, which is on the piano, is when he walks away from the instrument to read his eulogy. Once you’ve poisoned it, return to hide behind the chair in this room and wait for him to drink it.
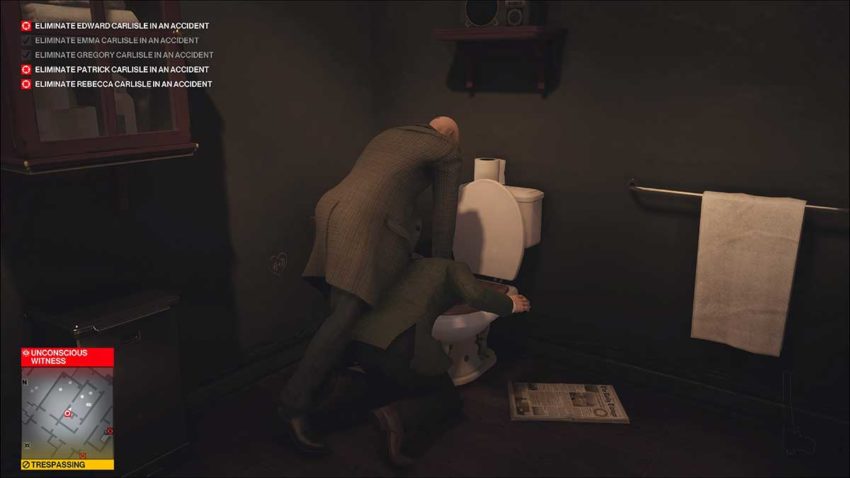
Eventually, Edward will drink the poison. When he does, go back out the door you came through, now on your left. Edward is going to the bathroom in this hallway. Wait until he goes in, and then follow him.
Since drowning counts as an accidental kill, you’ve got to end him in a pool of his own vomit to finish this.
With him dead, you can exit the mission. The best way is across the wooden bridge, which you can get to through the window in the room where you poisoned Edward. Make sure you distract the guard and gardener before you try to leave, though.
Step 3 – 60 seconds
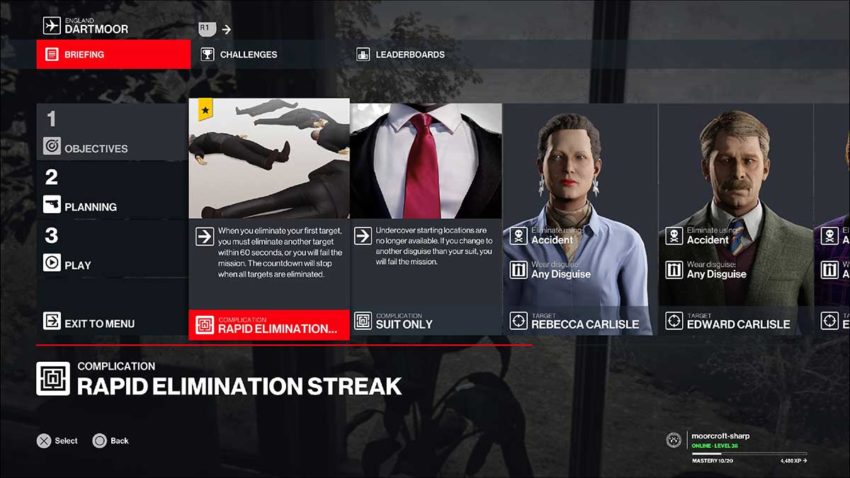
Level 3 of this Escalation adds a single complication. After you kill a target, you’ll get a 60-second timer. You must kill another target to reset the timer. If the timer runs out, the mission is failed.
This complication forces you to find the optimal route to kill every target in. The one we’ve worked out has the potential to be hit with one of two bugs, both of which relate to Edward. If you notice that either bug has occurred, you’ll have to reset the mission because it won’t be possible to complete it.
Getting in
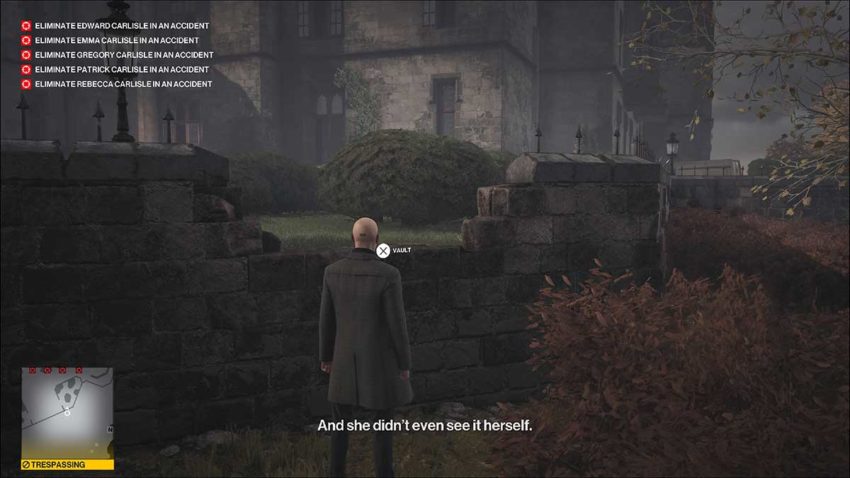
The route for level 3 follows the one for level 2. Get over the wall at the entrance, then cross the stream. Instead of vaulting the second wall, hug the bushes and run through them around the house to your right.
Work your way along the bushes on the right here and move towards the well. There are two coins that are worth picking up on that well. Wait for the guards to move on, and run behind them into the bushes closest to the house. This is the area with the drainpipe and rat poison from level 2.
When the guards aren’t looking, vault the wall and take the rat poison. Now climb up the drainpipe, but don’t poison Edward’s water just yet. We need to do one more bit of setup.
Get out through the door on the left, and walk all the way up to the top of this corridor.
The last door on the right leads to the corridor that Rebecca will walk through. When no one is looking, you need to take down the maid and hide her body. Now we’re ready to kill all of the targets.
Target 1/5 – Edward
Head back down the corridor and poison Edward’s water. This is really the only time-consuming section of this level. However, poisoning him does lead to one of two bugs, as we mentioned earlier.
Bug 1
The first bug is minor but still results in a reset. Something to do with the poison status makes Edward aware of the first targets you kill. He’ll walk through walls and into the next room to gasp at their dead bodies. If you see him in there using instinct, then you need to reset.
Bug 2
This second bug is the worst. Edward will forget about walls and gravity and walk southwest forever. He’ll rise into the sky and keep on going. Even if you kill every other target, he’ll never die. Not even when he disappears from the map. If you notice a target in the sky, reset the mission.
Targets 1 +2 – Gregory and Emma
Once you’ve poisoned Edward, run out the doors to the left and move all the way up that corridor again. Head through the corridor and outside through the glass doors. There’s a drainpipe on the right here that you need to climb.
Shimmy left from the top of the drainpipe and onto the walkway above Gregory and Emma. Kill them as you have in levels 1 and 2, and the timer will start.
Target 3 – Patrick
Your next target is Patrick. Go back out of the window, down the drainpipe, and through the glass doors. You’re going to kill Patrick by hiding in the doorway exactly as you did in level 2. This will reset the timer.
Target 4 – Rebecca
By this time, Rebecca should be walking through the corridor behind you. Run over there, hide by the door, and shoot the chandelier’s chain when she comes through. If she needs some encouragement, you can use a coin to tease her into place. This might be necessary if Patrick wasn’t in the right position earlier.
Target 5 – Edward
By now, you should be able to see Edward as he enters the bathroom. Run down there and drown him. As soon as he’s dead, the timer will end, and you can relax. Hide his body in the laundry bin nearby, and then find a nice calming exit after all of that stress.


Published: Feb 5, 2021 09:56 am