
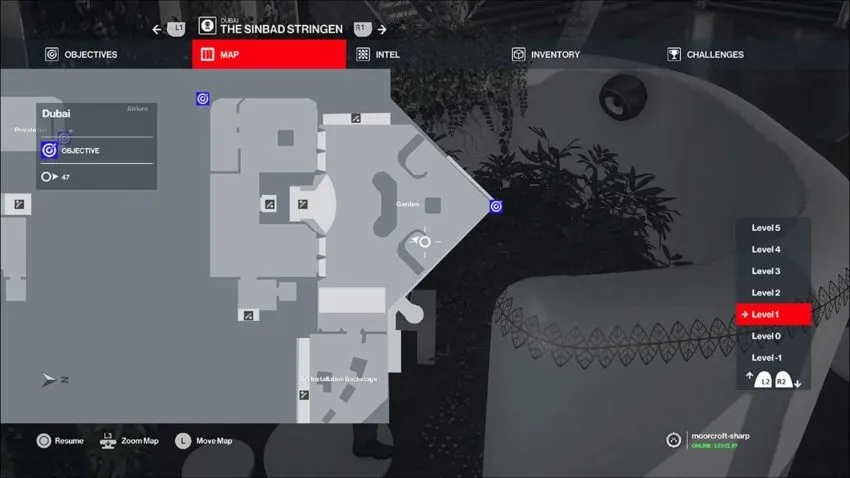
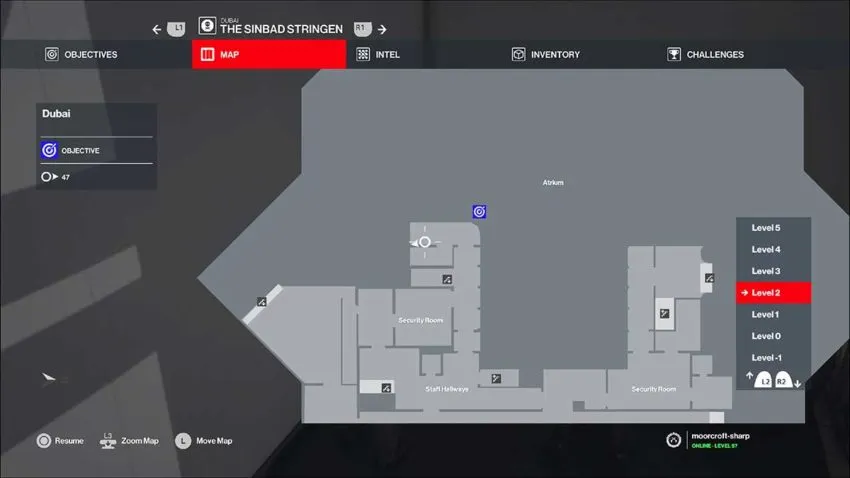
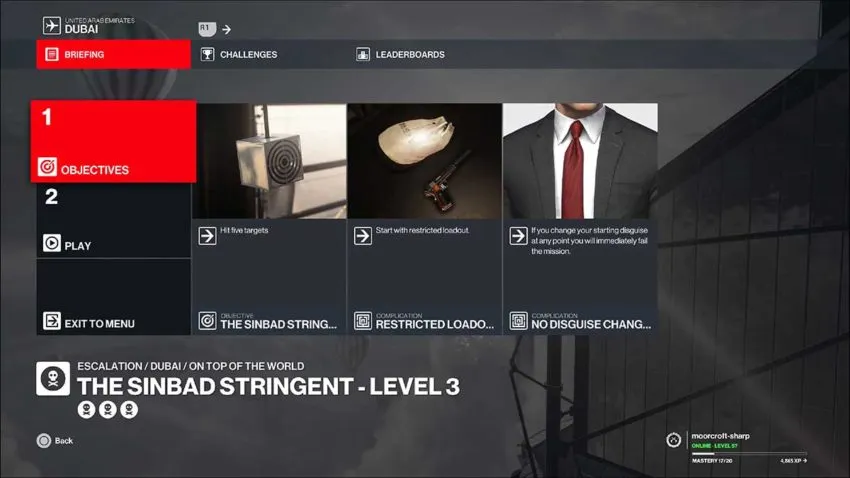
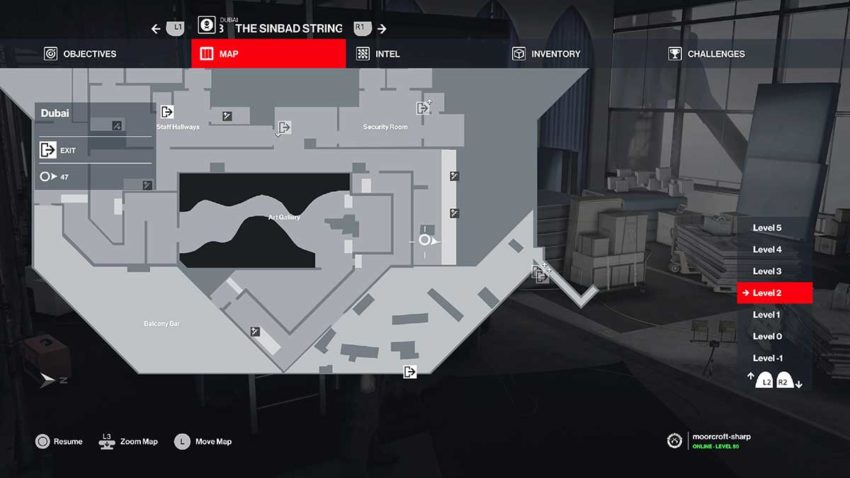
The Sinbad Stringent is an extremely different kind of Escalation Contract in Hitman 3. For the most part, your targets aren’t NPCs that you need to kill. They’re physical swinging targets. In this guide, we’ll explain how to complete all three levels of The Sinbad Stringent with a rank of Silent Assassin.
Level 1
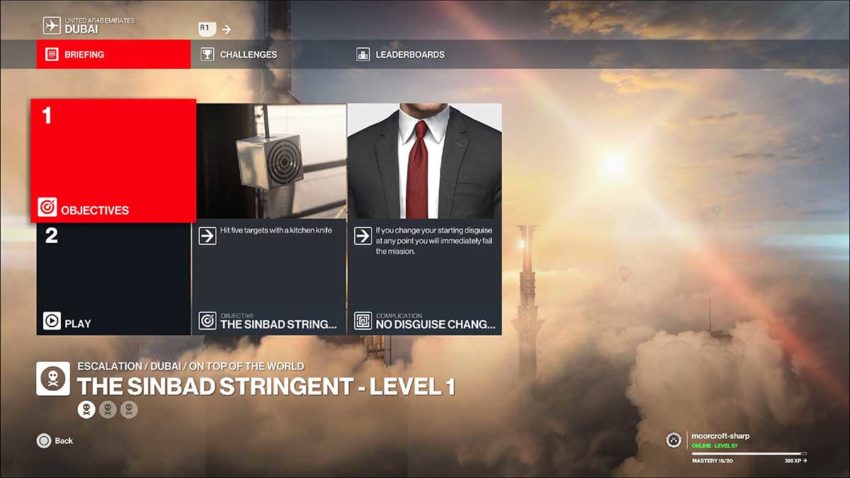
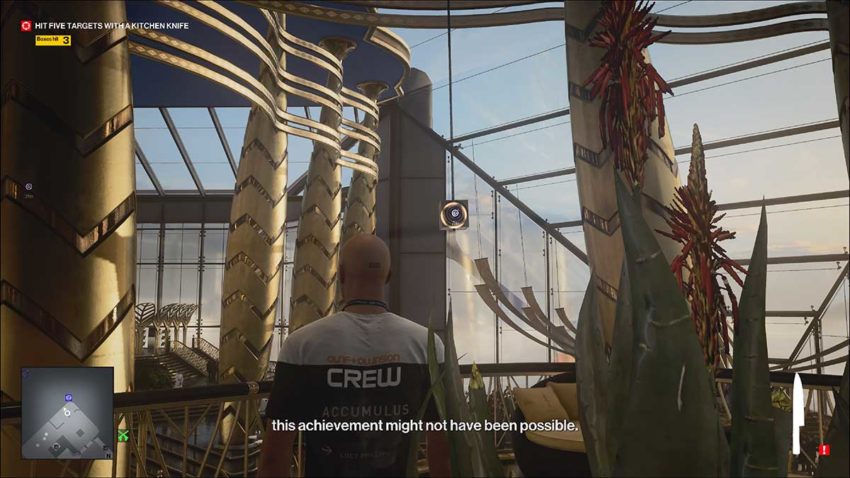
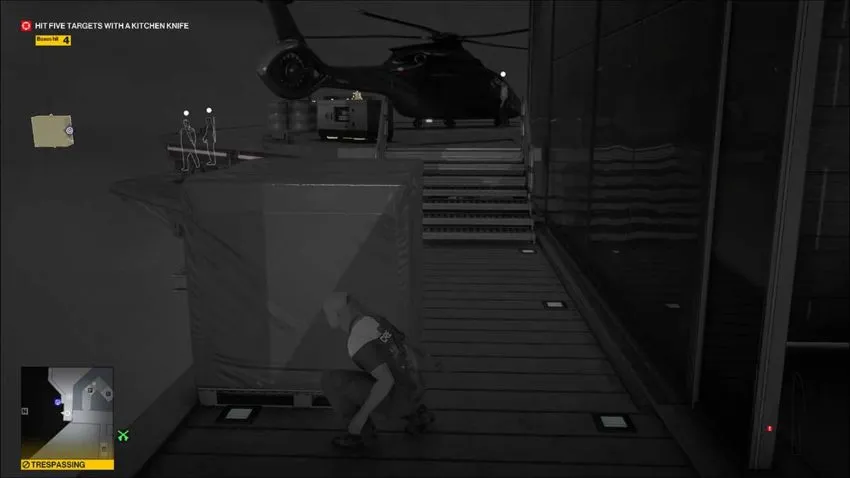
As we mentioned above, there aren’t any human targets for most of this Escalation. In level 1, you need to hit five swinging targets around the Dubai location with a kitchen knife. There is, however, a complication that prevents you from changing your disguise.
Target 1
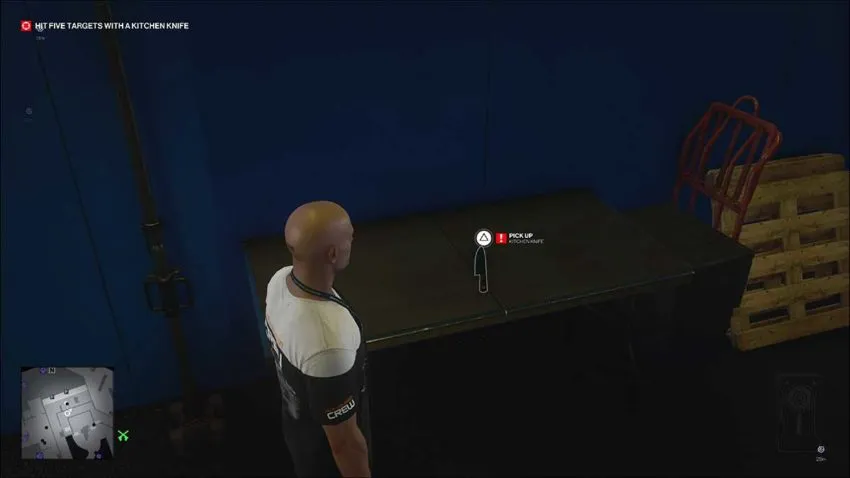
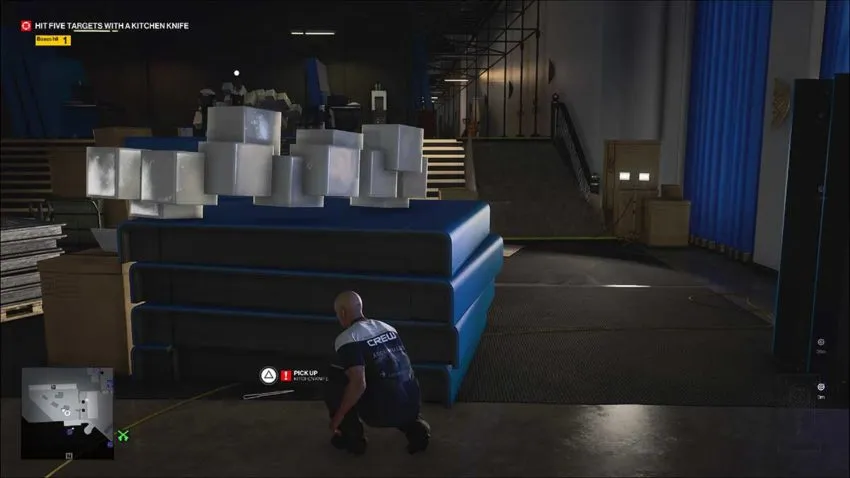
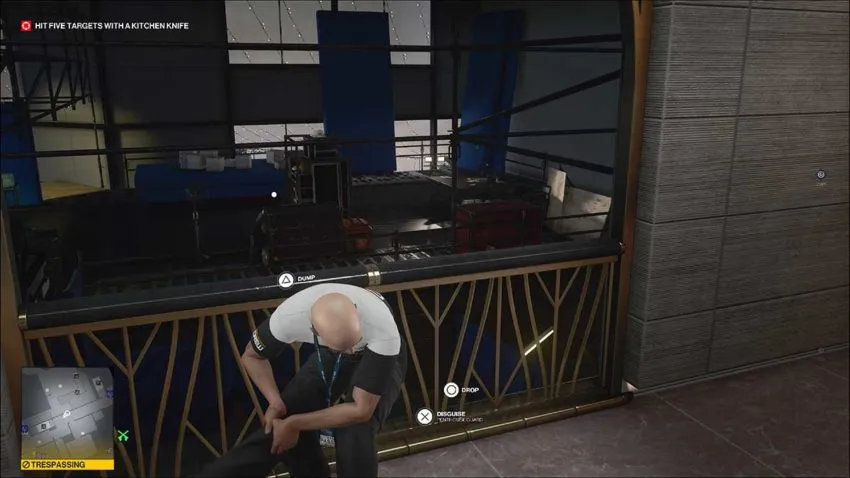
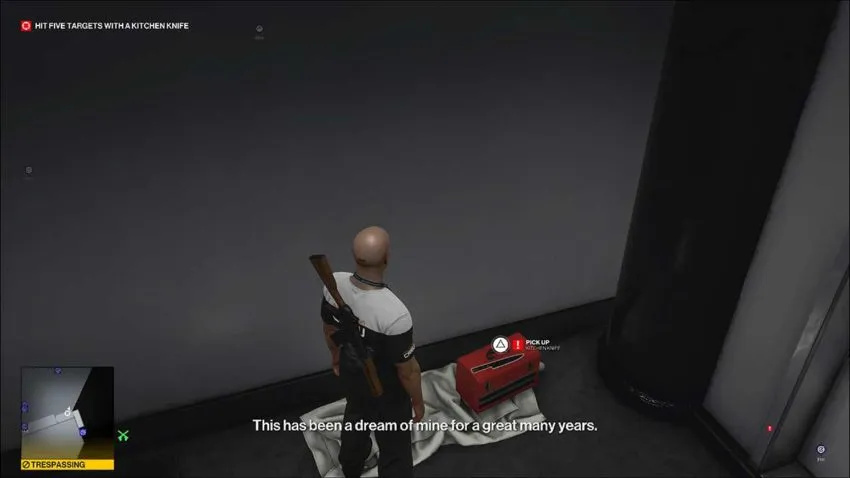
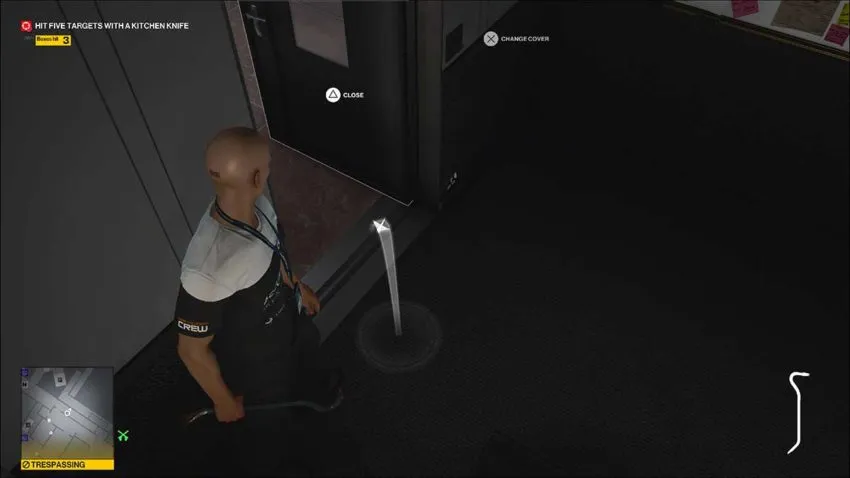
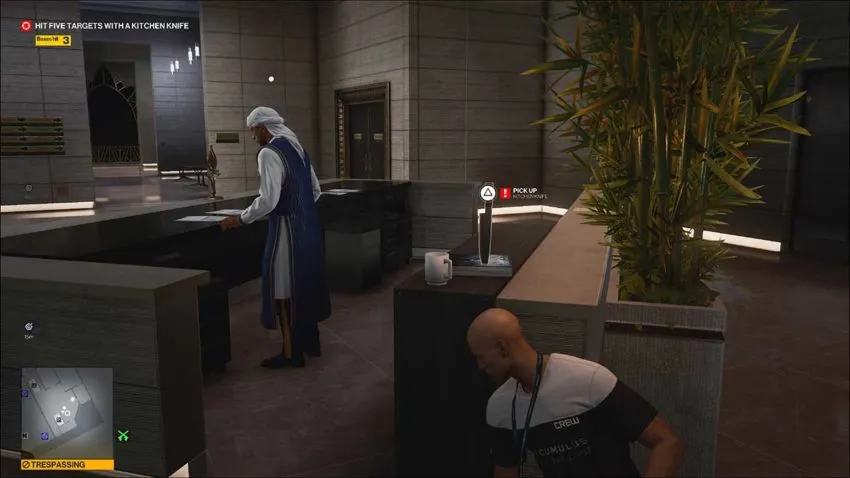
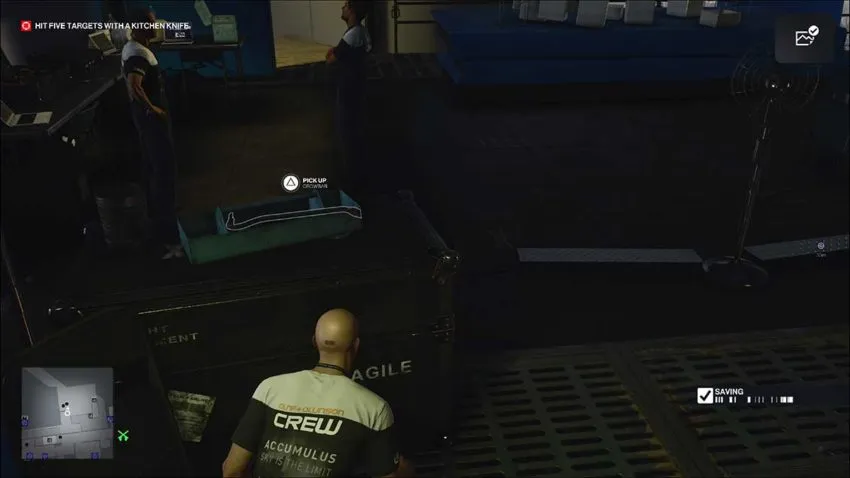
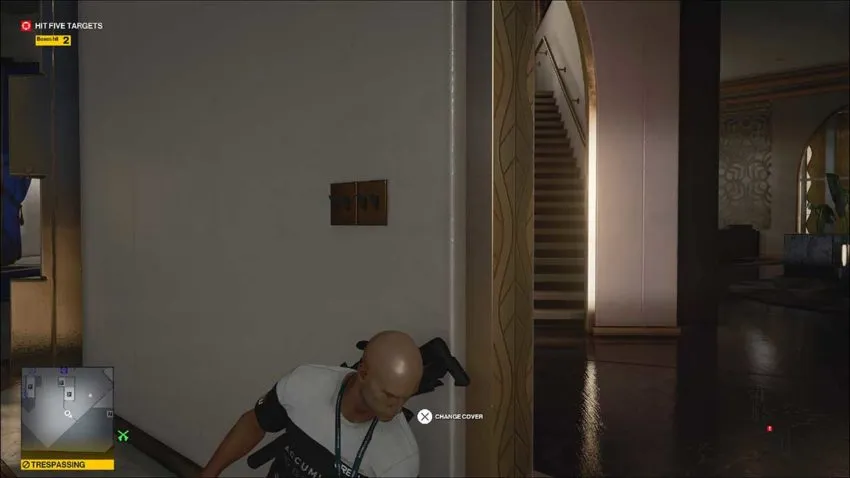
You don’t get to choose a spawn point or loadout for this Escalation. You’ll enter the mission in the Art Installation dressed in the Art Crew disguise. From here, your first knife is directly around the corner on a chest.
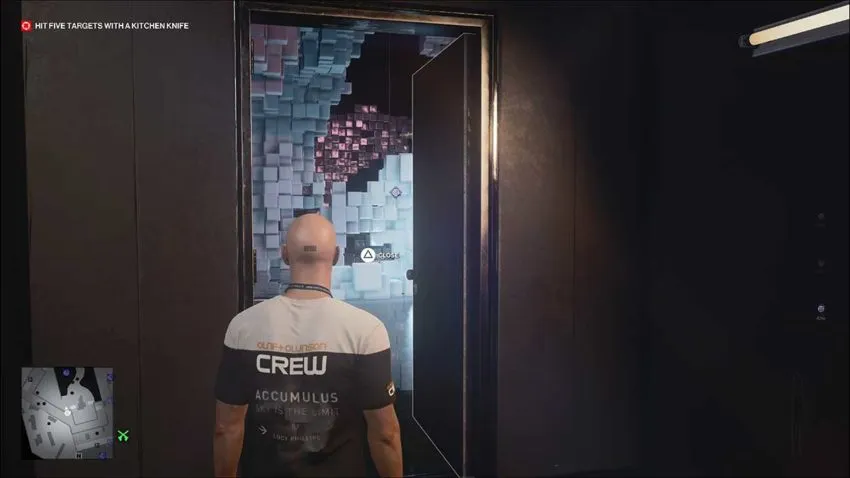
Keep moving around this corner and you’ll come to a door. This leads to the art installation itself. You need to go inside to find the first target.
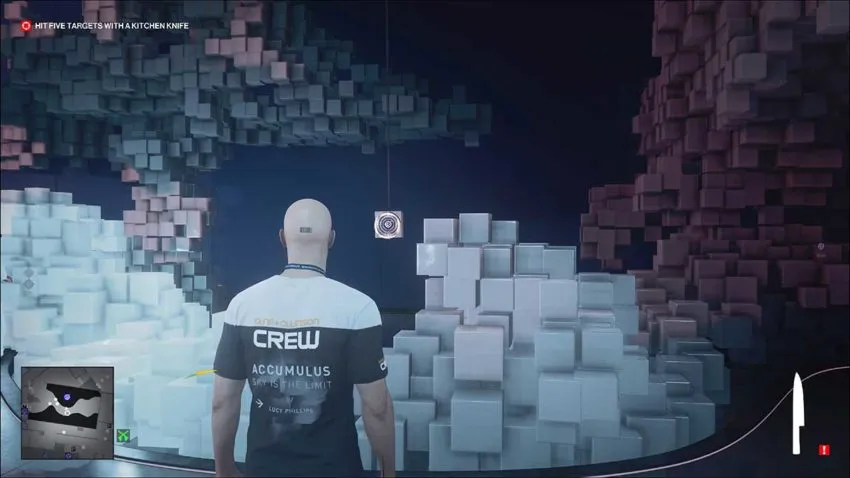
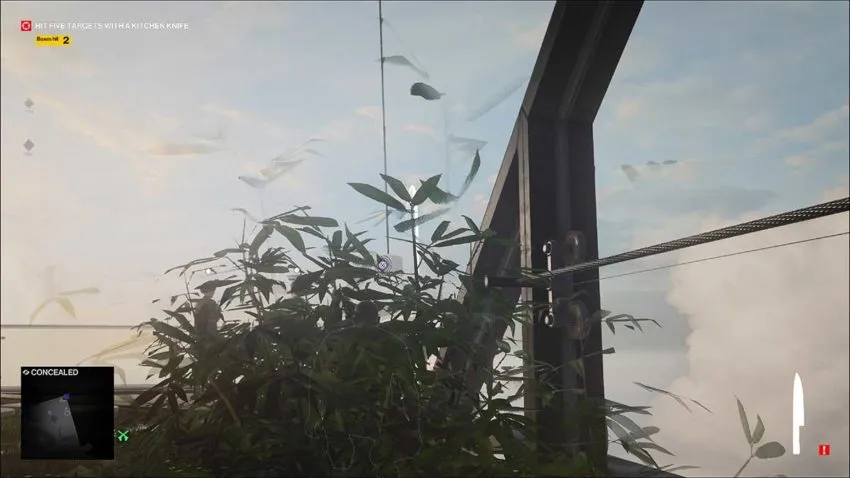
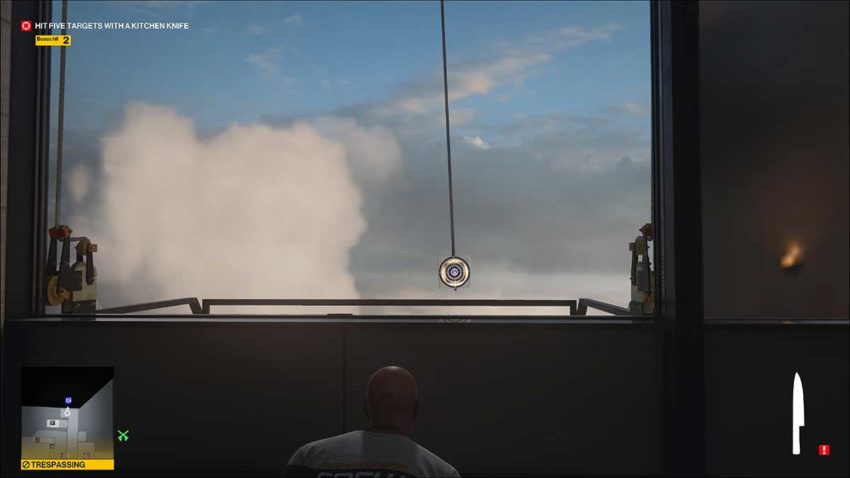
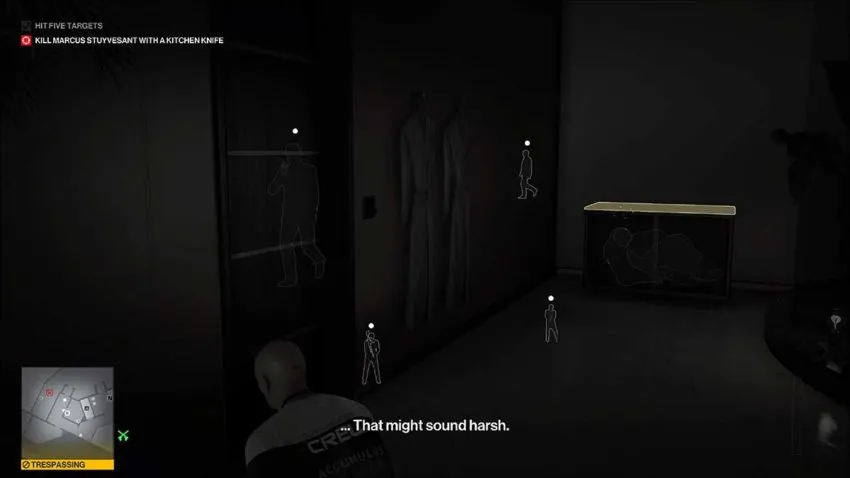
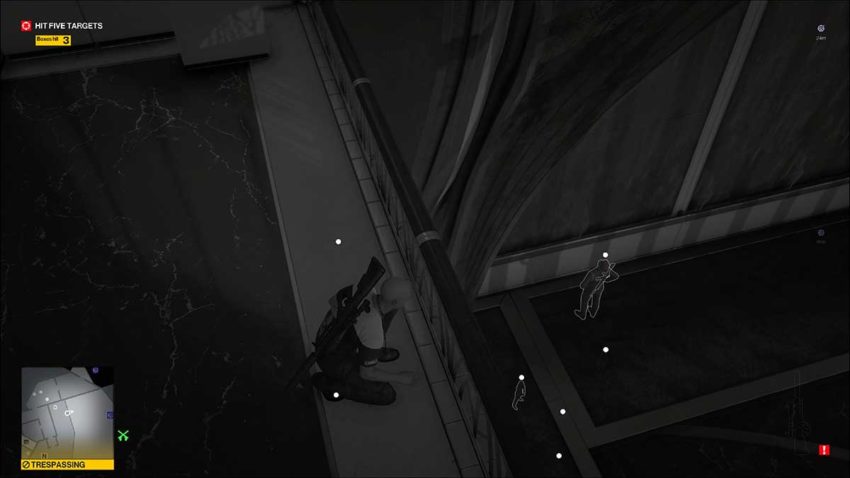
You’ll see the target to your right. Thankfully each one has an indicator that vaguely guides you to its location. This one is relatively easy to hit. Position Agent 47 opposite the target, there’s an outcrop of the art installation that blocks him from view to the left. Wait for the NPCs approaching from the left to go past.
When the coast is clear, throw the knife at the target.
Target 2
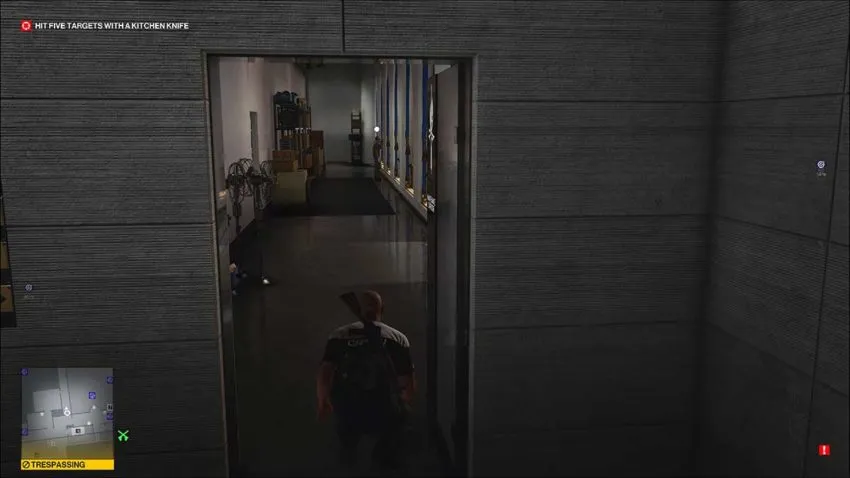
The second target you should aim to get is at the back of the building. Head right from the position in the image above and follow the corridor until you find a door in the wall. Since you’re in the Art Crew disguise, you can head through here.
You need to go to the other side of the map, near the Garden. It’s better to take the back corridors because there are way more enforcers in the bar than usual. They’ll spot you in an instant and make you fail the mission.
This location at the back of the building is where some faulty artwork is being worked on. There are two other Art Crew here, one who will be patrolling between the art and a laptop and another who won’t move.
The second knife is located here, just next to the blue pads.
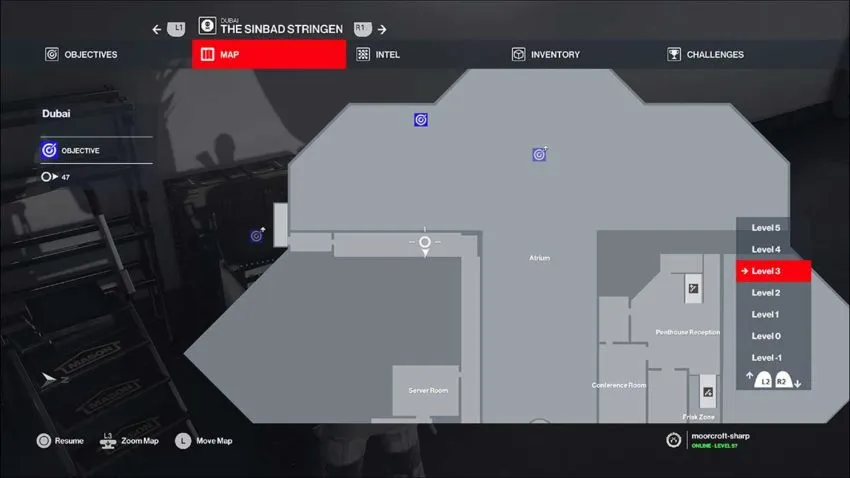
Below is a map reference for the second knife.

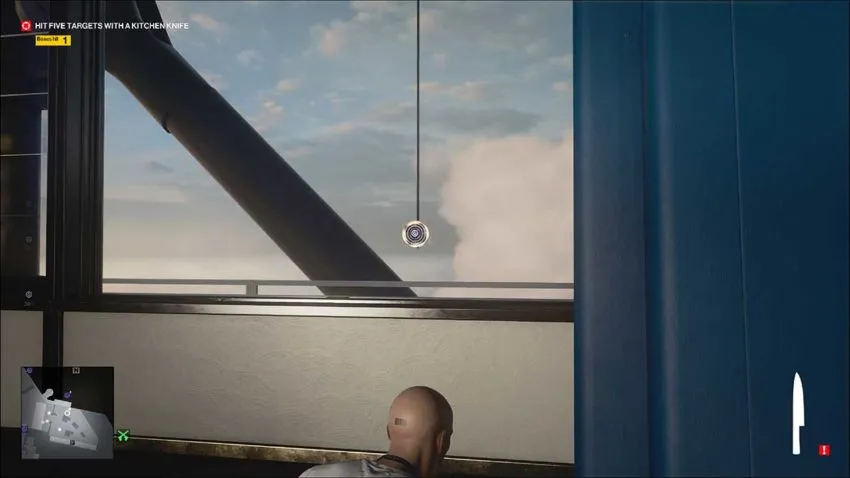
The target is outside of the closest window. Use your camera to open it and hit it with the knife.
Target 3
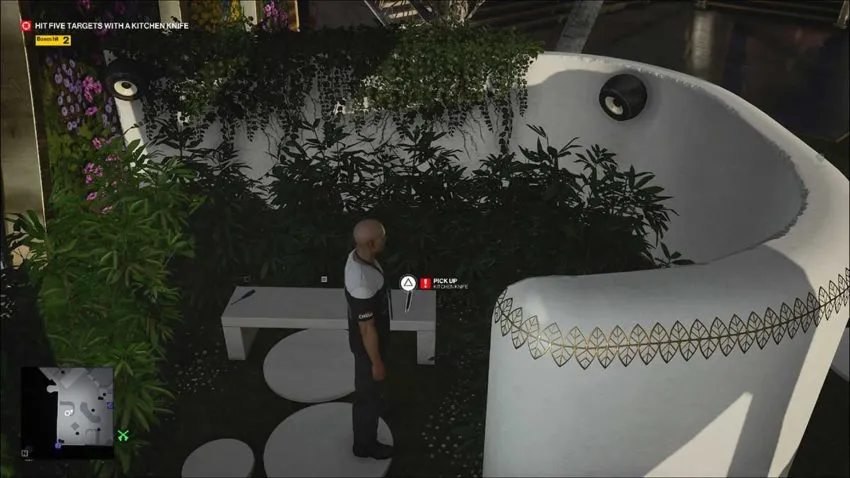
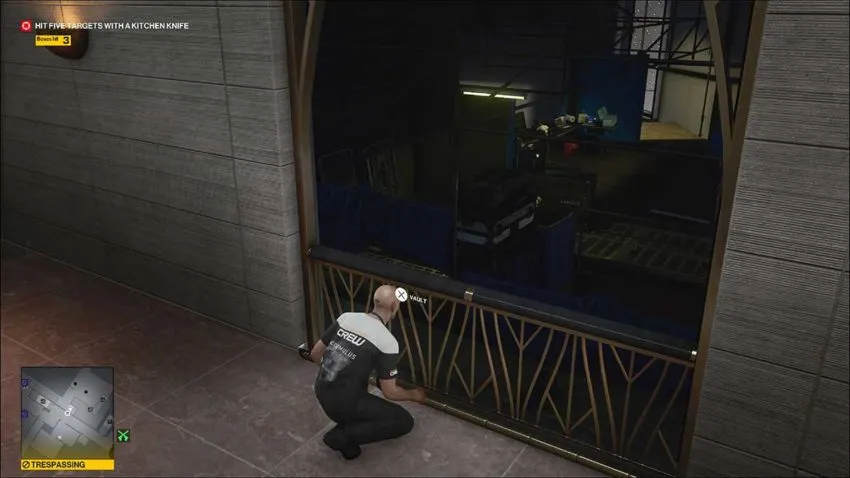
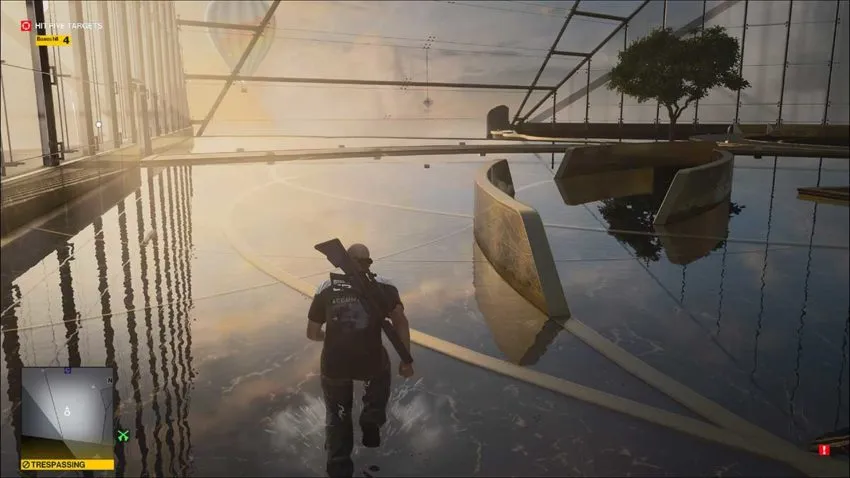
The third target is back in the Garden. Jump out of the window and go left. You need to vault over the scaffold and shimmy along the ledges until you reach the Garden.
Vault into the garden and turn left. The third knife is stuck in a bench here.
Below is a map reference for this third knife.
You can hit the target safely by hiding in the grass here. No one will see you. Just make sure you don’t accidentally kill someone.
Target 4
The fourth target is easiest to hit by heading into the area directly opposite the Garden. There’s an opening to the right of the large staircase. Go through there. The knife you need is in the large planter in the middle of this room.
Below is a map reference for this knife.
You can see the target from the balcony beyond the planter. Head out there and throw the knife at it.
Target 5
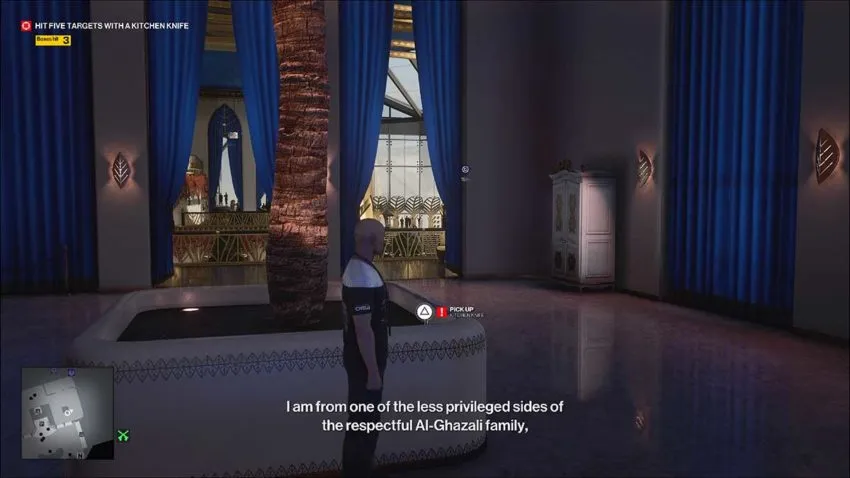
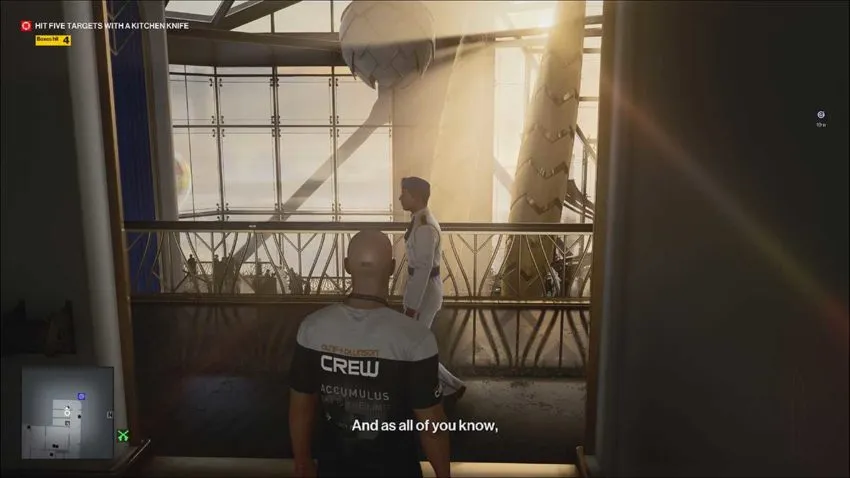
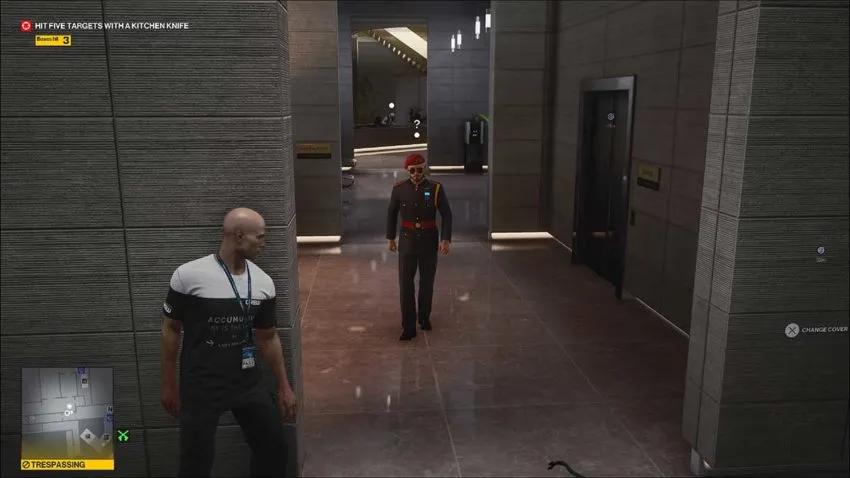
The final target is accessed through the Black Gold Bar. Head back out of this area and run through the large atrium to get there. Stick to the crowds when you are there to avoid being spotted.
If you want to conserve knives, you can pick up the one you just through en route. However, there’s another one waiting to be used up there, so it’s far from necessary.
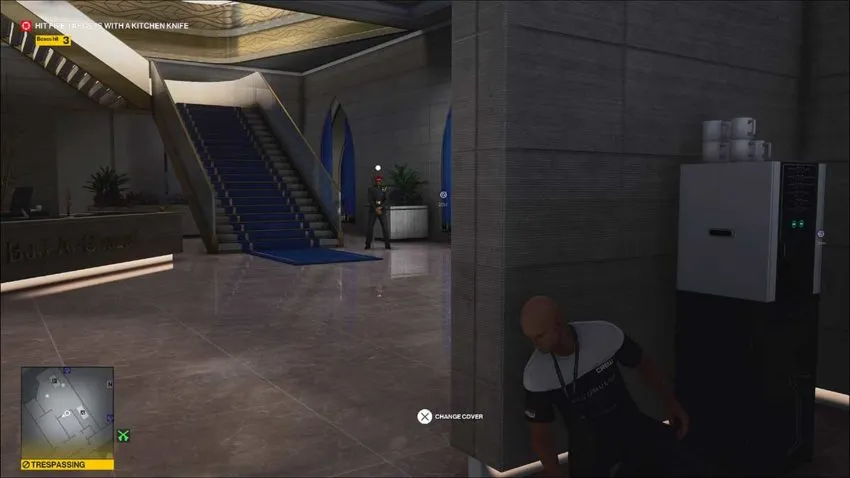
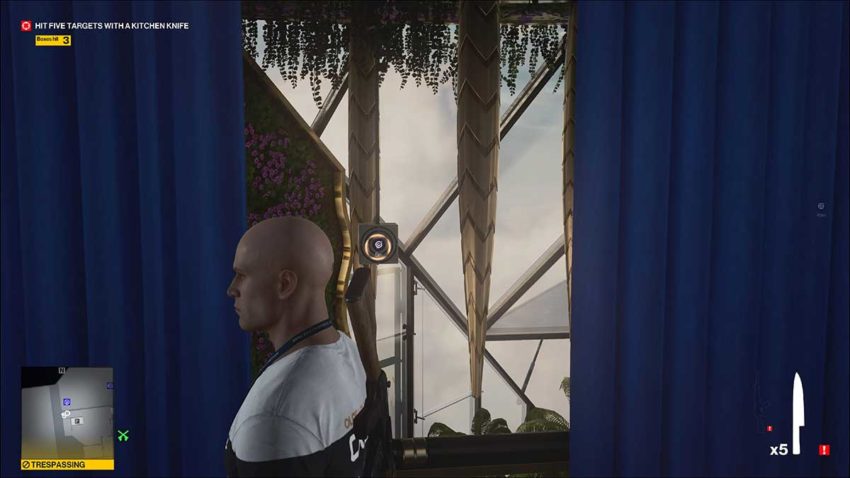
Once you’re in the Black Gold Bar, head up the stairs to the left of the main bar. They have blue curtains around them. Turn left at the top of those stairs and follow the balcony around.
The knife is at the end of the balcony, sticking out of a table.
Below is a map reference for this knife.
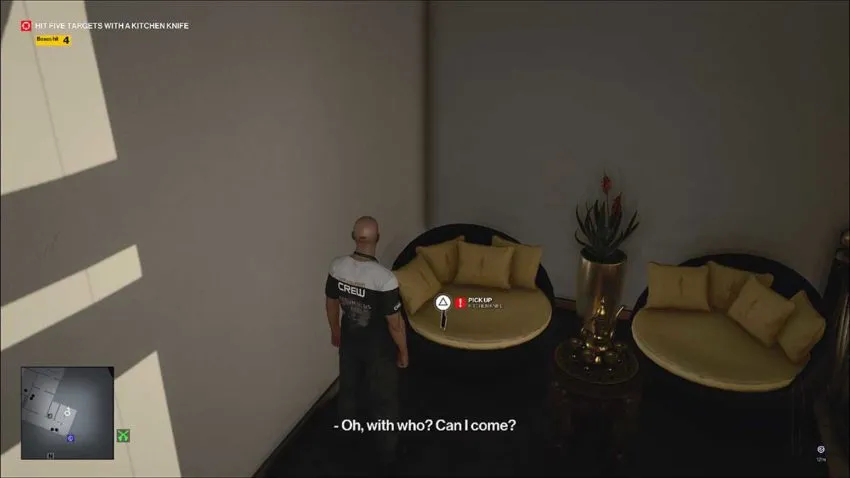
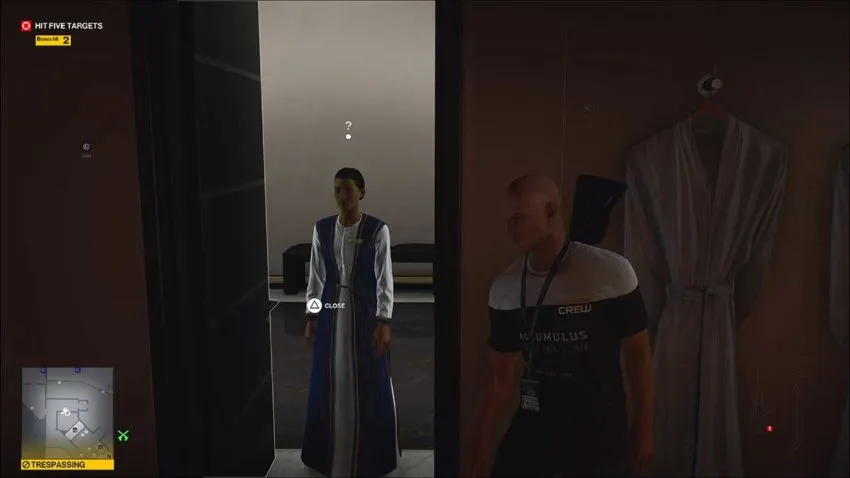
You’ll notice a small room with an opening on your left here. Use it as cover to subdue the guard who patrols this area when he comes past. You can hide his body in the wardrobe.
Hit the target with the knife, and then exit down the stairs.
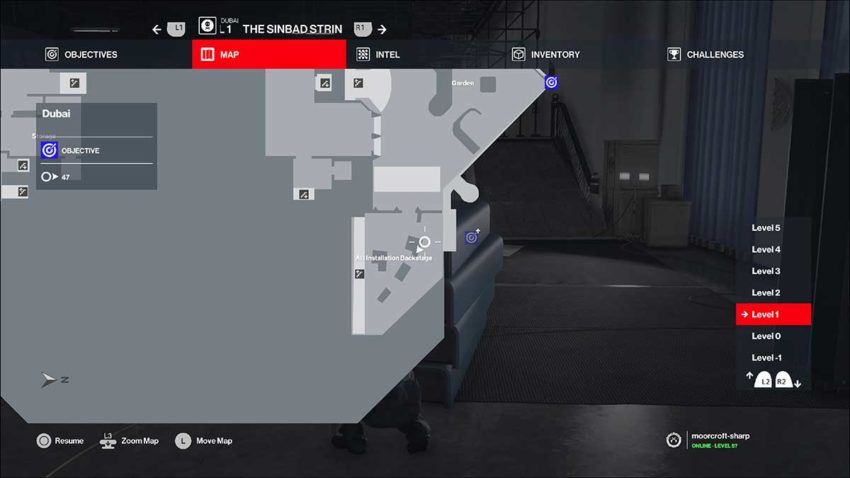
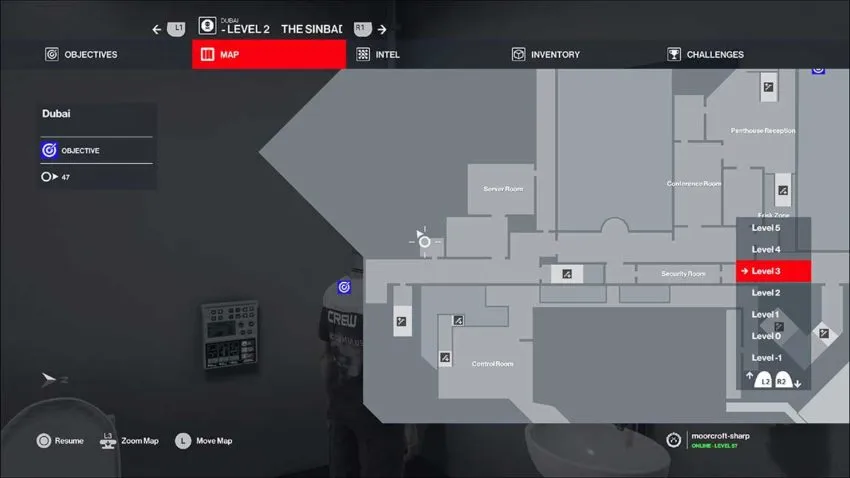
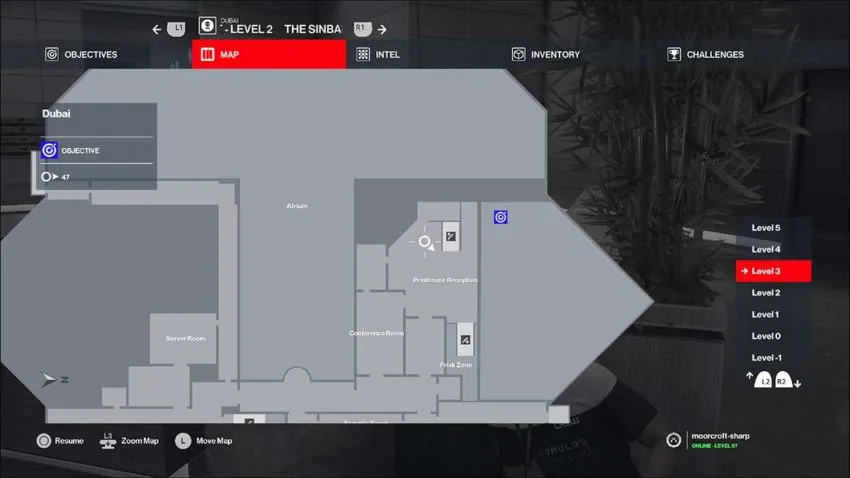
Level 2
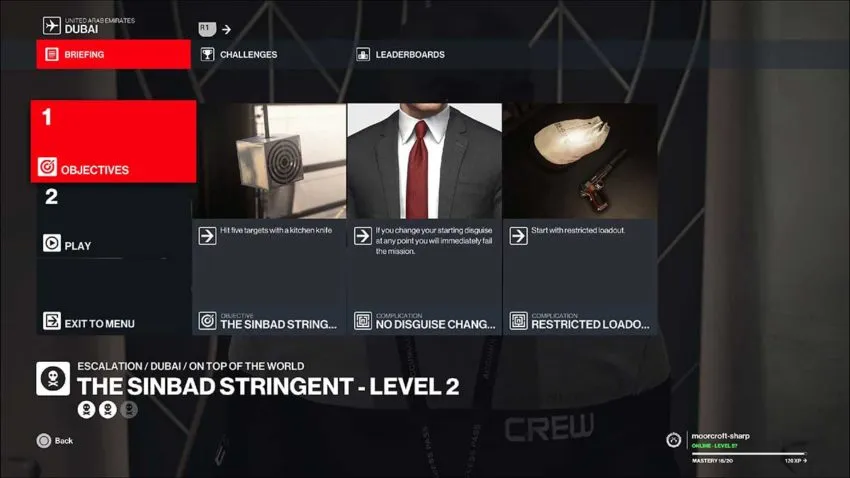
Level 2 of The Sinbad Stringent is the same as level 1. There is an additional complication of starting with a restricted loadout, but that doesn’t make things any harder than they were in level 1. However, all the targets are now in different locations.
Target 1
From your starting position, get up and climb the ladder behind Agent 47. At the top, turn right and run through the doorway on your left. Keep going left, and you’ll come to a series of platforms with ledges between them.
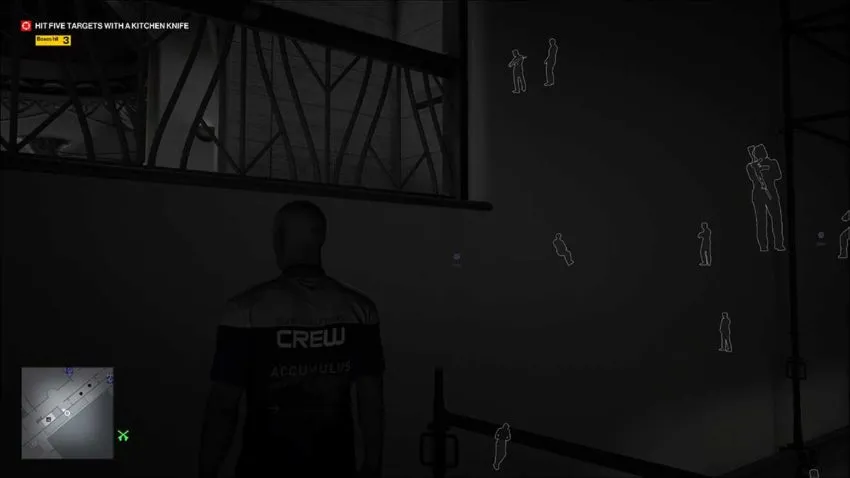
Shimmy along between the ledges to reach the platform at the end. Here, you can see a camera in the corridor to your left and a guard to your right through instinct.
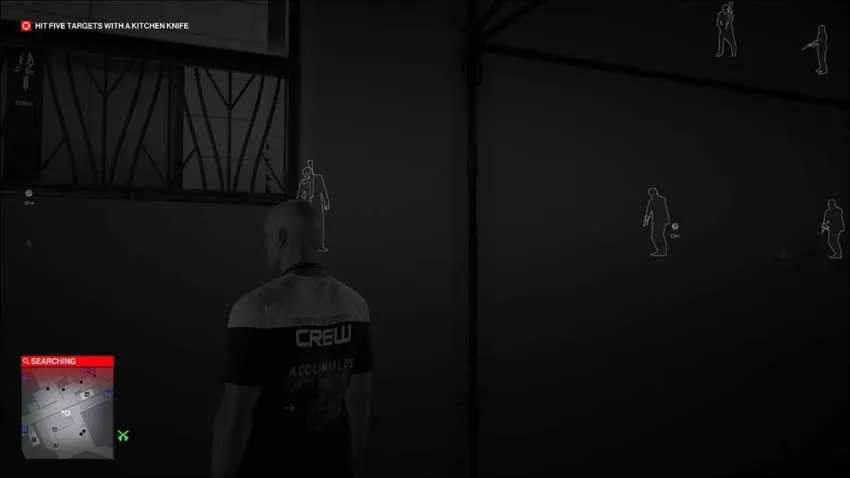
Wait for this guard to move away from where he is stationed and over to the position you see in the image above. When he does, vault over the balcony and hide halfway down the stairs to your right. Don’t go all the way down because there’s a camera there.
When the guard comes back, wait for him to lean against the wall. Now you can subdue him. Dump his body over the balcony you vaulted earlier.
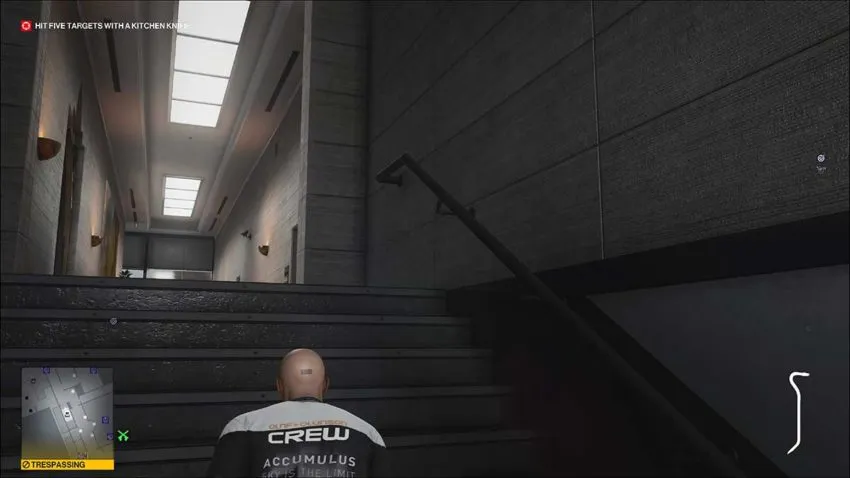
Now you need to get through the door on the other side of this corridor. It’s one that leads to a long walkway. Check that the guards to your right aren’t looking before you go for it.
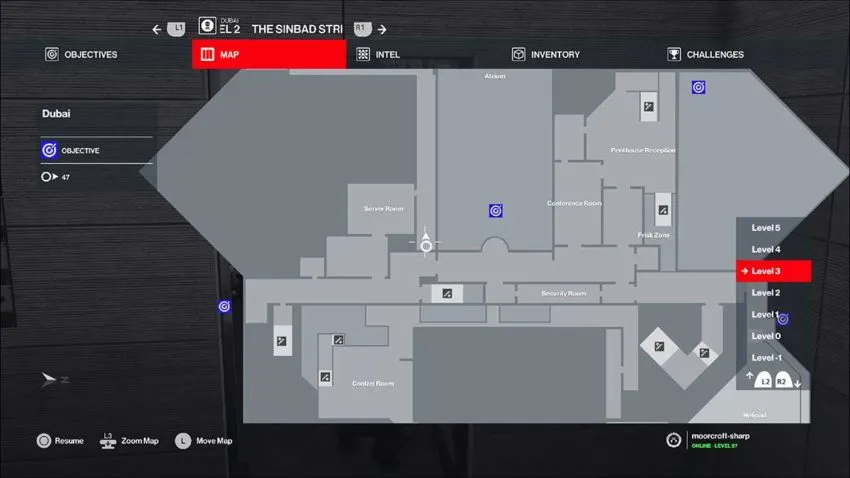
Below is a map reference for this location.
There are two janitors in this corridor. Pause near the boxes on your left to allow the one at the back to patrol to some shelves for a second. When they’re gone, run down the corridor and subdue both janitors. You can hide their bodies in the locker around the corner.
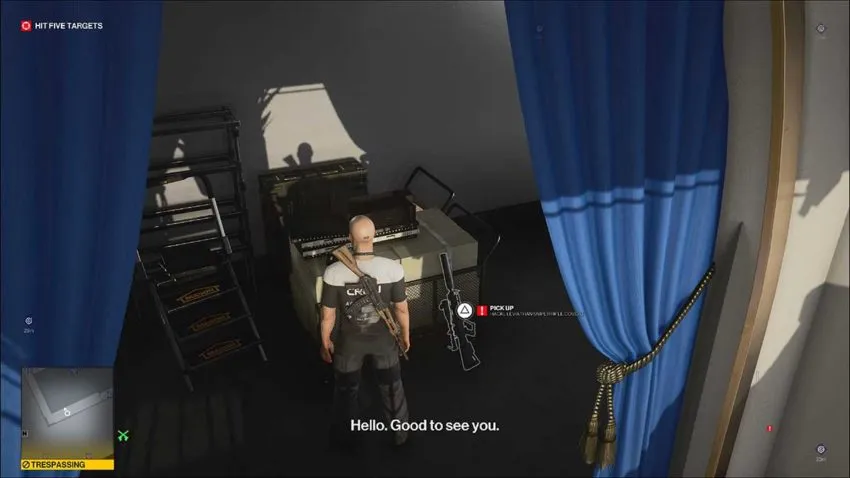
Pick up the keys that both janitors drop. Then, from the position in the image above, go through the door at the end of the walkway to your right. Ignore the sniper rifle, for now. We don’t need that until level 3.
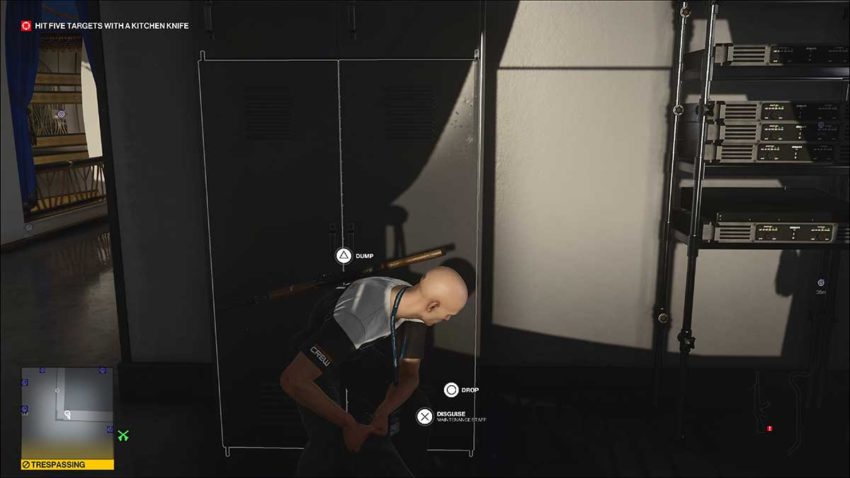
Inside this closet is a knife sitting on a toolbox.
Below is a map reference for this knife.
Just through the next door is your first target. Hit it with the knife and head back into the walkway.
Target 2
Once you’re inside, run all the way back to the entrance to this walkway. Go through the door and follow the corridor to the right. You should be able to see the target indicator getting clearer.
Watch out for the camera in this corridor. You don’t want to get caught by it. The second knife is inside the bathroom on the corridor’s right-hand side before you reach the window at the end.
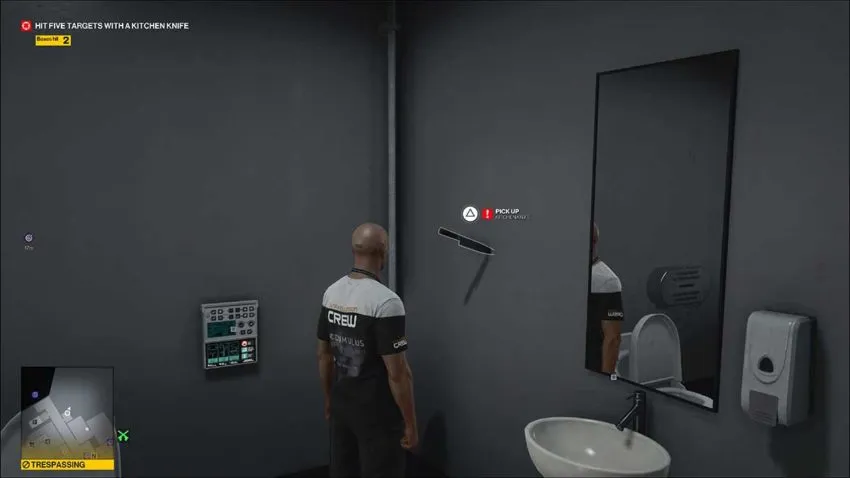
Below is a map reference for this knife.
The target is outside the window at the end. Open it with your camera and smash it with the knife.
Target 3
Now head back along the corridor, avoiding the camera once again. You need to vault back over the balcony that you used to get up here in the first place.
Shimmy to the left so that you’re over by one platform. You will now be able to see the third target through the balcony. Use instinct to track the guard who will come out here on his patrol. You can see him on the left of the image below.
When the guard comes out, subdue him and dump his body over the balcony. The guard will drop a knife for you to use to hit the target. There’s also one in the office to the right here. It’s stuck in the wall.

Target 4
Now, head into the office that guard was moving in and out of. There’s a sleeping guard in here. Subdue him and hide his body in the locker. You should also take the banana.

At this point, you’ll be collecting knives with every guard you take down. Use them to create a distraction when necessary. You can also use the banana.
Open the door, lean against the entrance, and throw an object just inside this room. This will distract the nearest guard into coming to investigate it. When he does, subdue him and hide his body in the locker.
Leave this office and turn left. You need to lean against the wall of the corridor and create another distraction. When the next guard comes, subdue him and dump his body over the balcony and onto the platform below it. This will hide him but not kill him.
The third guard requires you to throw an object into the middle of the next corridor. Then, once he’s come out, throw an object close to Agent 47 so that you can take him down. Dump his body with the last one.
There are only two NPCs left to deal with here. One is a guard on the right, and the other is a receptionist to the left. The guard will patrol over to the desk and back again. The receptionist will move around within the confines of their desk.
Wait until the receptionist turns their back on your position. Then crouch run over to the desk and around the back of it. This will draw the attention of the guard. As long as you move all the way around the desk, the guard won’t find you.
Conveniently, this is where the knife for the next target is. Not that you’ll need it if you’ve picked up the ones from the guards you’ve knocked out.
Below is a map reference for this location.
When the guard moves back to the stairs, sneak around the back of them and subdue him. You should have just enough time to get to the receptionist and subdue them before they notice. Drag both of their bodies into the corner of the room behind the stairs.
Your fourth target can now be destroyed.
Target 5
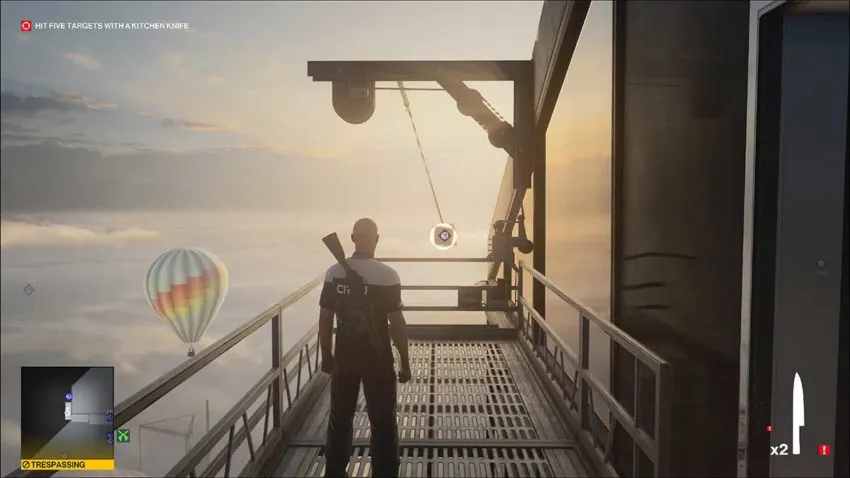
Head back out of this area the way you came. Your final target is on the helipad. You can get there by turning left once you’re back to the main corridor and following the path to the left. Make sure the camera does not spot you as you head for the automatic doors.
Out on the walkway, you can see the next target. If you have a knife, which you probably do, hit it.
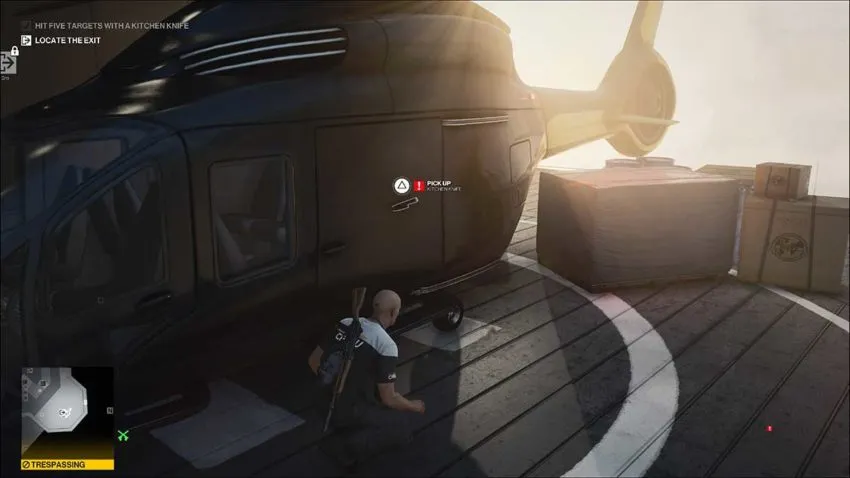
If not, there’s one sticking out of the helicopter. Avoid the guards and take down the pilot as you move to grab it. Hide the pilot’s body behind the boxes to his right.
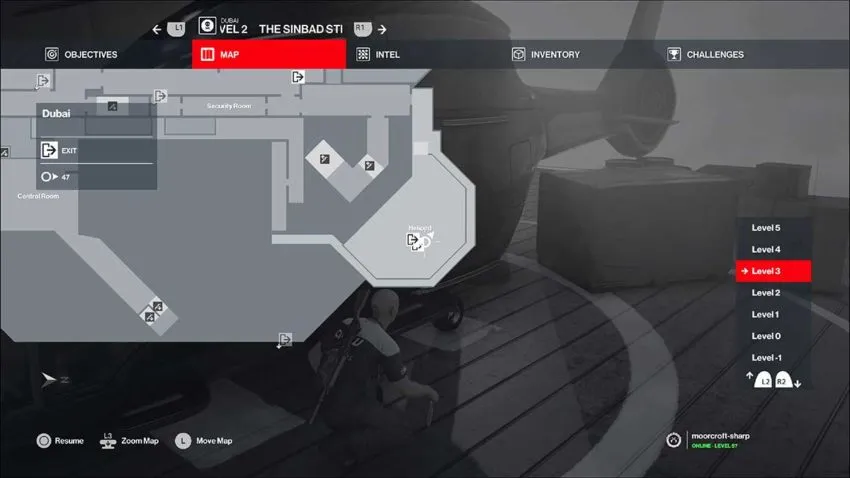
Below is a map reference for this location.
To exit, use the lower walkway of the helipad to get down the ladder. Just around the bottom, you’ll find the helicopter key. Use this to exit in style. Just watch out for the patrolling guards.
Level 3
For this final level of The Sinbad Stringent, the restrictions are almost the same again. Obviously, the targets have moved once more, but now you can hit them with anything. If that’s not enough of a hint for what’s coming, you definitely weren’t paying attention.
Target 1
The path to follow here is the same as level 2. The only addition we have is that when you’re first shimmying along the platforms, vault over the railing with the blue tarp on to the left before taking on the first guard to your right. There’s a crowbar in a maintenance area here that we need.
Now do exactly what you did last time. Vault the balcony, wait for the guard to come to the stairs, and take him down. Don’t forget to hide his body. Now go through the door to the long corridor opposite, and take down both janitors.
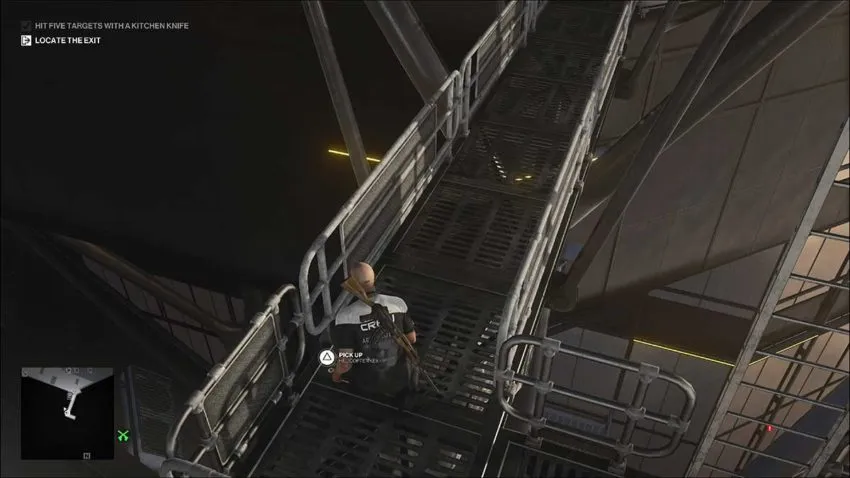
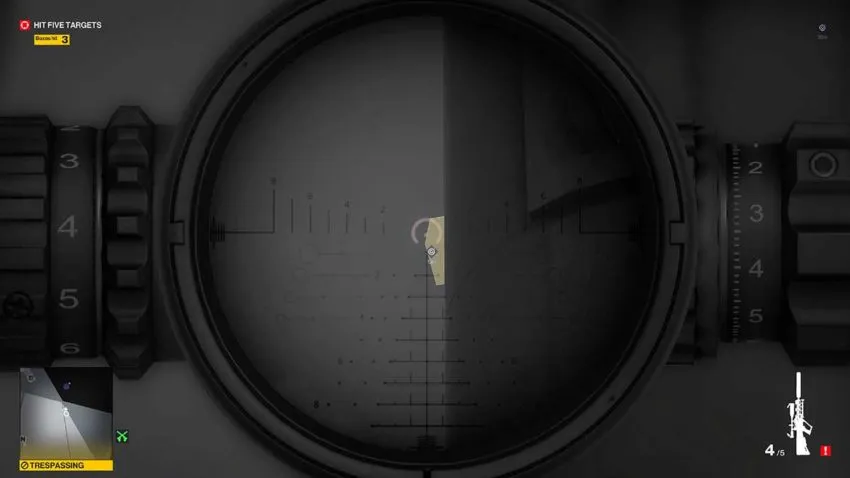
At this point, you’ll see a target in the distance, and have no way to hit it. This is where that sniper rifle comes into play.
Below is a map reference for the sniper rifle.
Shoot the target. This sniper rifle is suppressed so it won’t alert anyone.
Target 2
Head back out of this walkway and turn right in the main corridor. Sneak past the camera again, or you could shoot it out with the sniper rifle. You need to enter the penthouse by breaking into the door on your left towards the end.
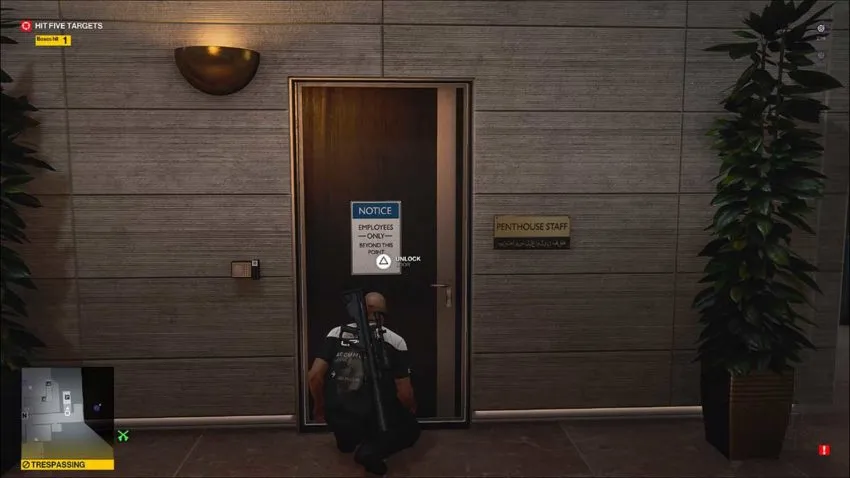
Below is a map reference for this door.
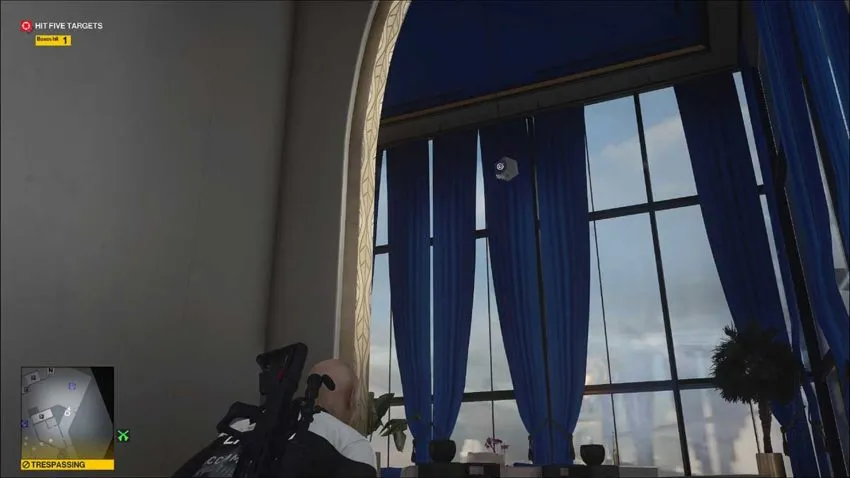
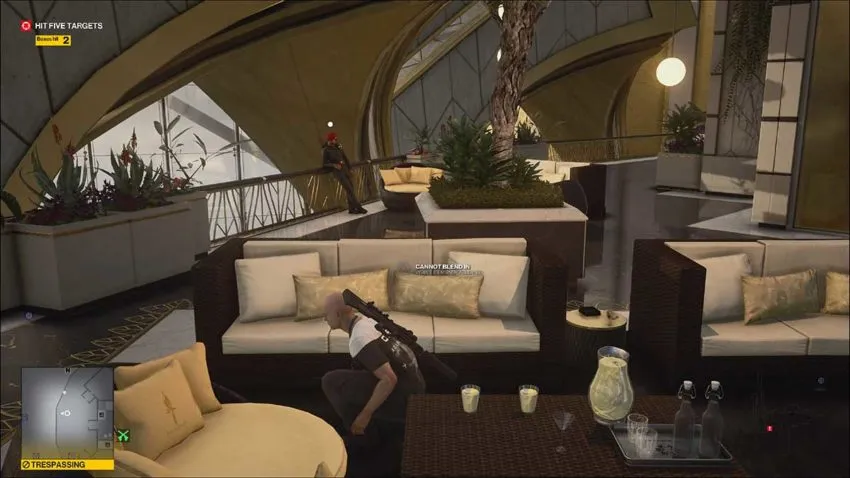
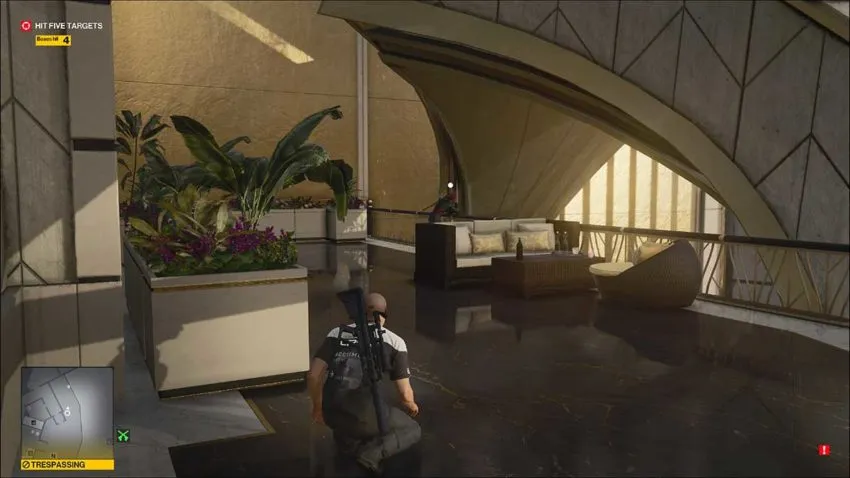
Once you’re in, head up the stairs and through the door. The second target is swinging above the lounge, but there’s a guard here. Use the bar he stands near as cover to get close to him. When he moves towards the windows, subdue him and hide his body in the chest in this room.
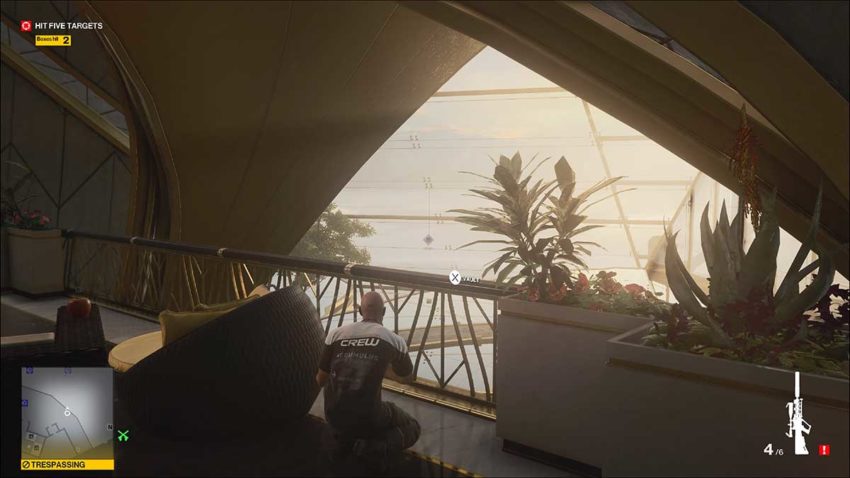
Now you can shoot the target. You also need to pick up the kitchen knife from the bar. It’s very important.
Target 3
The third target is on the next level up. Move to the doorway opposite the position in the image above and lean against the wall. Wait for the guard to look away and then sneak up the stairs.
Wait on the stairs and use instinct to track the guard outside the door at the top of them. When he moves away, sneak out after him. Stick to the left of the furniture and hide in the corner of it.
When he begins to walk back to the door, follow him and subdue him. Use the crowbar to open the door to the Guest Room, which is just to the right of the image above, and hide his body under the television behind the coffee table. Put his weapon there too.
Now run across this open rooftop to the corridor opposite. Just inside, there will be a door to the left, which is a bathroom.
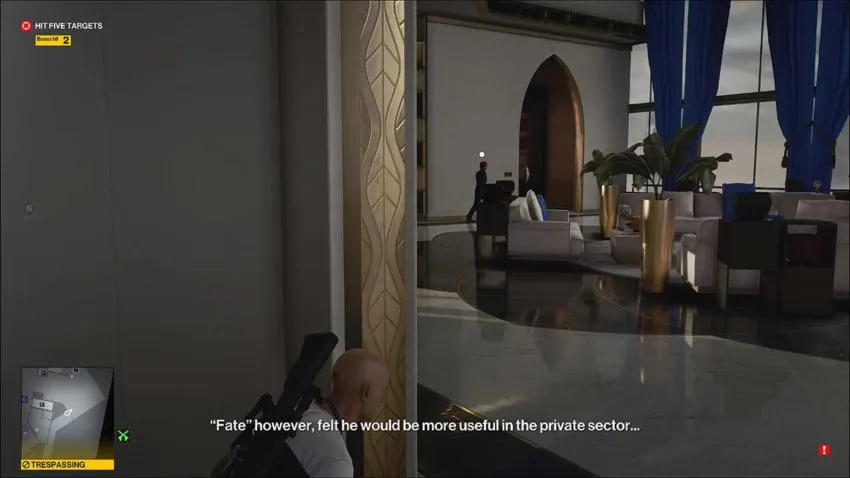
Subdue the NPC in here and hide his body in the container. Now you need to wait for Ingram, a target in the main mission, to walk by with two bodyguards. As the bodyguards pass by, turn on the tap to create a distraction and hide in the container. One bodyguard will come to investigate.
Throw the crowbar at the guard’s head to subdue him, and hide his body in the container too. Now turn off the tap and wait for Ingram to leave the room he’s just entered. When he goes, he’ll take his second bodyguard with him.
At this point, turn on the taps again, and then, to the left of the bathroom door, turn on the hoover. This will distract the cleaner into coming out to investigate both. When she enters the bathroom, subdue her and put her body in a corner. No one will come in to see her, so it doesn’t matter where you stash her.
Before we move onto the third target, we need to take one more guard down. He’s outside of this corridor, just to the right of it, leaning against the balcony. Subdue him and hide him and his weapon in the same bathroom.
Now you can shoot the third target. You can see it over the balcony.
Targets 4 + 5
Head back to where that last guard was standing. If you look down, you’ll see a guard patrolling the area below. Wait until he’s moving back to the right. Then vault over the balcony and slide down the beam there.
Once you’re down, head out into the water and slightly to the right. You need to be far enough away that you can use the barriers here as cover from the guard while he’s standing and watching.
When the guard looks away again, run for the door to the left in the image above. An NPC is cleaning out here that you need to subdue. When you have, drag her body to the left of this platform as far as you can.
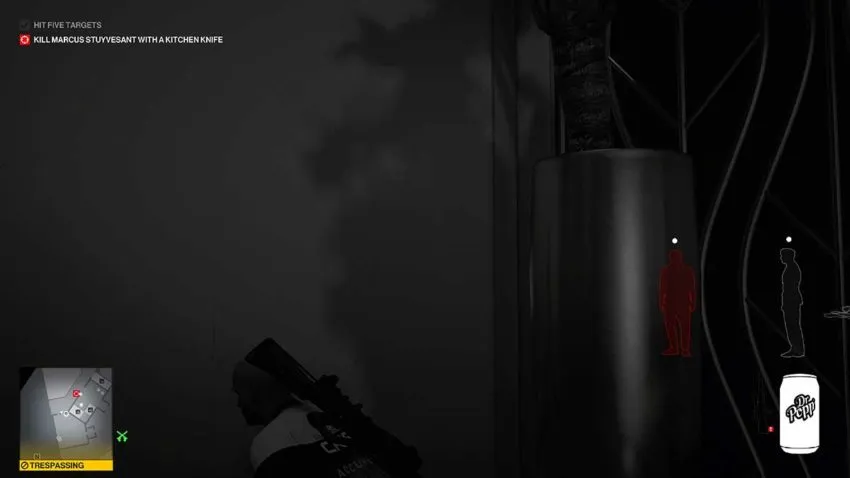
From this position, you can see both targets. Use the map and on-screen indicators to find them and shoot them. The hardest one will be to the left. You can hit the edge of it as it swings out from behind a pipe.
The final target
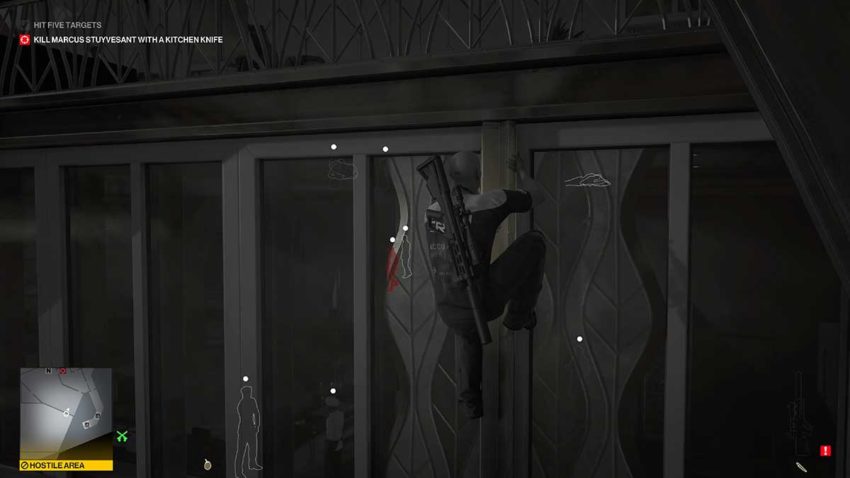
In a final insane twist, you now need to kill Marcus Stuyvesant with a kitchen knife. Luckily, he’s walking around the penthouse. Head back the way you came and up the beam you slid down. Watch out for that guard at all times.
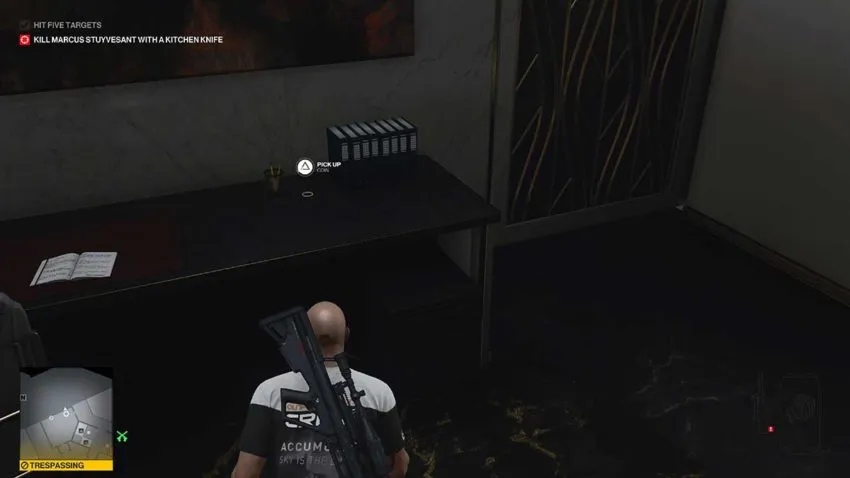
Head left across this rooftop area and into the Guest Room. There’s a table on the opposite side of the room with a coin you need.
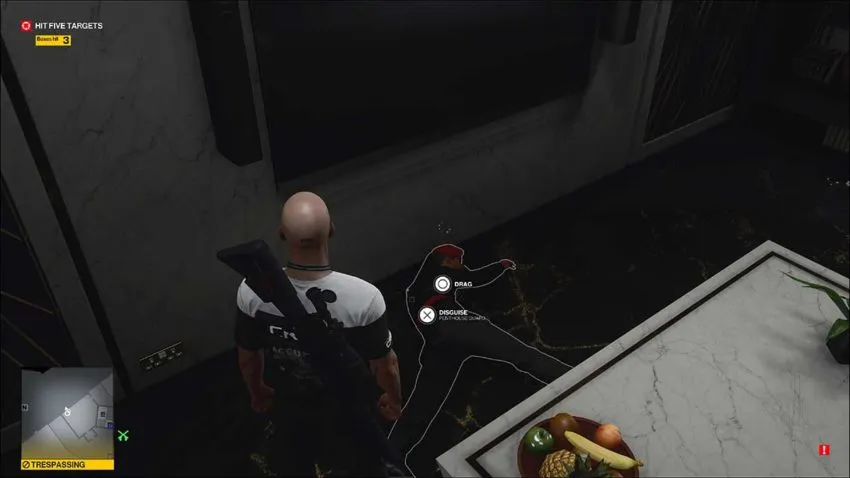
There’s a guard on the other side of the nearby door. When he’s close to it on his patrol, subdue him and put him with the rest of the bodies in this room. Put his weapon further down the hall and return to the Guest Room.
This will cause Marcus to get his guard to collect the weapon when he sees it. Leaving him all alone. The best strategy is to draw Marcus to the left of the Guest Room door. Then you can hit him in the head with the kitchen knife and hide his body in your growing pile.
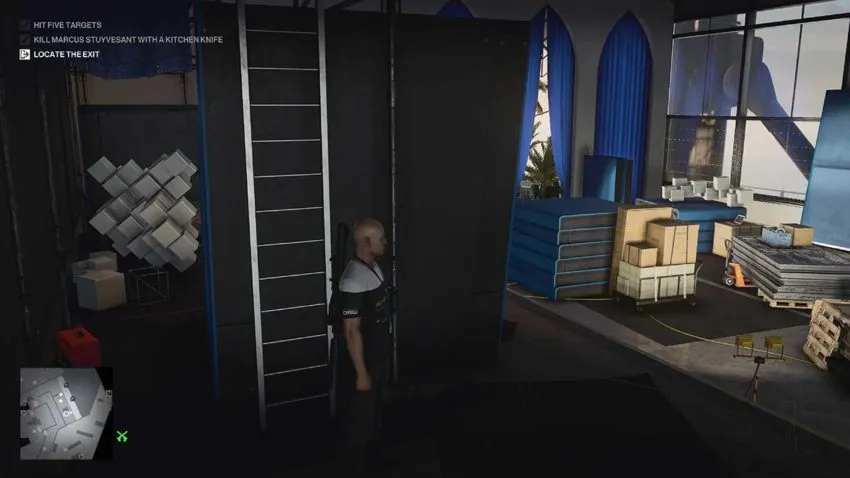
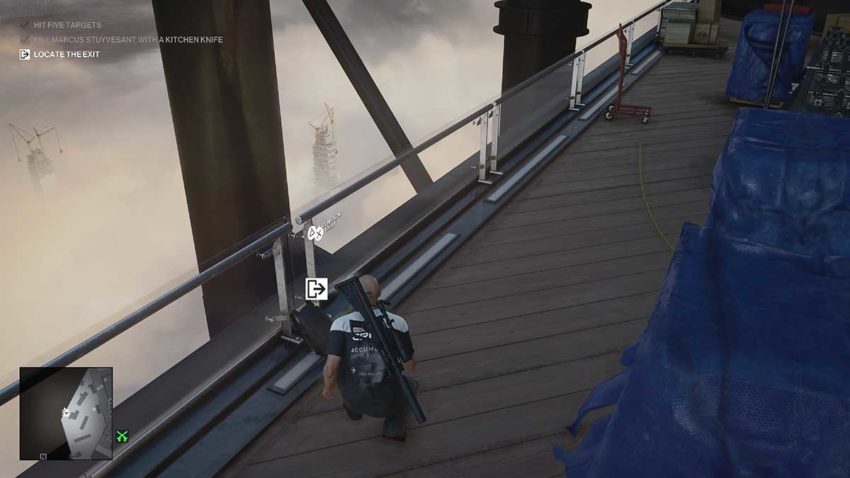
Exit
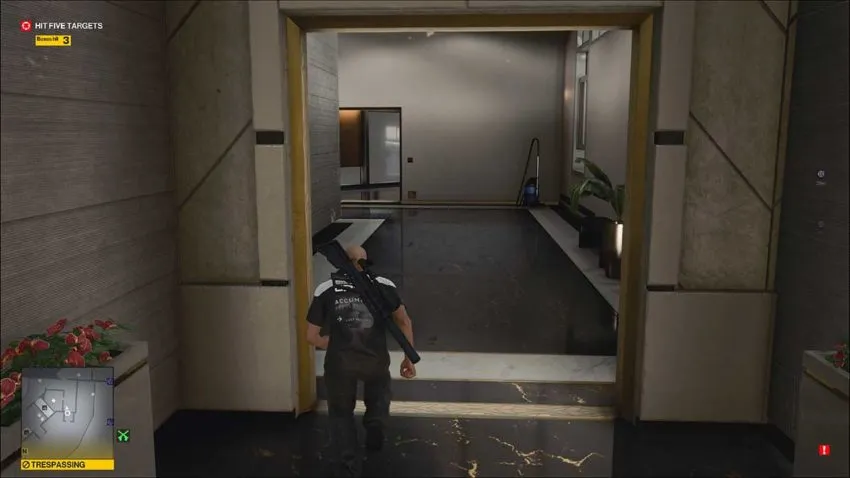
The best exit to take is the parachute. Head out of the Guest Room door and take the second right. This will be a staircase down to the lounge area. Go through the lounge and down the penthouse stairs that you climbed to get here. At the bottom, watch out for any NPCs coming your way.
You now need to vault back over onto the platforms you shimmied along at the start of this level. Shimmy down to the opposite end and follow the walkway around the corner until you reach a ladder. At the bottom of this ladder is the room where you had to hit a swinging target with a knife in level 1.
Below is a map reference for this room.
Head out the automatic doors opposite this ladder. Watch out for the NPC here who might spot you if you’re not careful. The parachute is leaning against the balcony.


Published: Feb 19, 2021 10:21 am