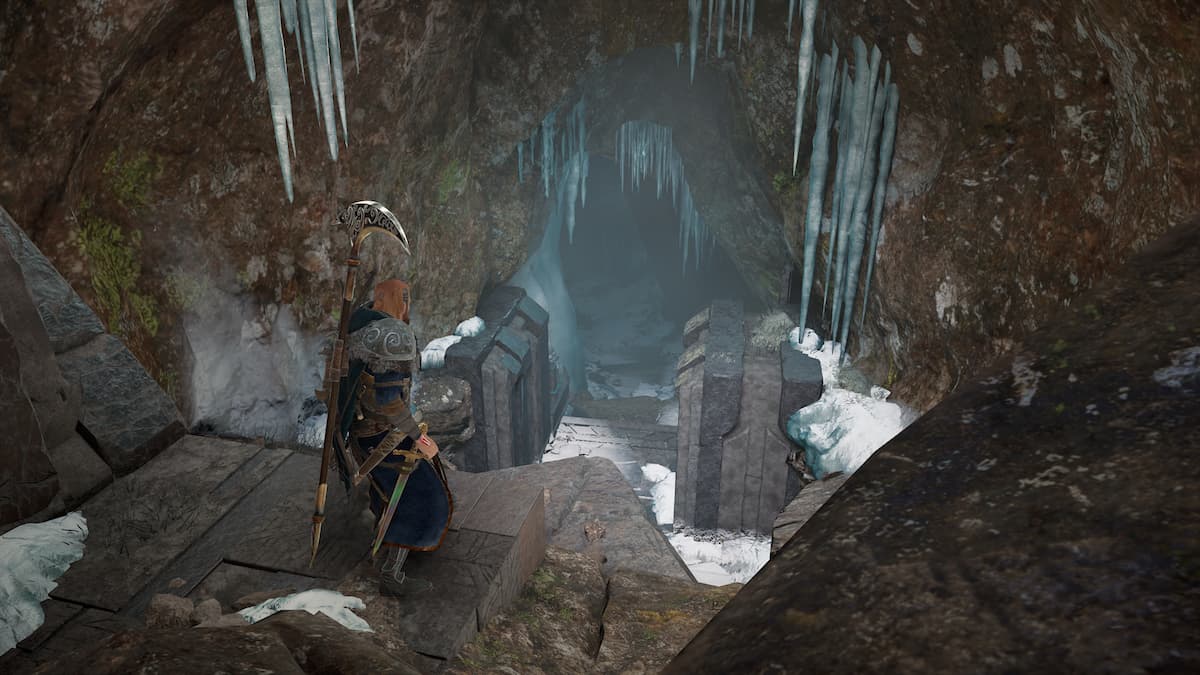
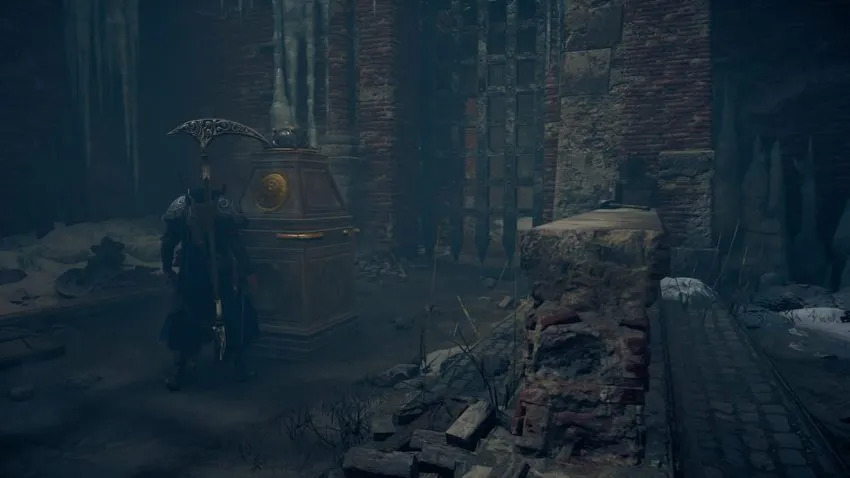
The Venutius Tomb is one of the four Tombs of the Fallen you can complete in Assassin’s Creed Valhalla. You can find this tomb close to the center of England, alongside Anlaf’s Lookout in Eurvicscire. You’ll need to complete a series of traps and puzzles to progress through the entire tomb and reach the other side. Here’s what you need to know to complete the Venutius Tomb in Assassin’s Creed Valhalla.
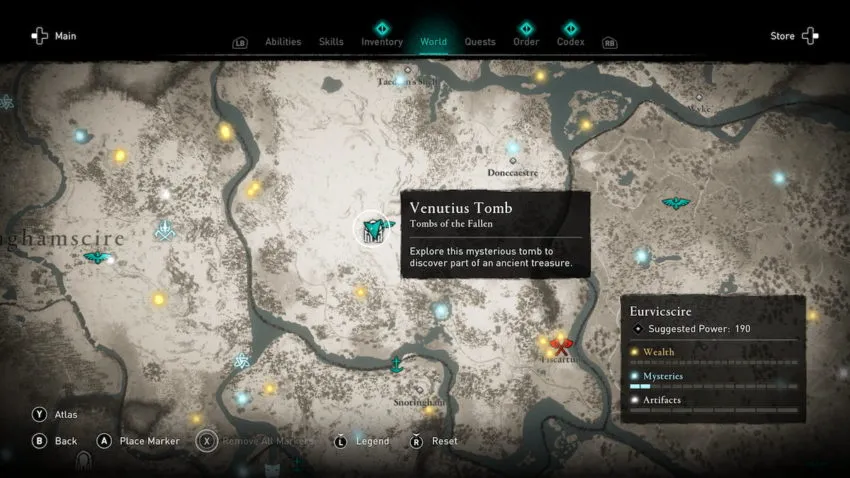
Here’s the exact location of the Venutius Tomb if you need to find it.
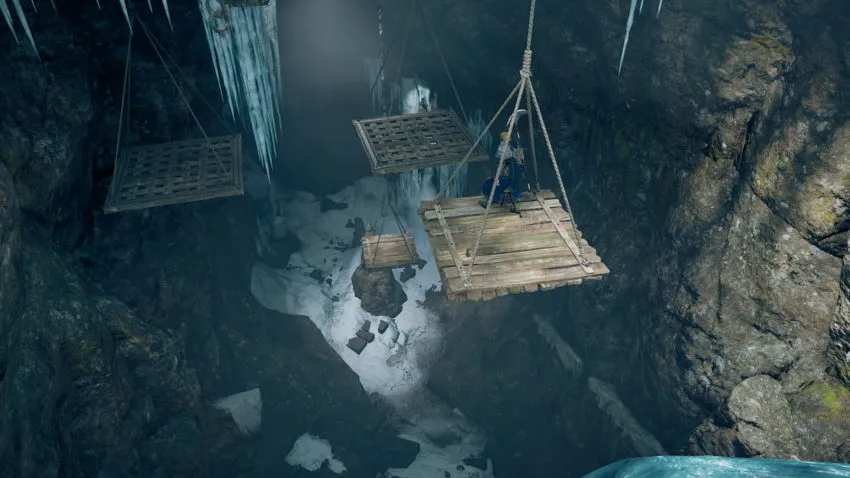
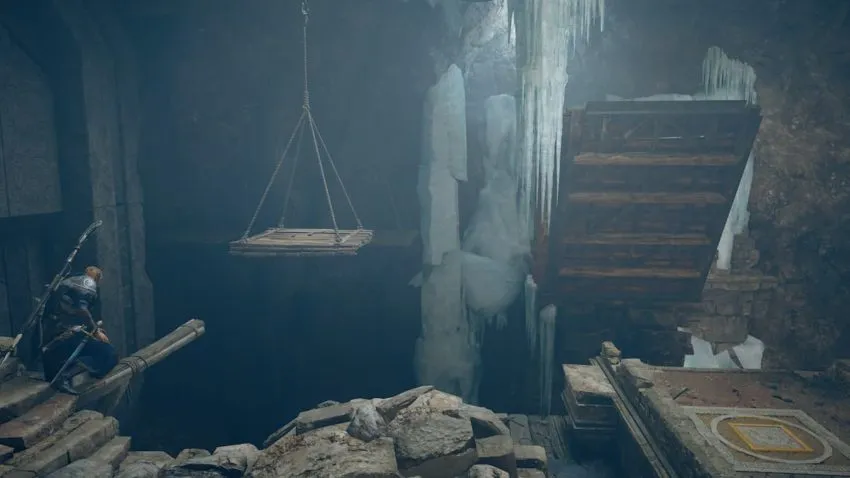
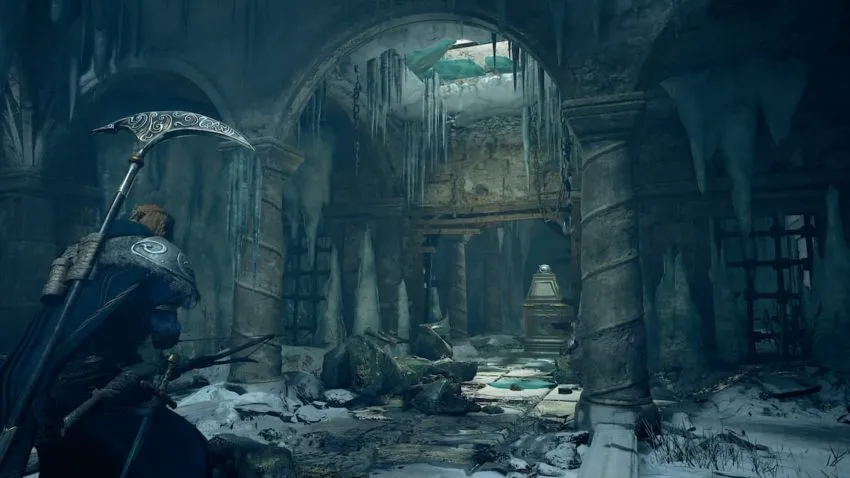
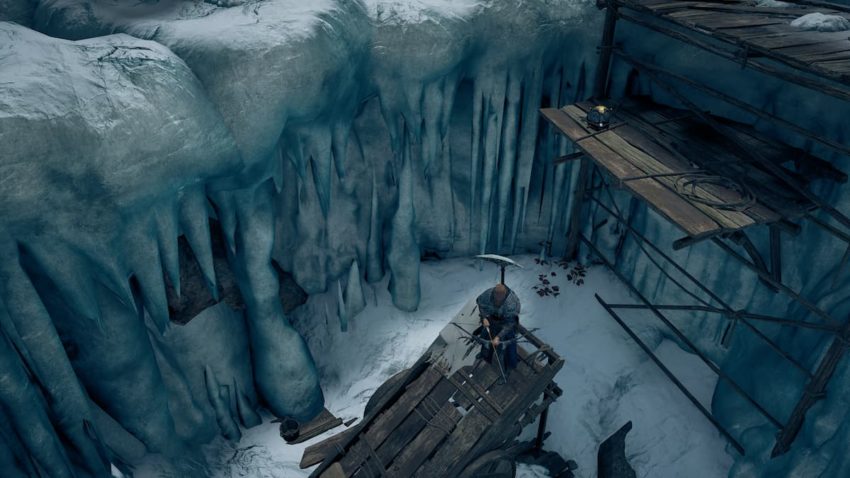
After you enter the tomb, you need to be wary of a steep ice drop-off when entering. If you can time it carefully, fall off the side of the ice and then jump onto the first platform. You can make your way to the bottom by jumping from the various platforms before reaching the rocks and then arriving at the bottom.
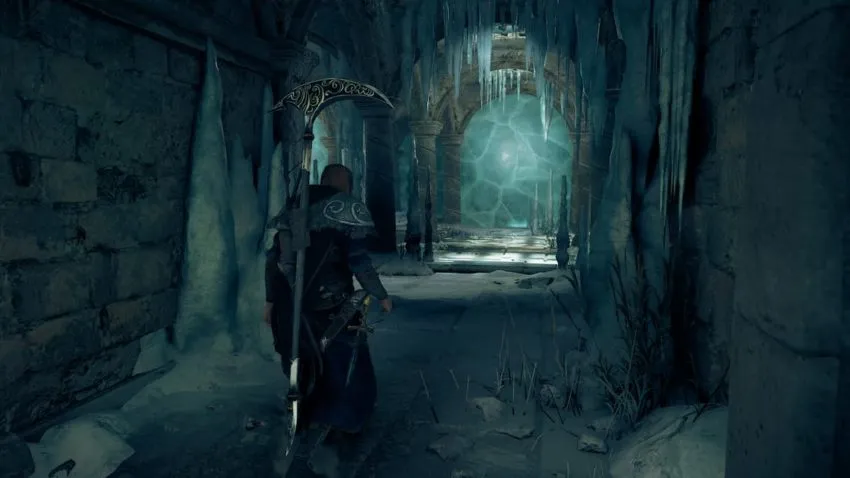
The next bit of the tomb is a lot of jumping and leaping to the other side of the cave. You don’t have to do too much except continue forward. Eventually, you’ll reach a portion of the tomb protected by a wooden board, which you can destroy with an arrow or a melee attack. Shortly after, you’ll enter the central puzzle portion of the tomb.
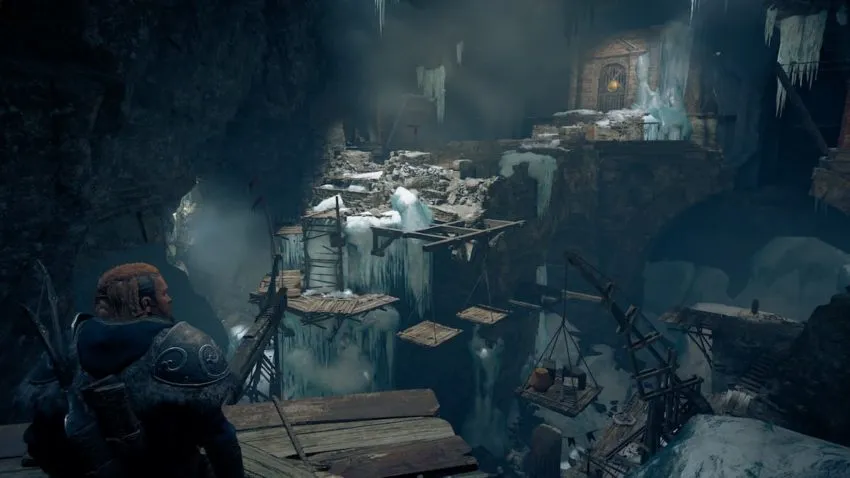
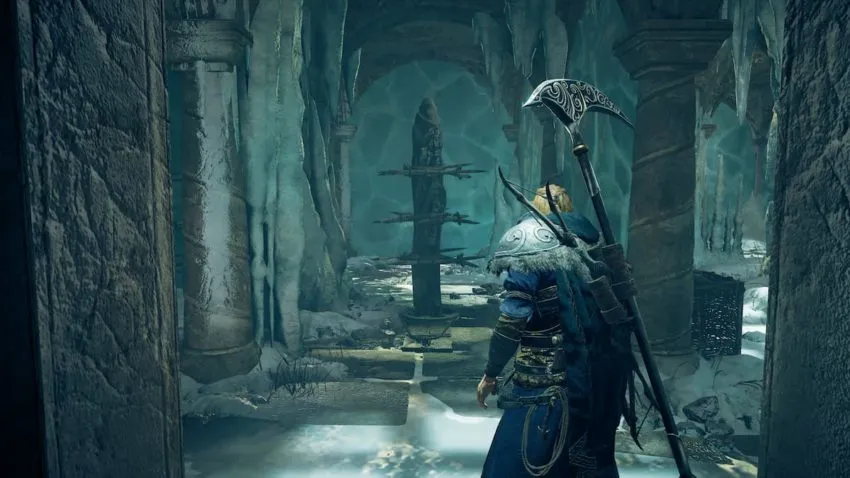
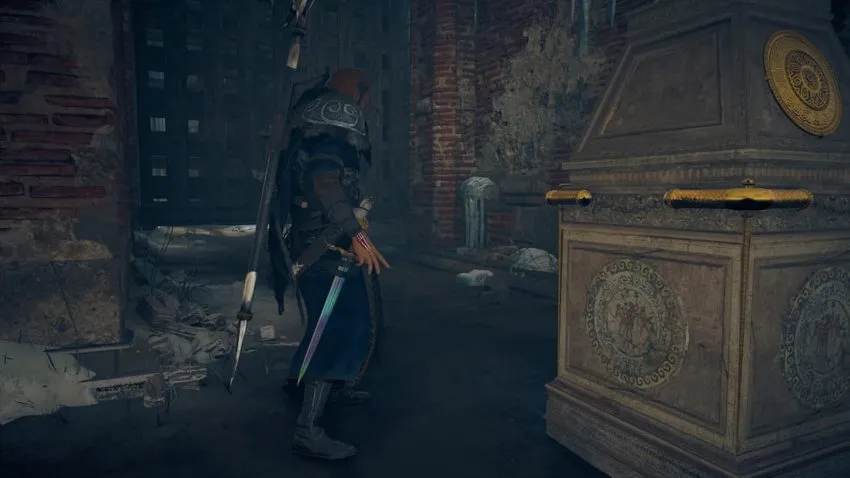
You’ll need to perform a leap of faith to make it to the bottom of the chamber and then jump onto the platforms on the right side to make your way up to the center. When you reach the top, make your way over to the protected door and approach the first pressure plate. First, you must destroy the wooden crates and then move the large stone over the pressure plate.
You’ll enter a maze of ice that you need to maneuver to make it to the other side. If you break any of the ice walls, they’ll shatter and create fire on the floor. We recommend sticking to the right side of the maze and following that path through. When you reach the locked door, there will be a small hole for you to dive through and enter the next room, where you’ll find another maze of ice.
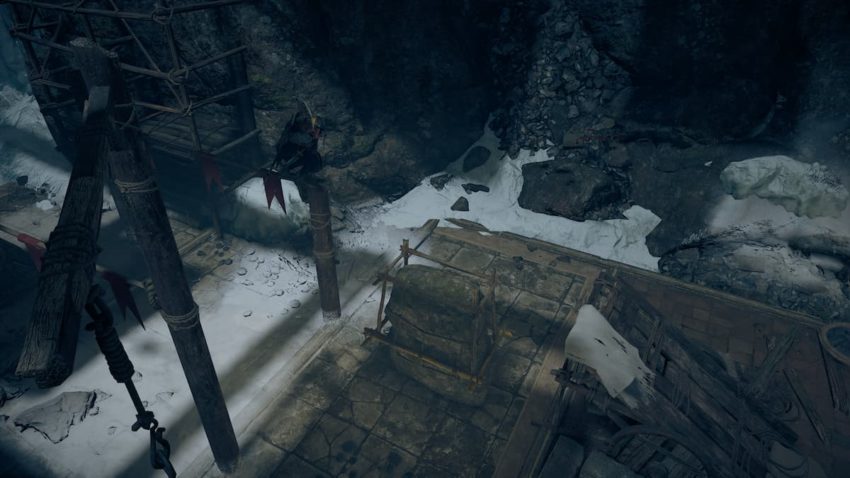
Next, to the right of the pressure plate are platforms leading to the side of a drawbridge. Jump on the platforms and make your way to the other side of the draw bridge, where you’ll need to shoot arrows at the rope holding it up. From there, behind the draw bridge, is the next puzzle.
Similar to the last maze, there are ice walls that can damage you if you break them. However, not all of them do that. We were able to find a path through this area by sticking to the right and breaking the ice walls using our arrows. Follow the way to the right until there’s a wooden wall that you can break on the left. An entrance will be available below, and a key will be on the other side of the room full of traps. Dash across the chamber to grab the key and then return room with the locked door.
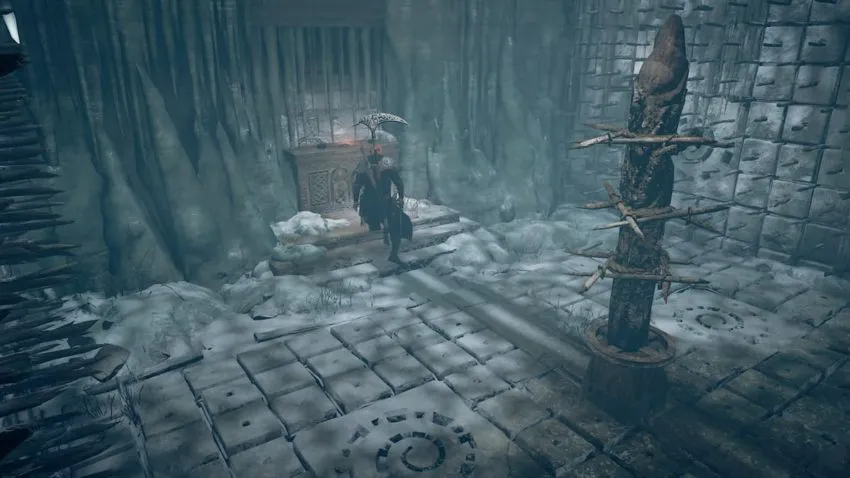
There will be an ice wall above the blocked passage. Shoot it with an arrow, and an oil jar will drop, breaking the wall, allowing you to bring the large item back to the central room to the pressure plate. Use your bow and arrow to clear a path through the ice.
The next area is similar starting to the previous one. On the left side of the chamber, you’ll need to jump on various platforms to make your way to the other side of the bridge and then shoot the ropes to bring it down.
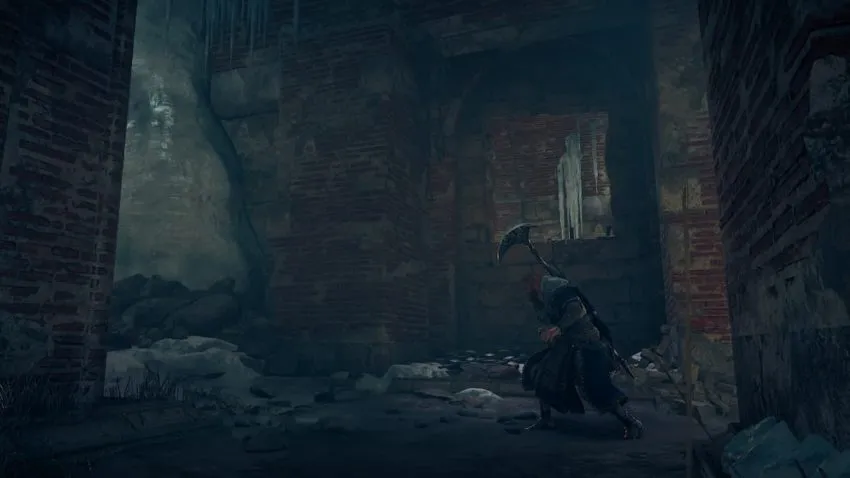
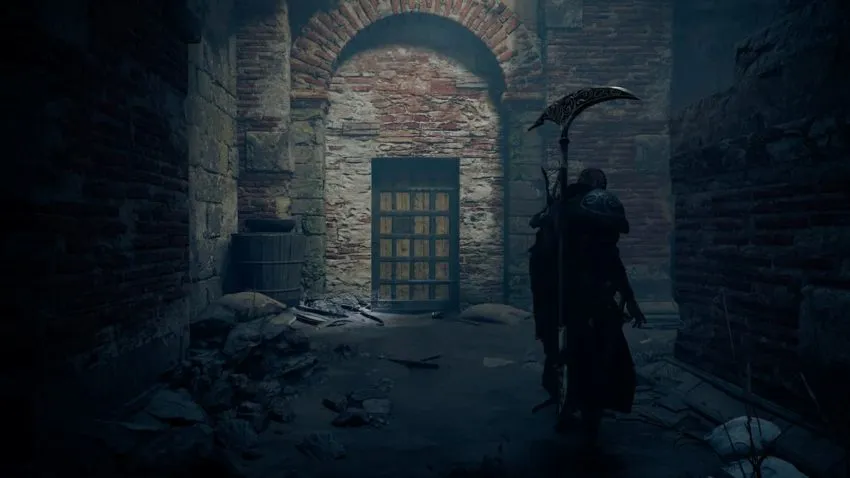
When you enter the next section of puzzles, you’ll want to proceed to the right and follow down this corridor. You’ll know you’ve reached the end when you arrive at a locked door. The only way to open it is to fire an arrow from the other side of the door.
Proceed to the right, and you’ll find a small hole you can dive through that you can delve deeper into the tomb. From there, you’ll arrive at an area where a platform is overlooking the locked door, but if you stand too long on the platform, you’ll go too low, and you can’t shoot your arrow.
Once you’ve opened the locked door, continue through the tomb, and eventually, you’ll dive through the bottom of a broken wall to your next pressure plate. However, as you make it through the area, you’ll be blocked by a platform. Move through the open entrance, follow the path to the left, and reach the top of the room. There will be a large item you can push onto a platform on the other side, lifting the platform and opening up your path.
After pushing through to the next chamber, you’ll be blocked by another gate. Above you is a ladder that you can bring down to you by shooting the lock. Climb the ladder and reach the top, open the gate using the device at the top, and return to the bottom to continue down the path. You can now continue to the central chamber to place this item on the pressure plate.
The last pressure plate is close to where you began the tomb, at the start of the chamber. There should be a rope connecting to the bottom portion of the chamber. Reach the bottom, and follow the path through the ice chamber where you’ll need to pull a lever to a device you have to carry back to the top. When you reach the upward incline, toss the item to the next area, and proceed to the ice path.
Take the ball to the next area, and you’ll arrive at the entrance of the tomb, where you jumped to the bottom. Next, you need to carry the ball to the top of the area, and you’ll need to place the moveable object between the incline and the rope, right at the center, so you can jump across.
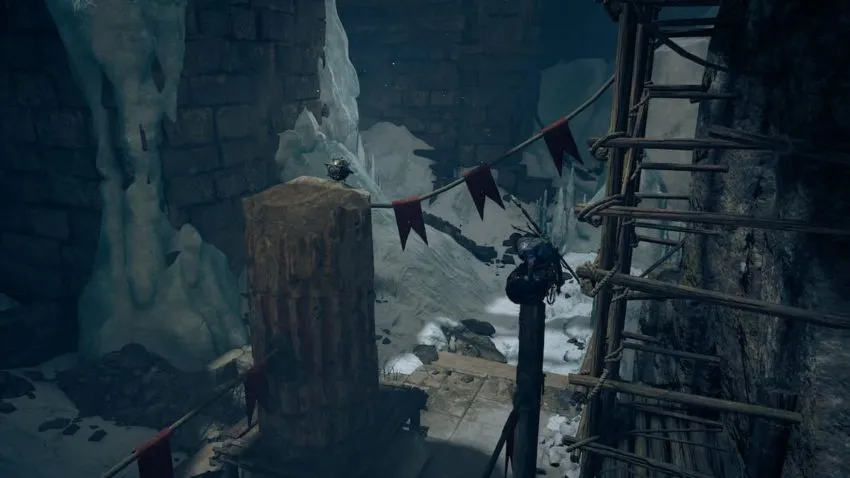
When you jump across, proceed across the rope and then get on the small wooden pole. From there, toss the ball onto the broken pillar, which is problematic. Instead, try to aim closer to the center of the pillar. After that, jump on the broken pillar, run across the rope with the ball, and toss it on the next platform.
After that, the hard part is over. You’ll need to jump across the various platforms and make your way to the top, tossing the ball onto areas where you can exactly reach as you go up, but eventually, you’ll reach the top and place the ball on the final pressure point. This is the last puzzle, and you can now loot the tomb to complete it.


Published: Nov 9, 2021 09:06 am