
Every match in the Origins in Call of Duty: Black Ops III Zombies Chronicles will have you exploring various ways to get the best tools possible to survive. The elemental staves are one of the best options for that and a necessity to do the main Easter egg quest. Here is how you can make the Lightning Staff in Origins.
Grab the Gramophone and Record
Your first step to getting any staff built in Origins will rely on first building up your points and grabbing the Gramophone in the Excavation Site. You also need to grab a black Record that can appear in three spots.
Between the machinery next to the Excavation Site sign.
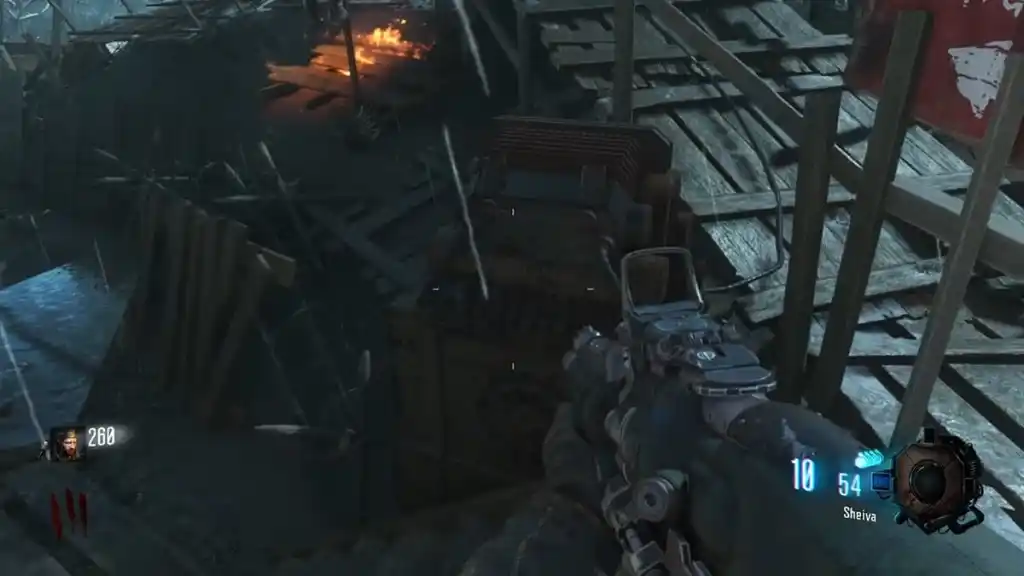
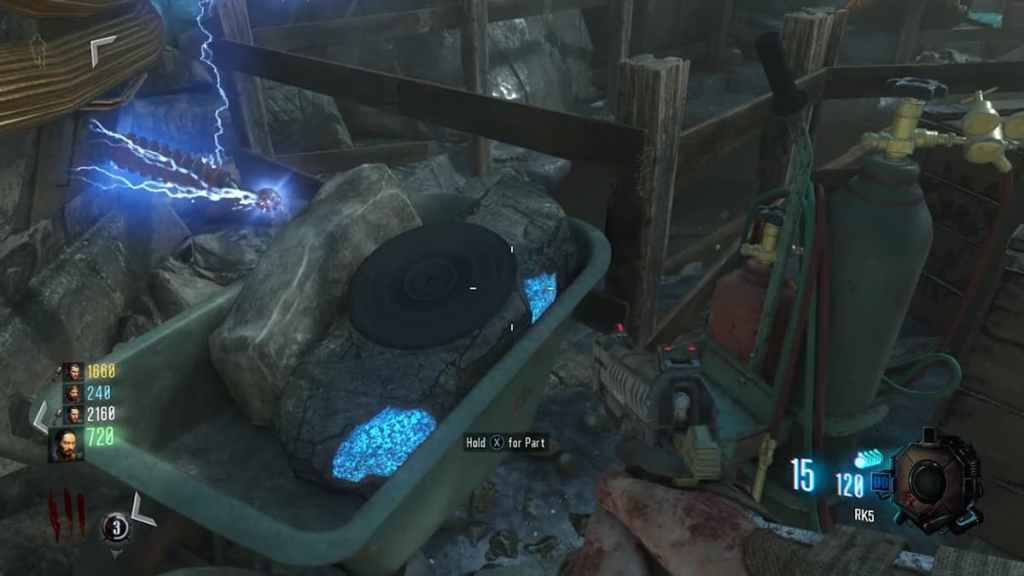
On the wheelbarrow next to Pack-a-Punch.
Behind the Excavation Site, next to the wall near the path to the Church.

When you have both items, return to the table where you grabbed the Gramophone and put it down. A passageway to the staff room downstairs will open. Pick up the Gramophone when it’s done opening.
How to build the Lightning Staff in Origins
To build the Lightning Staff, you must gather the purple Lightning Record, Lightning Crystal, and three staff parts. First, let’s get the Record. It is located in the area of Generator 4 (where Juggernog is). These are the three locations it can be:
On the cart on the muddy path.

To the right of the Wunderfizz Machine on the table.

In the Wind Portal tunnel, to the right of where the portal is built.
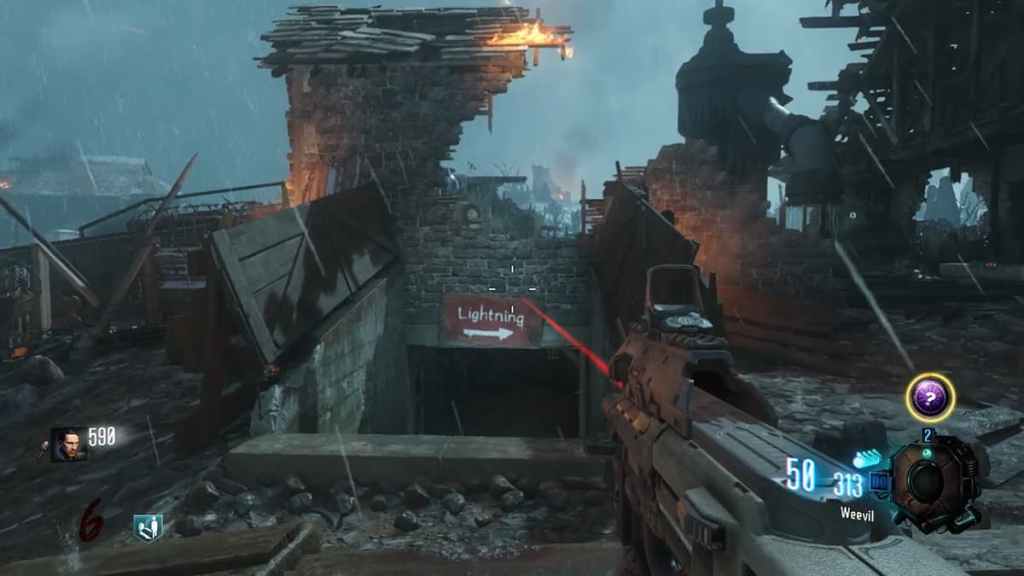
When you have the Record, make your way to the Lightning Tunnel near Generator 5. Place the Gramophone on the table to build the portal and enter The Crazy Place. A purple pedestal will open up, letting you grab the Crystal. Go back to the main map when you have it.
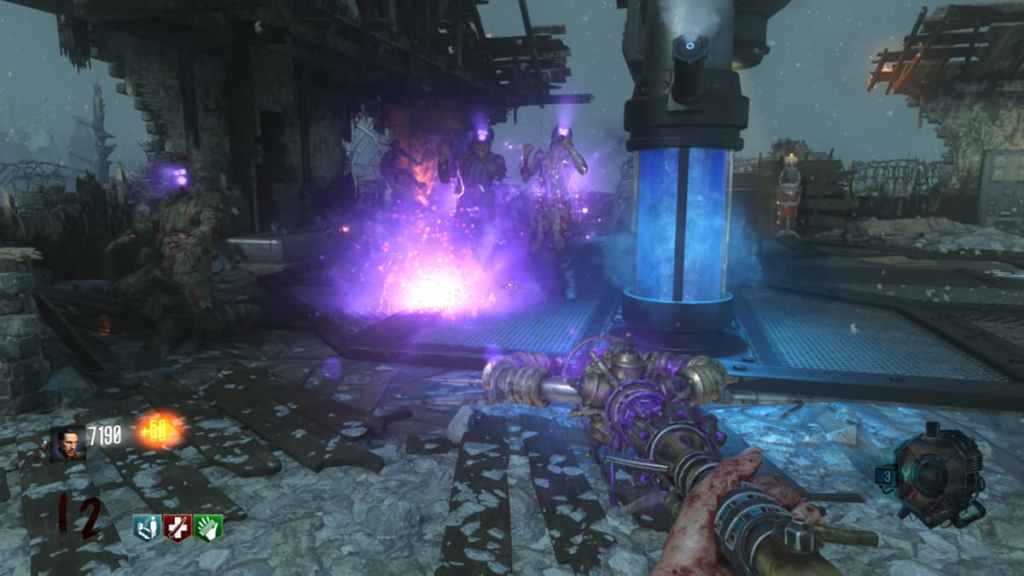
To grab the Lightning Staff parts, you need to ride the tank that is sitting below the Church. If you are playing solo, you need to take at least two rides, but a teammate can help you with this to save a trip.
First, start the tank ride sitting on the right side and jump over to the first platform the tank passes. Run over and grab the part and come back to the muddy path and follow the tank.

When you catch back up to the tank, it will be stopped outside the Tank Depot near Generator 2. Wait for it to cool down and start it up again. For the next part, stick to the left side of the tank until you approach the Excavation Site. Jump onto the walkway here and grab the part inside the mound.

On your next trip, or if you have a co-op buddy with you, stick to the right side of the tank as it approaches the Church again. Jump off to the right and follow the path inside to grab the last part.

Now that you have everything, go to the staff room and build the Lightning Staff at the purple altar. This will shoot out, you guessed it, electric currents to defeat enemies. However, we want the upgraded staff to see the weapon’s true potential.

How to upgrade the Lightning Staff
To begin the Lightning Staff upgrade process, head back to The Crazy Place, and you will notice lines of pink triangles near the purple teleporter area. There is also a couple of lines opposite of it that tell you how to complete this step if you know how to read music.
How to do the Lightning Staff code in Origins
Luckily, this is always the same code every time, and you just need to focus on the bottom row. Don’t even think about the top row. If you mess any of these up, just restart it from the sequence you were on.
First, hit the first, third, and sixth arrows.
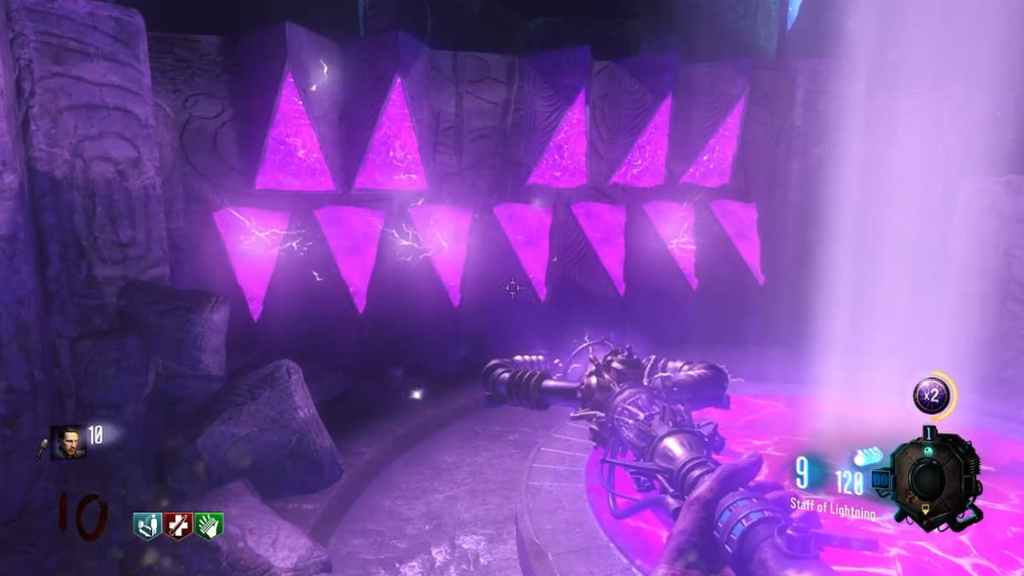
Wait for the electric charges to disappear and then hit the third, fifth, and seventh arrows.
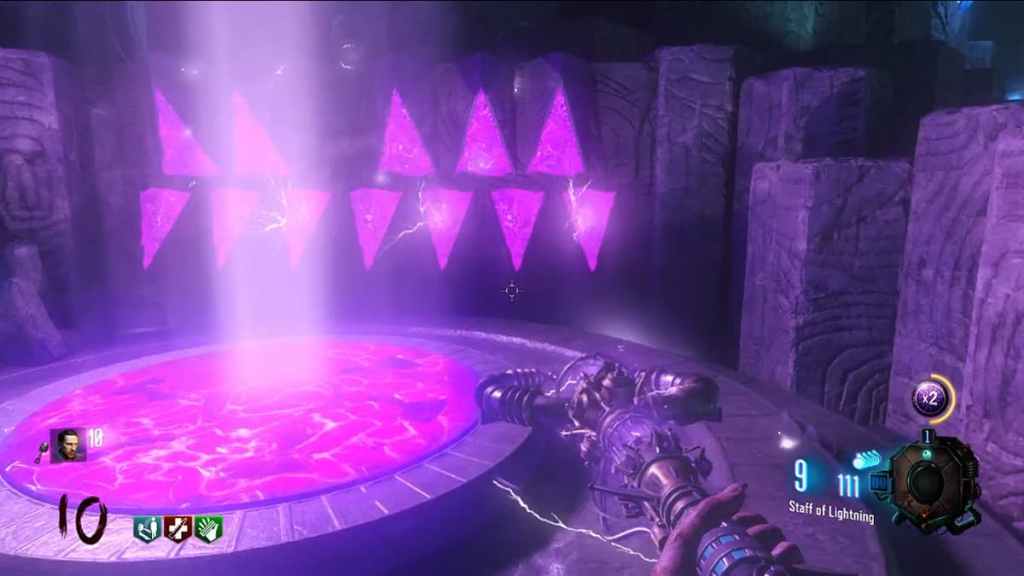
After those electric charges disappear, hit the second, fourth, and sixth arrows. When you hit all three sequences in the right order, Samantha will let you know you’re done.

Now it’s time to go around the map looking for sparking dials to turn. If you want, you can turn these whenever you want before this step and in any order. Regardless, here are the locations of the switches and where they should be directed.
Spawn room near stairs, left.
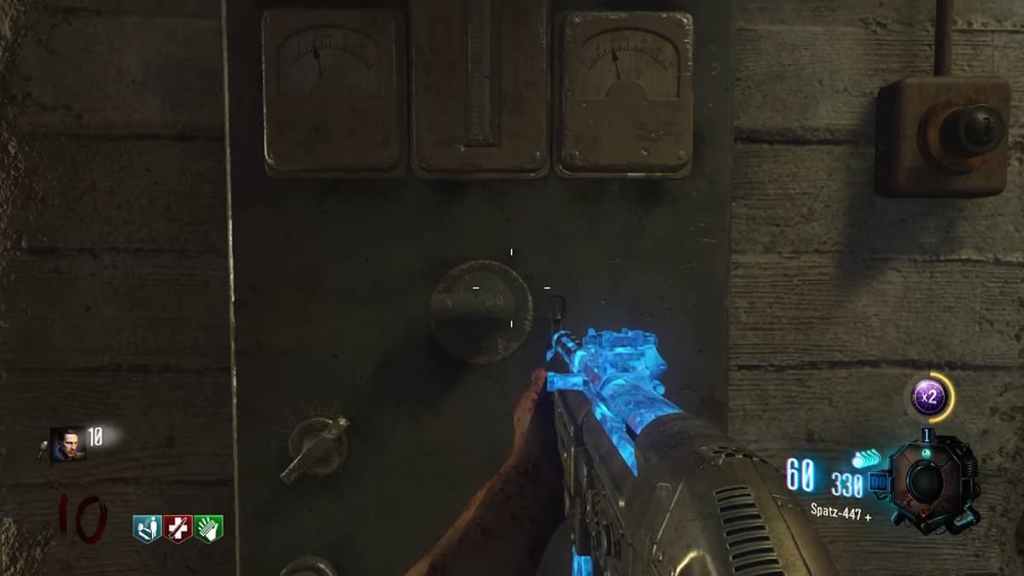
Near the back door of the tank depot at Generator 2, down.

Across from the Stamin-Up machine at Generator 5, down.

Behind the Excavation Site, near the path to the Church, up.
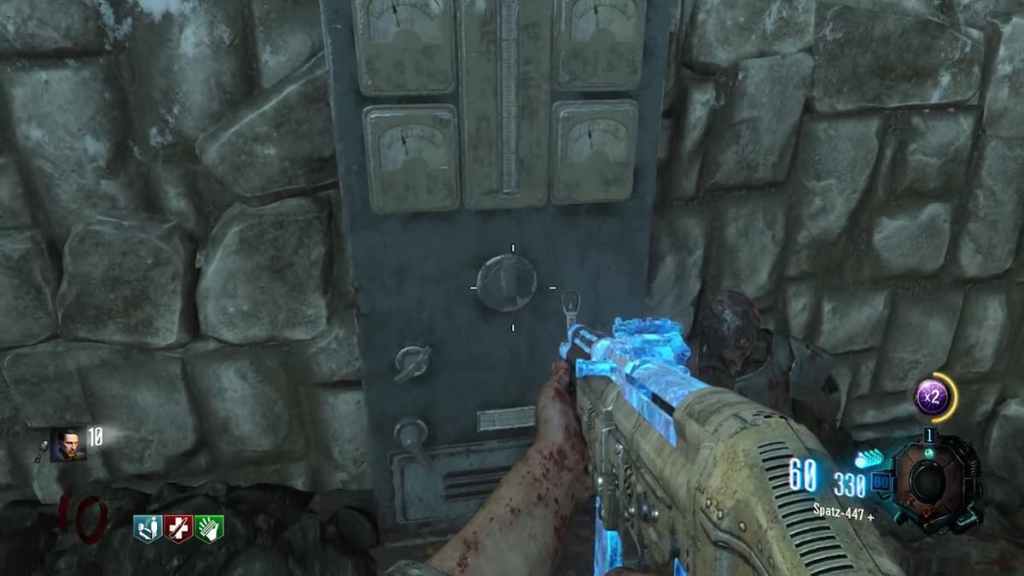
Behind the tank under Church, right.

Upstairs in the Church, up.

To the right of the tunnel towards the Wind Portal on the right side, up.

Once all the switches are in the right direction, the sparks will stop, and you will hear Samantha. Return to the bottom of the Excavation Site, where a purple orb will be floating at the bottom of the rings. Go around and interact with the levers in this area until all rings are lit up purple. Go to the orb and shoot it with the Lightning Staff. It will float into the ceiling.

For the final step, go to The Crazy Place and place your staff on the pedestal from which you got the Crystal earlier. Now, you need to kill zombies to transfer their souls to the staff. When you have enough, the staff inventory box will light up, showing you are done. You can do this from any part of The Crazy Place; just be careful about the shifting walls and avoid letting them trap you.

Now that you have the upgraded Staff, you can charge it up to shoot out a ball of electricity that will fry any zombies within its range.
You can also use the d-pad to turn the staff around and shoot downed teammates with a charge that will instantly revive them from a distance.


Published: Jan 24, 2023 10:59 am