
The four elemental staffs in Origins are weapons that you and your teammates are likely going to pursue building in just about any game. They are powerful and can quickly get you out of a pinch when direly needed. However, obtaining and upgrading them will have you going through various steps and puzzles along the way. Here is how to get the Wind Staff in Origins, as well as the code needed to upgrade it in Call of Duty: Black Ops 3.
Get the Gramophone and records
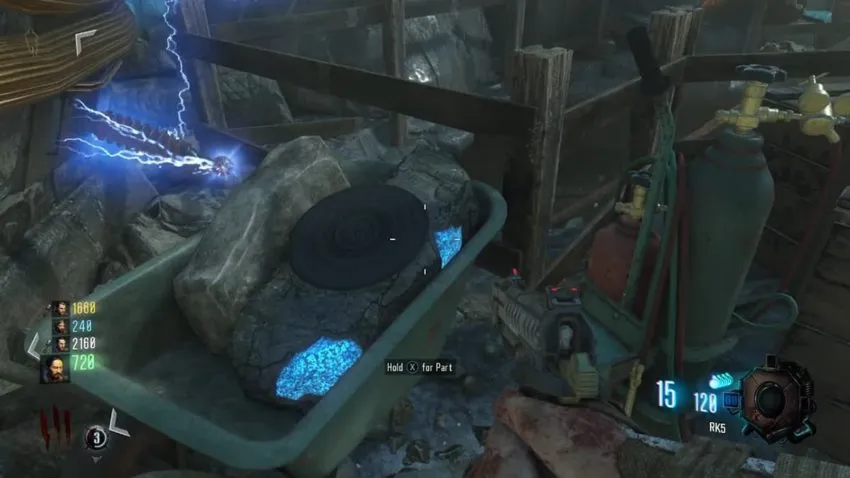
When your match begins, start by building up points to get to the Excavation Site. Go in and grab the Gramophone next to the table down here when you are there. You also need to grab a black record disc that can be in three places.
On a wheelbarrow next to Pack-a-Punch.
Next to the machinery next to the Excavation Site sign.
Behind the Excavation Site, on a wall near the path to the Church.
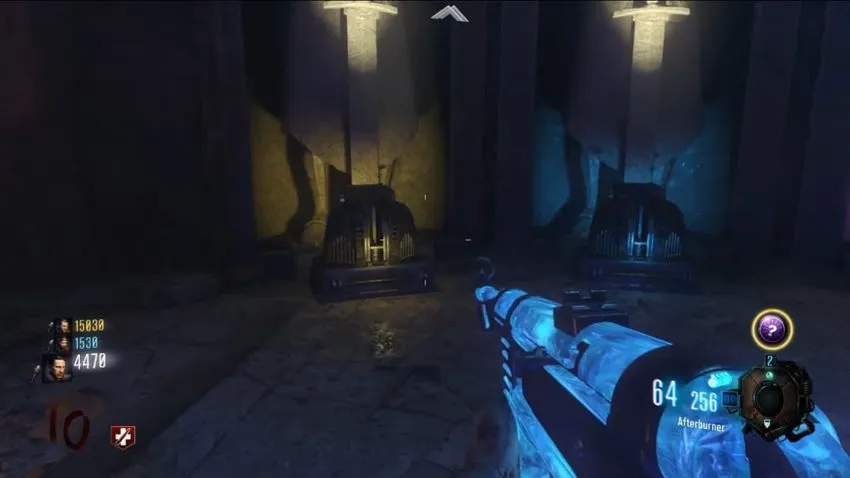
Go back to where you got the Gramophone and place it on the table to open the path to the staff holders below. After everything is done opening up, pick up the Gramophone again.
How to build the Wind Staff in Origins
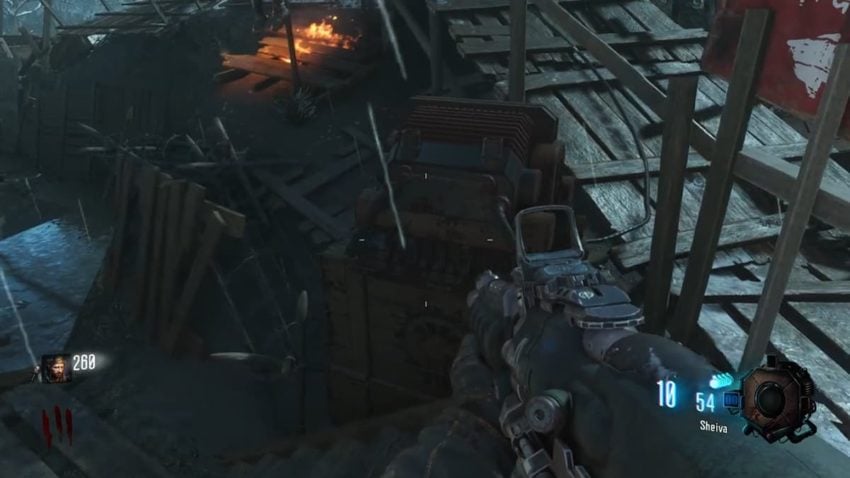
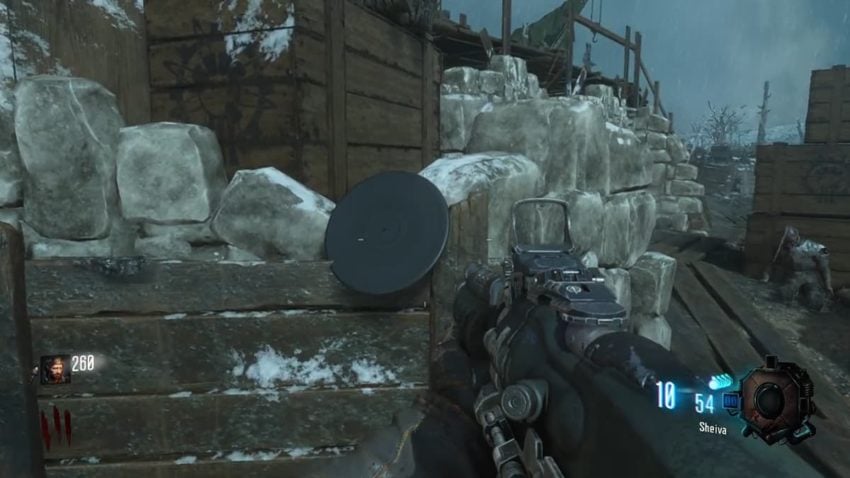
Like the other staves, you need to find the Wind Record, three staff parts, and the Wind Crystal to acquire the weapon. Starting with the Record, you can find it in the area of Generator 5 in three spots.
To the right of the Stamin-Up machine on the wall.
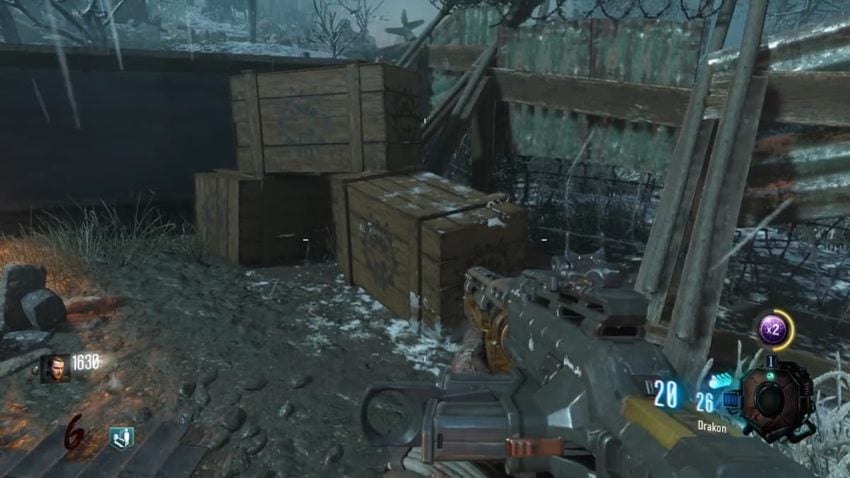
On top of the boxes in front of the entrance to the tunnel to the Lightning Portal.
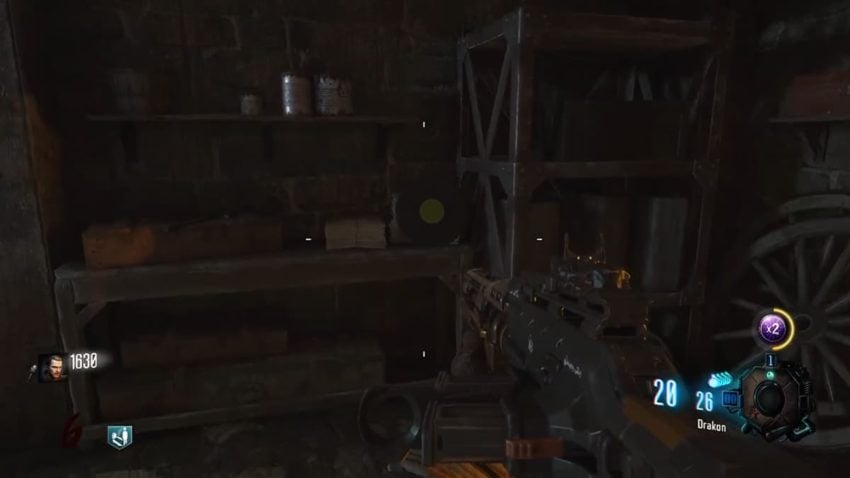
Inside the tunnel to the Lightning Portal on a shelf to the left.
Now that you have that, you can go to The Crazy Place and get the Wind Crystal. To get to the portal, enter the tunnel that is near Generator 4. Place the Gramophone on the table to make the portal slowly appear and walk through. The yellow pedestal here will lift up and give you the Crystal. Exit back to the main map when you have it.
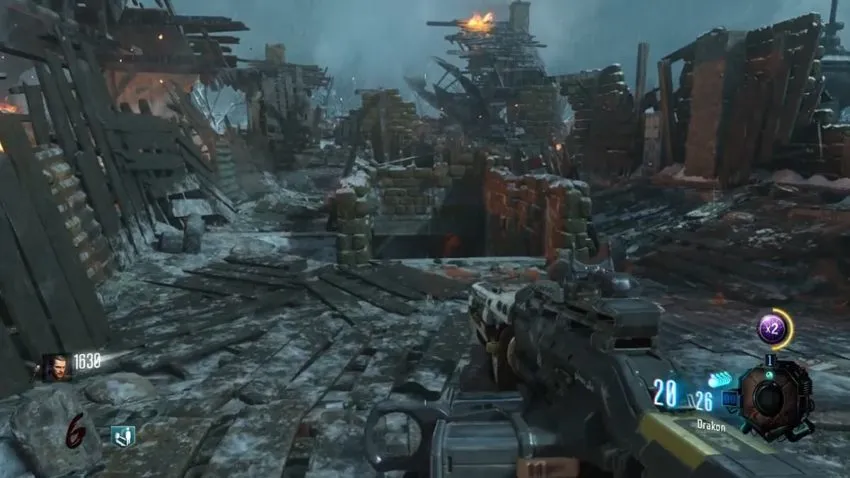
Now it is time to get the three parts. Luckily, this staff has the most straightforward process for this. You might have noticed the three giant robots regularly walking across the map. When they step on parts of the map, you should notice that you can see a yellow light underneath their feet every now and then. You need to go to the areas they are stepping on, shoot that light, and when it stomps down on you, you will be transported inside the robot’s head. Don’t miss it, or you will be instantly downed.

Some important things to consider because seeing the robot’s light can be a little hard at times: only one foot will be lit up as the robot passes by. If all three robots are going through at the same time, only one of the six feet can be lit up. One will pass through No Man’s Land with steps near Generators 2 and 3. The middle one will go over the Excavation Site and can be entered in five different areas, so you have more time to find the foot here. The last one goes through Church and can only be entered in front of and behind the building.
When you get transported to the robot’s head, you can pick up the staff part and leave through the tubes behind you. You will get thrown out after a little bit if you take too long to look around. All three robots have a different part in them.
Now that you have the parts, go to the bottom of the Excavation Site and build the Wind Staff at the altar on the left. With it, you can put out gusts of air that will push back zombies directly in front of you.
How to upgrade the Wind Staff in Origins
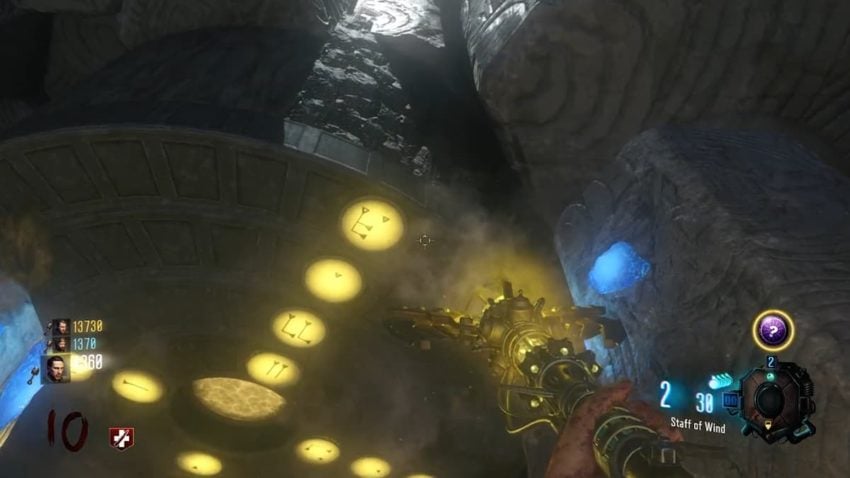
Now that you have the Wind Staff, it is time to begin upgrading it. Start by entering The Crazy Place. Directly above the yellow portal is a set of four rings that will rotate when you shoot them with the Wind Staff. While there are different symbols all around the rings, the only ones we are worried about are the ones pointing out toward the center of the room. From the inside going out, set it to show two arrows, two L’s, one triangle, and one L and one triangle. This is always the code to begin the Wind Staff upgrade process.
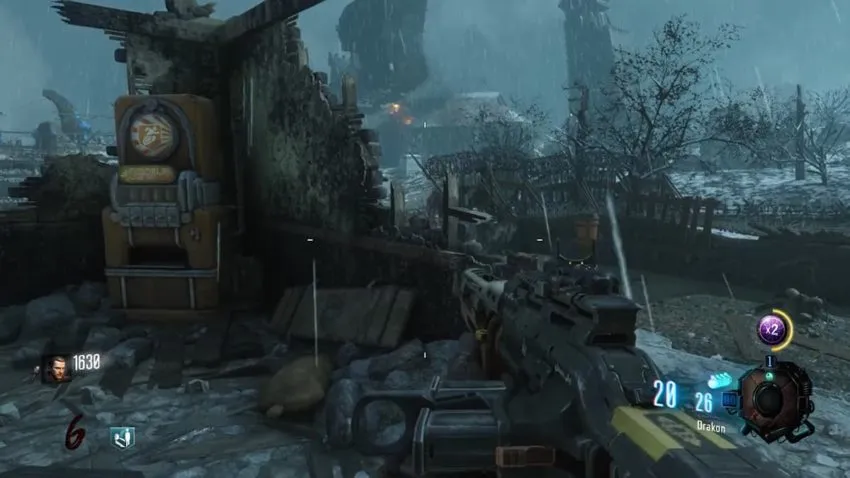
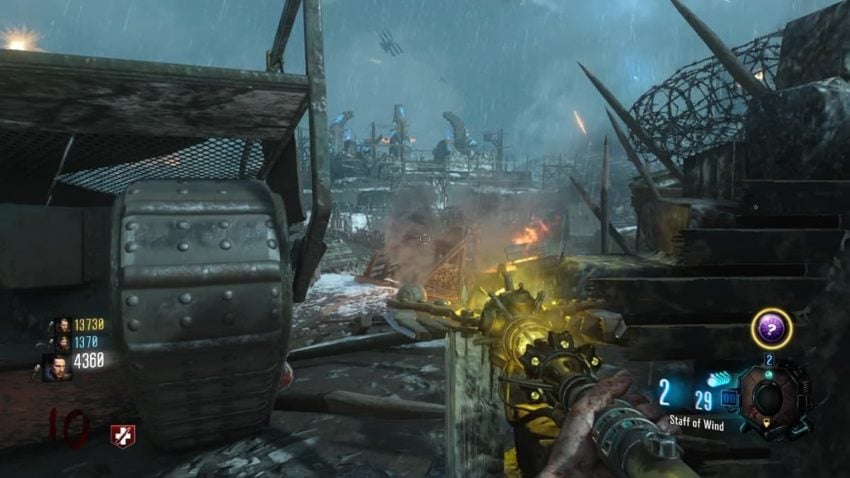
When you have the proper code in, the ceiling will spin around, and you will hear Samantha say you did it. Now return to the main map. There are three chimneys around the map that will have smoke coming out of them now. You need to position yourself so that you are looking toward the Excavation Site and shoot the Wind Staff at the smoke to redirect it towards the mound. Here are the locations of the smoking chimneys:
Behind the window next to the Stamin-Up machine at Generator 5.
Next to Generator 4.

Behind the wall on the muddy tank path behind the tank’s starting point.

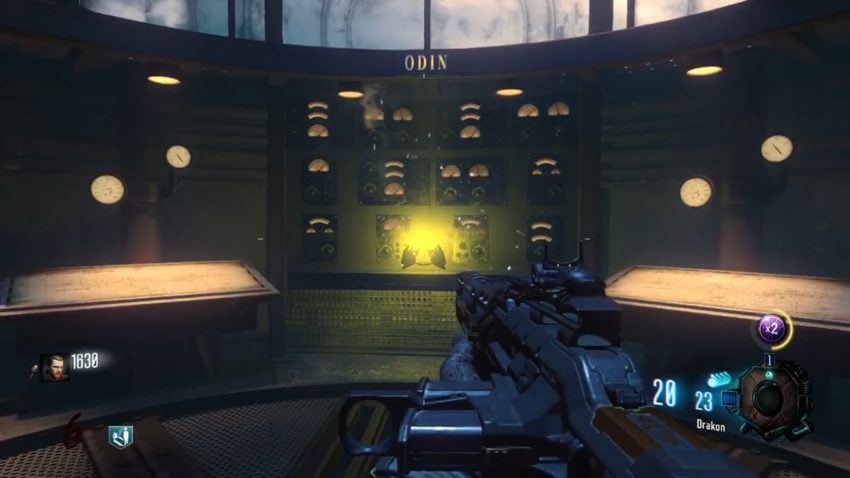
When all three chimneys have their smoke flowing toward the Excavation Site, the smoke will stop flowing, and you will hear Samantha talk to you. Go down to the bottom of the Excavation Site. There are four consoles around the area that you need to flip the lever on to rotate the rings so they are all shining yellow. If you did the previous steps correctly, a yellow orb will be floating at the bottom of here. Shoot it with the Wind Staff, and it will fly into the ceiling.

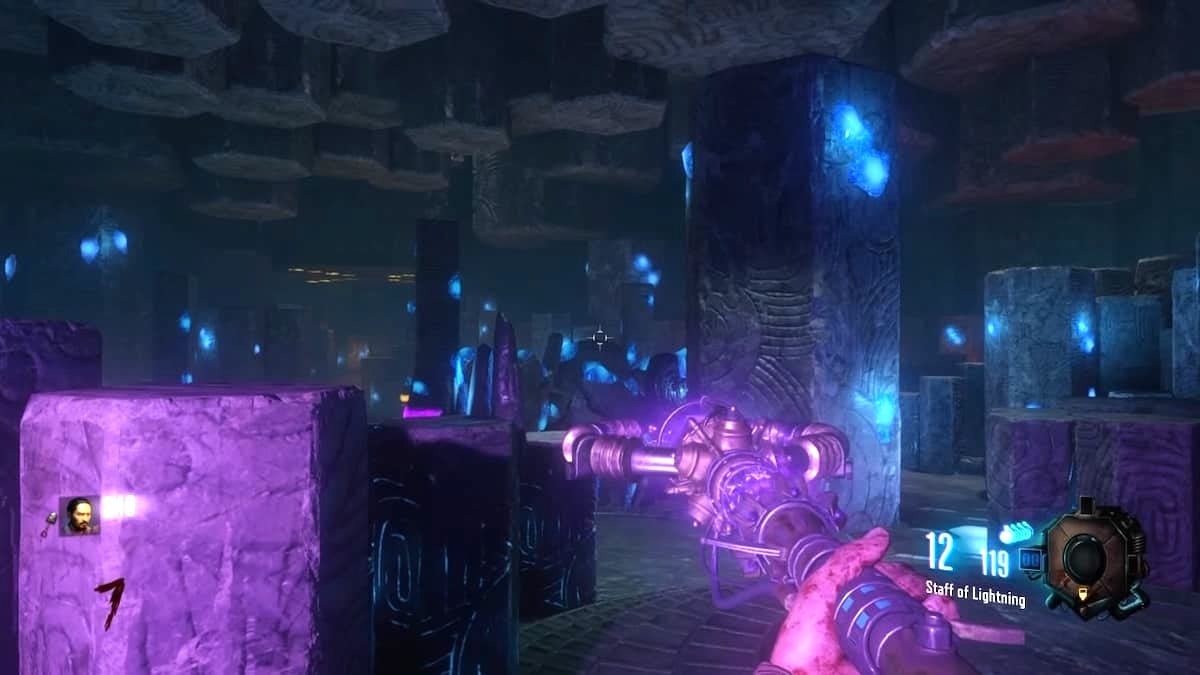
Now for the final step, return to The Crazy Place and put the Wind Staff on the pedestal from which you got the Crystal earlier. You need to kill enemies in this area to charge up the upgrade. You can go anywhere in this area and even charge multiple staves at once, but be careful not to trap yourself with the constantly changing walls here. When done, the staff inventory bar will light up, showing you can grab the new upgraded Wind Staff, Boreas’ Fury.

With the upgraded Wind Staff, you can charge a shot to put out a tornado that will grab zombies and lift them in the air when they get close enough. This takes up all of the shots in your clip, forcing you to reload, so Speed Cola is a recommended perk.

You can also use the d-pad to flip the staff around and shoot out a reviving charge directly toward any downed teammates.


Published: Sep 2, 2022 04:26 pm