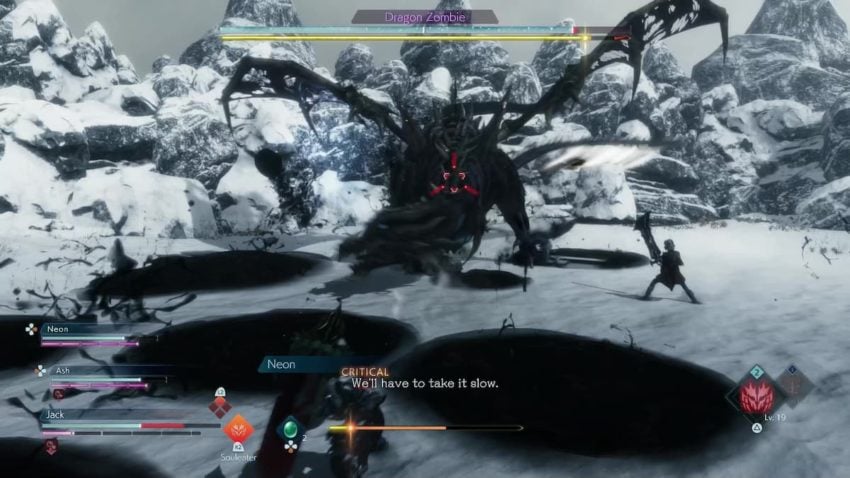
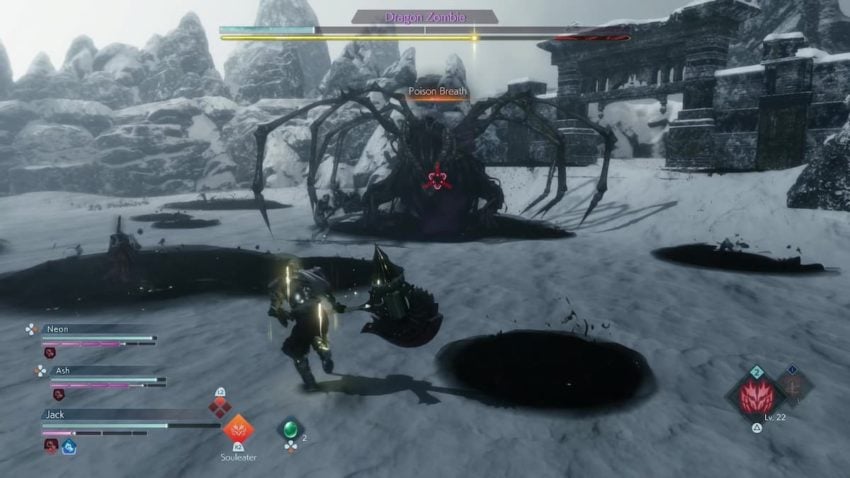
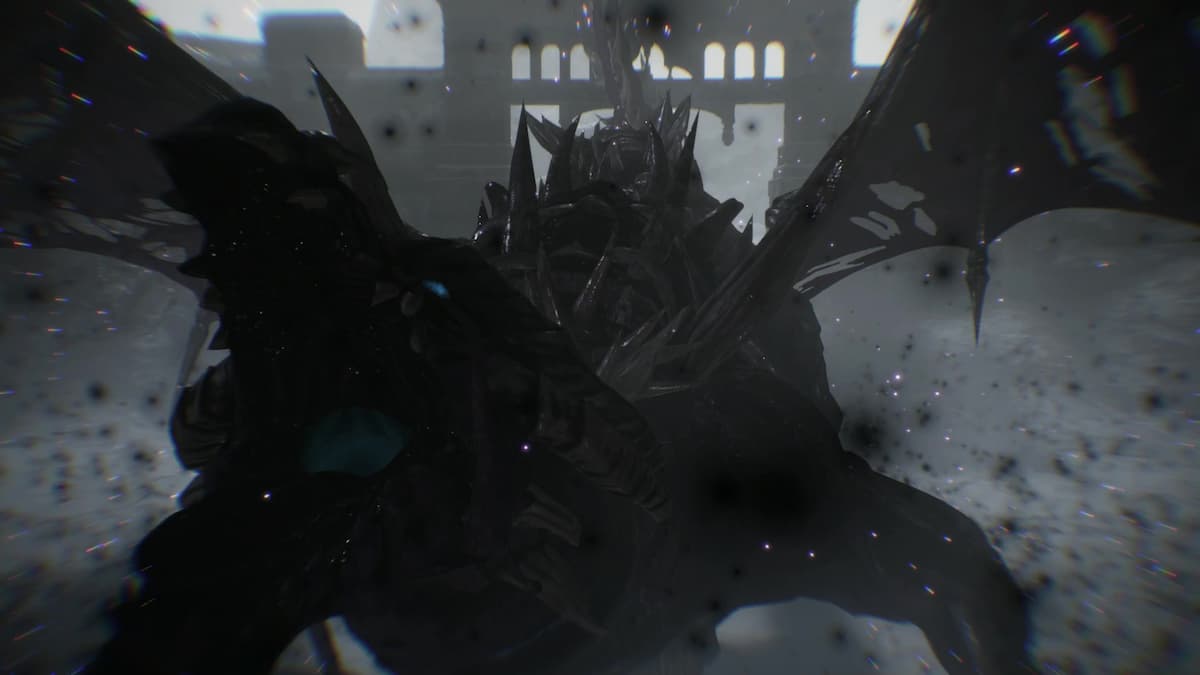
One of the tougher bosses in Stranger of Paradise, the Dragon Zombie is an encounter that really stresses the “wait your turn” part of Souls-like games. Able to spew poison pools that cover the arena in addition to heavy hitting attacks, this boss can frustrate a lot of players. If you’re struggling on ways to take this boss to the bone zone, look no further: here’s how to defeat the Dragon Zombie in Stranger of Paradise: Final Fantasy.

The Dragon Zombie features one weakness that is critical to deploy — Holy attacks. If you have White Mage or Sage unlocked, Dia spells can eliminate the poisonous sludge the boss scatters on the battle field, while Holy attacks such as Divine Strike or Prominence deal extra damage. However, you still need to pay attention to the type of attacks the boss uses — here’s a list of them below:
- Basic Attacks: In addition to the normal two to three hit combo, Dragon Zombie will occasionally swipe with his tail if he detects targets behind or to the side of him. His attacks are very slow and have long recovery animations, so getting an attack in after the combo has completed is recommended. Be on the lookout for his spin attack, however — this can knock you away, and it has deceptively good range if you’re a caster.
- Poison Breath: The Dragon Zombie will spew a line of poisonous breath in an arc. This attack can be parried, and failure to do so will lead to instant Poison.
- Spike Tail: The Dragon Zombie will slam his tail twice down behind him. This attack cannot be parried and must be avoided.
- Deadly Stomp: The Dragon Zombie will rise in the air briefly before slamming down on a target area. This attack cannot be parried and must be avoided. This attack is your best opportunity to strike his head — doing so enough times will stop the poison attacks.

Phase 1 doesn’t have a lot of mechanics to learn, but the main trouble will be dealing with the poisonous pools that periodically appear around the boss. You can choose to ignore the poison damage via self-healing (Blood Weapon is a good choice for melee players, and if you’re Paladin you can use Holy Fang), or you can choose to self-cleanse via the Chakra command ability. It is not recommended to try self-healing strictly via Potions, because the boss hits hard enough to take huge chunks of life with every attack. Phase 2 ramps up the tempo with the following moves:
- Basic Attacks: The basic attacks are mostly the same, however the spin attack is much faster and deals more damage — destroying the wings of the Dragon Zombie will prevent this attack from happening.
- Putrefying Roar: Dragon Zombie will emit a shockwave around it that cannot be parried — the range is short, however, so a backstep or dodge away will prevent damage.
- Icefall: The boss wills wipe the ground in front of it and conjure up frozen rocks to throw. This attack can be parried and also Stealable as an instant command.
- Poison Breath: Returns from Phase 1, but instead of traveling in an arc, travels in a straight line.
- Tunnel: Dragon Zombie will tunnel underground before appearing under Jack. This attack will stagger you, so it’s best to dodge roll or sprint away to avoid it entirely.
Phase 2 introduces some interesting problems, but also a unique solution. Not only are the arms and wings targetable, but the Dragon Zombie takes extra stagger damage from striking these weak points. There’s so many of them that big AoE attacks such as Cyclone Rush or Firaga will hit these weak points simultaneously, allowing you to effectively keep the boss staggered for a good chunk of the fight. Be wary of the Tunnel attack however, as it’s fairly quick to come out. Soon enough, you’ll bury this baddie and be well on your way.


Published: Mar 22, 2022 10:30 pm