




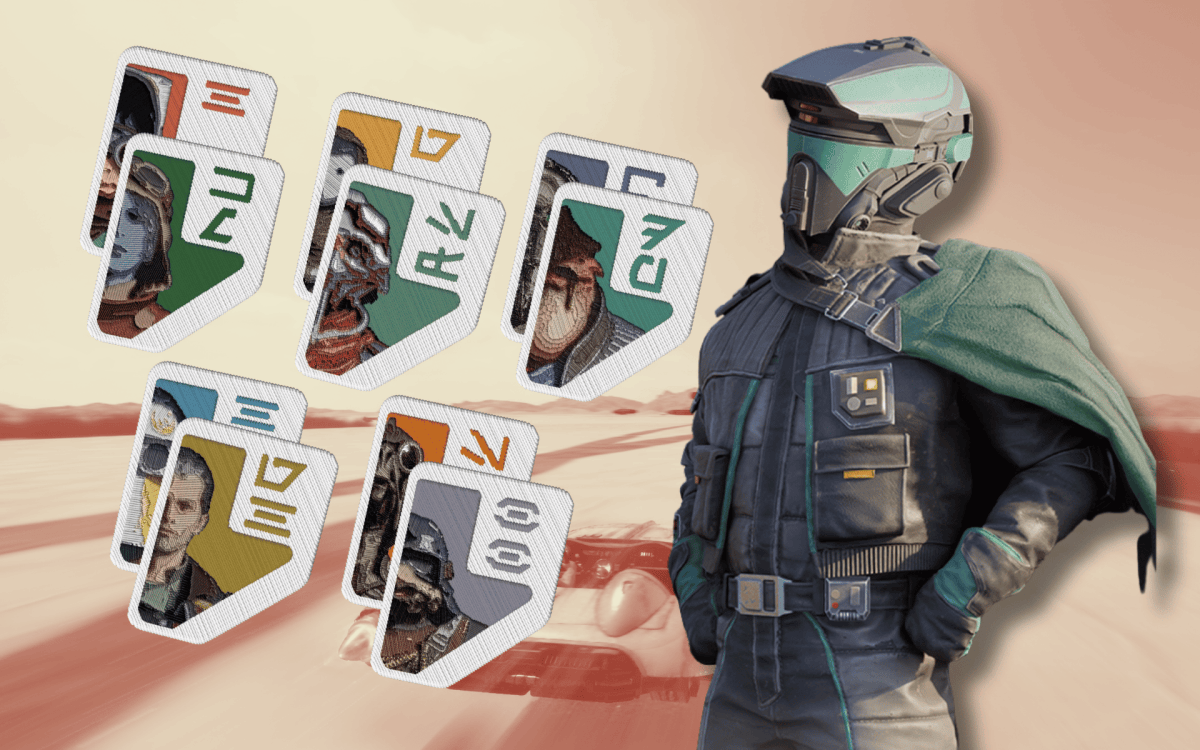
Unlike other racing games, Star Wars: Galactic Racer is a roguelike – this means you can control a many aspects of your gameplay beyond just your vehicle of choice. With Favours, you now have some degree of control over how your whole runs work. These are unlockable “perks” that alter some aspect of the core playthrough, and you can mix them up to create interesting conditions and mechanical changes to your current Tour.
And these are on top of Abilities that give you a myriad of aggressive (or equally defensive) skills in the race, and Parts that give much-needed performance boosts. The better the Favours, the more confident you can use your Abilities and the Parts that enhance your vehicle. But then again, you can also only equip up to three Favours in a Tour at any given time. With 20 of these passives to collect, just which Galactic Racer Favour should you get first?
Underhanded Upperhand
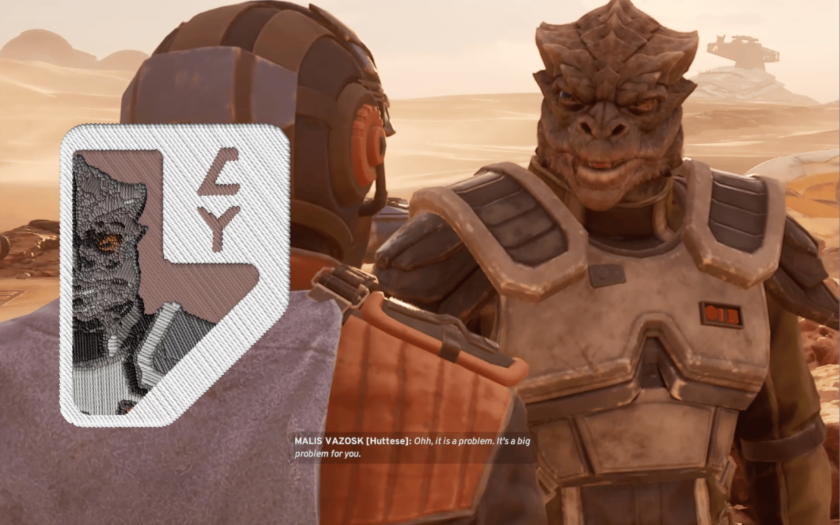
At first glance, the sabotage deals you can get with Malis Vazosk in Galactic Racer Events can get pretty expensive. And it’s not like they’re worth it all the time, either. At some point you might get worried how come you’re just spending too many Credits on him, especially when you can reach up to 19000 Credits wasted between four Mystery Encounters. But there’s an interesting reward behind it all called the Underhanded Upperhand, which you can use in the next Tour.
What you’ve bought from Malis Vazosk is essentially one of the best disruption tools in the game. When you use Abilities or wreck your enemy vehicles, they can get afflicted with a System Malfunction. This effectively slows them down for a bit before they can use their gear again. But with Underhanded Upperhand, you can slow them down for as much as 10x longer. If you use this with the right offensive Galactic Racer Ability, you might just be able to snipe the win from any unsuspecting opponent.
| Person Involved | Malis Vazosk (Rival) |
| How to Unlock | Pay for sabotage deals across four Mystery Encounters (should cost around 19000 Credits) |
| Rank 1 | System Malfunction on enemies last 3x longer |
| Rank 2 | Same, but 5x longer |
| Rank 3 | Same, but 10x longer |
Family Legacy

At some point in your Galactic Racer playthrough, you might notice that a lot of the game’s Abilities actually incentivize a bit of rough play. If not releasing mines that explodes vehicles to smithereens, you can collide with rivals and even mess up with systems. For the extra brutal, you can cause them to Crash outright, and it’s scored as a rival takedown.
Now, if you defeat Ary Quill in a Head-to-Head Rivalry race and win, they’ll give you the Family Legacy Favour. With this, you now earn extra Credits whenever you take down rivals. You even get extra whenever it’s Kestar Bool that you knock out. If you’re already planning on a more aggressive gameplay, Family Legacy rewards you for that kind of violence.
| Person Involved | Ary Quill |
| How to Unlock | Defeat this rival in a Head-to-Head Rivalry race |
| Rank 1 | Get 200 Credits per Rival Takedown, 400 on Kestar Bool |
| Rank 2 | Get 400 Credits per Rival Takedown, 800 on Kestar Bool |
| Rank 3 | Get 600 Credits per Rival Takedown, 1200 on Kestar Bool |
Bloody Bounty

When you open Reward packs after Galactic Racer Events, you’ll be presented with a couple of upgrade choices. Unfortunately, not all of them will be consistently good and useful for your needs. Most of the time, you can just choose something at random, or maybe nothing at all and call it a day. But if you reach Derven Acos with the Pirate as your Backer, and if they’re satisfied with your progress, you can get Bloody Bounty.
Thanks for this Favour, you now have better control over the odds that come to you in Reward packs. With this activated, you can get up to 2 additional choices in Reward packs, and this can apply to Shop packs at the highest rank. If you’re chasing a specific upgrade for your build, this can be the saving grace you need to avoid wasting Credits.
| Person Involved | The Pirate (Backer) |
| How to Unlock | Reach Derven Acos with a Satisfactory rating from this Backer |
| Rank 1 | Get +1 choice in Reward packs |
| Rank 2 | Get +2 choices in Reward packs |
| Rank 3 | Get +2 choices in Reward packs and Shop packs |
Team Vranki
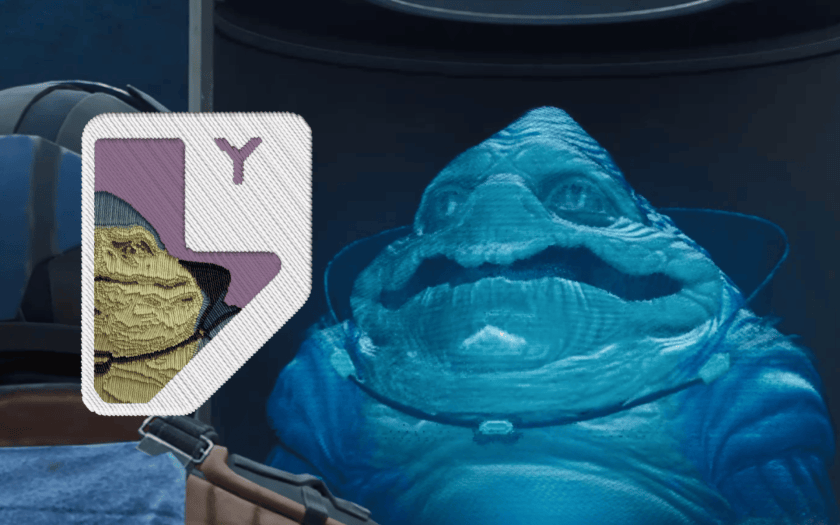
The first few hours of your Galactic Racer gameplay probably had a lot of Crashes. And a lot of them are probably embarrassing, especially when your opponents laugh at you when you see the Crash cam live. So by then, you’re probably going to study how to navigate maps more efficiently so you don’t Crash as much – which in turn can help you focus on actually getting ahead in the race. Do this with the Hutt as your Backer and meet a Satisfactory rating from them as you reach Derven Acos, and you can earn Team Vranki.
With this Favour, you actually earn extra Credits whenever you don’t use your Crashes at any race. Assuming you’re at Cadet with four Crashes, you can earn between 400 to 800 Credits for each Crash you don’t use. It might not seem much, but every extra Credit counts if you’re desperate for some upgrades.
| Person Involved | The Hutt (Backer) |
| How to Unlock | Reach Derven Acos with a Satisfactory rating from this Backer |
| Rank 1 | Get 100 credits per unused Crash |
| Rank 2 | Get 150 credits per unused Crash |
| Rank 3 | Get 200 credits per unused Crash |
Second Chance

At some point in your Galactic Racer playthrough, Katja Mox will challenge you to conquer planets with a specific handicap in mind. You’d impress her if you actually do it, and then she’ll ask you to do it again. And again. At some point, you’d think it’s better to just entertain her. But if you want one of the best protections in the game, decline her third-round offer. This will give you the Second Chance Favour.
With this, you now get protection from losing your first League Event Token. At first it’s just for the first two planets, then the first three planets, until you’re protected for the first four planets. Map-wise, this means a maxxed out Second Chance can protect you from losing your first token until the beginning of the second leg.
| Person Involved | Katja Mox (Rival) |
| How to Unlock | Clear two planets with her handicaps then turn down her third offer |
| Rank 1 | Get protection from losing 1 League Event Token in the first 2 planets of your run |
| Rank 2 | First 3 planets |
| Rank 3 | First 4 planets |
Preferred Customer
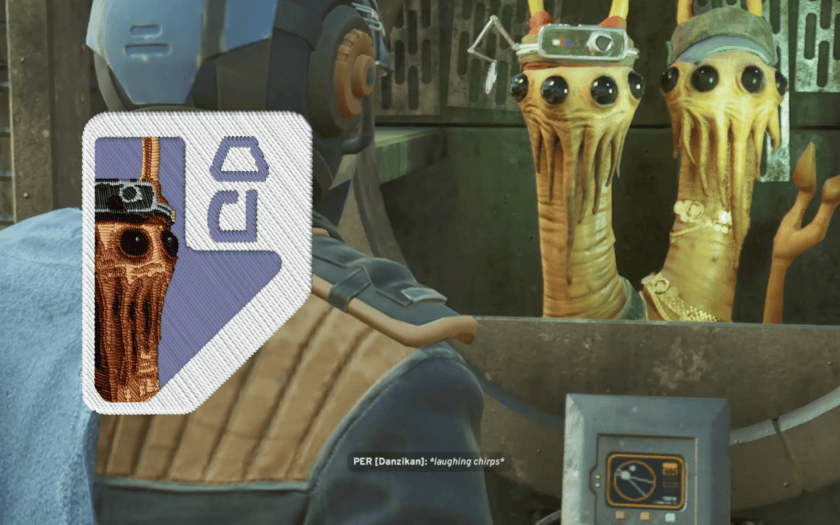
If you don’t like any of the Parts you’ve gotten throughout your Galactic Racer playthrough, you can always buy parts from the Scrap Dealer. You just have to be careful, since some of their stronger parts do come with Faults or debuffs. But buy enough from them, and you’ll unlock Preferred Customer for your next Tour, which makes them appear more often on the map.
This benefits you in one of two ways. First, it’s always good to have a Scrap Dealer for any repairs and extra Parts you can get. You can literally never go wrong here. Plus, they now appear twice as often on maps. If you’re playing it safe, hopping to the Scrap Dealer Event can push you through the map without risking your League Entry Token.
| Person Involved | Scrap Dealer (NPC) |
| How to Unlock | Buy 4 Parts from the Scrap Dealer |
| Rank 1 | Scrap Dealer appears 2x as often |
| Rank 2 | Same, and get 25% off repairs |
| Rank 3 | Same, and get 50% off repairs |
Unassuming Prodigy

When you first play Galactic Racer, the most familiar vehicle upgrade mechanic you’d find from other racers would be the stats. Most of the time, upgrades in other racing games would either make you buy new cars with higher stats or “tune up” those vehicles up to a certain point. Galactic Racer plays the same way, but your stat upgrades come after every race.
By the time you reach the end of your Tour, your vehicle will have insane stats that hopefully prepared you for the equally stressful championship maps. This does mean that missing quite a few upgrades along the way can severely put you at a disadvantage. With Unassuming Prodigy, you get stat boosts right at the start of the Tour. Considering how expensive the permanent upgrades are, this is already a godsend (or Force-send?).
| Person Involved | None |
| How to Unlock | Complete 2 Precision Field Tests |
| Rank 1 | +2 Upgrade in 1 random vehicle stat at the start of the Tour |
| Rank 2 | 2 random stats |
| Rank 3 | 3 random stats |
Gadgeteer

Parts become an essential component of Galactic Racer vehicles once you realize how they can dramatically switch up gameplay. Essentially acting as “cards” that provide different effects, your vehicle’s Parts can determine the kind of playstyle you need to do to maximize their benefits. And if your Racer Style fits the Parts you have, then you can live up to your full potential.
It’s for this reason that Gadgeteer is a decent Favour to aim for. You just need to complete six Time Trial Field Tests and you instantly get an additional Part slot (more as you upgrade).
| Person Involved | None |
| How to Unlock | Complete 6 Time Trial Field Tests |
| Rank 1 | +1 Part slot |
| Rank 2 | +2 Part slots |
| Rank 3 | +2 Part slots, and +2 Parts choices in Hibi’s Shop |
Mad Genius
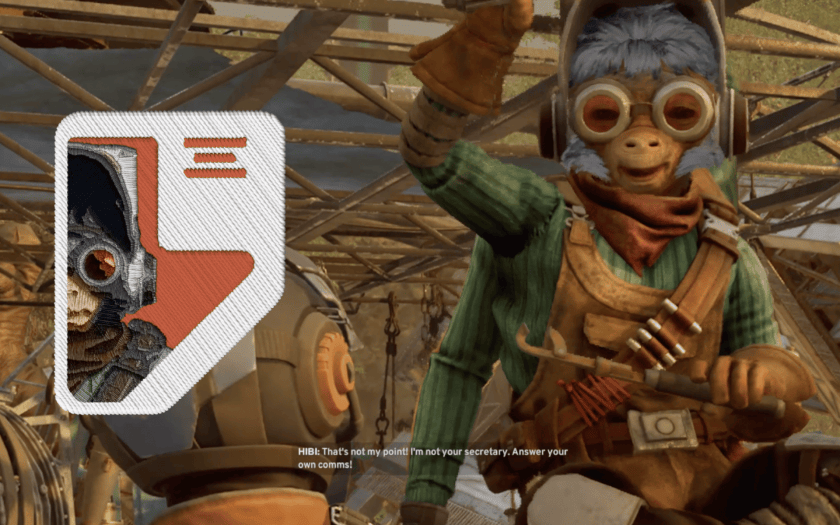
When you venture into Jakku for the first time, your Galactic Racer gameplay will undoubtedly get filled with a lot of Crashes. Looking back now, you might find its tracks easier to master if you boot up a quick Tour. But back then, when you’re still getting a sense of the controls, the vast dunes that compress into tunnels and caverns can get annoying very quickly.
But conquer Jakku and the jungles of Lantaana after it, and the game will reward you for your adaptability. This will come in the form of the Mad Genius Favour. When activated, you now get an additional Crash per Tour Event. Additionally, you can get up to two more extra Crashes when you rank up. Not to mention, its final upgrade gives you a chance to get another League Entry Token in your next Tour – assuming you knock down an opponent this round. If you’ve learned to be a risk taker after playing the first two maps, now’s definitely the chance to put your newfound bravery to the test.
| Person Involved | None |
| How to Unlock | Complete the first two planets of Act 1 |
| Rank 1 | +1 Crash per Event |
| Rank 2 | +2 Crashes per Event |
| Rank 3 | +2 Crashes per Event, and you get a chance to get a League Entry Token next Tour if you knockdown opponents in this one |
Clandestine Aid
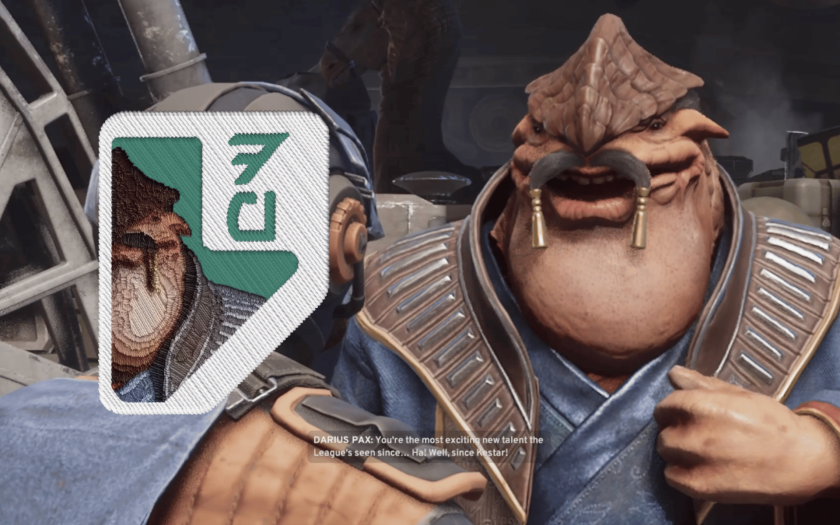
League Entry Tokens remain your most important lifeline in Galactic Racer gameplay. You lose all your League Tokens and you’re out of the Tour, essentially forcing you to restart. This can make the early gameplay loop of Galactic Racer exceptionally dangerous. After all, the mechanics turn brutal very quickly, and you’ll be failing a few runs before you actually conquer Act 1.
Thankfully, the game does reward you for this with Clandestine Aid. When you finish Act 1 for the first time, you get this Favour that grants you an additional League Entry Token at the start of a Tour. Think of it as rewarding you after realizing how “brutal” the game should feel. Now that you know how it feels to risk everything with just one League Entry Token, this extra one is a way to enjoy its more high-risk thrills.
| Person Involved | None |
| How to Unlock | Complete Act 1 |
| Rank 1 | +1 League Entry Token at the start of the Tour |
| Rank 2 | +1 League Token and 1000 Credits |
| Rank 3 | +1 League Token and 2000 Credits |
Frequently Asked Questions about the best Favours in Galactic Racer
Do Favour ranks carry over between Tours?
Yes. You level up Favours by playing with them equipped, just make sure you finish planets with them.
How do you upgrade a Favour?
Just clear planets with that Favour equipped and it will steadily gain progress. Favours that look weak in Rank 1 might get much stronger in Rank 3.








Published: Oct 17, 2026 06:20 am