
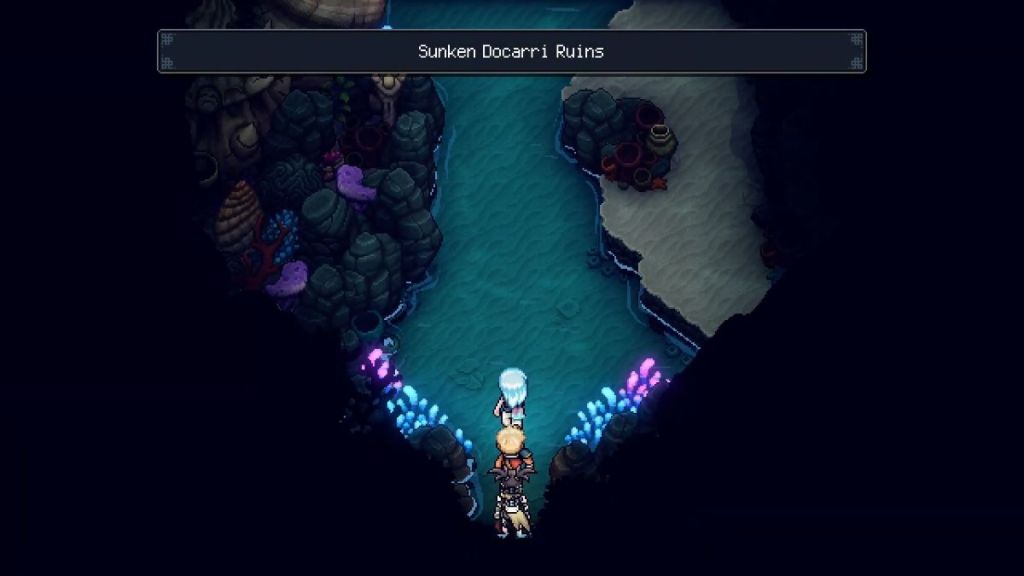
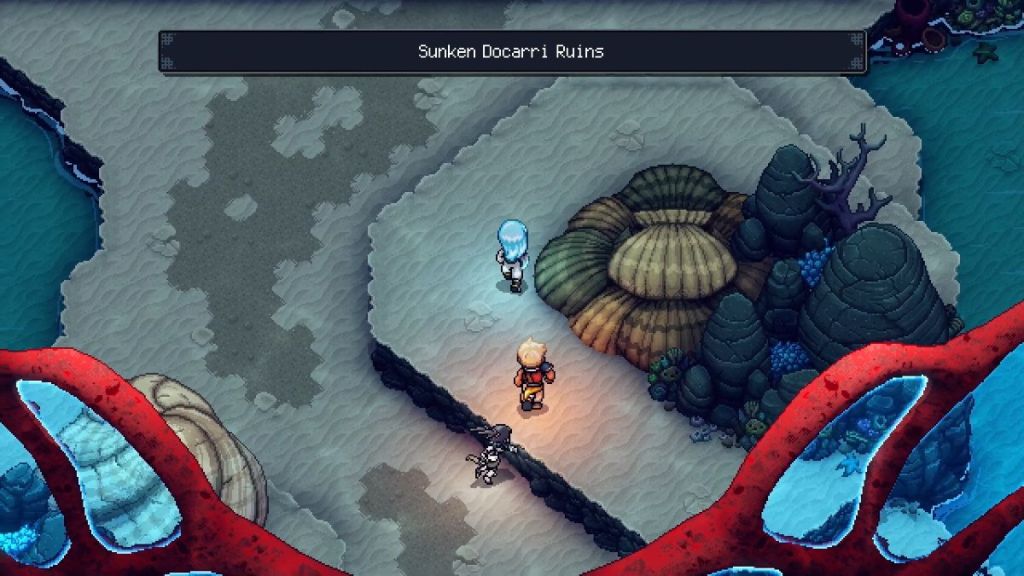
Sea of Stars’ Sunken Docarri Suins holds some of the toughest puzzles in the game to solve. Though by now, the game’s mechanics are more than familiar, this set of dungeons is home to the trickiest challenges, and there aren’t even any enemies inside. It’s time to put those brains to work to solve all the Sunken Docarri Ruin puzzles in the game’s final stretch.
Recommended Videos
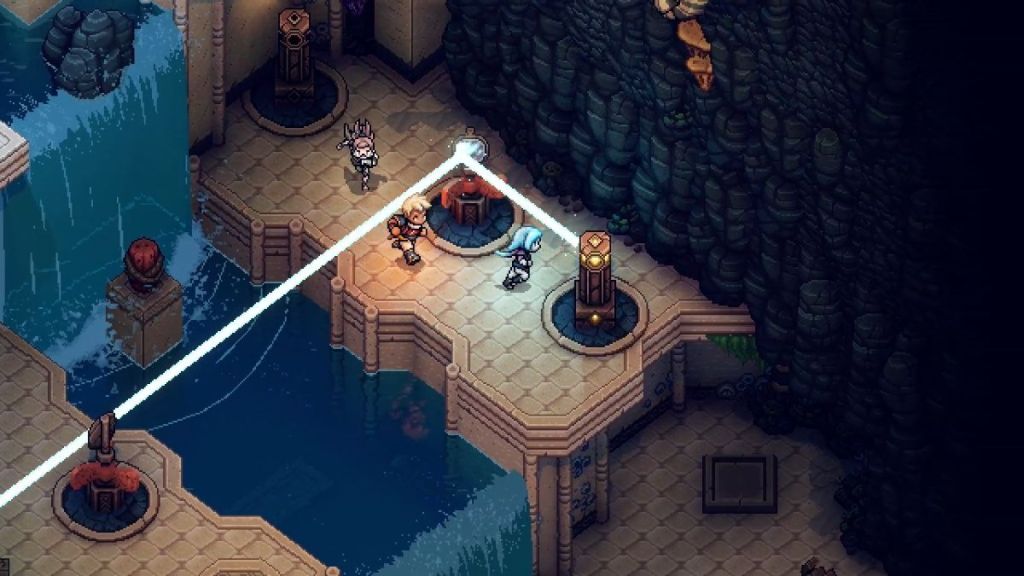
Sea of Stars: Sunken Docarri Ruins A Puzzles
| Image | Steps |
|---|---|
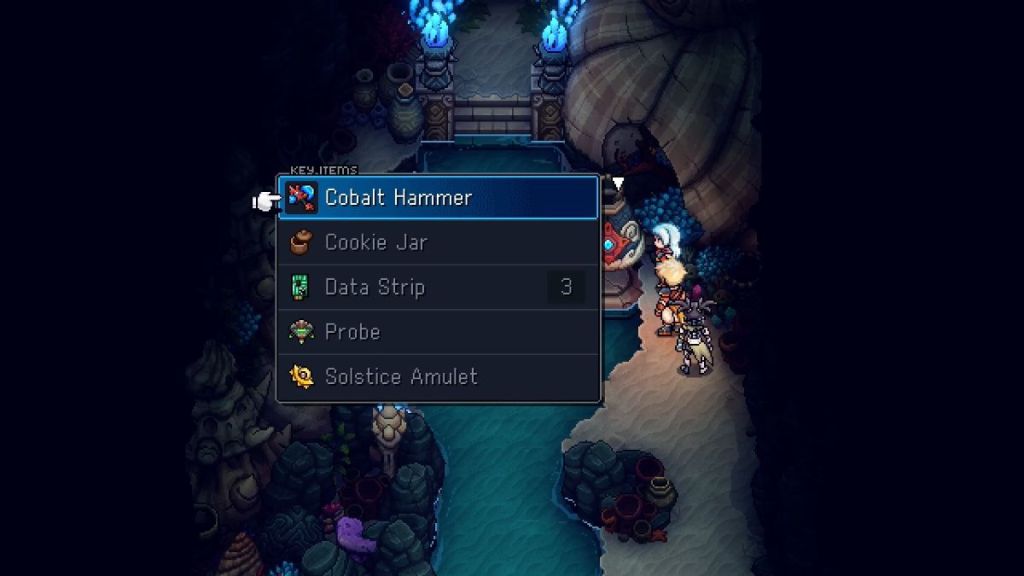 | Use Cobalt Hammer on the bell to the right to open the door. |
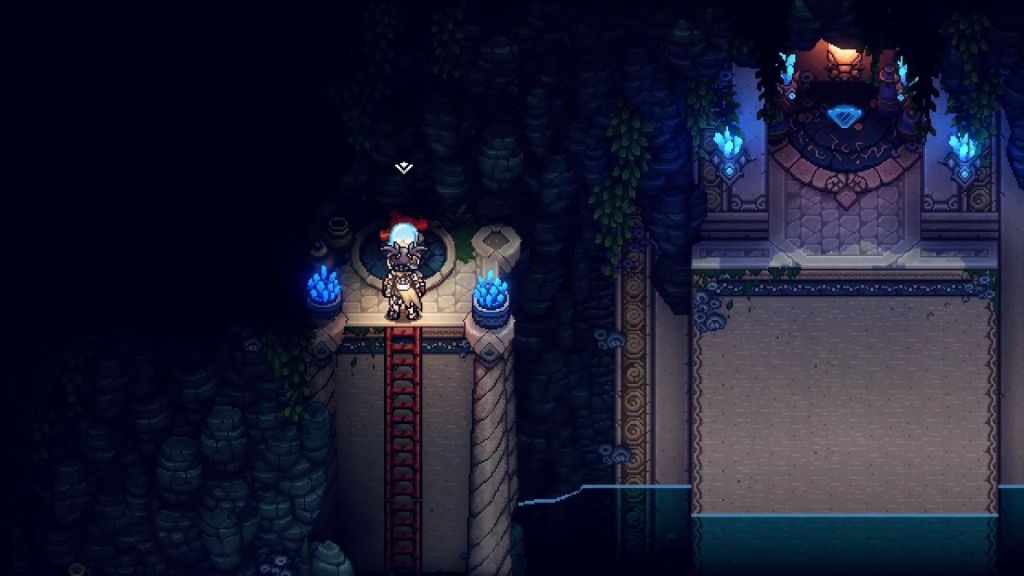 | Climb the stairs to the top left and interact with the valve to drain the water. |
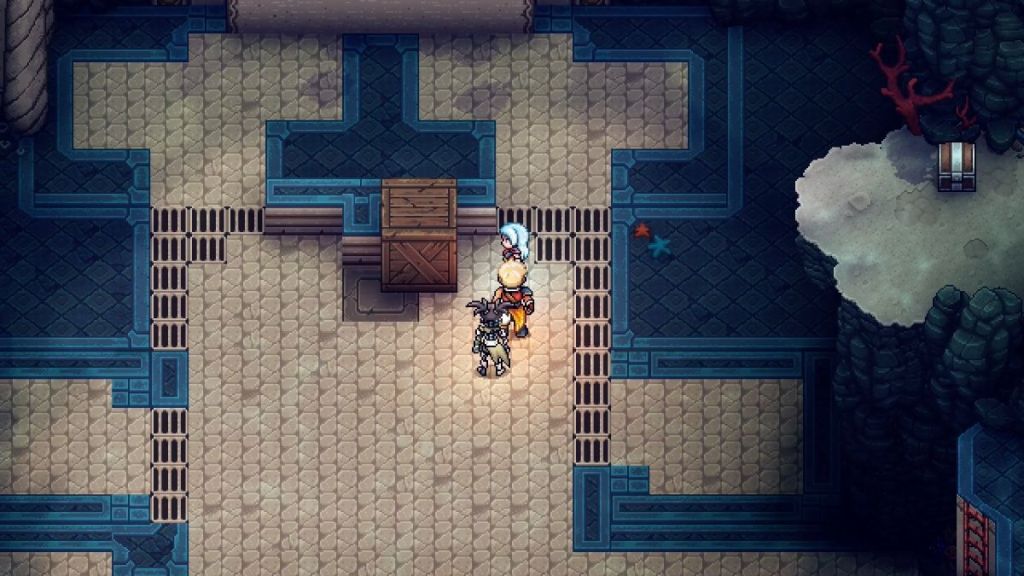 | Push the wooden box so it covers the brown tile in the center of the area. |
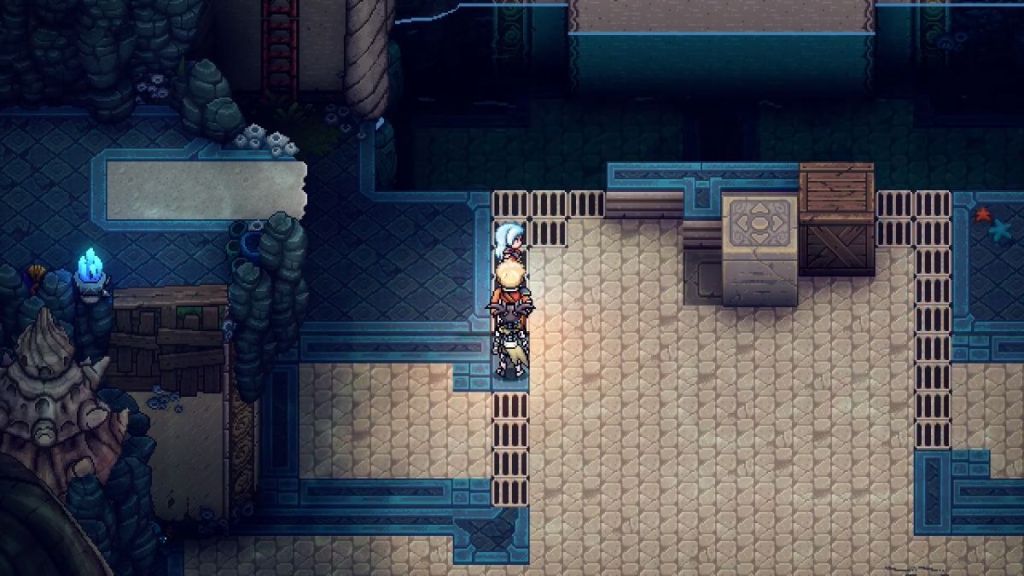 | With the barriers lifted, push the stone pillar to the left of the area to replace the wooden box. |
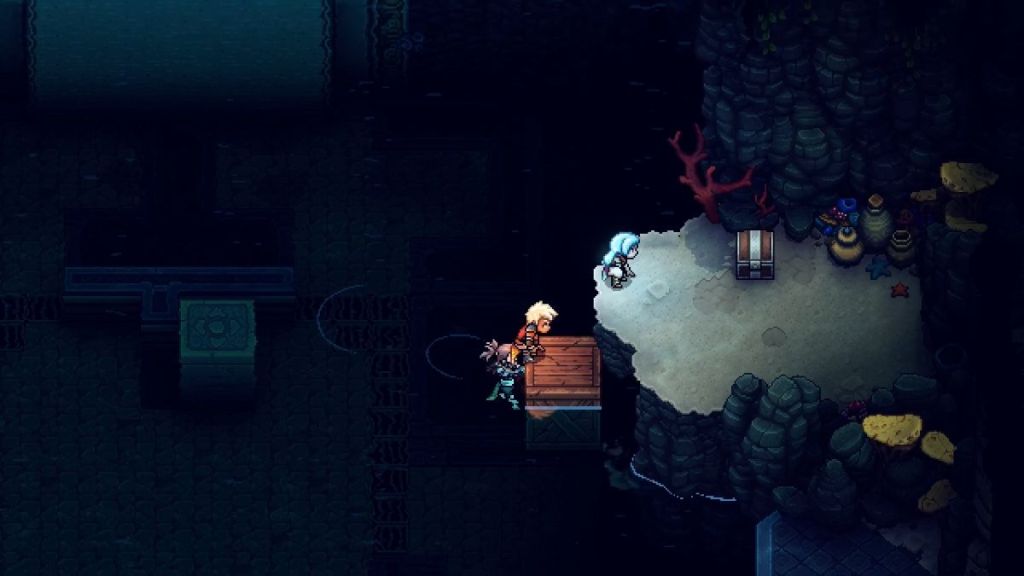 | Push the wooden box so it stands in front of the platform to the right with the treasure chest, and open the valve. Climb the wooden box to reach the platform and get 1x Sapphire ingot. |
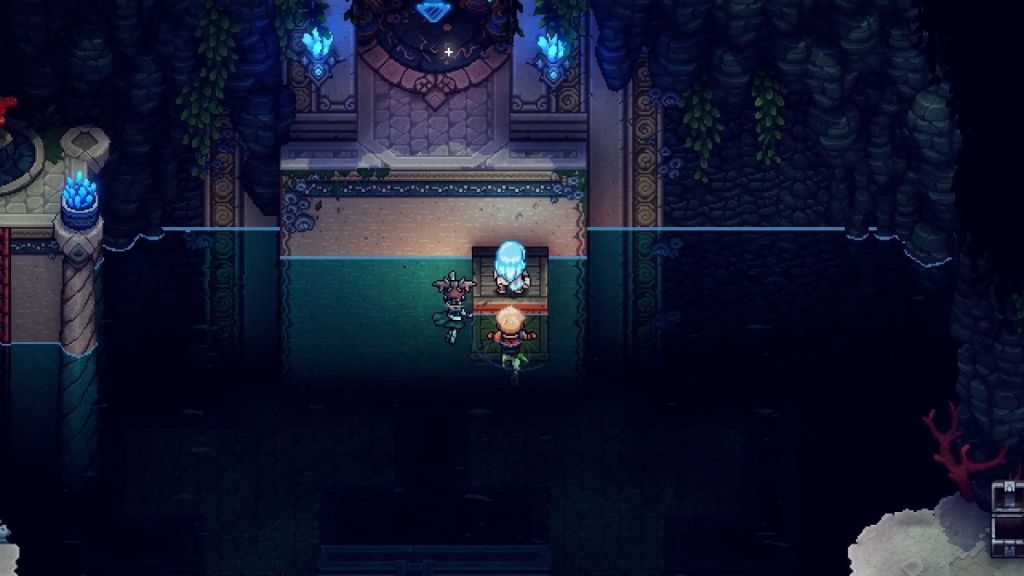 | Use the valve again and push the wooden box toward the top center of the area. Then, it’s time to activate that valve one last time. |
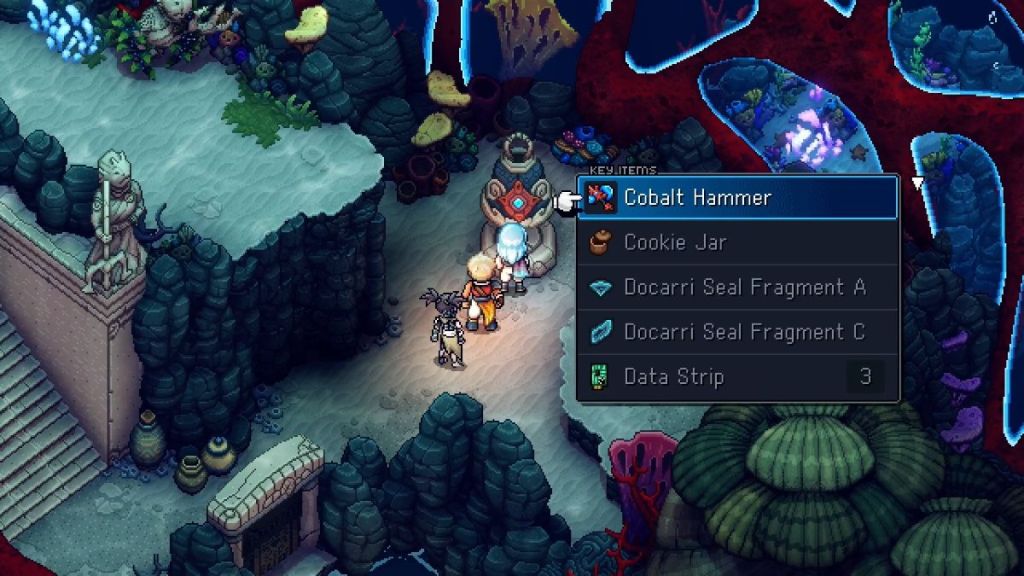
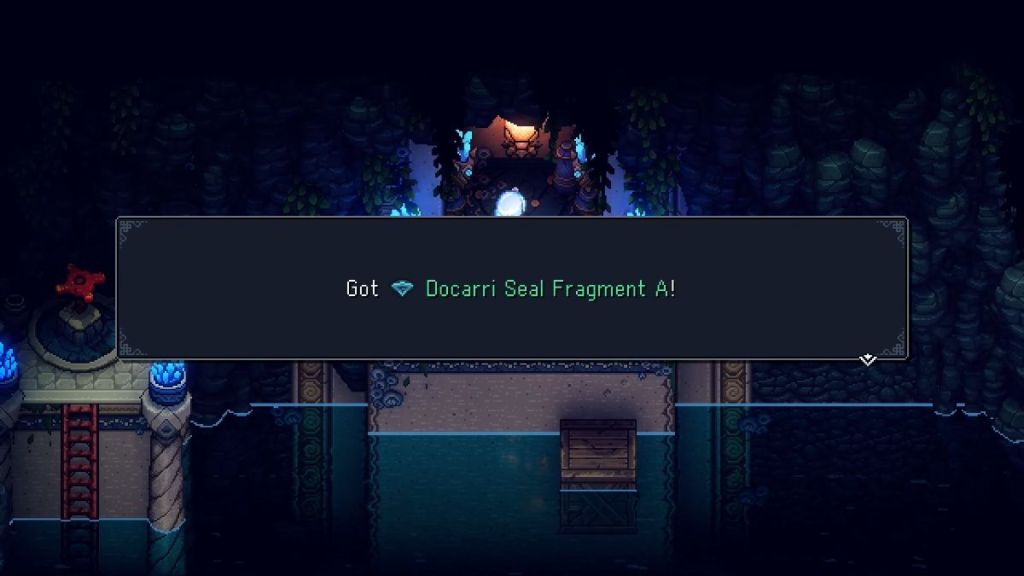 | Use the box to reach the platform to the north, and grab the Docarri Seal Fragment A. |
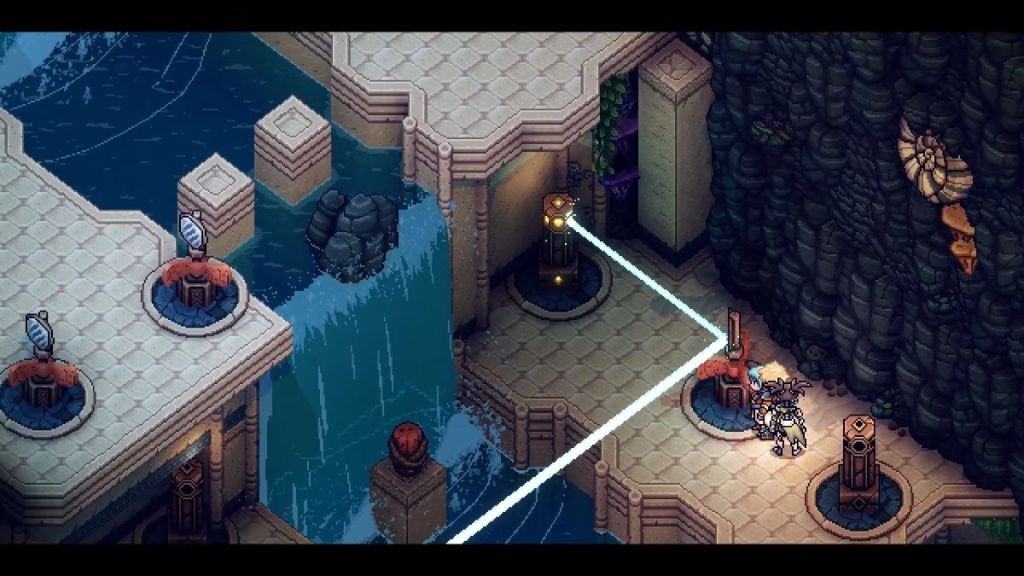
Sea of Stars: Sunken Docarri Ruins B Puzzles
| Image | Steps |
|---|---|
 | Use the Cobalt Hammer at the entrance to open the door. |
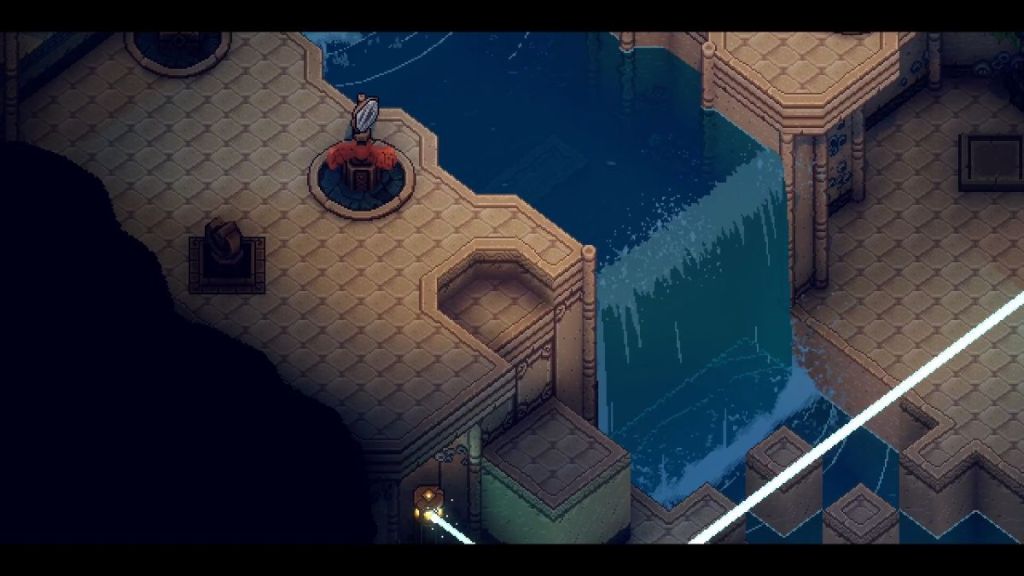 | Use the wind ability on the windmill to the left to cause a mirror to spawn, then stand on the tile to the right to cause a light device to spawn. |
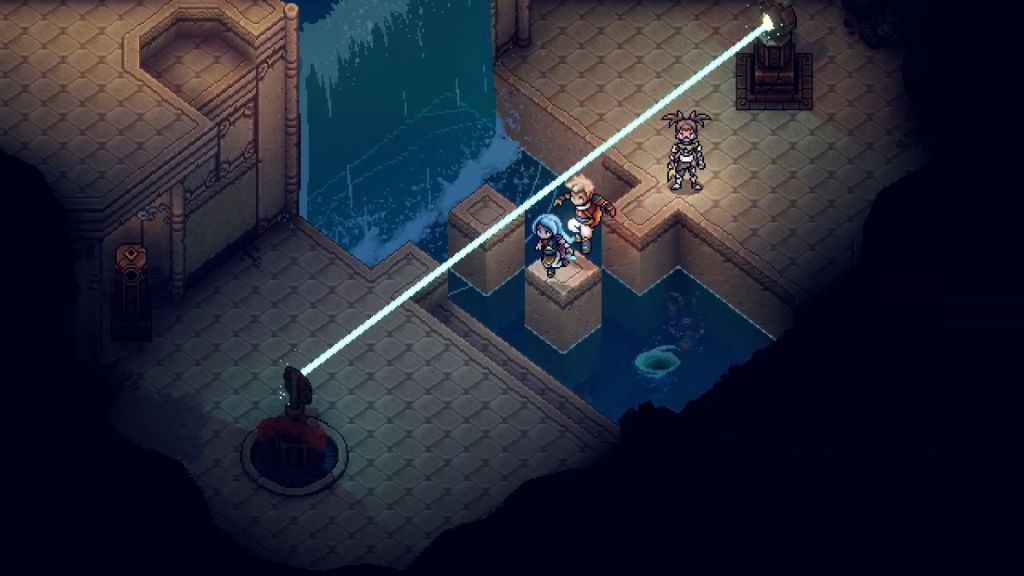 | Spin the windmill once more so the light reaches a light absorption device that spawns a platform to climb. Then, spin the windmill on the upper floor to reflect the light on the light absorption device above. |
 | Jump to the other side and spin the mirror so it’s facing toward the camera. Then, jump back to the platform on the left and spin the mirror so the light passes right through it. The grapple should get you back to the right area. |
 | Spin the windmill once more to hit the light absorption device above it, revealing a set of climbable rocks on the wall. |
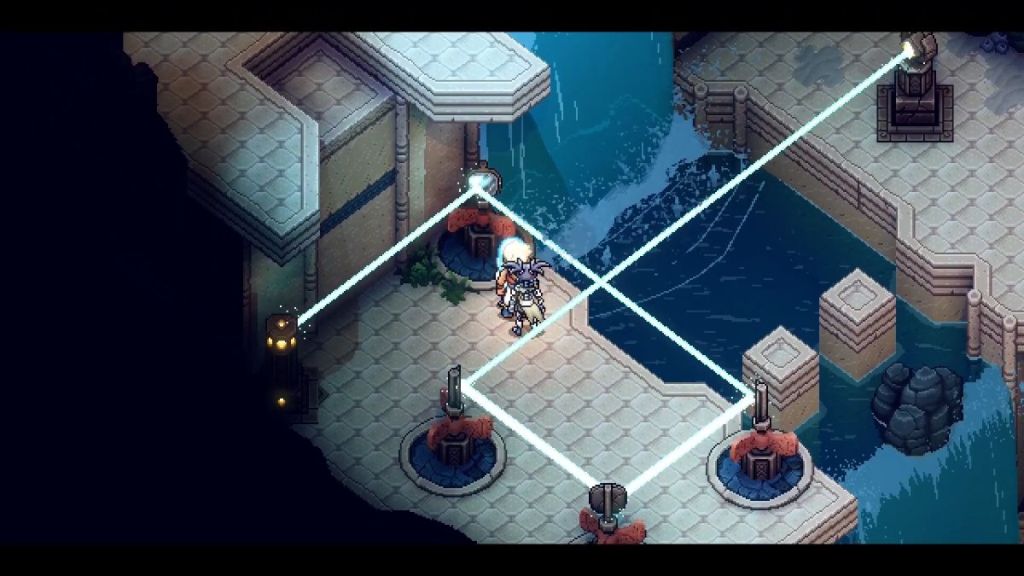 | Arrange the mirror windmills on the upper platform so they form a square. The mirror on the bottom right should aim toward the mirror on the top right, which in turn should target the light absorption device. |
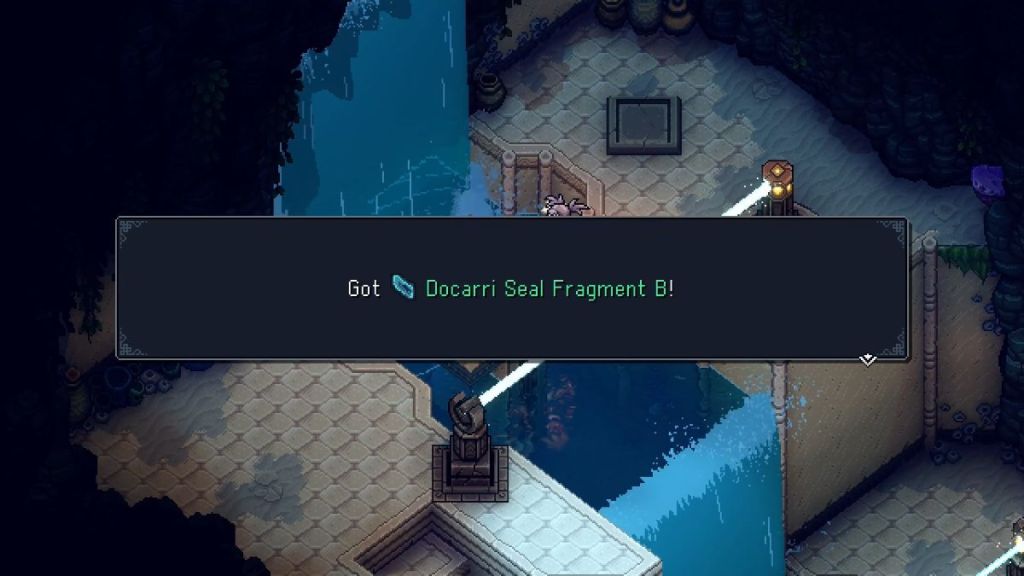 | Climb up and stand on the tile on the right platform to get the Docarri Seal Fragment B. |
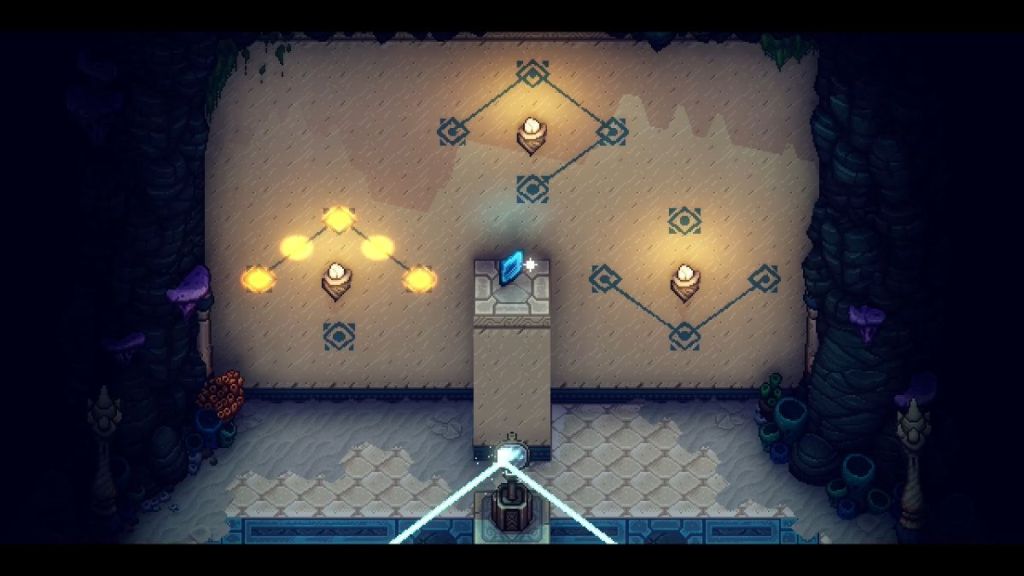
Sea of Stars: Sunken Docarri Ruins C Puzzles
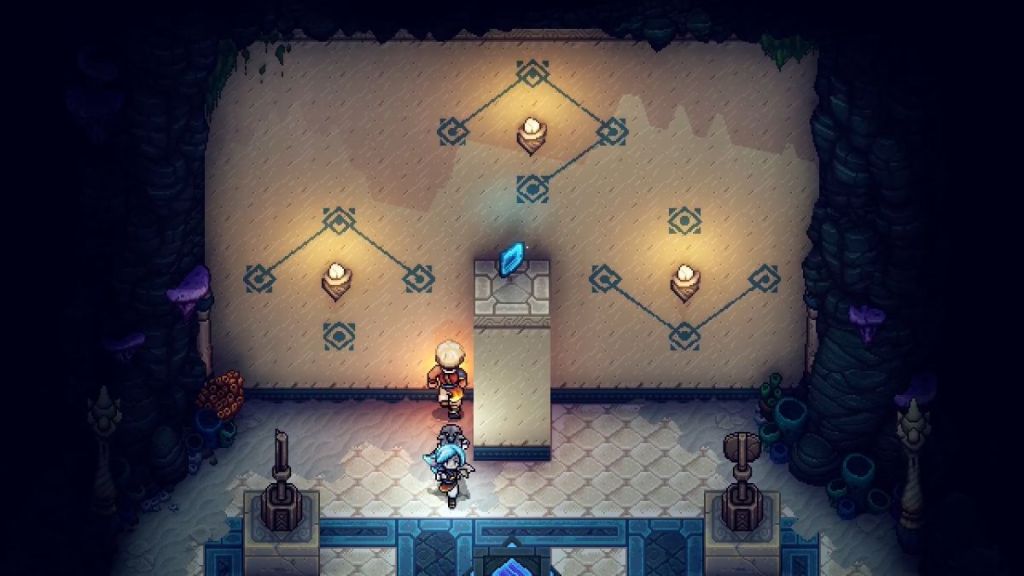
Just like before, use the Cobalt Hammer on the bell before the door.
- Push the light device on the center-right to the left.
- Push the light device on the lower left upward and to the right, then upward, right, and downward.
- Push the mirror on the lower right to the left, upward, and to the left. Then, push this mirror back down and push the previous light device back up.
- Push the light device on the right center (the one above) to the left and downward. By this point, it should be standing in the same line as the mirror. Push this light device to the left once more and the mirror to the right and upward.
- Stand on the brown tile below.
Related: Sea of Stars: Rainbow Conch Locations & Uses
This should cause the first glyph on the wall to light up.
- Push the center right light device to the left, downward, to the right, and downward once more.
- Push the top left mirror to the right, downward.
- Push the light device on the lower right to the right, downward, and right once more.
- Push the mirror device on the lower left to the right, upward, and to the right once more.
- Stand on the brown tile below.
This should cause the second glyph on the wall to light up. Only one more to go.
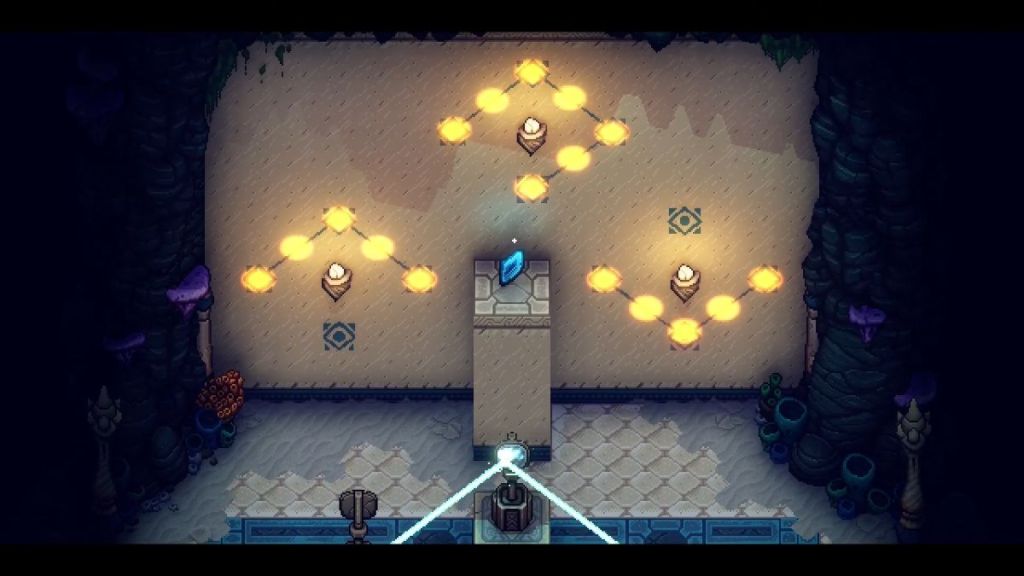
- Push the top right mirror downward, left, and downward.
- Push the center light device to the left.
- Push the top mirror device to the right and downward.
- Push the bottom left mirror device to the right and downward.
- Push the light device left to this mirror upward.
- Push the mirror device in the right center to the left.
- Push the light device in the bottom right to the left, upward, and to the right.
- Push the mirror device to the center-left downward, and to the right.
- Push the light device in the top right to the left and downward.
- Push the mirror in the center-right upward and the mirror next to it to the right, downward, and once more to the right.
- Push the light device in the center left upward to make way for the bottom left light device, which should be pushed right, upward, and left to reach that position.
- Stand on the brown tile below.
This should cause the third glyph on the wall to light up. Once they’re all solved, grab the Docarri Seal Fragment C.
Gamepur is supported by our audience. When you purchase through links on our site, we may earn a small affiliate commission. Learn more about our Affiliate Policy


Published: Sep 20, 2023 02:23 pm