
7 Days to Die places players square in the center of a zombie-infested world, whether that world may be Navezgane or a randomly generated space. With the limitations of building, some players may find themselves a bit lacking in terms of design inspiration.
We’ve gathered the ten best base designs found in 7 Days to Die (7D2D) from build-offs and social media. They’re all strong in their unique ways, so rather than ranking, take this as a culmination as the best seen thus far.
Anti-horde base designs
There are two primary approaches to base design in 7 Days to Die — there are bases that focus on slimming hordes during nights and blood moons, and there are PvP-centric buildings. Anti-horde base designs are one of the first things players should master, as a proper horde in late-game can eliminate all progress.
There are a few key concepts to understand:
- Zombies become enraged when taking a fall, which causes them to start hitting any blocks around them.
- Zombies will always attempt to pathfind to a player.
- If they cannot pathfind directly to a player, they then begin attacking obstacles (such as walls).
- If zombies do not take falls, and can continue to pathfind, they will run toward the players infinitely.
Related: The 5 Best Weapons in 7 Days to Die
Breezeway Bunker
This base features a bit of excavation work, but the end result from Reach Gaming is rather ingenious. Using iron bars as a walkway, players can sit beneath the breezeway and fire upward to hit the hordes. Electric fences placed every block across the breezeway ensures the undead continue to take damage, even if the defense is unmanned.

The Cop zombies could be a bit of a headache with this build, as their projectile vomit will not only damage the iron bars but could injure the players beneath. Exploding zombies deal almost 300 damage to blocks next to them, which could make this build less successful in late-game, but the new steel blocks can help mitigate the damage. If you’re going to imitate this build, ensure someone beneath is always walking back and forth so the zombies continue pathfinding, else they’ll begin trying to dig through the bars.
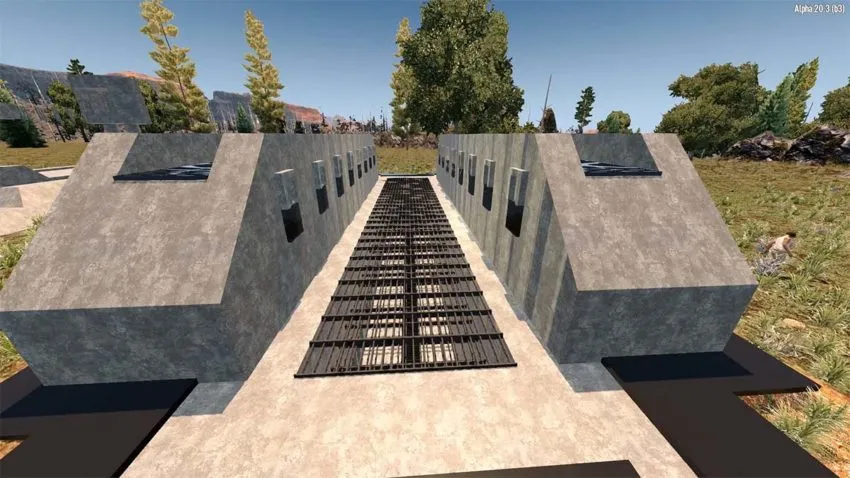
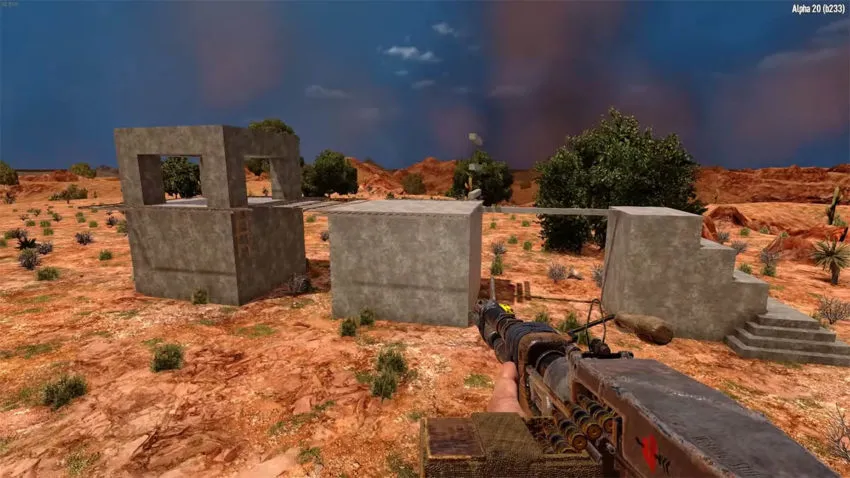
Building 445

The second build from Reach Gaming is building 445, one of the few anti-zed structures that has a bit more style and panache than others. Make no mistake, though, this is an anti-zed structure, first and foremost, in spite of its aesthetic qualities. The blocks in the front act as stairs, forcing enemies to pause momentarily, which helps break up the undead-sprinting that occurs during blood moons.

Once the undead hordes make it inside, a long hallway blocked with hatches and accompanied by electric fences helps make short work of any unwise undead. A small perch on top offers an unobstructed view that helps undead pathfind while allowing Molotovs to be chucked.
Bunker 2055
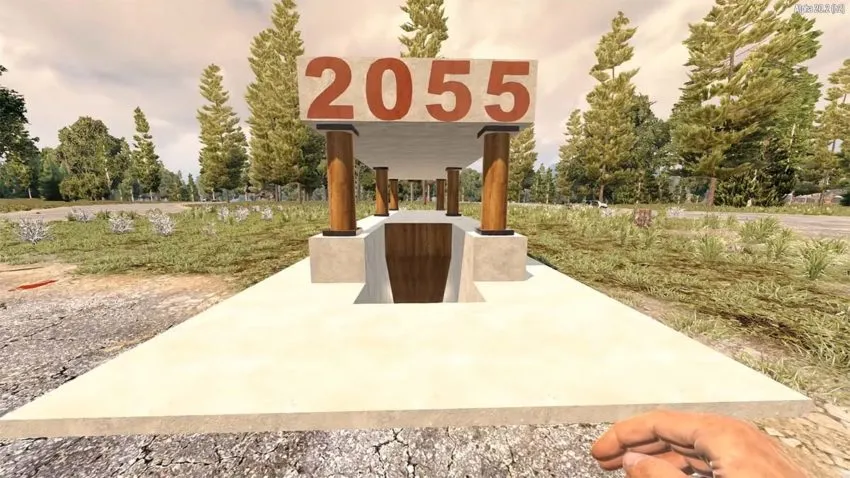
The final showcase of Reach Gaming is Bunker 2055 because it demonstrates some particular enemy behaviors players can capitalize upon. The importance of a singular pathway for funneling the undead, at this point, has been made self-evident, and Bunker 2055 is no different in this aspect. It does showcase the usage of poles that enemies struggle to walk on.
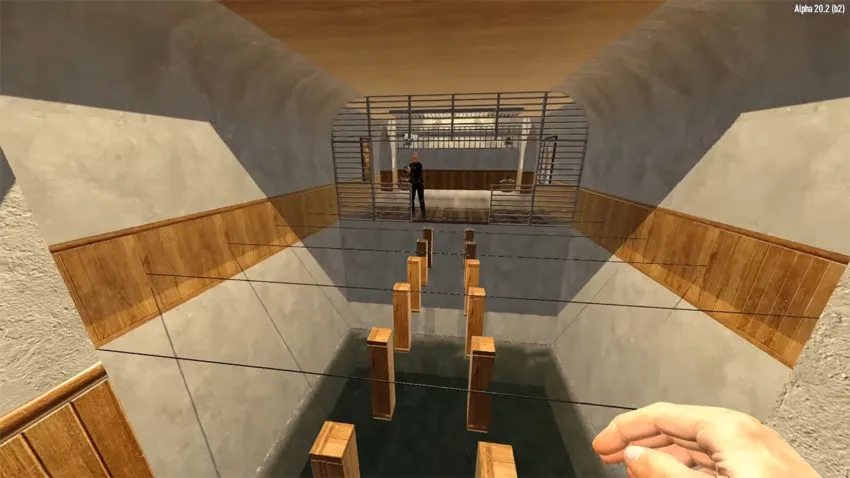
The pool at the bottom loops around back to the entrance, allowing zombies to continue pathfinding if they fall. Holding across the bridge, near the iron bars, allows the zombies to see players while giving unfettered sight for engaging enemies.
First Horde bunker
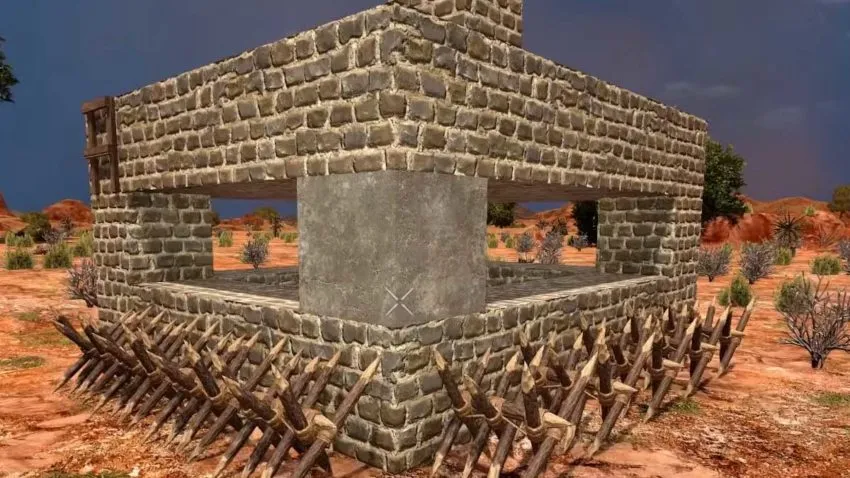
The first blood moon can be a harrowing experience, but this build from Capp00 mitigates the threat entirely with only a few blocks invested. Players should make note that this bunker won’t last too well beyond the first blood moon or so, but there’s ample room to build a tunnel system beneath for a crafting hall and bedrolls.
If you’re playing with a few other people, connect tunnels underneath to allow players to get into each other’s bunkers for assistance, and don’t scatter them too far (20 blocks) apart to maintain interlocking fields of fire. A few quick upgrades would bolster this for later horde defense — dropping a few powered turrets should keep the region relatively clear for farmland.
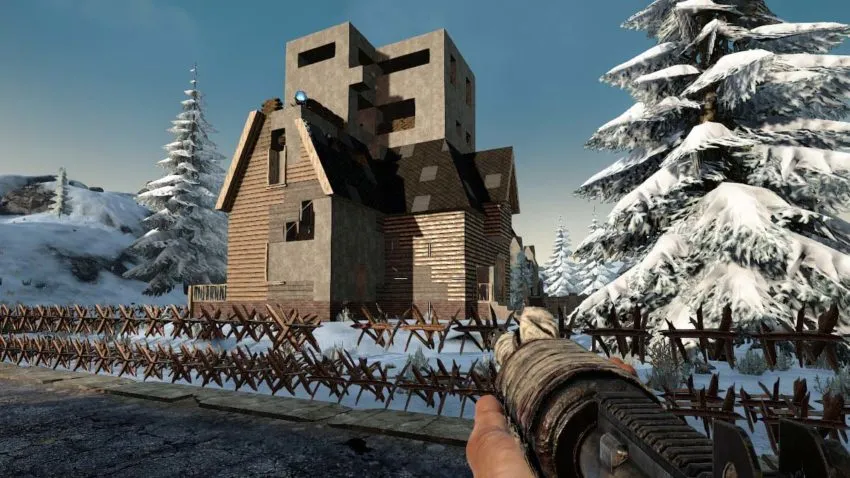
Tower/walkway hybrid
Towers are a consistent feature of 7D2D building, as the game takes into account structural stability, and building straight up is a quick means to ensure high stability. As long as one takes into account how zombies interact with structures, there isn’t much to worry about. This build from Capp00 gives the quick and dirty necessities to survive most zombie hordes.
The walkway seems sparse, but it’s actually necessary: it allows players to easily engage the enemies as they almost queue for some player brains. You’ll want some projectile weaponry for this build. Getting too close to these hordes can result in an infection, if not an outright quick death.
Anti-PvP & RP-friendly base designs
On many servers, the primary threat is the existence of other players, and the undead are more supplemental threats. With the addition of voice chat, it also opens the door for more RP-friendly interactions with other players. For these servers, players can get a bit more creative with designs as they don’t need to be overly cautious regarding zombie pathing. That means more defenses will be necessary for the undead, such as spikes and turrets, but the first concern will be other players.
Base plopping
Sometimes, you’re looking to tap a large town or city for loot, and don’t want to spend the time shuttling loot between your main base and a satellite. Base plopping can be helpful in this — flatten the top of a pre-gen building, and place some fortifications on top. Drop a few turrets in the middle of the building, set up sandbags to block incoming fire, and get to looting.

Some servers have rules against this, so check with an admin before setting a base on top of a building. The biggest concern for this build should be enemy players. You’ll want concrete blocks at a minimum, and make sure you’re stashing loot on the lower levels to stop players from pilfering, or items from being destroyed by explosives. This is one of the best ideas for long-term gameplay, as clans will always have well-defended satellite areas set up for when they want to revisit a region.
Clan Hub

In the industrial wastes biome lies a flat area surrounded by cliffs, located at 783 W, 254 N. Some terrain-forming is necessary, but the end result is a large space naturally fortified by surrounding cliffs. Be cautious of any enemy snipers that happen to climb around the outside. This design focuses on the detachment of various facilities, ranging from the farm, living quarters, and a fully-functional garage that can house vehicles.

Perimeter defense is handled with turrets posted prominently on each corner, which should eliminate any stray undeads. The size of the buildable area in this space makes it perfect for a clan hub, with sprawling crafting halls and enough spawn points for everyone. A few mines on the peaks around the region should give enough pause to any PvP-inclined foes wanting to climb to a vantage point.
The toll bridge
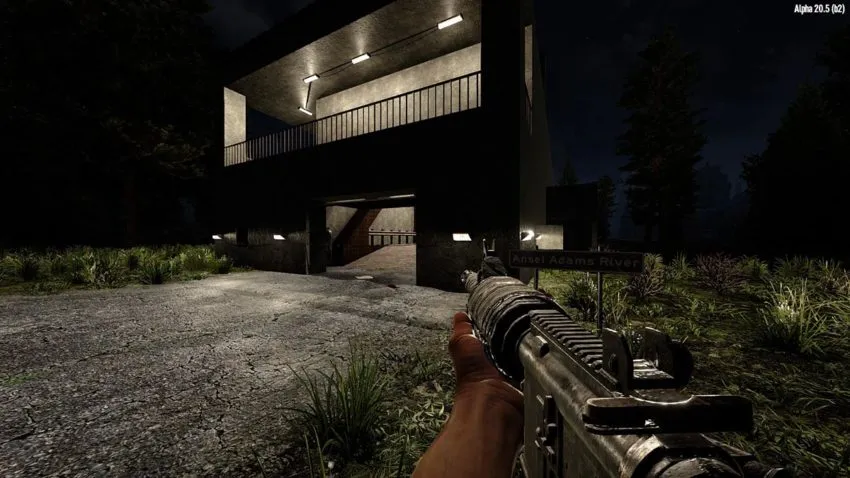
Ansel Adams River is an important river for PvP clans to control, as it can determine who can harvest the farm fields and offers easy access to multiple towns. For this build, building around a bridge gives this clan an opportunity to extort a toll from players that want to easily cross. Mines in the river help deter rival clans from trying to cross without paying, while a wrap-around porch helps whoever is on guard duty to maintain a watchful eye.

Rolling garage doors are kept locked by the alliance and only unlocked by clan members once an appropriate toll has been received. With turrets lining both the internal and external walls, clean lighting, and ample room for activities both on the second floor and the roof, there’s something to be said for ensconcing points-of-interest in 7D2D.

Worlds’ Peak
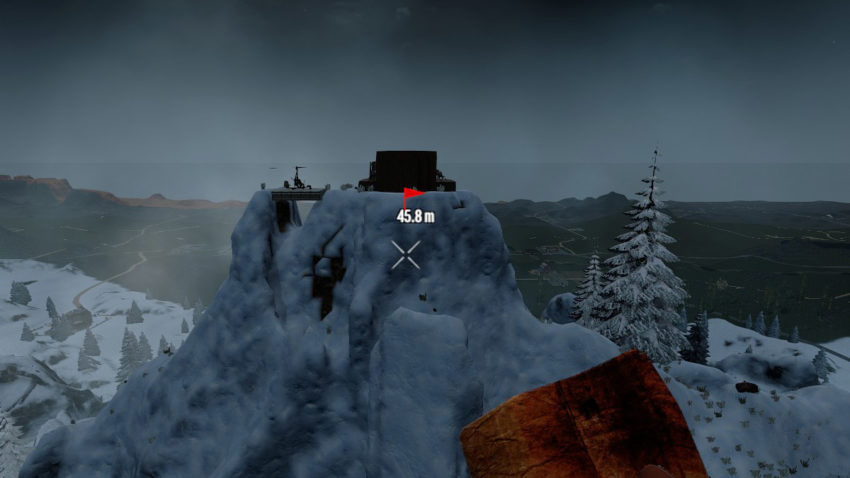
In Navezgane, there is a single peak located at 1049 E, 1516 N which is one of the highest peaks in the game. Only a few blocks can be built upon it, and it’s impossible to reach without a gyrocopter. For PvP servers, this means it’s an ideal solo location for players. Its height means that zombies can’t reach it, and other players can only reach it with the help of a gyrocopter. It’s going to require late-game materials, but setting up a house at the Worlds’ Peak is a simple endeavor for survivors that prefer that last-man-standing vibe.

The bad news is that it’s very difficult to make a larger building with this. Players have roughly five blocks to work it in terms of height, so housing more than a single survivor is difficult. One could develop a lengthy mine system tunneling through the hill, which will take weeks, but could offer additional space for crafting halls and decor. Defenses are simply not needed here.
Y-level oasis
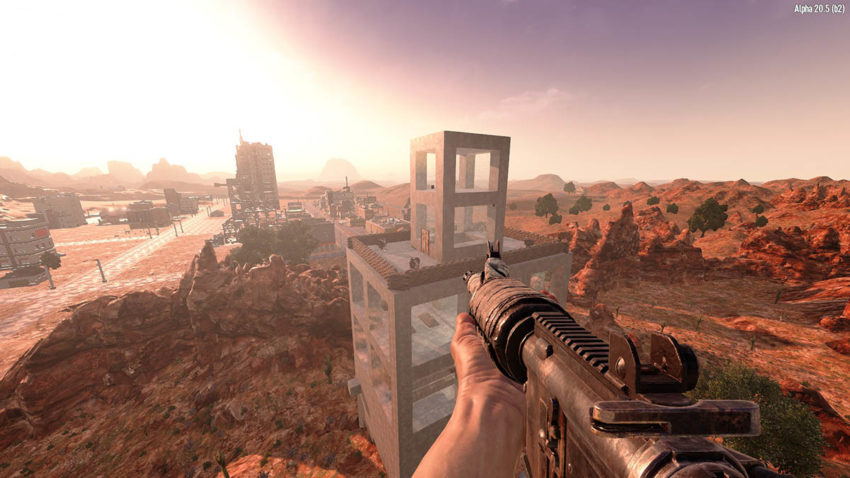
Building in harsher lands is ideal in PvP-centric servers as the environment can also add to the difficulties of base raiding and conflict. To this end, the winter and desert biomes are far more appealing in some server types than others. This build capitalizes on the y-level equalization of the voxelized terrain in 7 Days to Die, as it places multiple pillars on varying terrain heights that equalize themselves for even flooring.

With bulletproof glass offering survivors a dramatic look of the nearby city, players can also stay safe from enemy fire while seeing where enemies may be coming from. Some dramatic lighting with spotlights and sandbags placed around the roof for guards returning fire finishes this build with a deft, if simple, touch.


Published: Jul 21, 2022 04:04 pm