Darkest Dungeon 2 revels in confronting players with difficult decisions at every turn. The first decision of every playthrough is how to build your party, and the decisions become increasingly difficult as you progress through unlocks.
Concepts
With each character, two random traits are rolled when you select a character: one positive, and one negative. These traits will define your party load-out more often than not. A poor negative trait could render a character completely worthless, while a buff could make someone almost untouchable. It’s important to note that while certain party compositions are stronger than others, players should prepare for suboptimal runs based on RNG and not be afraid to experiment. Take heart that these runs can still result in a slew of unlocks for future runs. A suboptimal party composition is by no means demanding of a restart.
Secondly, at this point in time, Darkest Dungeon 2 places emphasis on maximizing damage more often than not, due to a battle turn limit of five at roadblocks. If players do not complete a battle within five turns, then they will receive nothing aside from wounds and stress. Being able to land damage on specific enemies and shifting the enemy party organization around is paramount to maximizing each run.
Finally, each character has six additional skills that must be unlocked by visiting Reflection nodes during runs. The skills are randomized in regards to unlock order, meaning that it will take a heft of time to unlock every skill for each character. Each character has a maximum of eleven skills — with only five available at any given time — so players can customize how each character operates to better fit within a given party composition.
Early-Game
Players starting out should invest heavily into the Plague Doctor and the Man-at-Arms: both remain viable throughout the entirety of the game. Once players reach level three, they will unlock the Hellion Boudica. A strong damage dealer, players would be wise to replace the Grave Robber and invest in the Hellion’s skill tree as quickly as possible. Boudica remains viable throughout the entirety of the game and is often referenced as one of the strongest characters.
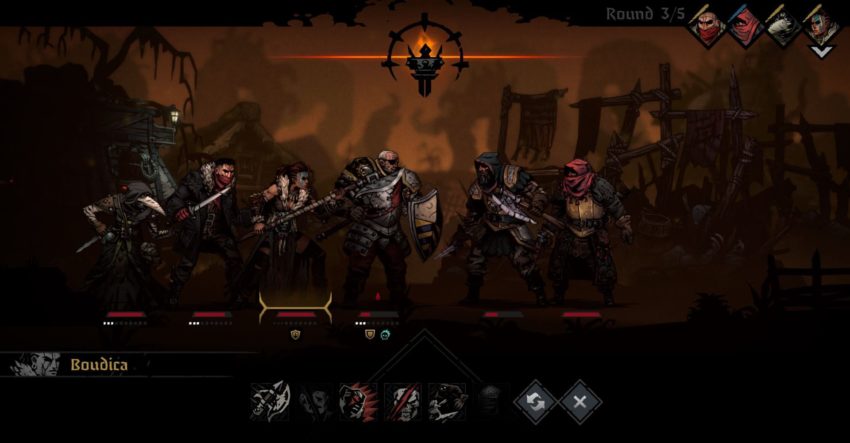
We’ll utilize the Plague Doctor’s DoT with Noxious Blast on low-HP enemies, allowing it to eventually proc a deathblow while the party focuses on other enemies. Keep a pouch of lye at hand to remove enemy corpses from the line, allowing your heavy hitters to consistently engage active foes. Boudica’s Toe-to-Toe ability allows her to take the frontline when Barristan needs to be healed up. Once he’s ready again, he can use Hold the Line to step forwards.
Late-Game
Once a player hits level 15, all characters are unlocked, with the Occultist being the final unlock at this time. At this point, all nine characters have a strong place in the line-up and players are familiar with the roles that they fulfill.
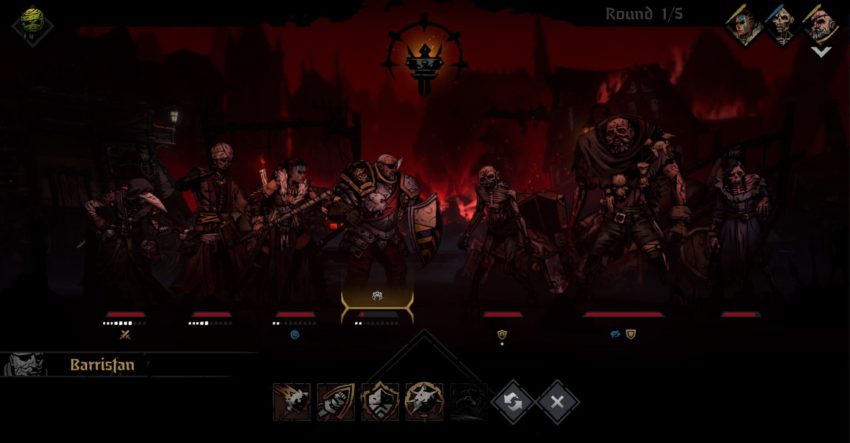
Note: These are listed in descending order of choice.
Position 1
The frontline, the first position needs to handle large amounts of damage without crumpling. Baldwin can perform well in the frontline with his ability to heal himself and remove negative tokens — the consistent self-blinding, however, leaves him occasionally unable to perform fights with a limited number of rounds.
- Man-at-Arms Barristan
- The Leper Baldwin
Position 2
A damage-dealing position that could shift to support if the rest of the party is hitting hard enough. Boudica is unlocked at level 3: use her early and often.
The Runaway Bonnie is unlocked at level 6 with a unique take on the second position, playing a support role at the front line. Her ability to remove stealth from foes, stealth herself, and two DoT abilities make her an interesting choice for a party.
- The Hellion Boudica
- The Runaway Bonnie
- The Leper Baldwin
Position 3
Ranged damage is the preference, and it’s difficult to hold a candle to the Occultist with his ability to clear corpses, pull enemies out of position, and bombard the backline where enemy supports prefer hiding. Ensure you’re weakening any enemy with a damage-increase token to mitigate damage.
The Grave Robber and Jester (unlocked at level 9) are both adequate third-position members to replace the Highwayman, and it’s encouraged to explore the various characters for flavor and content if nothing else. The Jester is notable in being able to mitigate the stress levels and incessant bickering of the party while shifting positions within the party in much the same way as he did in the original Darkest Dungeon.
- The Occultist Alhazred
- The Highwayman Dismas
- The Jester Sarmenti
- The Plague Doctor Paracelsus
- The Grave Robber Audrey
Position 4
Whether buffing the party or tossing heals, the fourth position stays active by helping dictate the flow of combat and keeping everyone’s needs in check. The Plague Doctor is an easy choice, due to her three heals per combat along with buffs and DoTs.
- The Plague Doctor Paracelsus
- The Occultist Alhazred
- The Jester Sarmenti
- The Highwayman Dismas




Published: Dec 8, 2021 07:46 pm