Isolation Vaults are a Bounty mission that were added to Warframe in the Heart of Deimos update. You can get these Bounties from Mother at the Necralisk. They are a multi-part Bounty that will involve some fighting and collecting on the surface of Deimos, then heading underground to take on Swarms of enemies and a Necramech.
Stage 1

The first stage requires you to collect Foss or Vome Residue. Special patches of this resource will spawn in, and be marked on the minimap. Head to the marked locations, destroy the lumps of worm flesh and collect the residue.
Stage 2
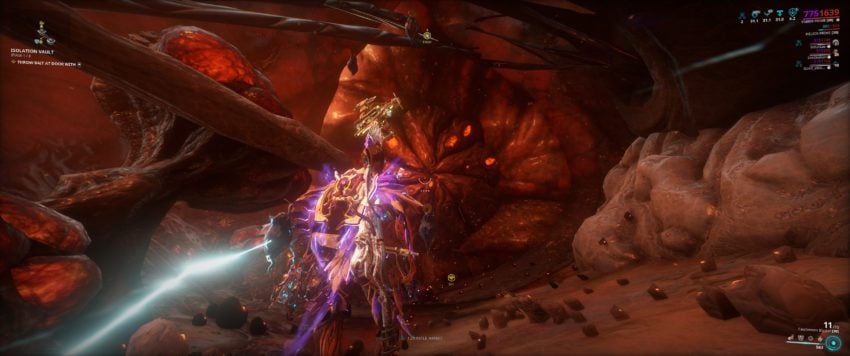
For the second part, you need to bring the Residue to a Bait machine. Interact with the machine to add the bait to it, and it will process the bait into something you can use to open a locked door. You will need to defend the machine from some Infested enemies. When it is done, grab the item from the machine. It will look like an Infested grenade. A new way point will appear, leading you down a nearby tunnel. Throw the item at the door using the prompted key, and it will open. It looks like a giant heart valve. Make sure you are facing the door when you throw the item, or it will be lost and you will need to repeat the process.
Stage 3
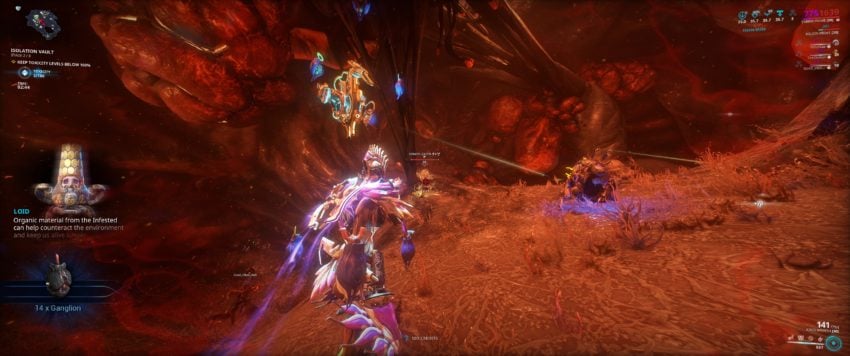
Follow the tunnels to a central chamber and you will need to fight waves of enemies. The toxicity level in the air will slowly increase, but you can reduce it by killing enemies, especially ones marked by a red waypoint. Do not allow the toxicity level to hit 100 and you will be fine. This portion lasts about two minutes, so just get a good meatgrinder going and you should be fine.
Stage 4
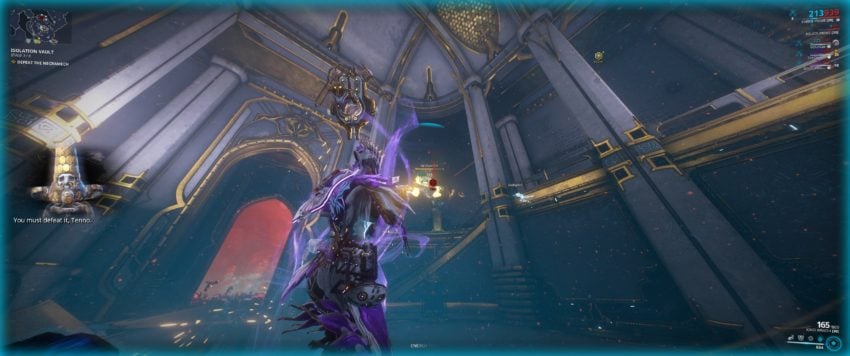
Now it’s time to head further through the tunnels via a valve door that will have opened at the bottom of the chamber. Follow these tunnels until you reach some rooms with a Necramech. Destroy the Necramech and then you will need to decide to leave, or get access to a Vault.
Stage 5
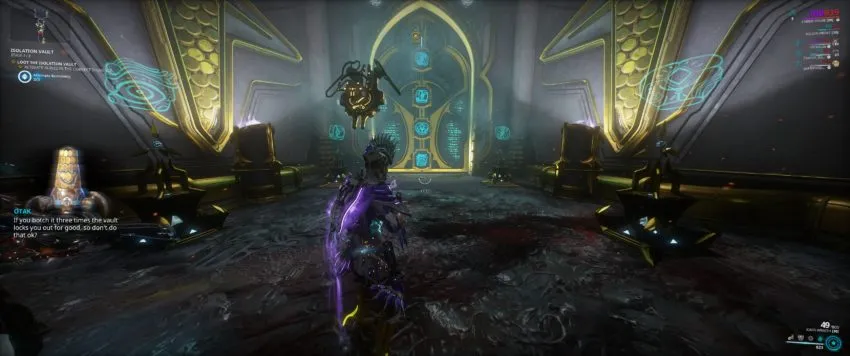
If you want to try an access the vault, follow a route to the right of where you entered, down a slope, to a fancy looking door. There will be a reactive crystal infront of it. Shoot this to call in Loid, and then you will need to escort him around while he charges some pylons. Lots of Infested enemies will spawn and try to kill him, so keep him safe.
When all four are charged, follow Loid back to the fancy door where a puzzle is waiting for you. The puzzle is simple, the door will flash four symbols, and you need to then interact with the relevant pillars in the same order. Each pillar has a symbol above it that matches the ones on the door. Hit them with your Amp in the right order, and you will be able to access the Vault. Go in and break all the containers, grab the loot, and then it’s time to head back to the surface, and return to the Necralisk to finish the mission.
How to increase the Tier of the Isolation Vault
When Isolation Vaults first launched, you had to play through three of them in a row and each time the Tier would increase. This is no longer the case, and you can simply pick the Tier you wish to run by going to the right location on the map. You will need to complete the Tiers in order the first time you play them, but after that, you can run any Tier you like.
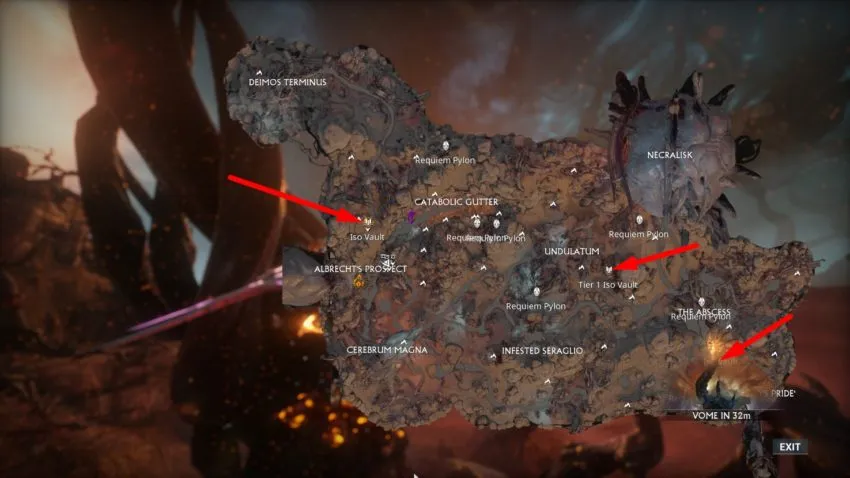
- Tier One – starts in the Undulatum.
- Tier Two – starts between Albrecht’s Prospect and Catabolic Gutter.
- Tier Three – starts in The Abscess.
Just go to the locations listed above and then speak with Mother to begin the Isolation Vault run.
Arcana Bounties
When you complete an Isolation Vault once, you can then perform Arcana Bounties. These can once again be picked up from the previously listed Mother locations. They are similar to the regular missions that occur on the surface, but take place in the Vaults.
- Assassinate – you need to lure in and assassinate a target.
- Cache Retrieval – You need to find a cache deep within an Infected Hive. You will need to destroy tumors to be able to damage the Hive.
- Extract Samples – You need to get power cells for a purifer which will create a bubble. Within the bubble new flora samples will spawn that you need to collect.
- Hive Extermination – You have to find and destroy three Infested Hives.
- Liberation – Protect a set point from enemies.
- Deimos Delicacies – protect a friendly Juggernaut and collect Fungal Polyps that it will barf up. Eventually the Juggernaut becomes hostile and you must kill your new pet.
- Infested Research – Destroy tumors to power up a nearby device. Collect a fluid sac from the device and hit enemies with it to mark them, then destroy the enemies.
- Crack in Deimos – Use a Containment Unit to seal cracks. Protect the Unit and the Emitters that it drops.


Published: Jan 30, 2021 09:10 am