
The deep, dark, and unforgiving world of Dark Souls is not complete without its iconic boss fights that put your skills to the test. However, not all bosses were created equal. Some simply exist to add to the lore, others just seem to be a pure bane of your existence, while a chosen few actually make the fight well worth it despite being insanely difficult to beat. With this, we have listed all the Dark Souls bosses, ranked by difficulty.
Related: The best shields in Dark Souls 3
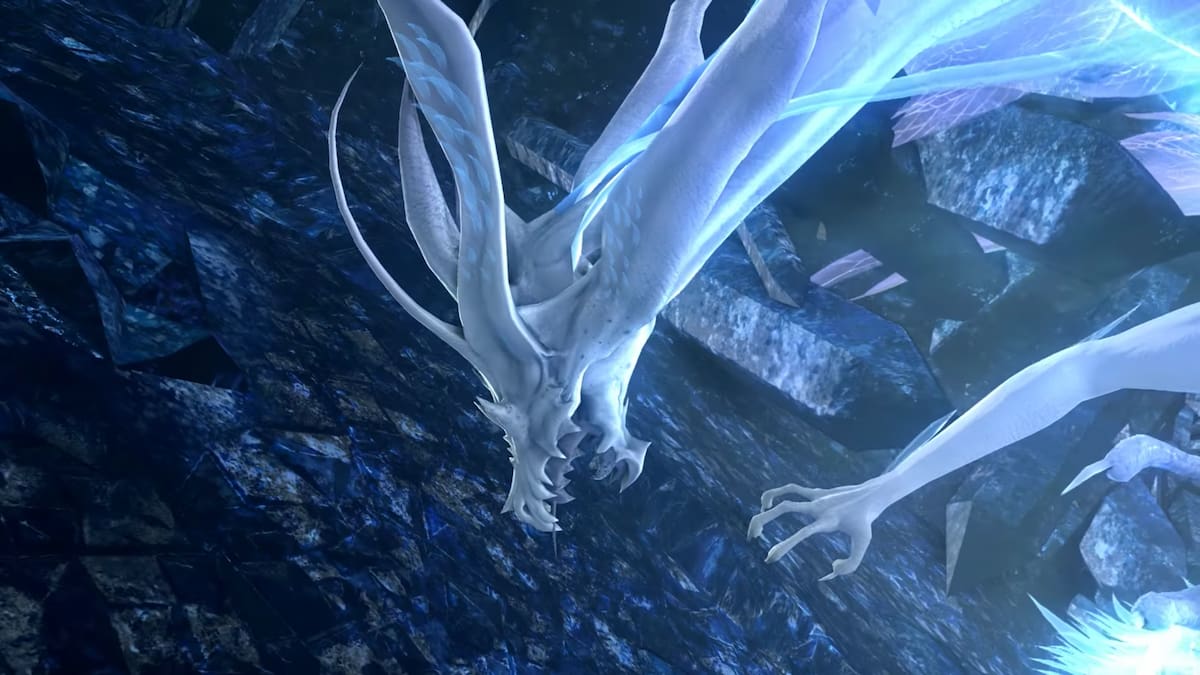
26. Moonlight Butterfly
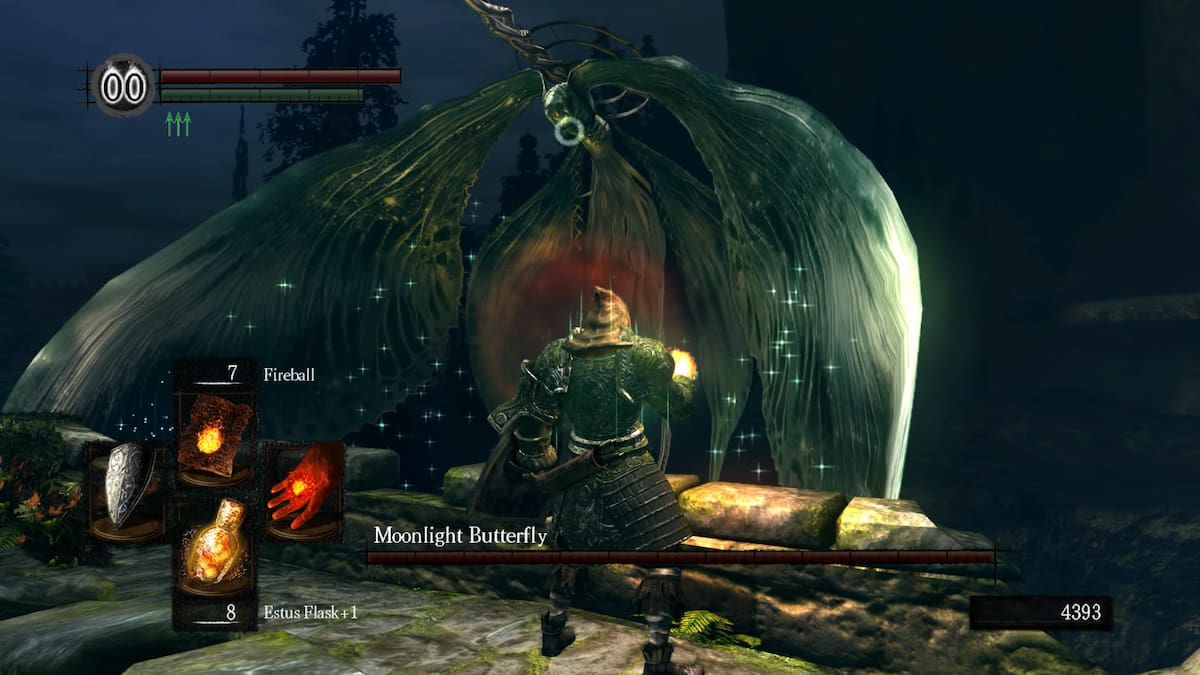
The Moonlight Butterfly is just as pretty as its name — this boss offers you pure visuals and nothing else. As an optional boss, it prioritizes showcasing its unique enemy design boasting the magic of the Darkroot Garden, the area it resides in. For a surefire quick fight, tank its arrows and dodge its homing attacks. Tanking the projectile strikes with your shield will still hurt but it does less damage than if you mistime your dodge. After dodging its attacks, wait for it to land to score huge damage, and you can easily finish it off in one to two cycles.
25. Pinwheel
Do not let this boss’ cloning ability and eerie appearance intimidate you, as it goes down very quickly. With a limited move set and an Area of Effect (AOE) attack that is easy to dodge and only does minimal damage, it’s almost frustrating how easy this boss is. A single hit to its clone breaks the illusion, and you can then load as many hits as you can on the real Pinwheel. The cycle then begins again, so simply rinse and repeat and you’re done before you know it.
24. Asylum Demon
A tutorial boss that only teaches you the controls but does not necessarily prepare you for what’s yet to be served to you in the game, the Asylum Demon easily makes it to the bottom of this list. With slow-sweeping attacks that are incredibly easy to dodge, you can just use the plunge attack at the start of the fight and then deal tons of damage as you trail behind it until the end.
23. Ceaseless Discharge

A boss that exists merely for the lore, its name is pretty ironic. He so easily ceases to exist if you run back to the fog gate as soon as you awaken it. You can deal some damage for fun, but it will eventually walk to the edge and then plummet to its own death in a pathetic attempt to reach out to you. You can still try to fight it, but the actually difficult bosses further down the last are bound to truly test your patience so save yourself some time and sanity.
22. Dark Sun Gwyndolin
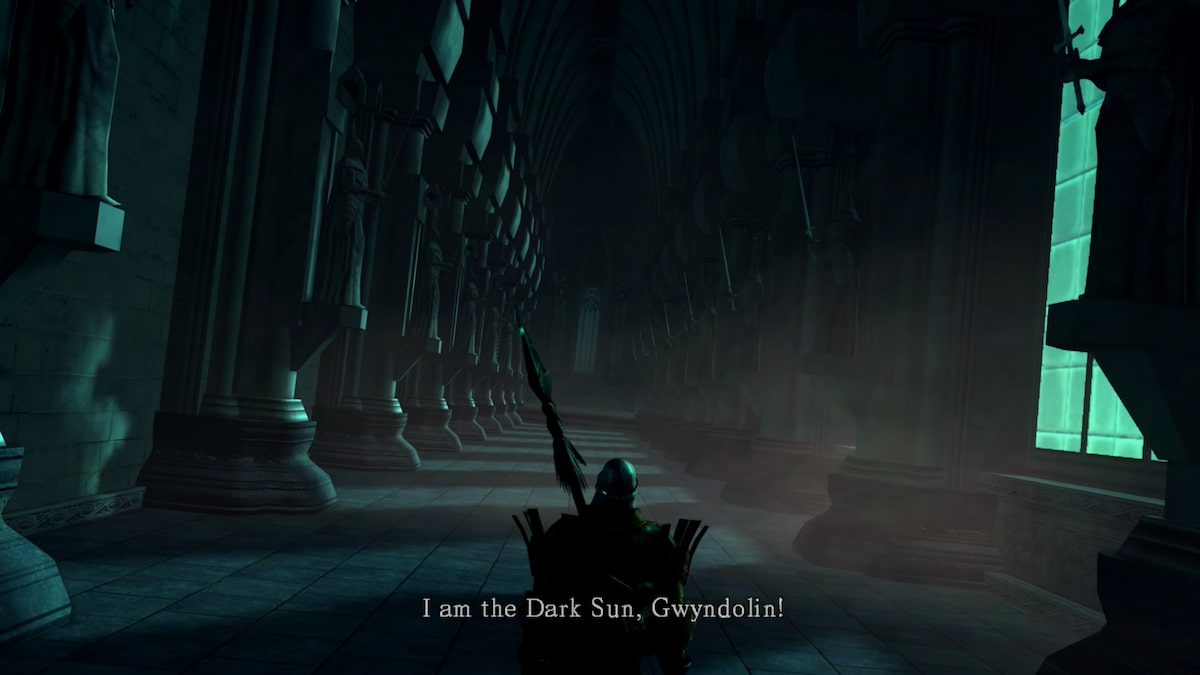
A cool secret boss you can opt to deal with, the fight with Dark Sun Gwyndolin can easily be brief. Set in a seemingly endless hallway, all its attacks are ranged with high damage. If you simply hug the walls and be patient to wait for an opening, running up to this boss a few times and sneaking in a couple of hits quickly ends the fight as this boss is the most vulnerable to damage in the game.
21. Taurus Demon
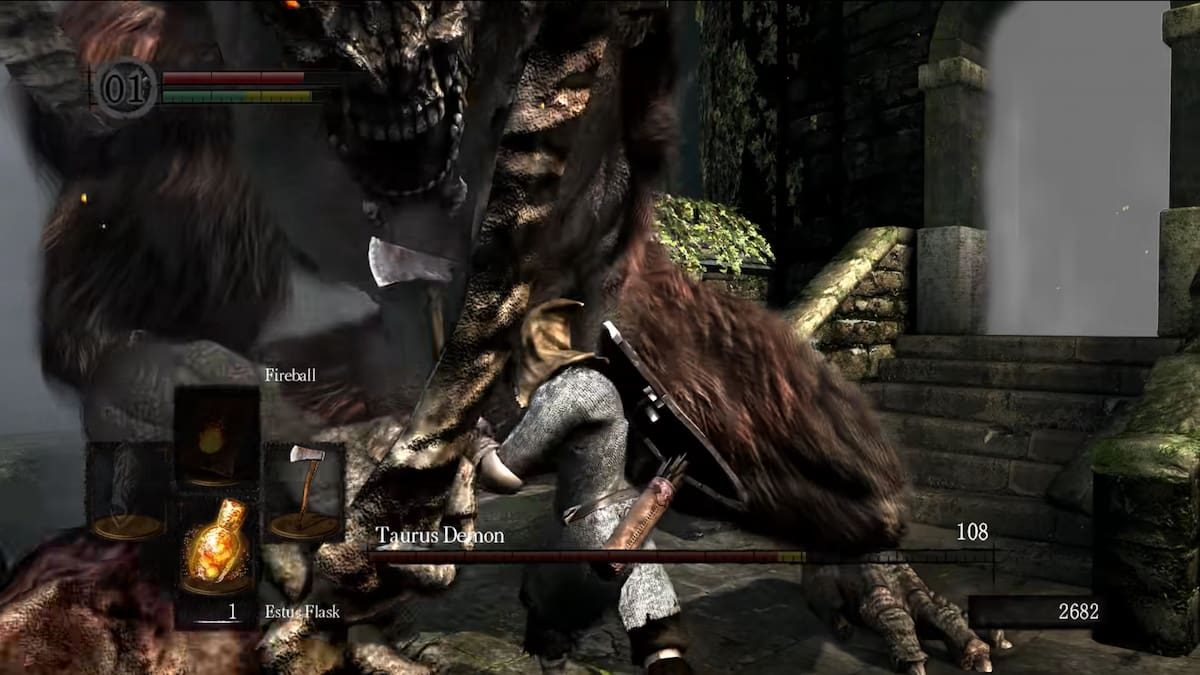
The sudden appearance of the Taurus Demon in the Undead Burg aims to frighten you and get you off-guard, but it is one of the easiest to outsmart. Before the fight, climb the ladder to the left of the fog gate and take down the two skeleton archers on top of the tower. Use the plunging attack once the boss spawns, dodge his attacks, then just repeat. It’s a cycle of going back and forth to the tower. This boss is essentially just a tutorial for the plunging attack.
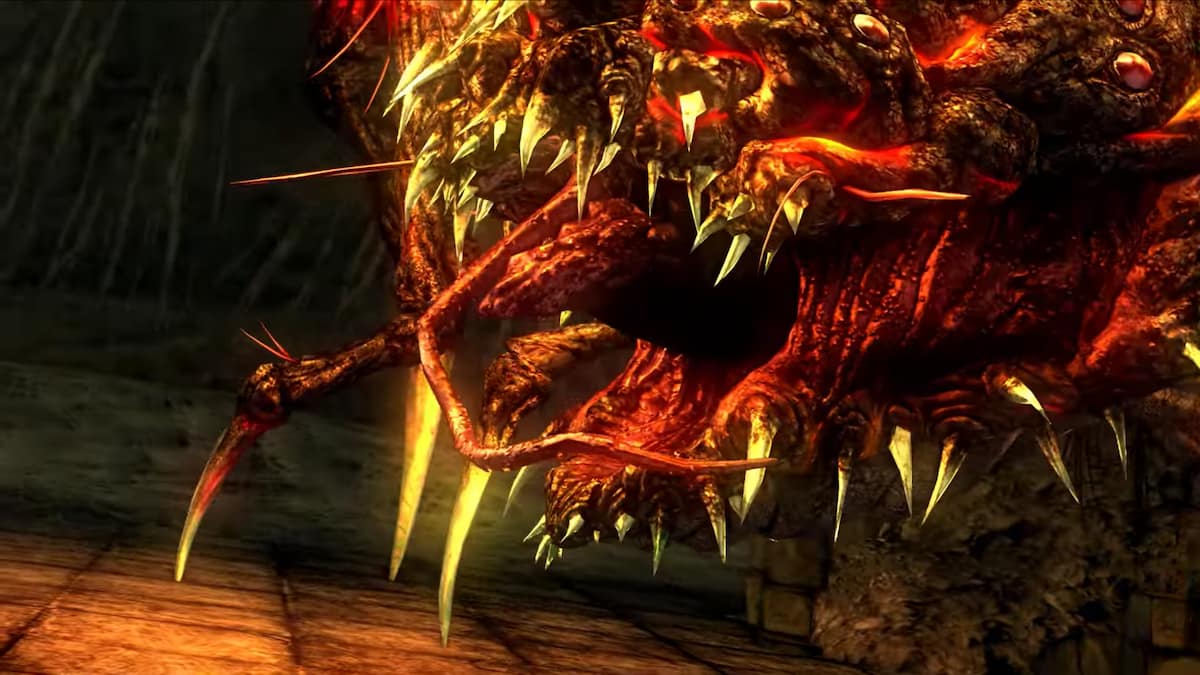
20. Gaping Dragon

With a scary appearance that meshes a dragon and a crocodile that’s covered in teeth and a staggering health bar to match, you may initially think the Gaping Dragon will be one of the toughest to beat. But with ludicrously long windups to its attacks, it’s easy to get behind and attack its tail, hide in its sides, and sneak in as many hits as you can, Asylum Demon-style. Just be wary of the pools of acid around the arena, and the creepy walk it does which causes lots of damage on contact.
19. Stray Demon
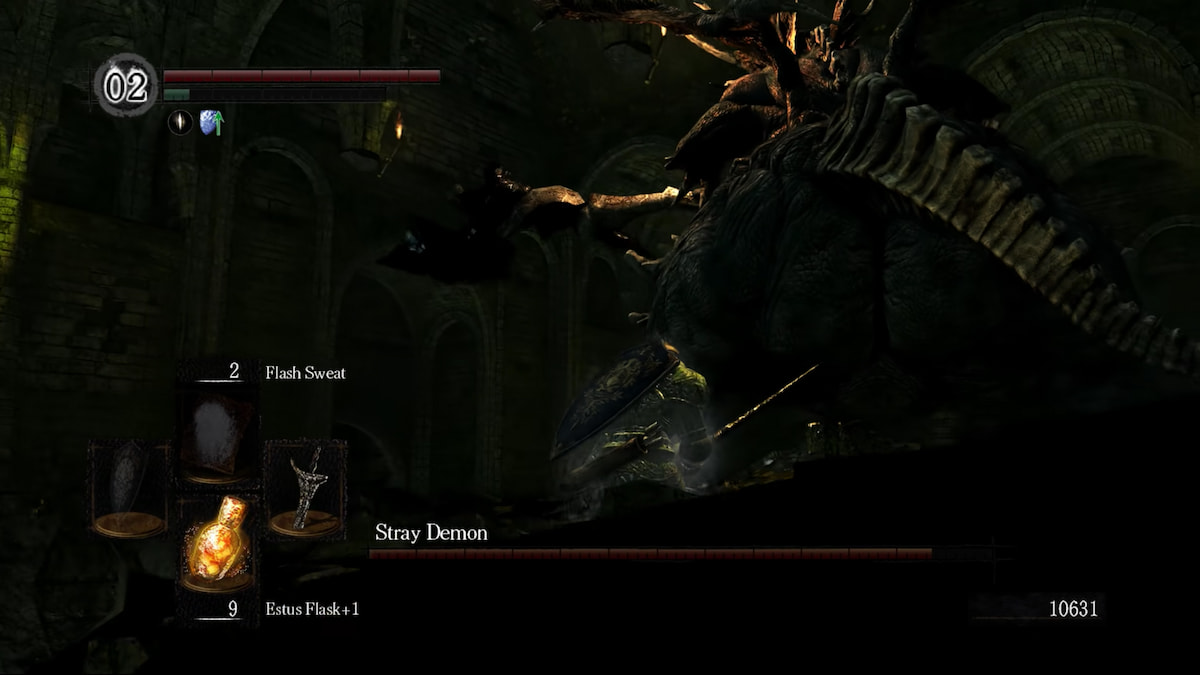
A secret boss you can encounter by returning to the tutorial area, the Stray Demon is a beefed-up version of the Asylum Demon with its increased range and damage. It’s particularly annoying that you take fall damage at the beginning of the fight, and that its AOE deals massive damage. After a couple of times though, the AOE attacks become easy to detect and you can stick with the same strategy with the Asylum Demon with increased wariness to effectively dodge its hits.
18. Gravelord Nito
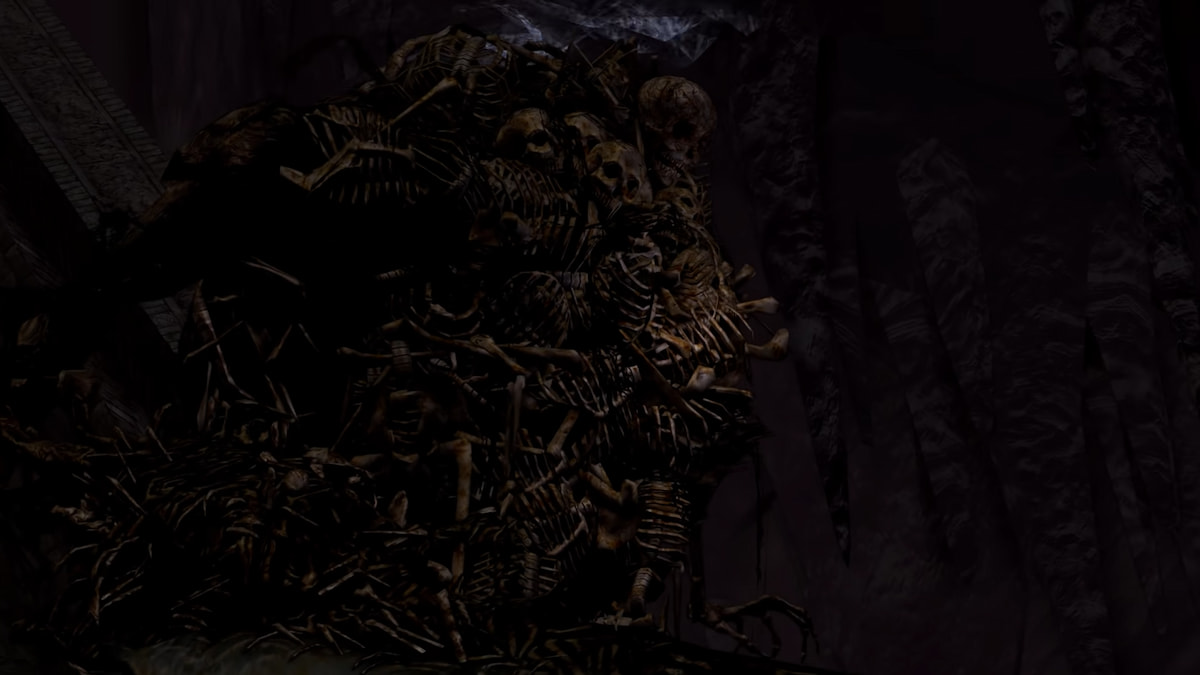
With an arena filled with hostile skeletons, its damaging wide strikes, powerful AOE, and an intimidating appearance to match, you may get swayed at first by the Gravelord Nito only to find out all these can work in your favor. You can quickly fight this boss by dealing as much damage as you can from behind. Its AOE attack has the longest windup ever, so you can easily dodge this and have it kill all of the skeletons. As it stops to summon new ones, you can use this time to attack, quickly finishing this scary boss off.
17. Crossbreed Priscilla
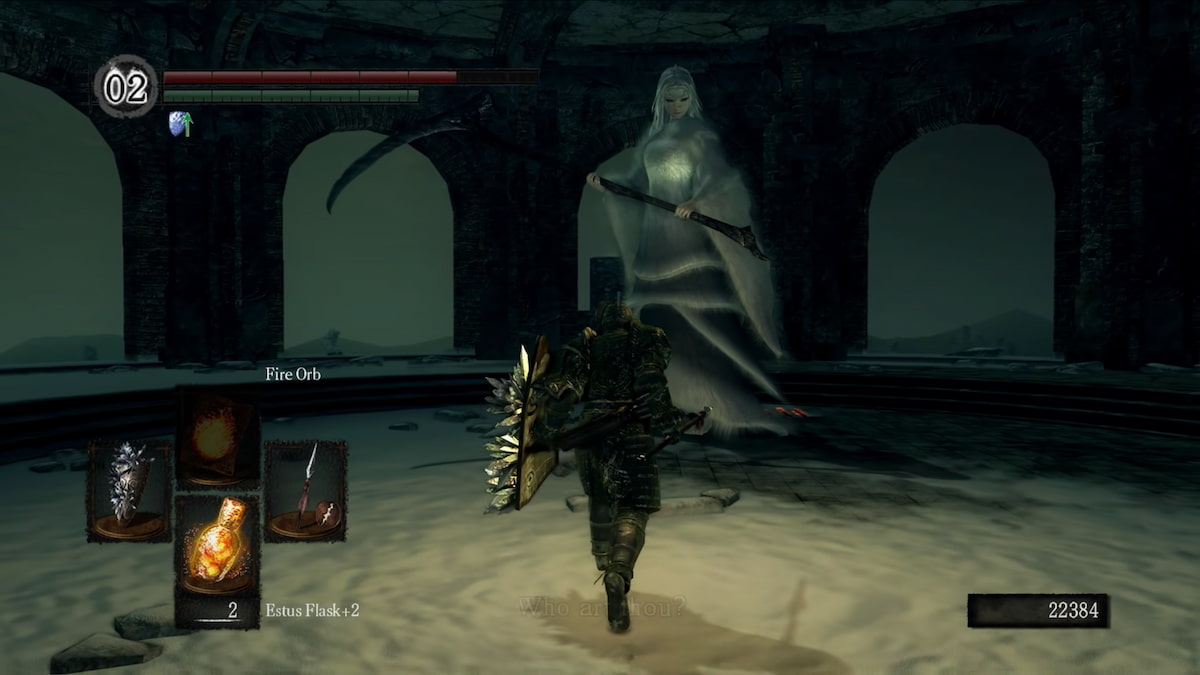
An optional boss located in a secret area, its existence only seems like an easter egg in the game as fighting it is not too thrilling despite its ability to turn invisible. Just keep watch in the snow for its tracks and make sure the Crossbreed Priscilla stays in front of you. When it appears, stay close to its tail, avoiding its frost breath.
16. Iron Golem

Set in one of the coolest locations in the game, it’s disappointing to face the mediocre boss that is Iron Golem. Although its attacks are powerful and have a chance to kill you in one hit, its windups are extremely slow. You just have to keep hitting its right leg while dodging every attack by rolling forward. At only 75% health, it will stumble long enough for you to stack some damage, making this boss fall over the edge to its death.
15. Capra Demon

The Capra Demon can catch you off-guard with the fight being set in the smallest arena possible, along with two pesky dogs out to get you, which is a nightmare for the claustrophobic. There’s also not much time to let this sink in as the onslaught of the attacks is relentless right from the start. Once you learn how to effectively dodge the first slam attack, run up the stairs and kill the dogs at the onset. Its two-handed swipes can easily kill you, but with its repetitiveness, it can eventually be easier to dodge until you sneak in enough hits to end the fight.
14. Seath the Scaleless
This boss disappoints as one of the most defined characters in the lore. It is a bit scary how vulnerable you feel when you spawn in a jail cell with a new bonfire, but with a low HP compared to its size and a limited move set, there’s not much to this fight. Break the Primordial Crystal at the back of the arena, spam attacks at its tail while keeping close watch of its tail attack combo, and that’s pretty much it. Just be wary of its width and get behind early on to avoid being trapped in a series of its attacks.
13. Bell Gargoyles

Just when you think you’re only a hair away from ringing the First Bell of Awakening, a second gargoyle appears in a panic-inducing moment making this the first multi-boss fight in the game. However, the two have varying move sets which make this fight challenging but not enough for it to be a hair-pulling boss fight. The key is to defeat the first gargoyle first and to separate the two of them long enough for you to get the chance to sneak in some damage while keeping them within your line of sight.
12. Gwyn, Lord of Cinder
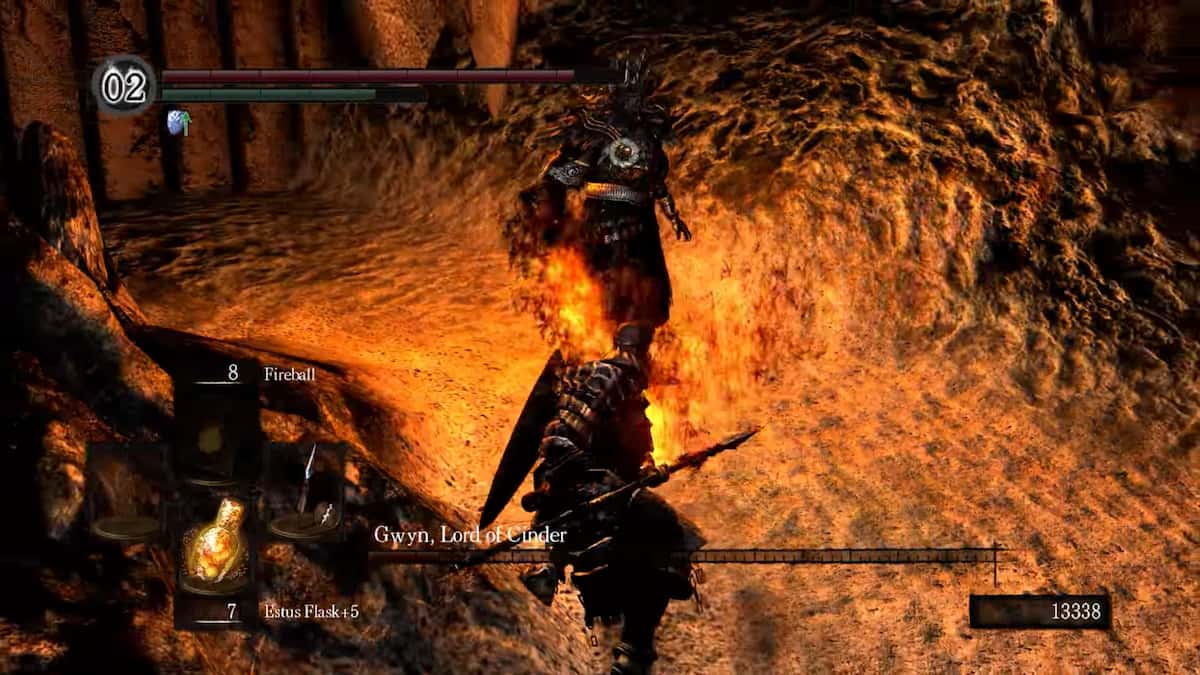
If it weren’t for the fact that you are defeating the hollow and hopeless version of the “ultimate boss” of the game with a tragic backstory while a chilling musical score plays in the background, this fight would be pretty bland. It’s an endless cycle of parrying as you pitifully watch his inevitable demise. Although he is fast and unrelenting with a massive HP pool, his size almost matches yours unlike the other bosses, and he falls down almost every time you strike. It’s a humiliating showcase of just how far his power has fallen, while still beautifully depicting the game’s lore.
11. Demon Firesage
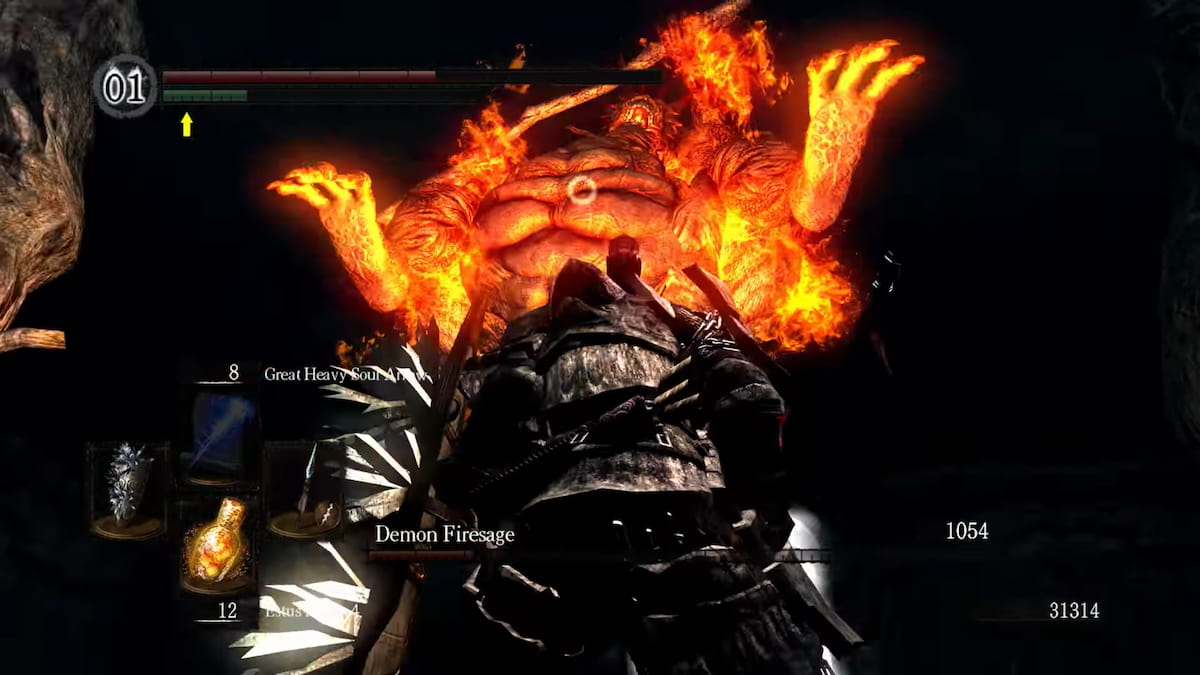
Even though the Demon Firesage is just a fiery reskin version of the Stray Demon with an identical move set, do not linger on its back as this boss can use its rump to attack you repeatedly. The roots of the trees in this arena are everywhere, which makes avoiding its large AOE slams extra difficult. Also, be wary of the fire blast that follows its light attacks — keep strafing as you move. Other than that, this boss only seems like an angry reincarnation of the Asylum and Stray Demon.
10. Centipede Demon
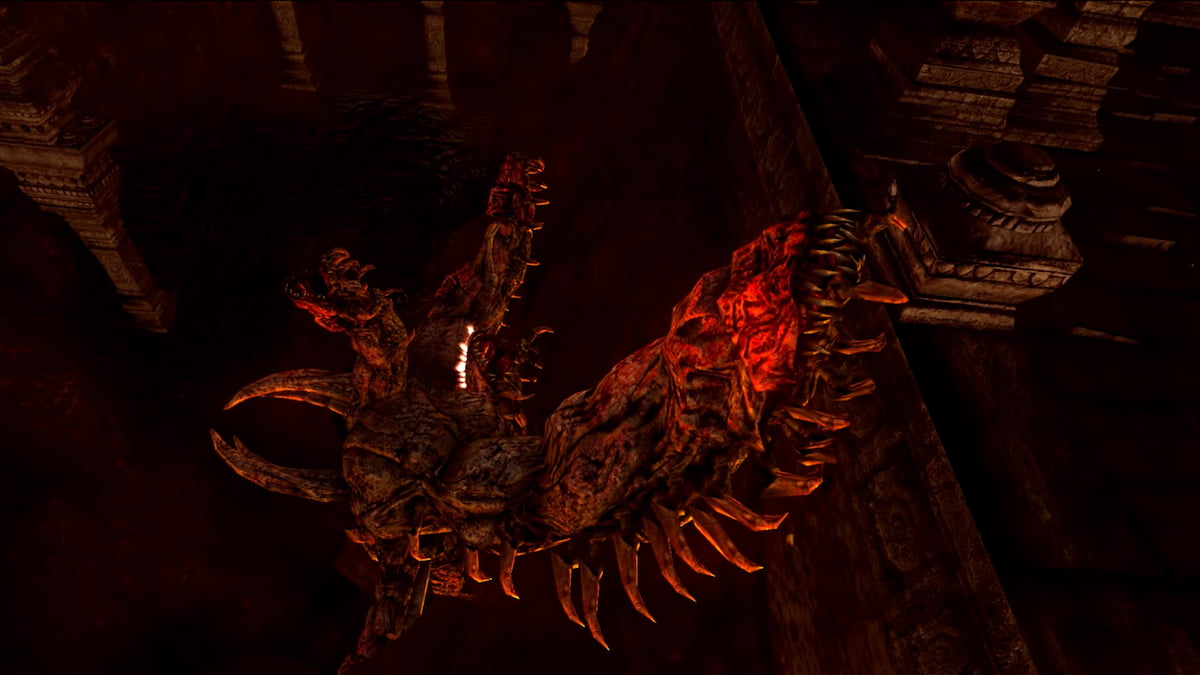
This boss hits you with attacks no matter where you are in the arena, so it’s best you persevere in moving around as you deal damage. An easy hack is to target its large right arm first as cutting it off grants you a ring that greatly minimizes lava damage. It has a limited move set with slow windups so you should be set to defeat this boss once you figure this out. Although frustrating at first, the Centipede Demon should eventually fall with practice.
9. Chaos Witch Quelaag
Quelaag is the rightful guardian of the Second Bell of Awakening, as this boss fight will surely give you a hard time, especially during your first playthrough. She spews patches of lava to limit your movement in the arena, and her horizontal sword swings are wide and extremely fast, making them hard to dodge. Her AOE blast can also catch you off guard, so maintaining distance when needed is a must. The key is to roll forward through her sweeping sword attacks and hit her side while moving with her for extra chances to hit, then keep away again until you can engage.
8. Sif the Great Gray Wolf
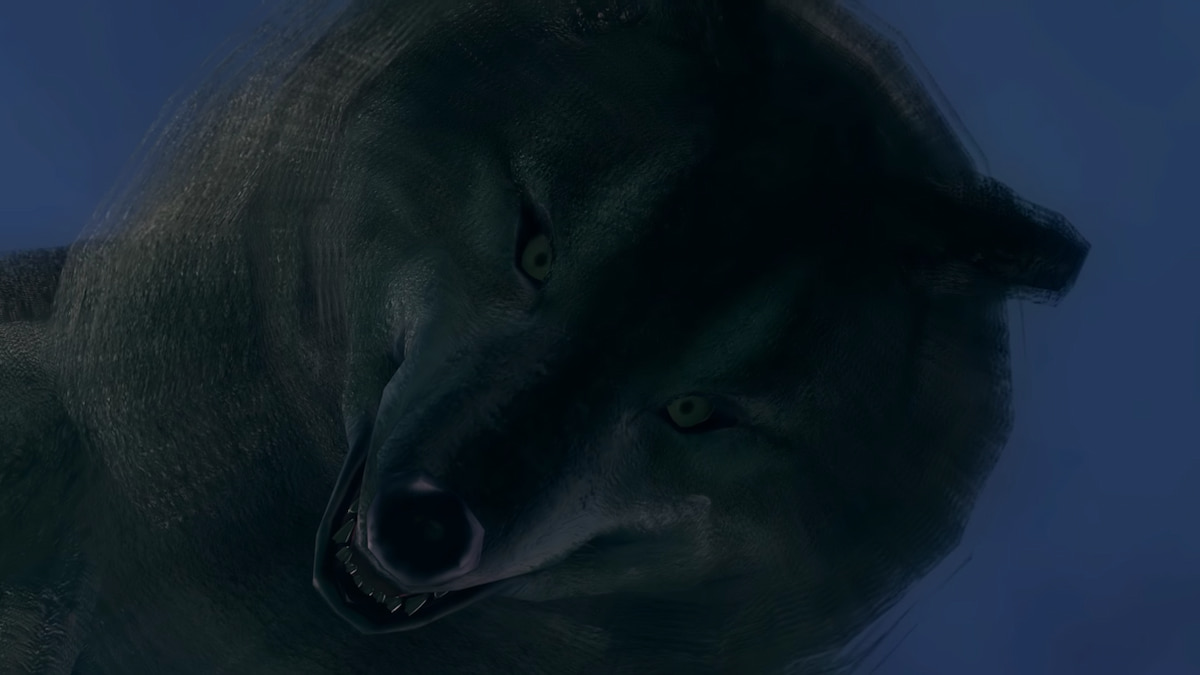
Not only is this boss a challenge to fight with its agility and the unpredictable speeds of its attacks but after playing through the game’s DLC and finding out why this lone wolf is stationed in the graveyard, you’ll find it even tougher to beat. It deals great damage without your shield up, but as long as you bring a lot of Estus and you repeatedly target its hind legs, this is a doable fight with enough experience. This boss fight adds so much to the lore without the boss being a pushover which easily makes Sif up our rankings.
7. Four Kings
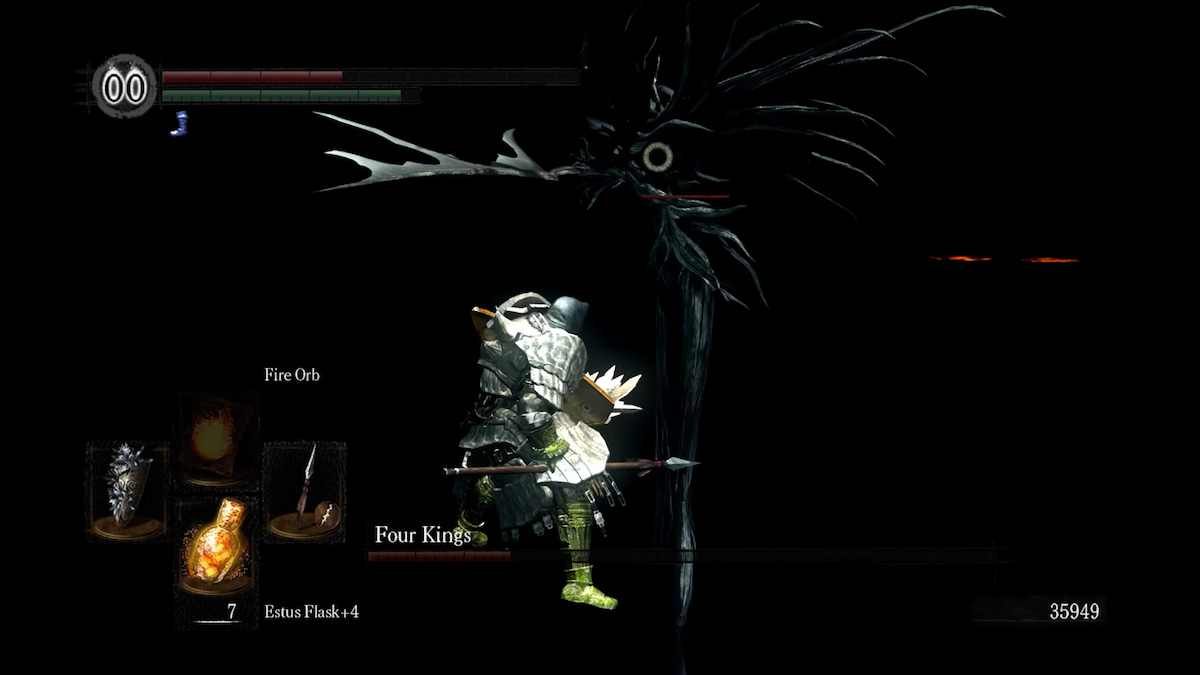
The range and output damage of this boss are absurd, and with a homing orb it summons that can drain your health bar without a strong magic shield, it’s hard to know whether to stay close or to keep your distance in order to win the fight. It summons the homing orb only when you’re far away, so stay close and keep rolling into their attacks in a timely manner. You have to defeat each one as soon as you get an opening, and it may take you a few to several tries to win this. As with any tough boss in the game, don’t let the frustration get to you, and stay patient until victory comes.
6. Bed of Chaos
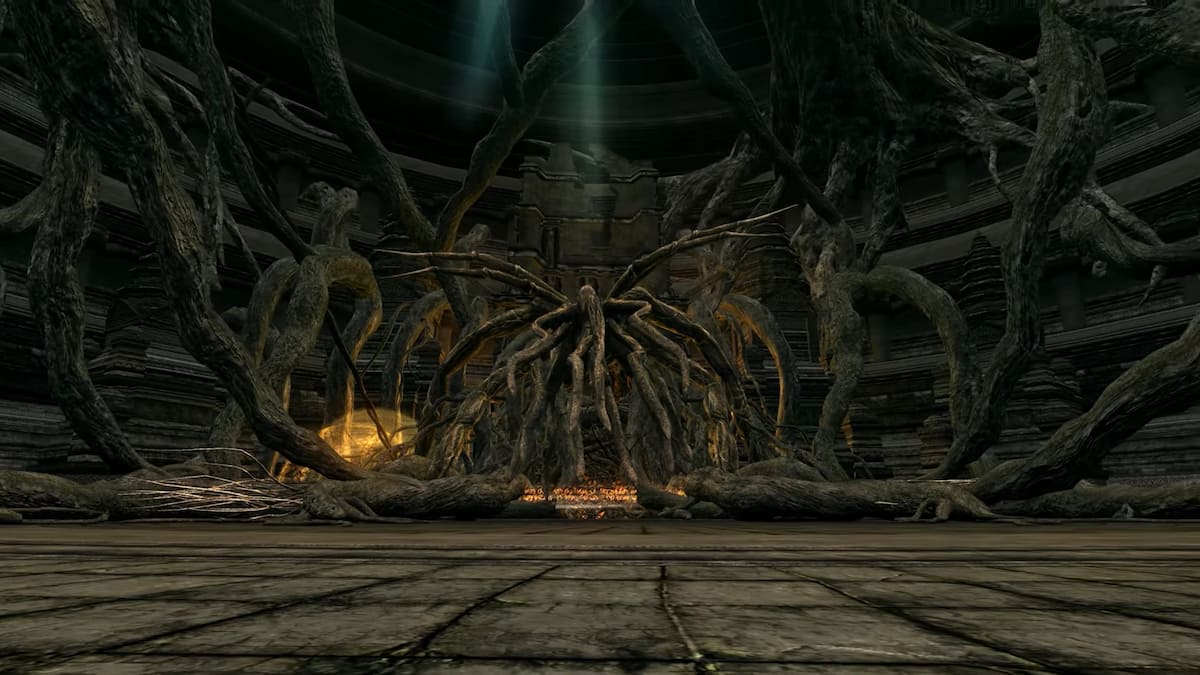
We can blame it on the bad design of this boss and point to how this fight is unnecessarily hard for all the wrong reasons, but it is without a doubt that the Bed of Chaos is among the toughest bosses to beat in the game. Get the right timing to avoid the giant branch arms and destroy the shield, rinse, and repeat. That’s much easier said than done, of course, as it is such a hair-pulling fight as you endlessly fall into the pits over and over again in what seems like a never-ending nightmare.
5. Sanctuary Guardian
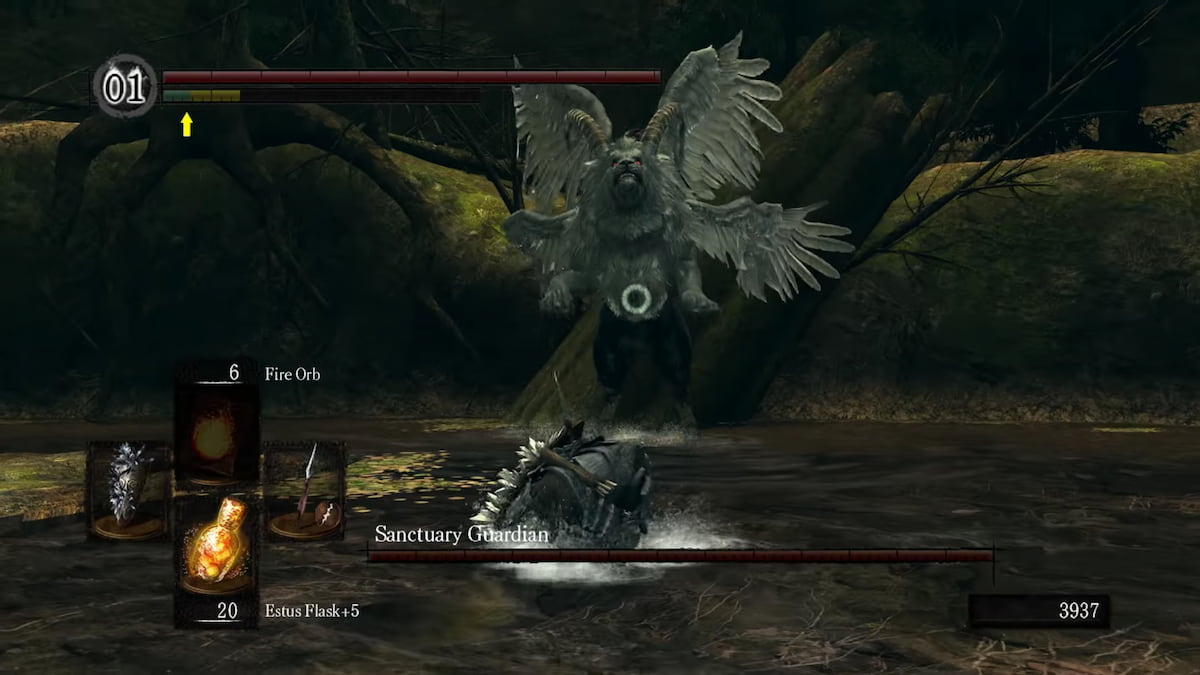
If you need more pain and suffering in your life, the DLC for Dark Souls (which is included in the Remastered version) is the way to go about it. A trend among the DLC bosses is extremely aggressive attacks that are hard to dodge, very brief attack windows, and eye-melting speed as they move across the arena. The Sanctuary Demon is no different.
Don’t think that attacking from behind will work again as you would not want to be poisoned by its scorpion’s tail. It also barely gives you enough time to drink Estus, as this boss will not think twice about hitting you while doing so. To spare you the headache, wait for its attack that delivers a shock wave visible in the water. This is when you roll to one side and sneak in a couple of hits, survive long enough until this moment comes again, and repeat.
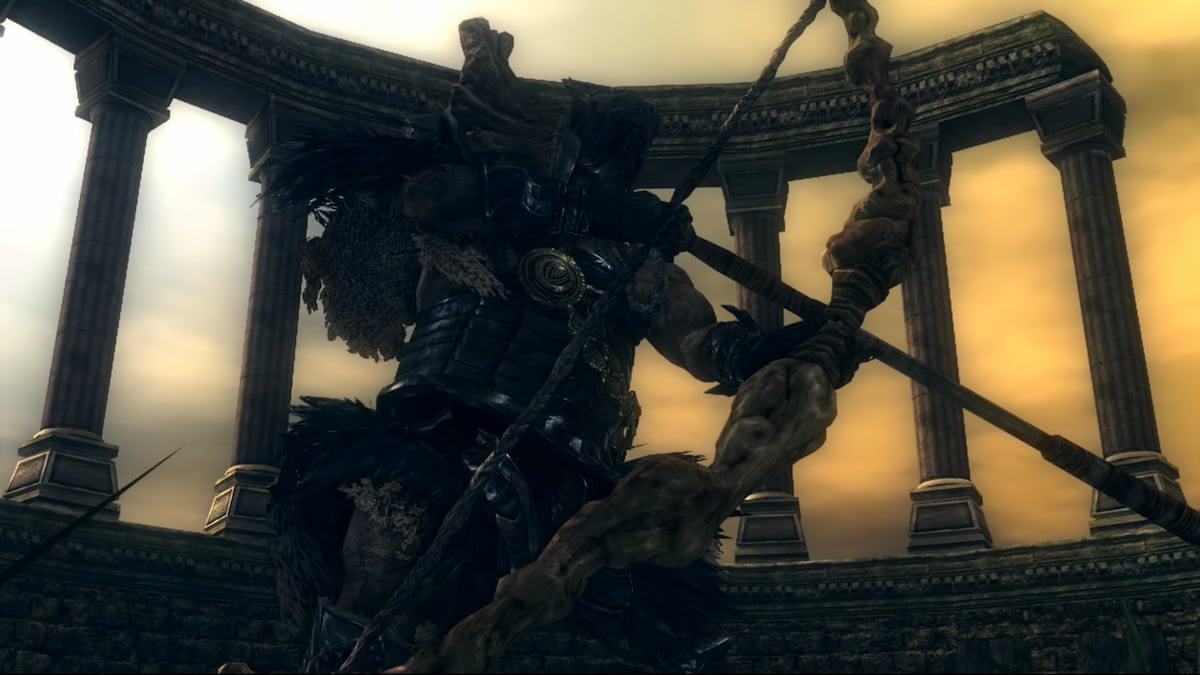
4. Ornstein and Smough

Although one of the toughest to beat, the fight with Ornstein and Smough is the most unforgettable in Dark Souls. Their move sets are synchronized, with Ornstein’s fast swiping close-range attacks and Smough’s deadly close-range hits. When one falls, the other absorbs its power and heals completely, but with how well-balanced the fight in this gameplay is, you can’t be mad at it. With your resources dwindling at this point, the generous arena and pillars are your only friend. Time your dodges and attacks, and bask in the glory as you come to the end of the fight.
3. Knight Artorias
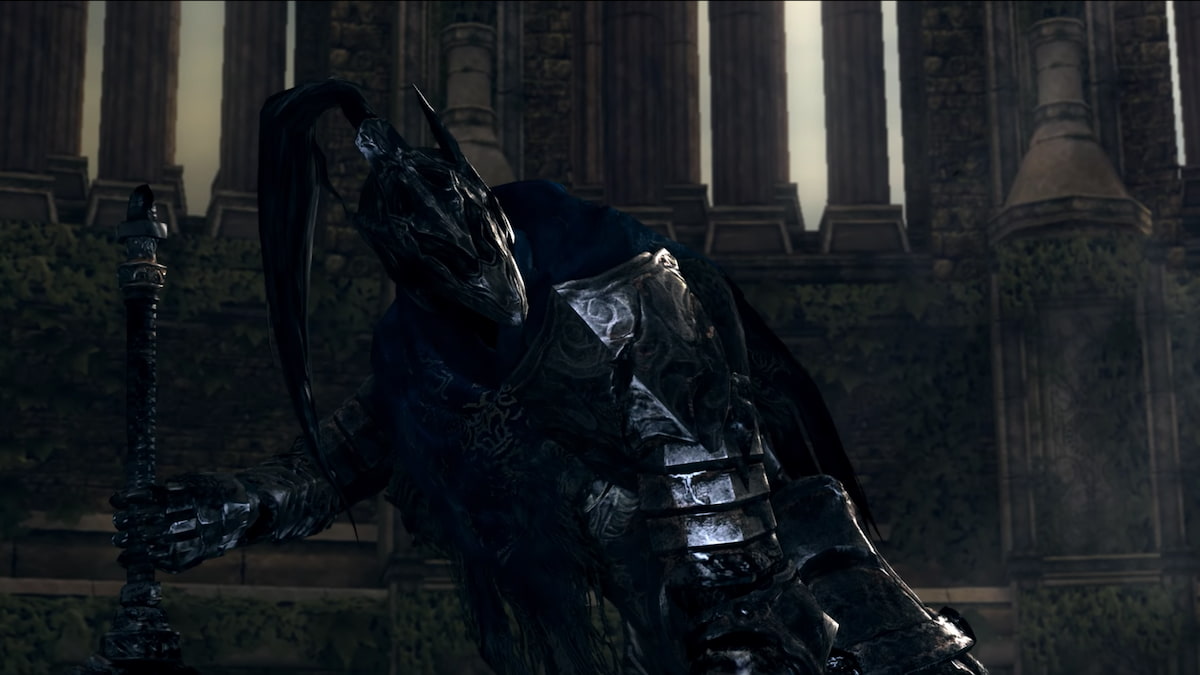
A boss that makes you feel inferior without having to be massive in size, defeating Knight Artorias requires skill and a great deal of focus and patience. This corrupted legend of a boss moves like no other, with a varied move set and incredibly fast long-range attacks. There’s no one way of defeating this boss, but you have to be defensive in dealing with him to overcome this fight. His backstory makes him all the more a worthy adversary, and having a tough time trying to beat him makes victory all the sweeter.
2. Black Dragon Kalameet
Only the most skilled and fearless players will choose to go through the optional encounter to fight the Black Dragon Kalameet. That, or you simply don’t mind adding more to your suffering. With the largest HP pool, a threatening and varied move set that can kill in one strike, and head swipes with ridiculously tricky timing, this boss fight will have you bringing your best gear and weapons only for you to still take multiple attempts just to best this beast.
1. Manus, Father of the Abyss
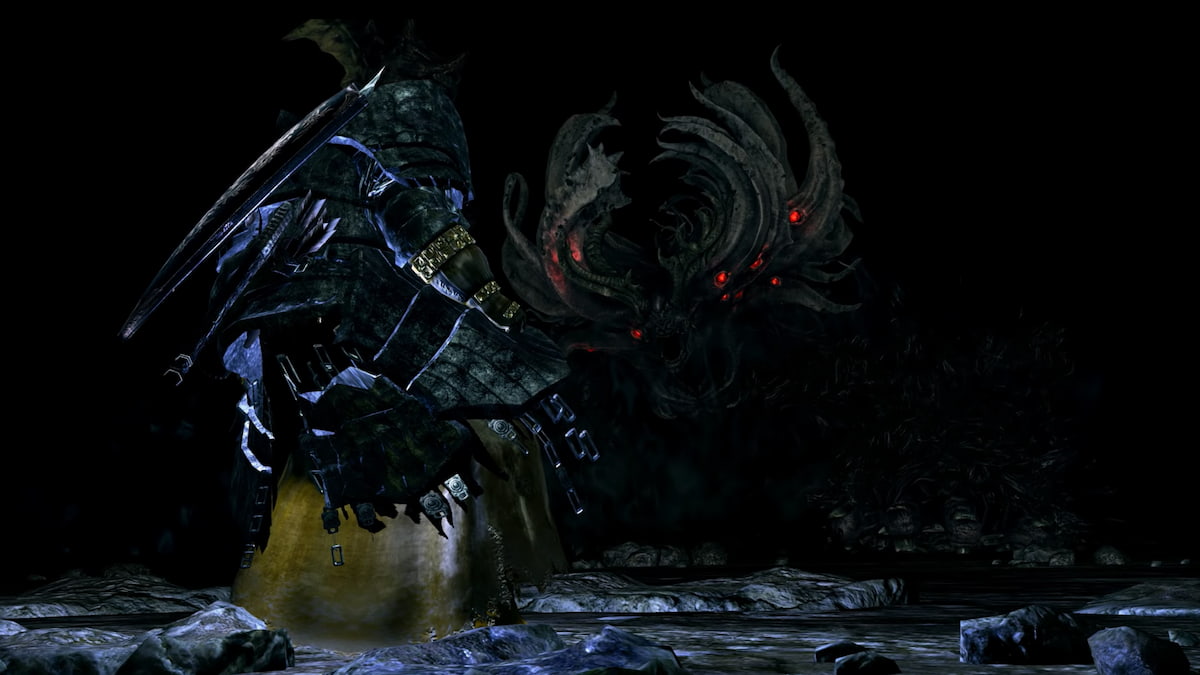
A boss fight that is enough to make any grown man cry, defeating Manus seems next to impossible. With devastatingly fast attacks, you are always bound to get hit no matter how fast you spam the dodge button. His combos are ridiculously long and damaging and they lock you for the remaining amount of damage even if you get hit only once.
It doesn’t help that he has a huge pool of HP and that his dark magic attacks are absurdly powerful even when you’re at the peak of your abilities. Fortunately, the Silver Pendant can defend you from Manus’ magic attacks, though you have to time when you’ll activate this from the quick select menu as this boss can so quickly end your life if you let your guard down for a second.


Published: Mar 28, 2023 04:43 pm