
As you make your way below the waves searching for another shrine in Sea of Thieves, be sure to catch all the journals in there if you want the commendation that goes with it. We’ve got the location of all the journal entries in the Shrine of Hungering. For more information about how to solve some of the puzzles in the shrine, be sure to check out our full guide to this shrine.
Journal 1: Shrine of Hungering

As you make your way through the first tunnel in this shrine, keep a close eye on the seafloor. You’ll spot a skeleton lying on the ground with its arm outstretched. In its hand will be the first journal entry.
Journal 2: The Warrior
You will need to solve the first Siren Statue puzzle to access the next journal entry. Once you solve it, the water level in the chamber will rise, and you will be able to hop onto the geyser, which will propel you up to the next area of the shrine. As you solve the second Siren Statue puzzle, you’ll come to the gem siren statue on the north part of the chamber. Beside it is a wrecked boat with the second journal entry inside it.
Journal 3: The Warrior – Unmasked
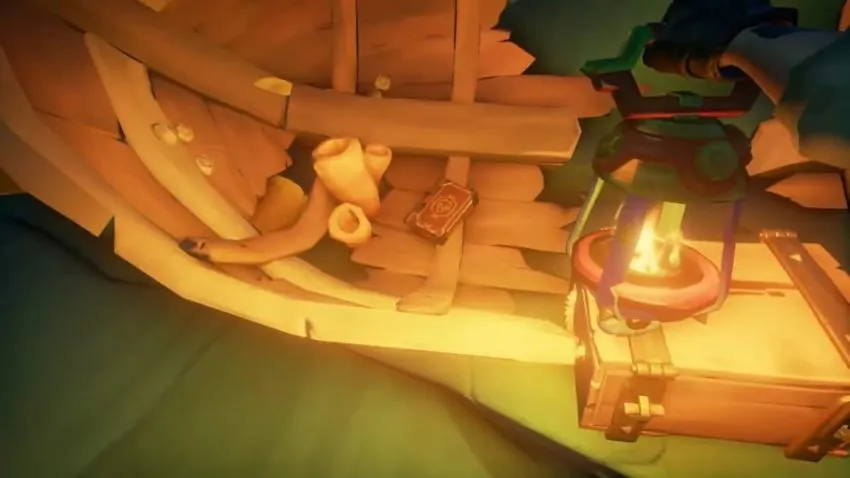
After you’ve solved the second Siren Statue puzzle in this shrine, you’ll climb up the mast of a ship that is leaning over. Once at the top, there will be some planks of wood on the ground. The third journal entry will be on top of them.
Journal 4: The High Priest
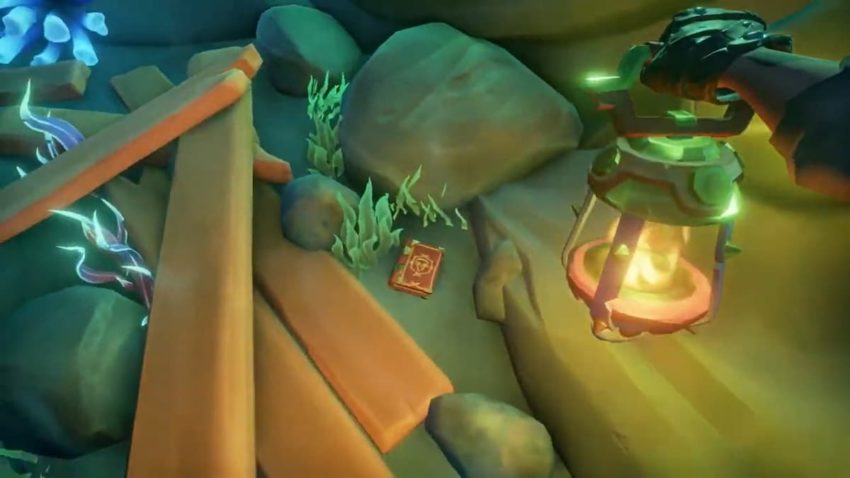
Not long after you grab the third journal entry, you’ll spot a giant shark jawbone. Walking past it, there will be some bones sticking out of the north wall that allows you to platform across to the next platform. There will be a small patch of grass beside a Siren Statue. The fourth journal entry will be nestled inside that patch of grass.
Journal 5: A Great Evil
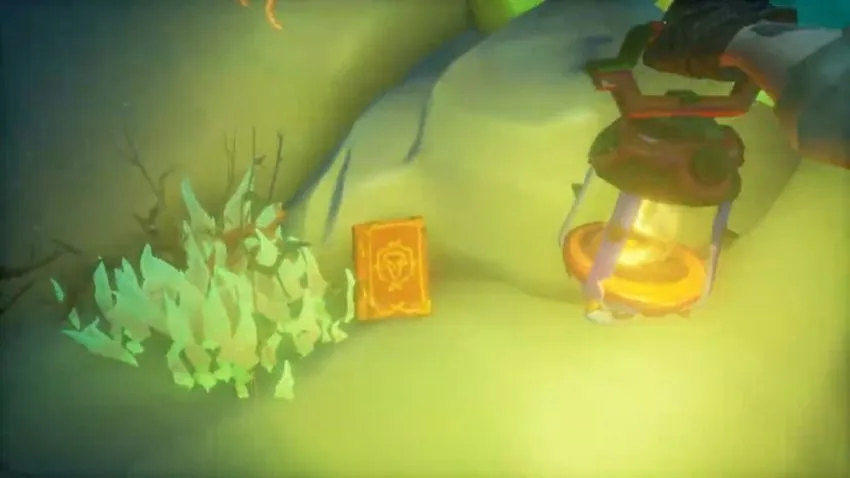
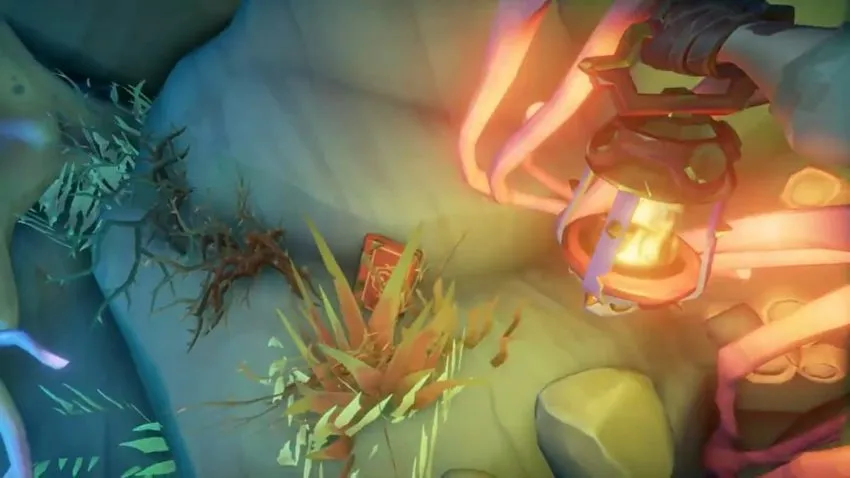
Once you enter the giant shark’s jawbone, you’ll swim up through the passage. You’ll see the fifth and final journal entry on the ground just after the second Siren Window of the passage. Shoot the Coral Orb on the ceiling to deactivate the window and grab the journal entry before heading into the final room of the shrine and all the treasure that awaits you.


Published: Nov 2, 2021 07:30 am