
Attack the Watchpoint is an infamous mission in Armored Core 6: Fires of Rubicon because it hides one of the most challenging bosses in the entire game, Balteus. Even the mission itself is difficult, with a mini-boss for players to battle right before the true boss shows up, making for the toughest experience in Chapter 1.
Any player going into Attack the Watchpoint with the wrong Armored Core build will struggle and fail. The mission requires two loadouts at least, one of which is specifically designed to take down Balteus. Anyone looking for the best build to beat Balteus in Armored Core 6 should skip straight to that section of this article below. We got quite frustrated trying to figure out how to beat the boss and have created the perfect build for dealing with it.
Related: Armored Core 6 Complete Guide: Combat Mechanics, Bosses & Story in AC6
Best Build for Attack the Watchpoint in Armored Core 6

The best build for getting through most of the Attack the Watchpoint mission in Armored Core 6: Fires of Rubicon is shown above. We’ve listed every part below so anyone can build exactly what we had. The key to this build is using a weapon with a fast rate of fire and a melee weapon in unison to break through all enemy defenses quickly.
- Right Arm Unit: VP-66LH
- Left Arm Unit: HI-32: BU-TT/A
- Right Back Unit: BML-G1/P20MLT-04
- Left Back Unit: SI-24: SU-Q5
- Head: HD-012 MELANDER C3
- Core: VP-40S
- Arms: AR-012 MELANDER C3
- Legs: NACHTREIHER/42E
- Booster: ALULA/21E
- FCS: FCS-G2/P10SLT
- Generator: VP-20S
- Expansion: Nothing
Armored Core 6 Attack the Watchpoint Walkthrough
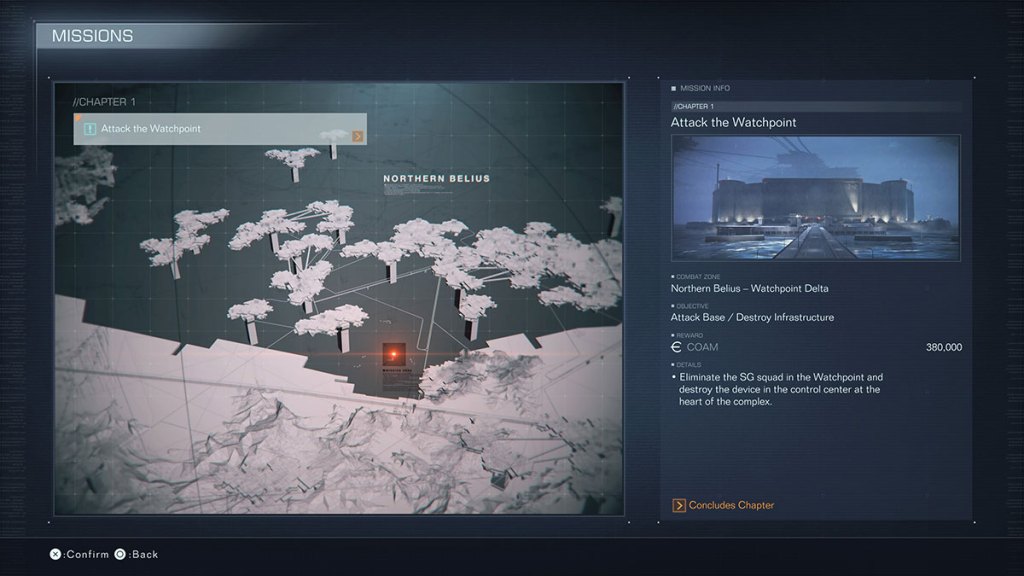
The goal of Attack the Watchpoint in Armored Core 6: Fires of Rubicon is to get inside an old Watchpoint facility and destroy the monitoring computer within. To do this, players will need to fight through the minor defenses set up at the facility’s edge. There are turrets and snipers to battle, but none of them should pose a threat.
After battling through a second arena of snipers and turrets, players will find themselves atop a wall where they can see the Watchpoint facility beyond. The only thing to do here is to use the Assault Boost to get over to the location as quickly as possible.
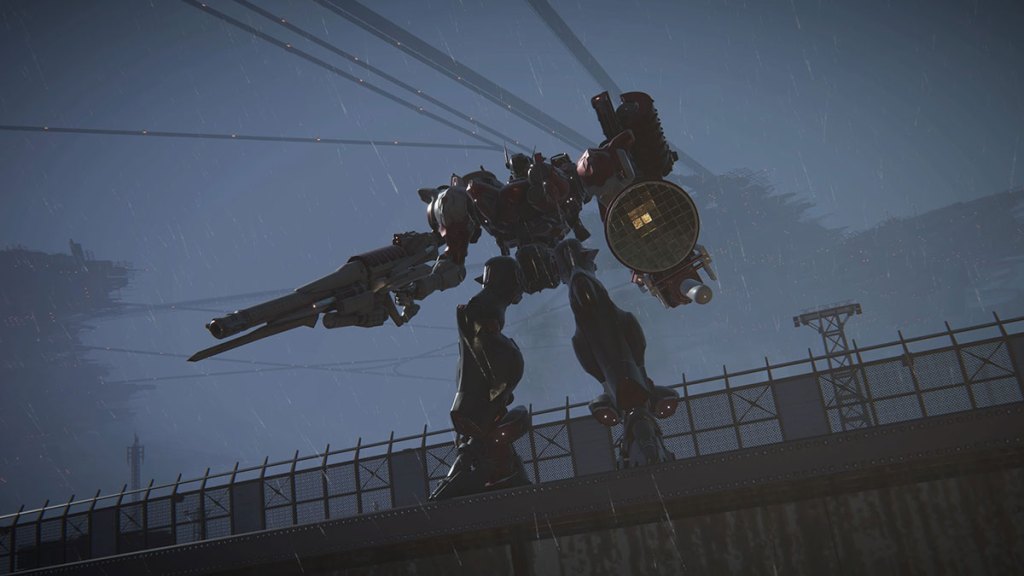
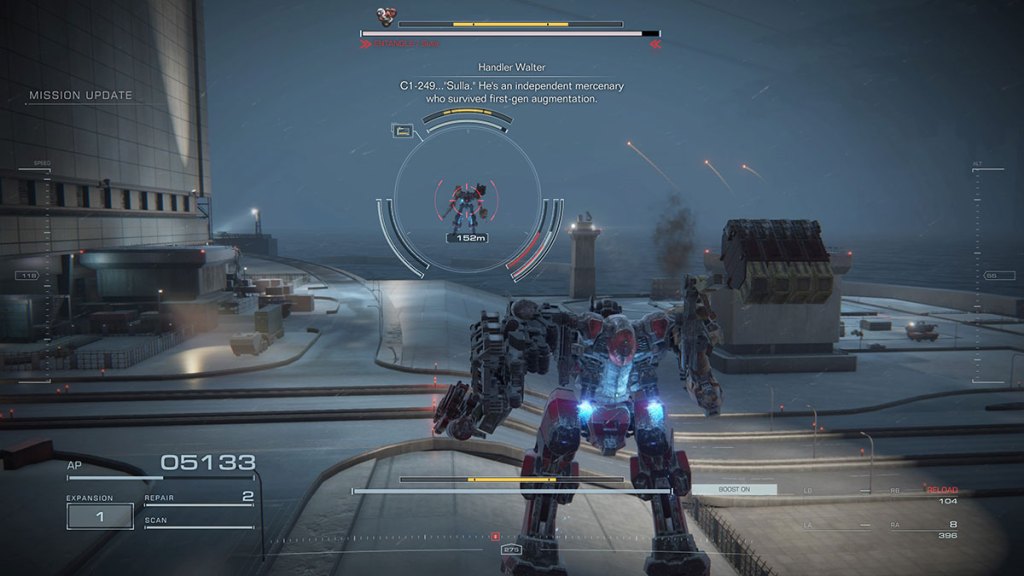
Just as players get to the end of the bridge, a cutscene will play. It shows an Armored Core emerging from the facility, speaking to Walter the Handler as if the pilot knows him. This is Sulla, a mini-boss that can end a playthrough.
How to Destroy Sulla in Armored Core 6
To beat Sulla, players need to hem the enemy into a tiny portion of the arena. The best strategy we found was jumping into the water on either side of the platform because it’s a much smaller space than the one above. This forces Sulla and the player together, making melee attacks so much easier to pull off.
Hit Sulla with missiles and fire quickly with the linear rifle to get it close to being staggered. The melee attacks are what will finish it off and get it to stagger so that players can blast it with even more damage. Sulla has a pulse energy weapon that will negate shields and can deal a good chunk of damage, but by moving around quickly, players should be able to dodge most of it.
It’s entirely possible to destroy this mini-boss anywhere in the arena, but players are opening themselves up to losing focus on the target if they fly around and let Sulla do the same. It’s a nimble Armored Core and has no trouble boosting out of sight, ready to bombard players with weapon fire from above.
After beating Sulla, players will be able to enter the Watchpoint facility. We recommend picking up the Supply Sherpa there because of the imminent Balteus boss fight. Once that’s done, players will move to the inner chamber, where they can shoot the device in the center twice to destroy it. This will trigger a cutscene that shows the protagonist getting caught in a Coral explosion.
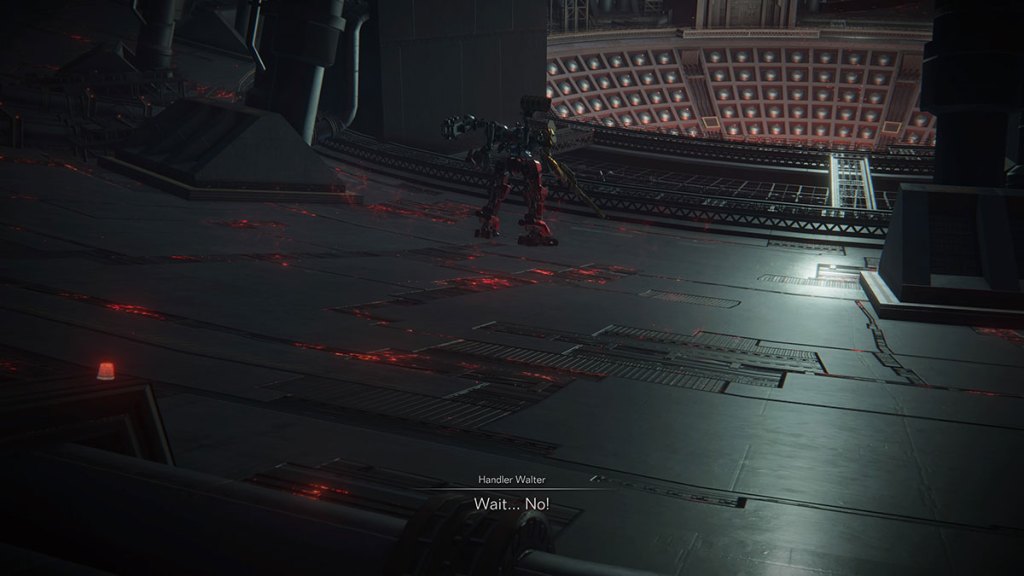
The end of the cutscene shows an enemy moving into position close to the protagonist. This is Balteus, and it’s looking for a fight. We suggest players try fighting the boss because if they lose, they can change their loadout without losing progress. The build we recommend everyone use to take down Balteus is shown below.
Best Build for Beating Balteus in Armored Core 6

The best build for destroying Balteus in Armored Core 6 Fires of Rubicon is shown above. We’ve listed every part below just so players know exactly what they’re using. While most of the Attack the Watchpoint mission requires players to use a kinetic firearm like the linear rifle, Balteus has a powerful pulse shield that players must use a pulse weapon to take down quickly. That’s why this build is so different from the one used for the rest of the mission. This build also has dual missile launches on the shoulders, allowing for maximum damage output when the boss is staggered.
- Right Arm Unit: HI-16: GU-Q1
- Left Arm Unit: HI-32: BU-TT/A
- Right Back Unit: BML-G1/P20MLT-04
- Left Back Unit: BML-G1/P20MLT-04
- Head: HD-012 MELANDER C3
- Core: VP-40S
- Arms: AR-012 MELANDER C3
- Legs: NACHTREIHER/42E
- Booster: ALULA/21E
- FCS: FCS-G2/P10SLT
- Generator: VP-20S
- Expansion: TERMINAL ARMOR
How to Destroy Balteus in Armored Core 6
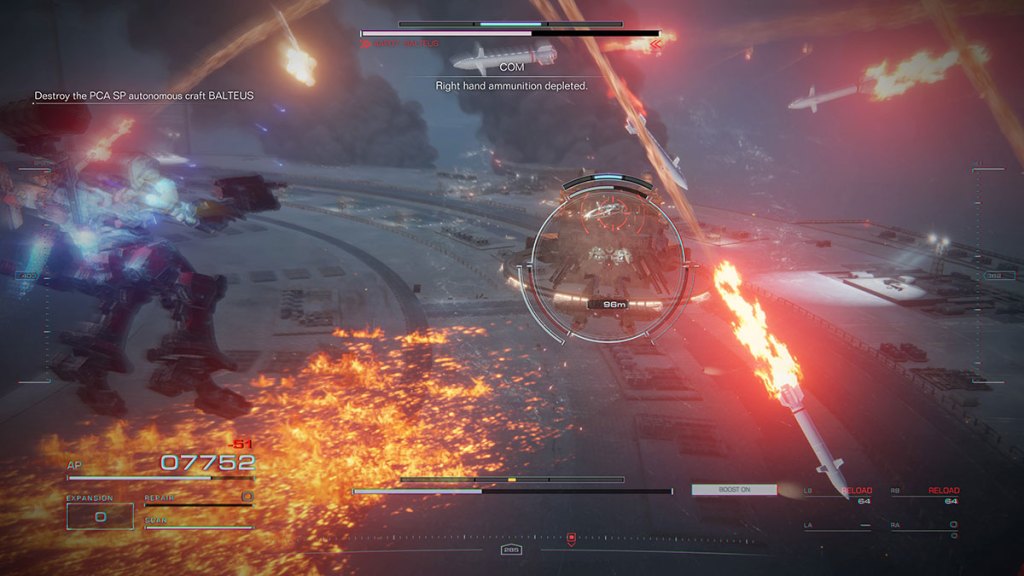
The fight against Balteus is easily the toughest in Chapter 1 of Armored Core 6: Fires of Rubicon. This boss has a pulse shield that players need to take down before they can deal any damage, and attacking it with a melee weapon will result in players taking damage, not the boss. To do this, players need to use a pulse weapon such as the one in our build above because they can quickly decimate that shield.
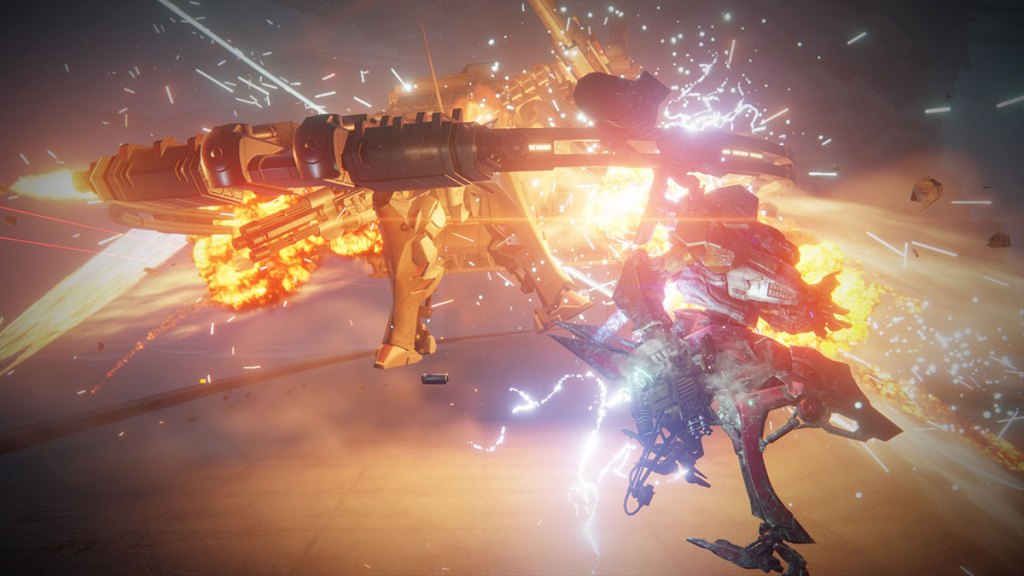
Once Balteus’ shield is down, players can hammer it with damage from missiles and melee attacks. The best strategy is to stay close in the first phase of the fight so that when the pulse shield drops, it’s easy to get in a charged melee attack, followed by two missile barrages. The boss will recover after 10/15 seconds, enough time to get two charged melee attacks in if players stick close to it.
During the second phase of the fight, the boss will emit a huge surge of pulse energy when its shield comes back online. For this attack, players need to back off to avoid taking damage. However, it’s important to get close to Balteus again quickly because it’ll be using fire-based weaponry to try to land melee attacks on anything in the mid-range region.
Players need to repeat the process of whittling down Balteus’ shield again to deal damage and eventually kill it. There’s no harm in risking a third melee attack during the second phase because it could be the difference between winning or losing the battle.
After players beat Balteus, they’ll report back to their base and see the story advance in an unexpected direction. They’ll also unlock Rank E fights in the Arena, which are a cut above the three Rank F battles they’ll have been given.


Published: Aug 26, 2023 10:25 am