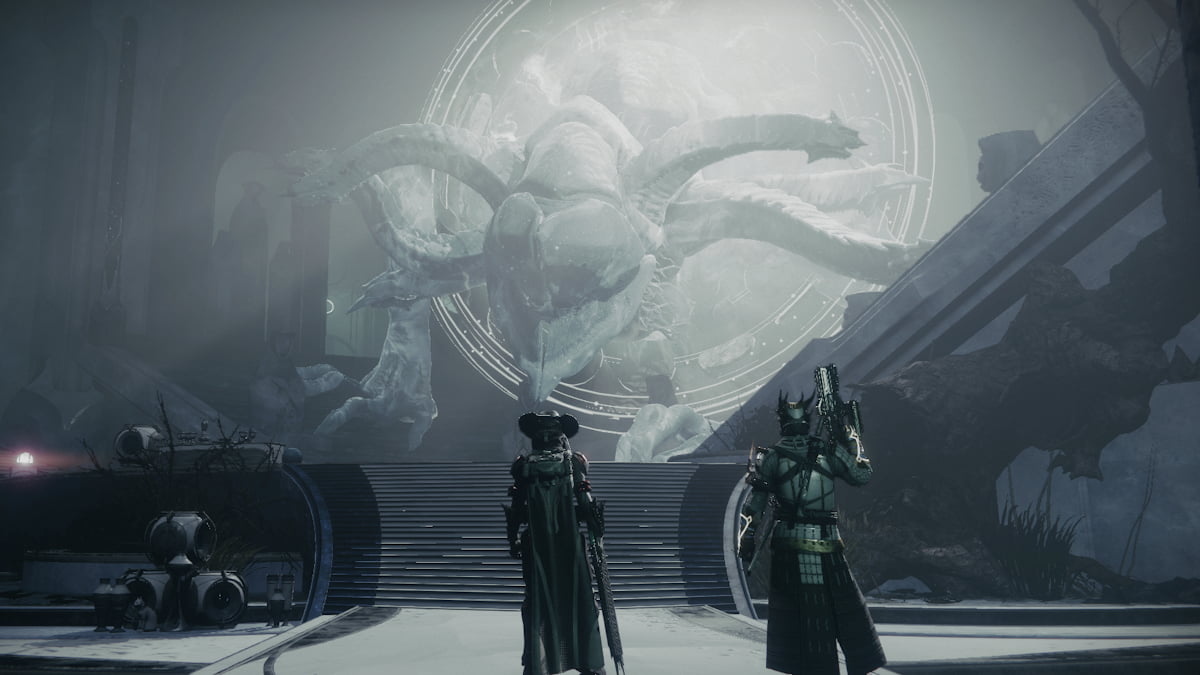
As long as you have finished the Presage mission in Destiny 2, you will have access to the At Your Fingertips quest if you visit Zavala. This is a quest to get the Exotic Catalyst for the Dead Man’s Tale, amping it up even more.
This is the Master difficulty of the Presage mission, and you will need to be 1320 Power, which is a lot. It also has a timer of 25 minutes, but that honestly should not be an issue for any Fireteam who can hit the required Power level. Most players should be well aware of the layout of the Presage if they can take on the Master level challenge.
This mission will also subject you to locked equipment, so make sure you are going in with weapons that you like. We would suggest your Primary of Choice, a selection of Shotguns, and at least one Lament for dealing with the boss. The Lament’s damage output is still second to none, even though it was recently nerfed. For anyone struggle with the timer, there is no cheese here, you will simply need to subject yourself to trial and error.
Make sure you bring Solar and Void weapons to match the enemy shield types and nullify the Match Game modifier, or else just rock the Arbalest and make them trivial to deal with.
Dead Man’s Tale Exotic Catalyst
When you have the Catalyst, you will find that the challenge is based around kills with the weapon, or opening Hidden Caches in the Presage.
The Catalyst is a bit of an odd one, as it activates a new perk on the weapon, improving rate of fire and accuracy from the hip.
Hidden Cache 1
The first hidden cache can be found just after the initial space walk. Go left when you get into the ship tunnels and blow up the first vent you find. You will find a datapad on the floor which will open a nearby door, giving you access to the cache.
Hidden Cache 2
The second cache can be found just before you reach the ship proper. You will find another datapad on the floor that will open a vent in the floor behind you. Drop down the grab the cache.


Published: Feb 24, 2021 12:47 pm