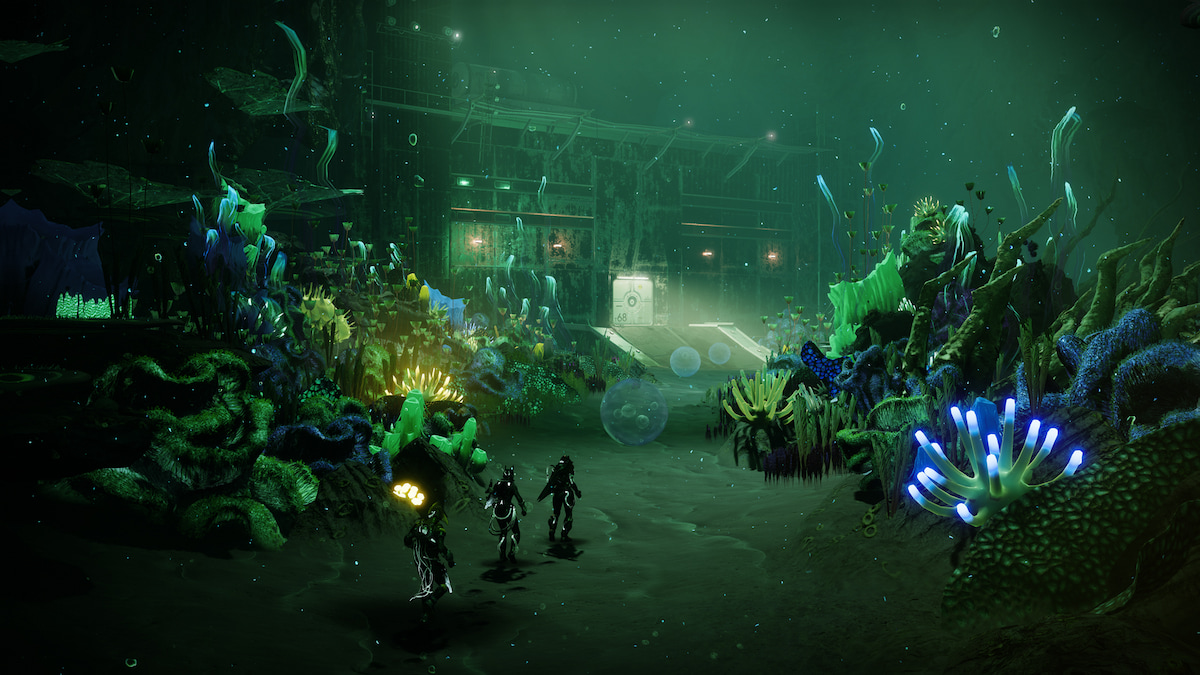
Salvage is the six-person activity in Destiny 2 Season 21, Season of the Deep, and it follows the formula set down by previous seasonal iterations. You’ll complete five tasks, then fight a boss to unlock a standard loot chest and a Salvage chest. This guide will cover how to complete each section of Salvage, so you and your fireteam can farm it as efficiently as possible.
How to Complete Salvage in Destiny 2: Season of the Deep
Salvage is split across five steps. There will be a progress bar beneath each objective showing how close you are to progressing to the next step, and each objective requires a different set of tasks to complete correctly.
There’s also a countdown timer called Xivu Arath’s Attention that, when it reaches zero, sends you straight to the end boss, and you can expect fewer rewards as a result.
Salvage Activity Objective 1: Begin the Salvage Operation
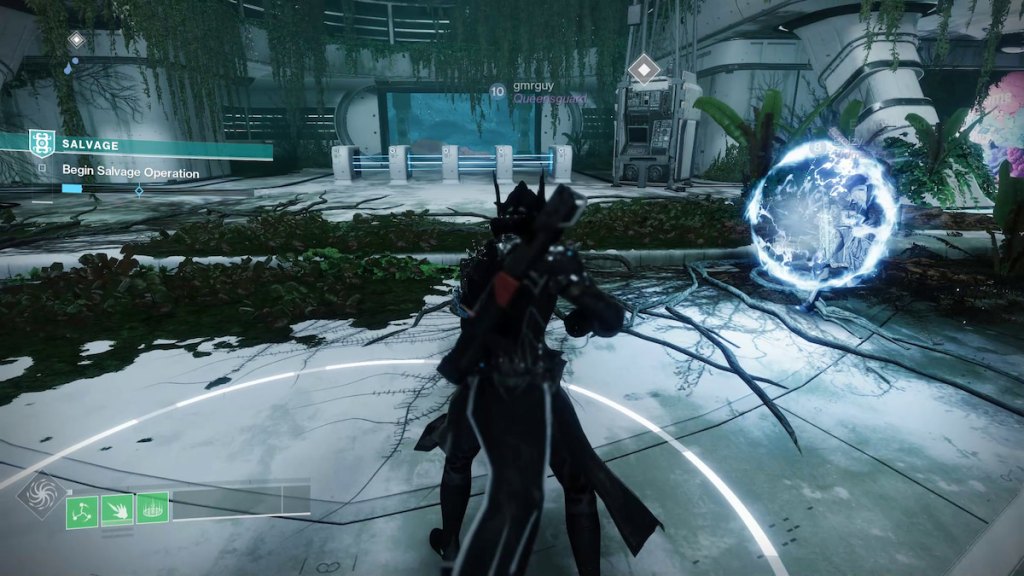
All you need to do in Salvage Activity Objective 1 is clear the enemies in the area and hit the button on the large machine on the right side of the laser turnstiles. Once activated, you can proceed through the doorway at the room’s far end. Sadly, you can’t go through the multicolored crystal to the right of the device, which, despite my best efforts, would not move.
If you’re on the Rig version of the activity, you’ll head to the central section of the starting area and activate a similar device.
Salvage Activity Objective 2: Site Reliability
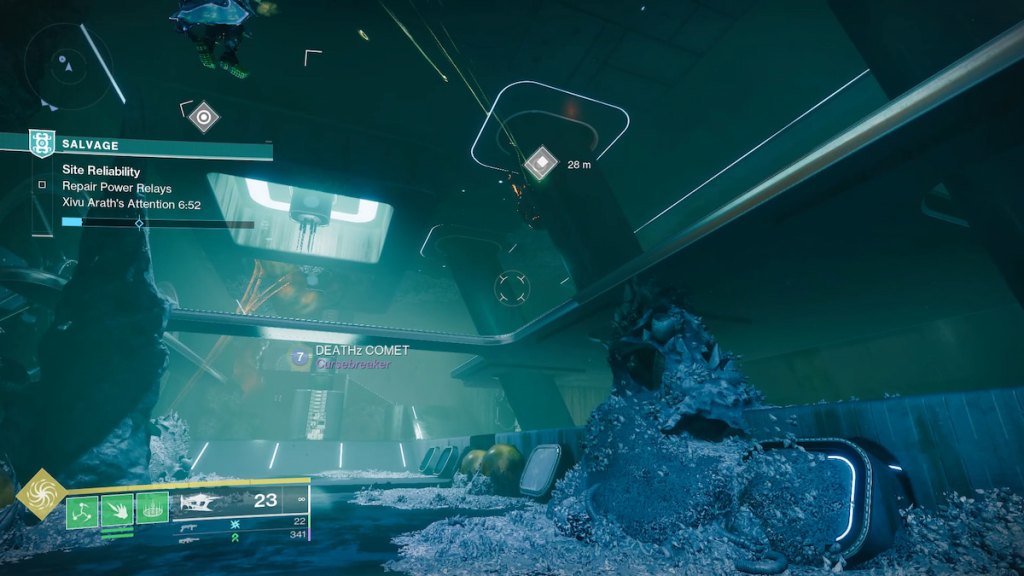
In Salvage Activity Objective 2, you need to repair a set of six terminals using six oversized tools. The first two tools are trapped in blocks of Hive chitin. Both will be marked on your HEAD with a white and grey diamond.
The remaining tools will come from enemies that spawn in the area at the far end of the terminal room. Enemies will spawn infinitely, and the ones you need to kill for repair tools will be marked with red circles. Tool enemies appear two at a time and only respawn once both previous tools have been used.
While holding one of the oversized wrenches, you’ll move incredibly slowly, but you can jump and press the melee button to “slash” the air and propel yourself forward. Once all the terminals are repaired, you can proceed. There’s an alternate version of the activity where you have to repair a crane, but the basic structure is the same.
If you’re in the Rid version of the activity, you’ll need to defend a Hive portal from incoming Thrall.
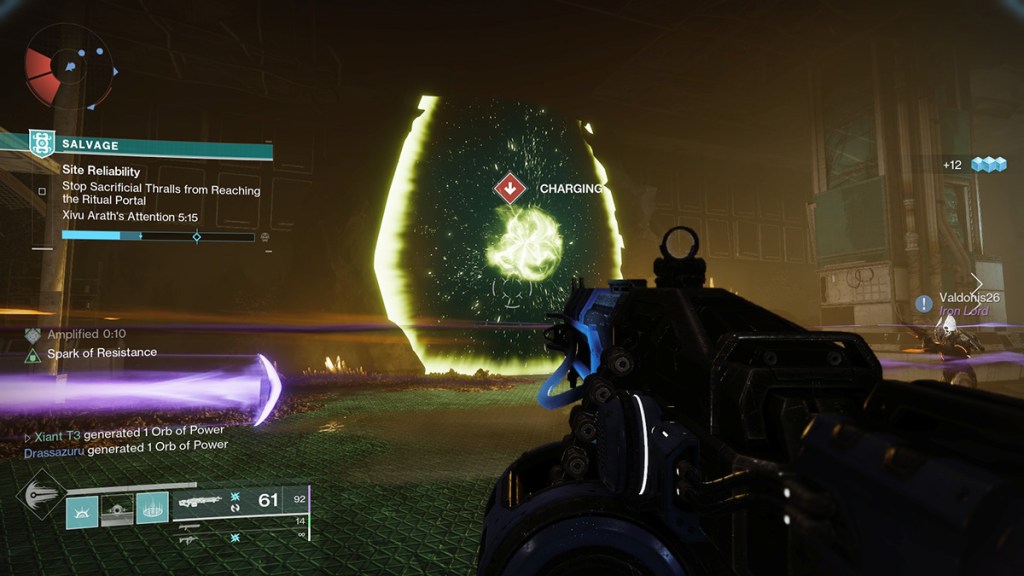
Any Thrall that manage to enter the portal will lower your Attention timer by five seconds, and they come in groups of three or four at a time, so if you and your team aren’t careful, you can lose minutes. Thankfully, Thrall are very easy to kill.
Salvage Activity Objective 3: Site Security
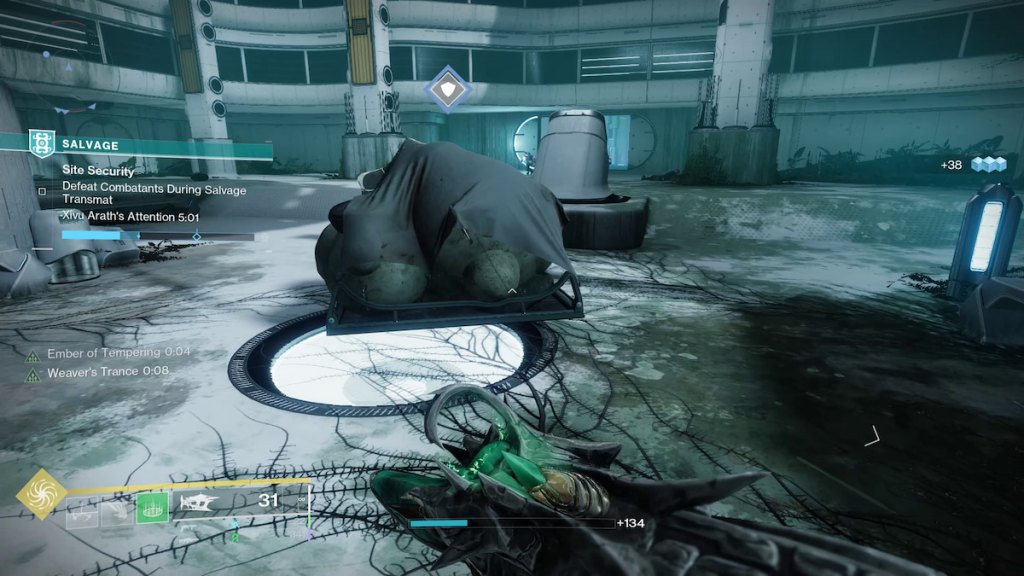
Salvage Activity Objective 3: Site Security is a wave-based task. There will be three salvage piles to protect, and you’ll need to defeat three waves of enemies and ensure the salvage pile health bars don’t get completely empty. Their bar is the blue outline around their shield symbol. Enemies spawn in massive numbers here and come from three directions, so have two Guardians per spawn direction with Heavy Machine Guns, and other add clear weapons.
If you’re on the Rig version of the activity, the supplies you need to defend will be in an area of
Salvage Activity Objective 4: Ordnance Disposal
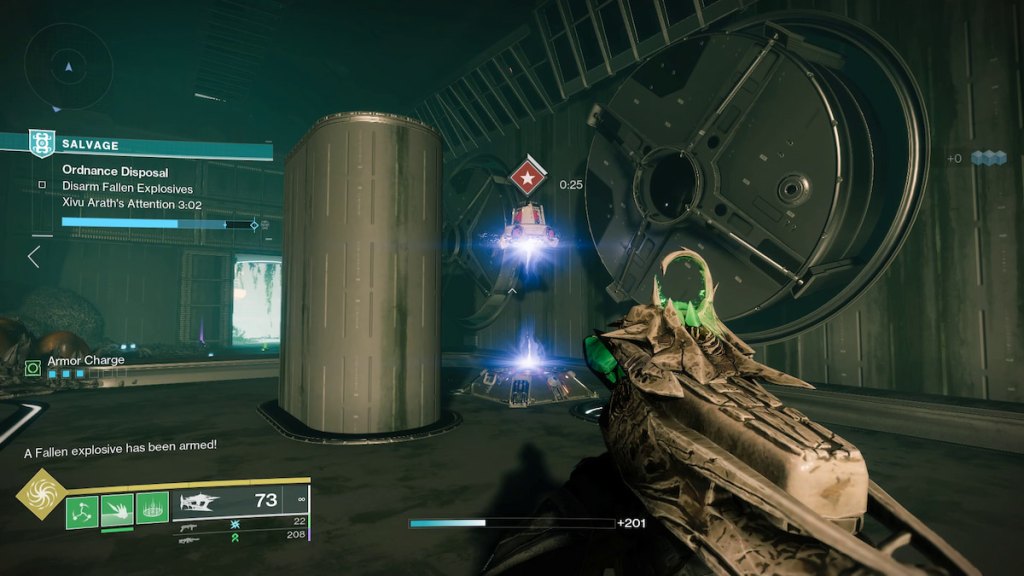
It’s bomb defusal time. In the Arcology version of this event, there’s a single mechanical room with various pillars, ruined platforms, and a side area where bombs will appear. All surrounding areas will be enemy spawn points, and will generate Dregs, Vandals, and Captains. The Rig version has you running around a large area of upper and lower platforms, with bombs spawning all around. The process for defusing them is the same.
You have thirty seconds to reach and defuse each bomb, and if you start defusing, the countdown timer will pause, starting again if you stop the defusal. You’ll need to defuse twelve total to complete the activity.
There is an alternate version of this objective where you need to destroy Hive crystals that spawn above the Rig.
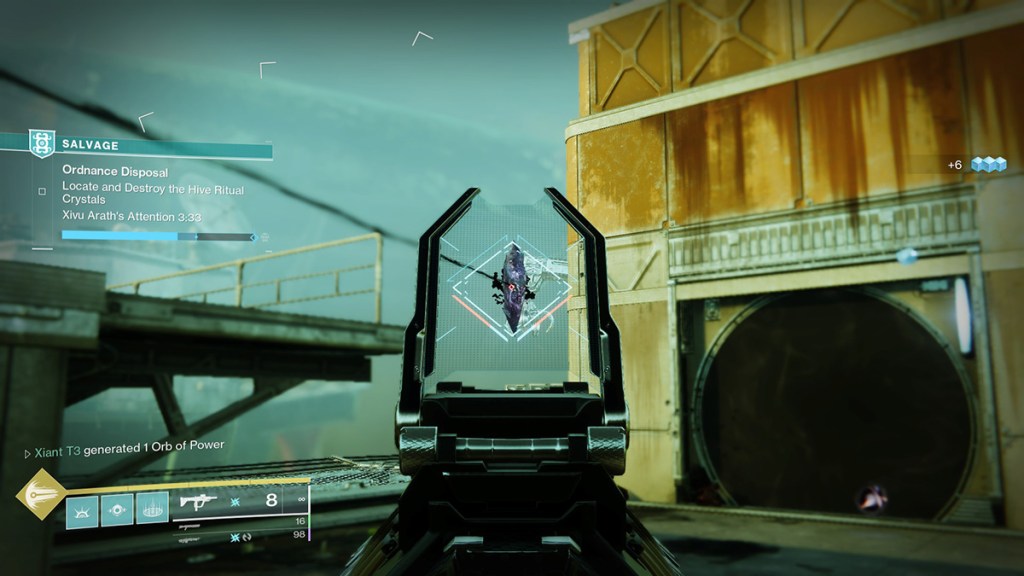
These crystals are powering a Hive ritual in the middle of the play area, and you need to destroy all of them before they complete it. You can track each crystal by the black energy tendrils extending from them, and they don’t take too many shots to shatter.
Salvage Boss 1: Azshradat, Celebrant of Xivu Arath
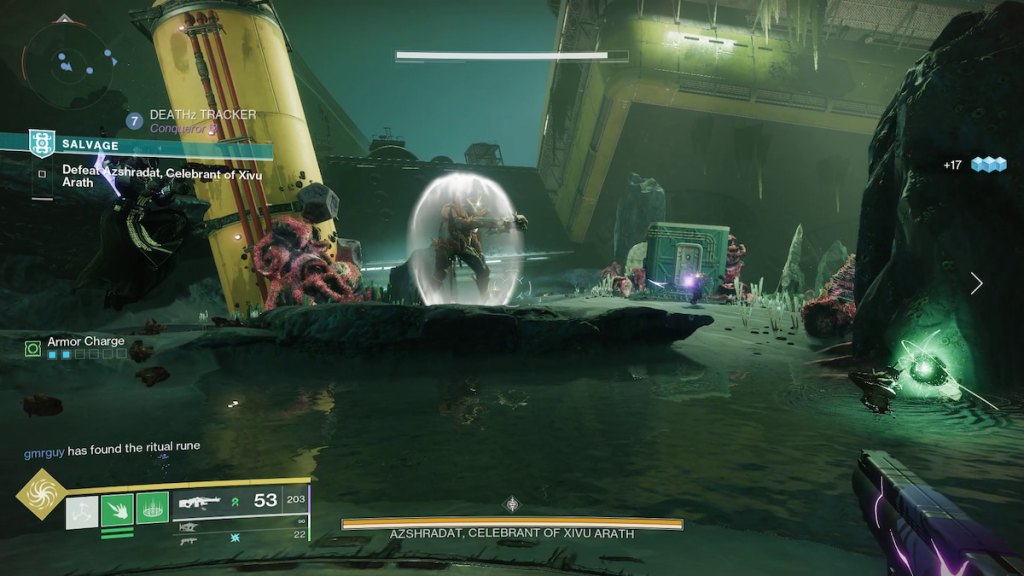
There are two fight phases in Salvage Activity Objective 5: Azshradat. The first is dropping the shield around the boss, and the second is killing the boss. To take down the shield, you have to defeat four Runekeepers. To do that, you need to stand on the plate whose floating green rune matches the larger rune in the center of the room. Doing so will give you the Heinous Rite buff, letting you damage their shields.

Defeat all four Runekeepers by standing on the appropriate plates to drop the boss’s shield. It will have another shield you take down, like the Runekeeper’s shield: one player stands on the correct plate to break the shield. Then, once the barrier is down, nuke the boss with Supers and Heavy ammo.
Salvage Boss 2: Uorgotha, Scourge of the Deep

Before you can reach the boss itself, you need to clear several waves of Taken, specifically three Taken Wizards that spawn one after the other. They’ll usually appear within or next to Blights that spawn, but you don’t need to clear the Blights, just the Wizards.
With the Wizards dead, the barrier leading to the boss room will disappear. Destroy the crystal to start the encounter, then defeat all the glowing Taken to drop the boss’s shield. Note that you can’t damage the boss from the front. You can only hurt the large pustule on his back. Every attack you try from the front won’t register, and even rockets and grenades will bounce harmlessly off.

After about a minute, Uorgotha’s shield will reappear, and you’ll need to defeat more glowing enemies to drop it again. If the shield does reappear, you’ll eventually need to defeat a second boss named Val Ca’Uor, Bladebound to Xivu Arath, and he’s a tanky sucker. Use Supers liberally, as well as any Power ammo you have, and the fight should be over easily enough.


Published: May 31, 2023 12:26 am