The Aqueous Tidemarks quest in Genshin Impact takes you on a tour of some more out-of-the-way underwater locales. It also unlocks portions of Fontaine that will become important in quests that follow. The quest itself isn’t too difficult, but it’s both relatively chill and fairly rewarding to boot. There are Primogems, Hydroculi, and treasure chests aplenty, plus a neat take on a familiar boss fight. We’ll walk you through every step of it in this guide.
Genshin Impact Aqueous Tidemarks Quest Complete Walkthrough
You start Aqueous Tidemarks by talking to a shifty man named Virgil just next to the Court of Fontaine Statue of the Seven. He’ll tell you of treasures hidden in the deep if you only accompany him there. Travel southwest of the Statue to the Teleport Waypoint on the ramp into the water, then dive down, investigating the yellow quest items as you go.
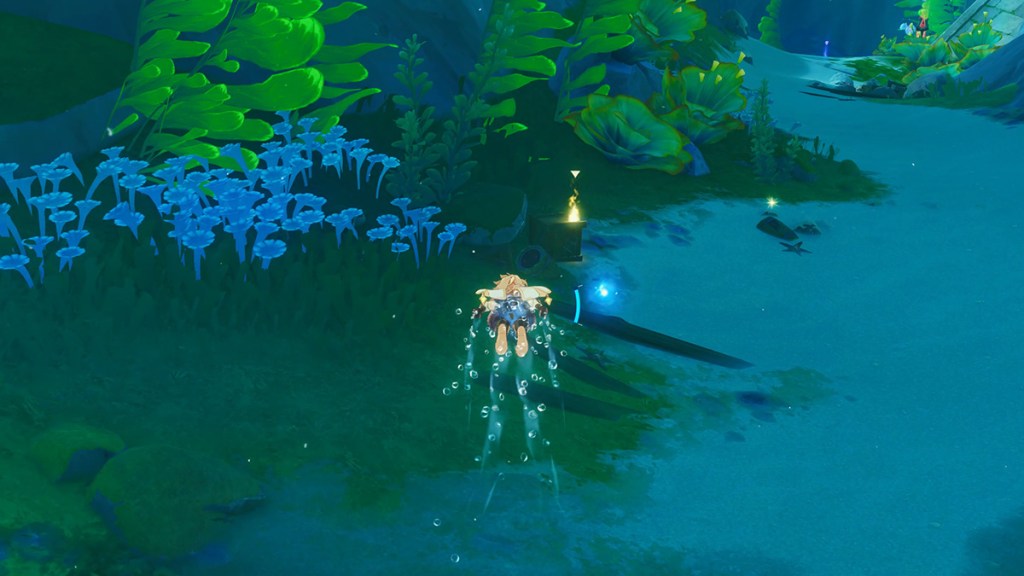
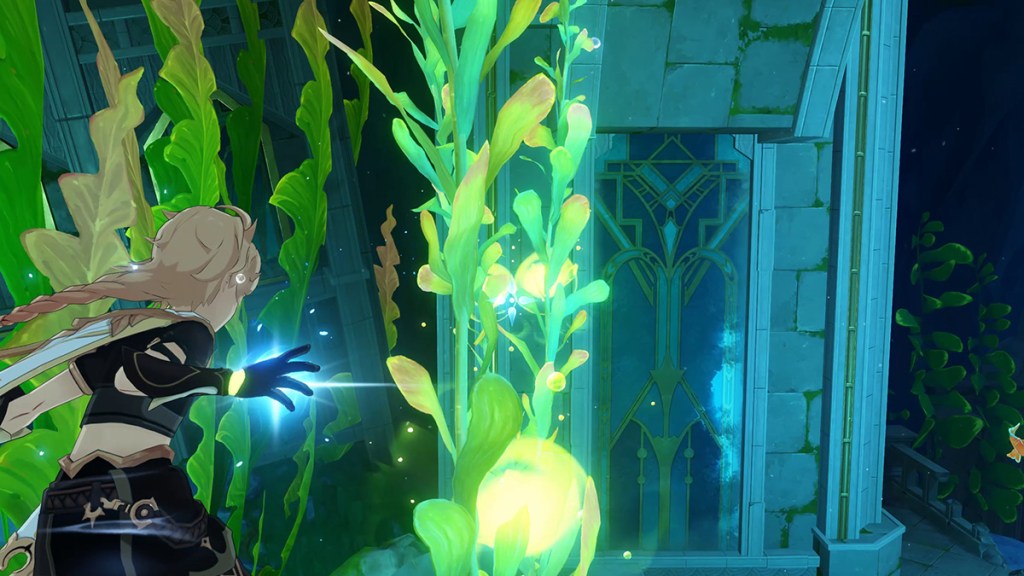
Continue down the tunnel until you reach the entrance to some ruins, as promised. There, grab the Xenochromatic Hunter’s Ray’s ability using your underwater Normal Attack, then proceed to the thick seaweed blocking your way forward. Nestle into the nook on either side of the bulbs in the seaweed and roughly line them up in front of you, then hold your Elemental Skill button to charge the Ray’s Fontemer Water Blade and unleash it to clear the path.
Continue through the cavern and grab the Xenochromatic Armored Crab’s Elemental Skill to shatter the boulder. Proceed through the door and further into the ruins until you reach a room with another blocked doorway. You can grab a Hydroculus by destroying the barnacle, throwing energy balls at you by using the Crab attack to absorb the damage and fling it back, and unblock the way forward.
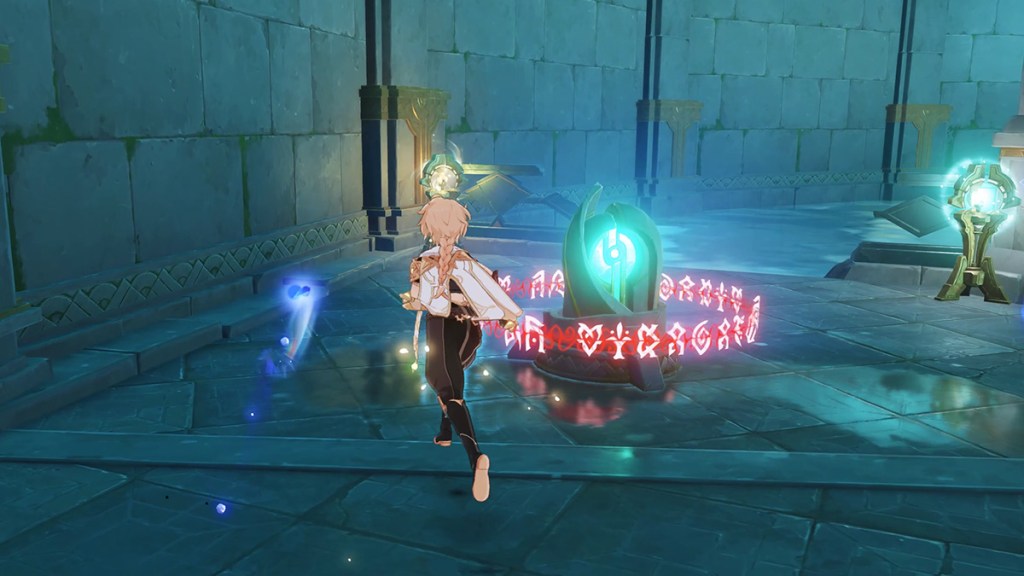
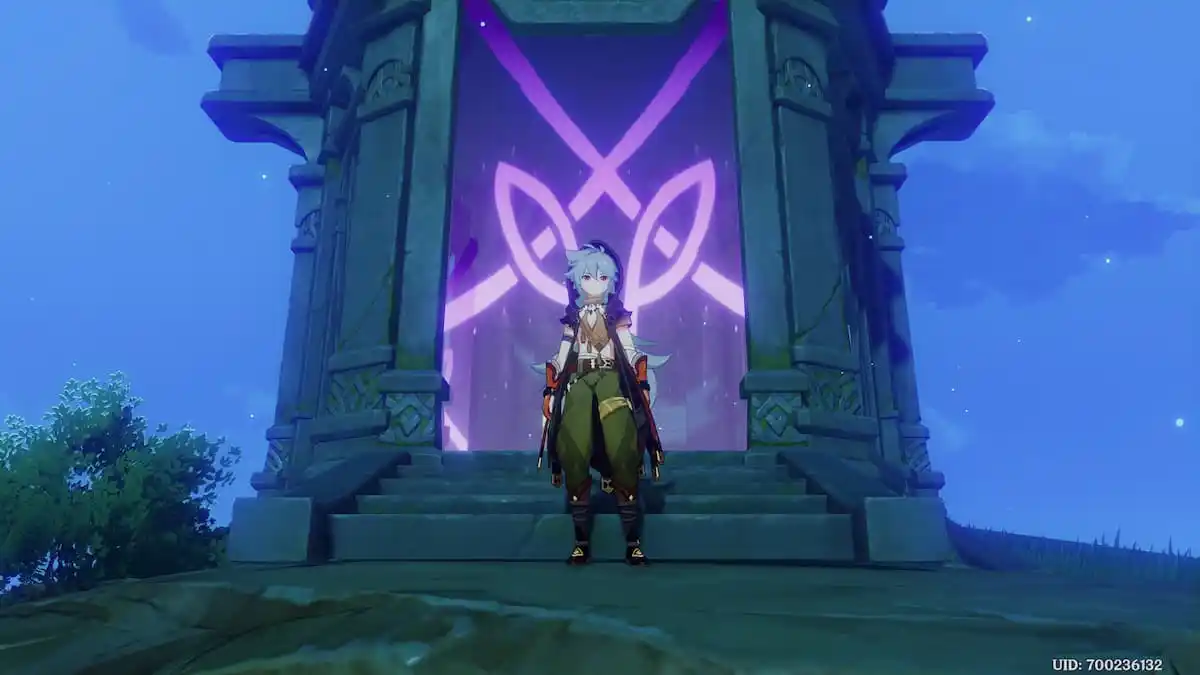
In the next room, head over to the closed gate, then head up and out of the water onto the platform above you. From where you speak to Virgil, move south along the balcony until you see Ousia and Pneuma Blocks. Deposit them in their appropriate terminals near the locked, glowing green switch, then use the switch to open the gate.
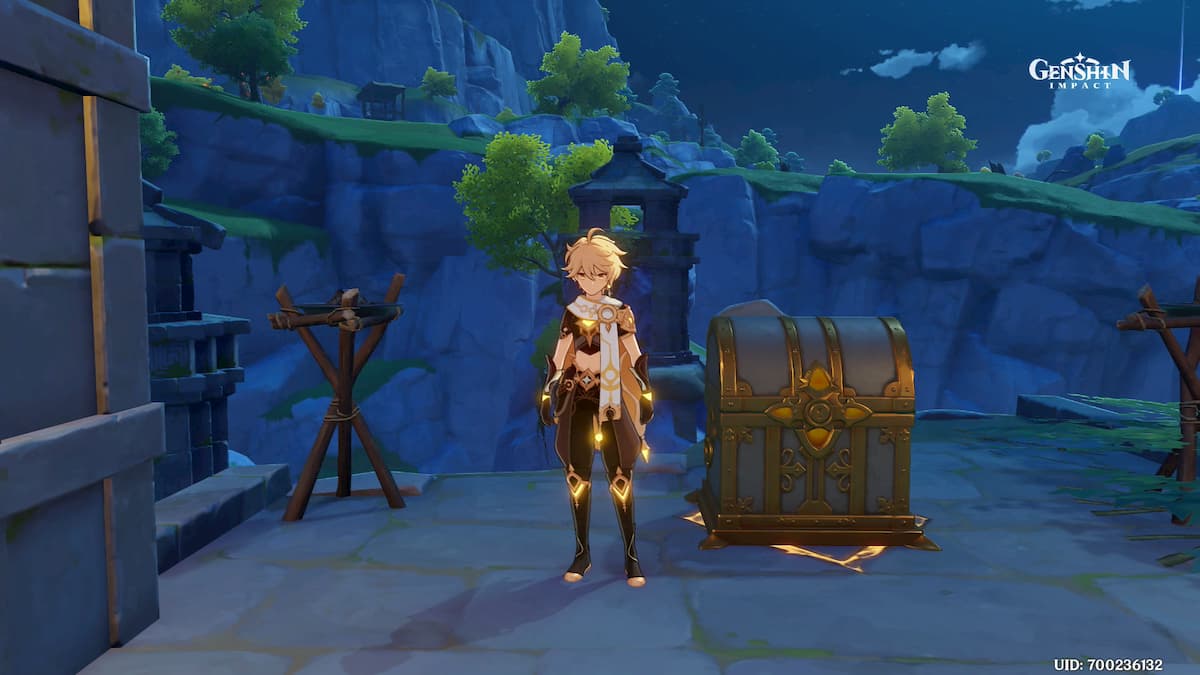
Swim through the gate, and shortly after you come out of the water, jump into the hole in front of you. Follow the cavern forward, completing the time challenge if you choose. When you come up and out of the water again, defeat the enemies for some “praise” from Virgil, and proceed down the hallway and the stairway. You’ll see a Seelie faerie in the room you enter that will guide you down the next section. You can deposit the Ousia and Pneuma Blocks in this room for a common chest reward while you’re here.
Around the corner, you can drop down and activate the switch at the bottom of the shaft you’ll reach. Don’t be like me and try to climb anything. You can clear the two Meka for another chest and continue along the path until you reach a slumbering Ruin Guard.
Destroy the enemy, enter the next chamber, and examine all the shining quest locations. Eventually, Virgil will show his “well-hidden” true colors and lock you in with the “Special” Ruin Grader. It’s “Special” because it can’t be killed. You can get it to 1% HP, at which point it will sit down, become invincible, and regenerate all its health.
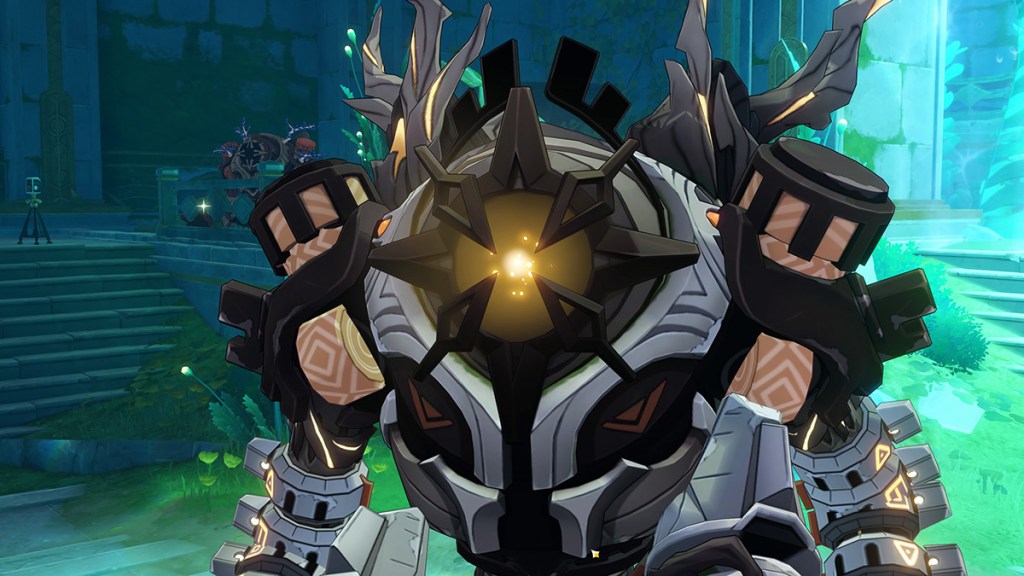
The only way to “defeat” this boss is to shatter the cracked glass at the back of its arena. I didn’t realize this at first, but the game will eventually tell you to do so after draining the Garder’s HP three times. I don’t know if the glass is breakable before that point, so be ready for a fight if not.
Once the glass breaks, a massive current will carry you out and away from the ruin, and when you emerge into Fontaine’s main sea again, Aqueous Tidemarks will complete, rewarding you with the following items:
- 40 Primogems
- 3 Hero’s Wit
- 350 Adventure EXP
- 30,000 Mora
- 5 Mystic Enhancement Ore
You can now return to where you met Virgil to meet Sonny and Luka, two associates of his, who will give you a second quest: A Fontainian Message. Completing this quest is as simple as following the markers and fighting Virgil and his goons in an underwater stronghold. What happens to him after that is probably best left unsaid.


Published: Aug 17, 2023 10:34 pm