The Ellipses is the first mission in Hitman 3’s Elusive Target Arcade. To complete it, you need to take on three Elusive Target missions, but each one has a new complication that makes it more challenging than you’ll remember. This guide explains how to complete all three levels with a rank of Silent Assassin.
Elusive Target Arcade warning
Elusive Target Arcade is unique in Hitman 3 because it locks you out of a mission if you fail. Should you die in an attempt at any of the three levels in The Ellipses, you’ll be kicked out to the main menu, and you won’t be able to attempt the mission again for 12 hours. We recommend following our route at least once without killing the target so that you know the dangers and areas to be careful in. Then, when you’re comfortable, you can go through the missions for real.
Level 1 – The Collector
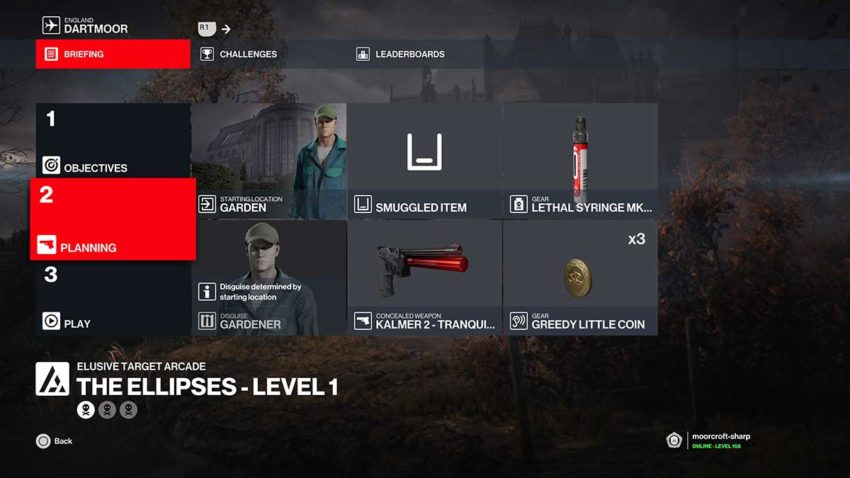
The first level of this mission tasks you with killing The Collector. Like all of the targets in this mission, you’ll have seen him before in Hitman 3. However, there’s an added complication to this level that requires you to hide all dead and unconscious bodies before you can exit. We recommend the garden starting location because you get the gardener disguise with it. The only item you must bring is the coin, but it never hurts to bring something for a quick assassination like the lethal syringe if you have it.
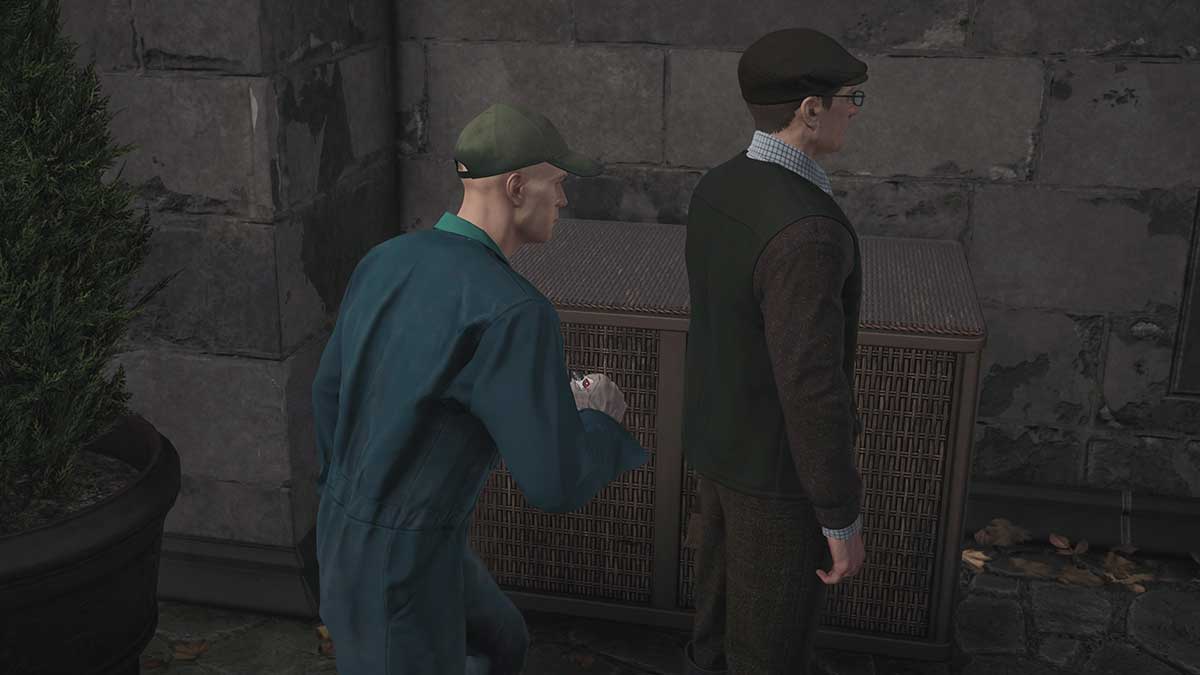
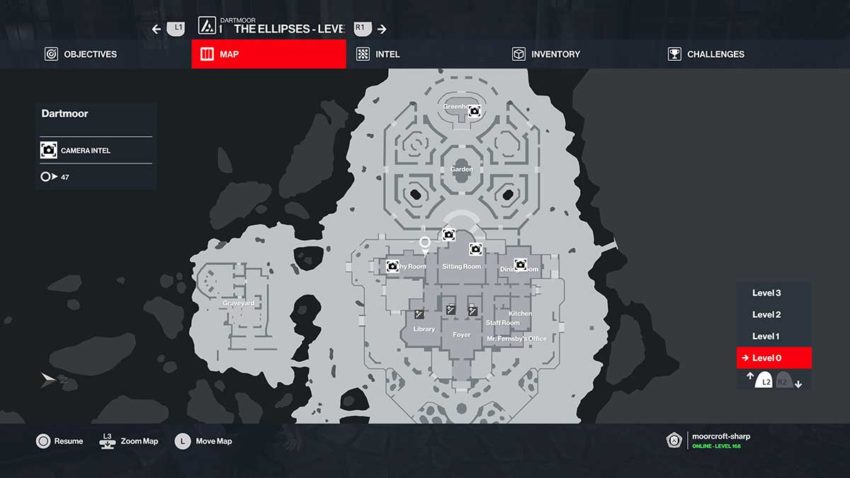
From your starting location, make your way up to the back of the manor, where the stairs rise to meet the back doors. There’s a guard posted here near a container where you can hide his body. Flip a coin next to the container to draw him over, subdue him, and dump his body in it. See below for a map reference for the container.
Pick up the guard’s gun and place it on the middle section of the stairs. Now you can go back to hiding near the container and wait.
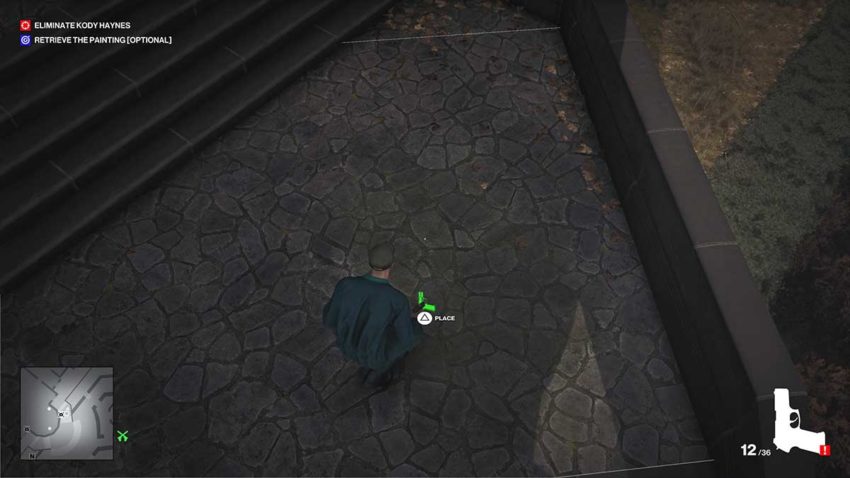
Eventually, the target will walk up these stairs and notice the gun. He’ll have his bodyguard pick it up and walk off to dispose of it. When the target gets close to you, flip a coin against the container again to draw him over to it. If the bodyguard is further away, he won’t come over. Now you can kill the target and dump his body.

Pick up everything the target drops, especially the knife. Next, you need to climb up the drainpipe to the left of this container. At the top, shimmy to the left and follow the ledge around. You’ll need to enter the manor and move around the upper walkway to get back out onto the ledge again and onto another drainpipe. See below for a map reference for the upper drainpipe you’re aiming for.
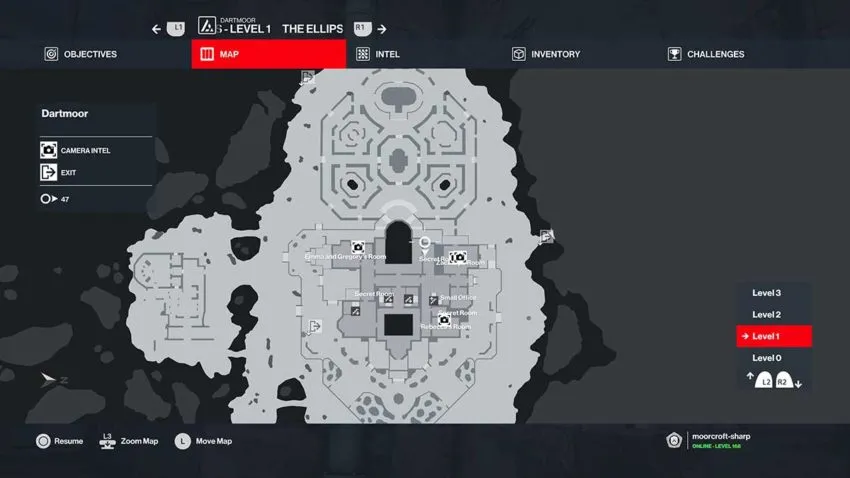
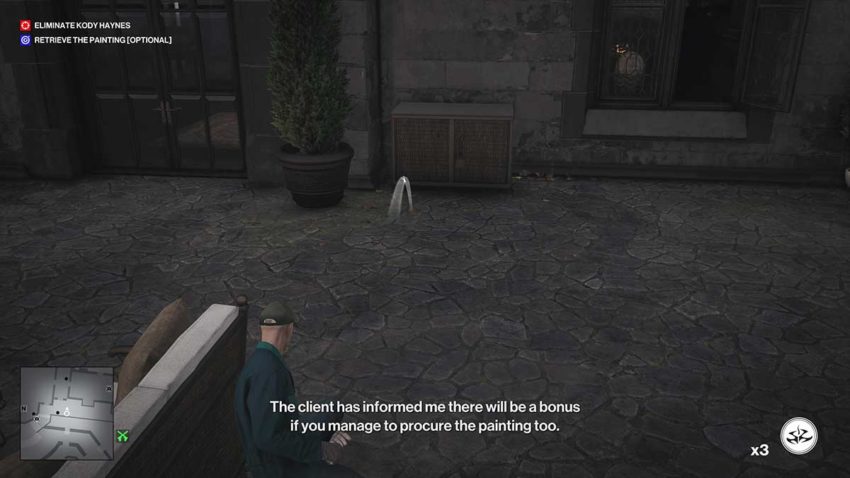
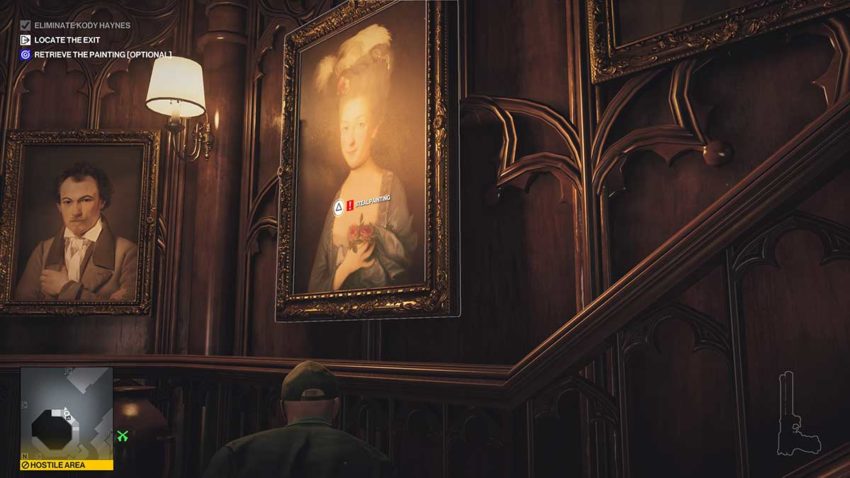
Climb up this drainpipe, and you can vault onto the balcony outside Alexa Carlisle’s office. Don’t go inside, instead climb up the next drainpipe to the very top floor. Now you can go inside and down the stairs to steal the painting. If you wait for the guard to move under the stairs, he won’t see you as you do this. Once you have the painting, you can climb down the way you came and head to any exit you want.
Level 2 – The Liability
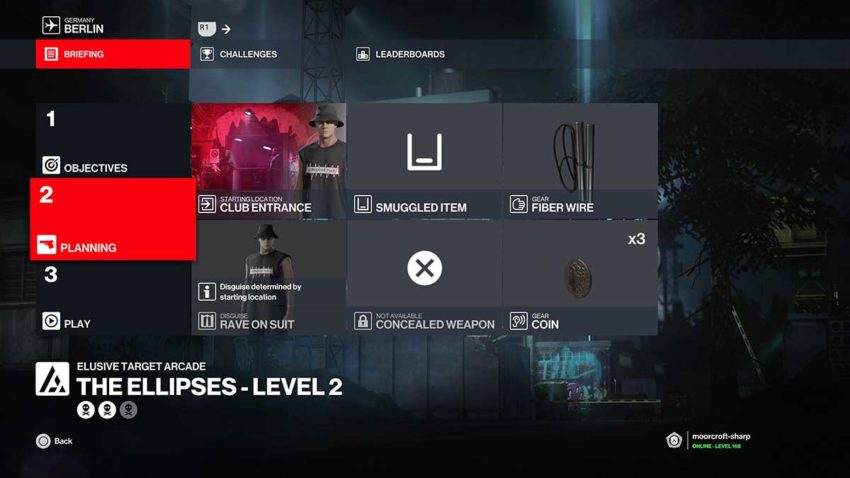
The Liability is a target you need to kill in Berlin. The added complications here are that you can’t kill anyone with a gun, and all bodies must be hidden. We recommend using the club entrance starting location, and you’ll need to bring a tool of distraction like the coin.
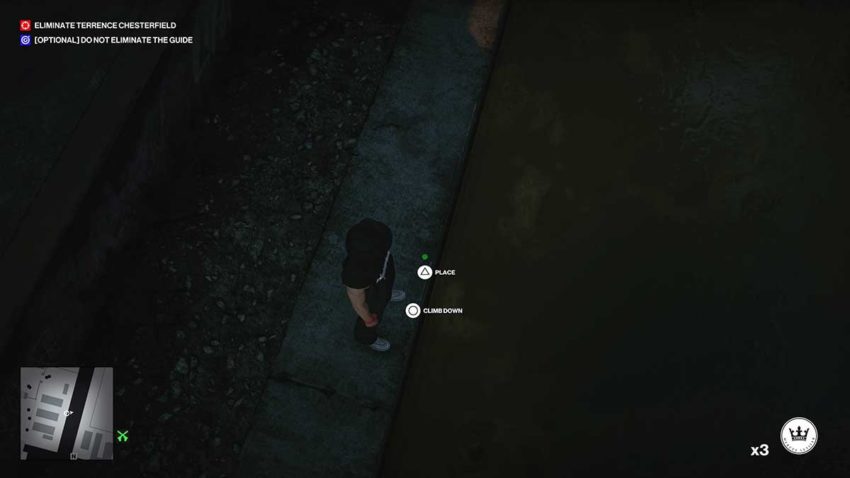
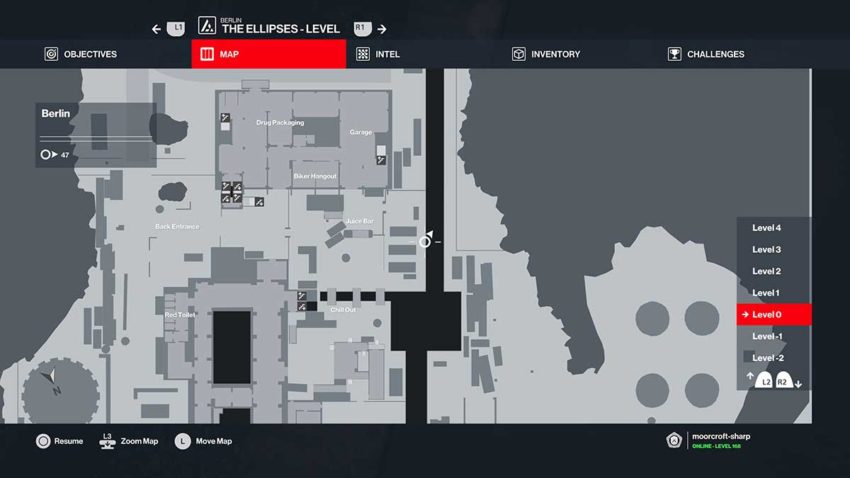
Get inside the club and head to the outdoor bar as fast as possible from your starting location. Take the bridge to the left, then the tiny walkway next to the water on your right. This will lead you behind the seating area to a concrete section with loads of large machinery. You need to place a coin on the floor here roughly in the center so that you’re not too close to the bikers and the camera or the rest of the club. See below for a map reference for where to place this coin.
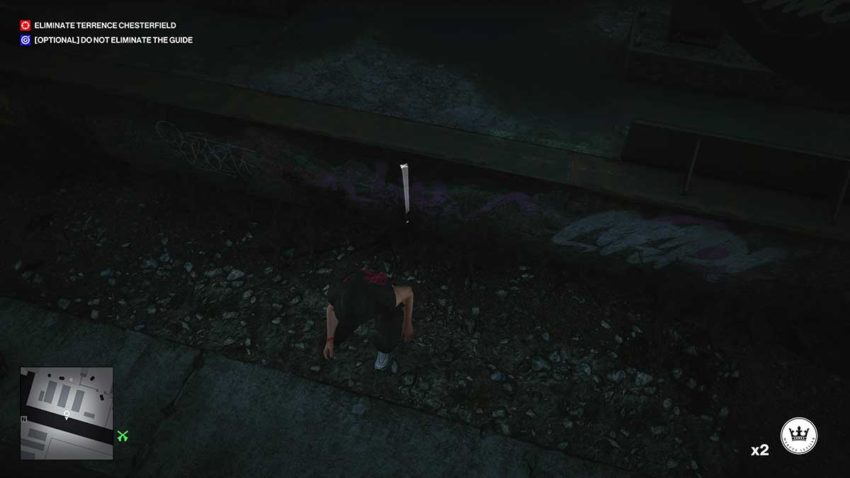
Using instinct, you should see your target sitting down having a drink. Flip a coin against the low wall directly behind you to distract the target. He’ll get up and start walking around, at which point he’ll look at the coin you’ve placed on the floor. However, his guide and bodyguard will follow.
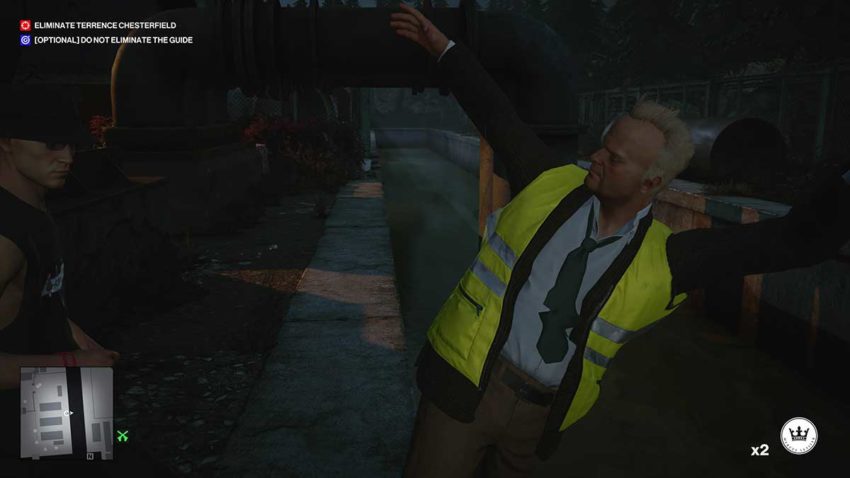
Run toward the target and walk into his guide and bodyguard repeatedly. You need to delay them enough for the target to see your coin and bend down to pick it up. After a few seconds of using this delay tactic, the guide and bodyguard run around to the target and push him into the water. Now you can leave through any of the available exits without anyone stopping you.
Level 3 – The Ascensionist
The final target in this Elusive Target Arcade mission is The Ascensionist. She’s in Dubai with the added complication that you can’t kill her with a gun, you must hide all bodies, and you need to erase the data if you’re caught on camera.
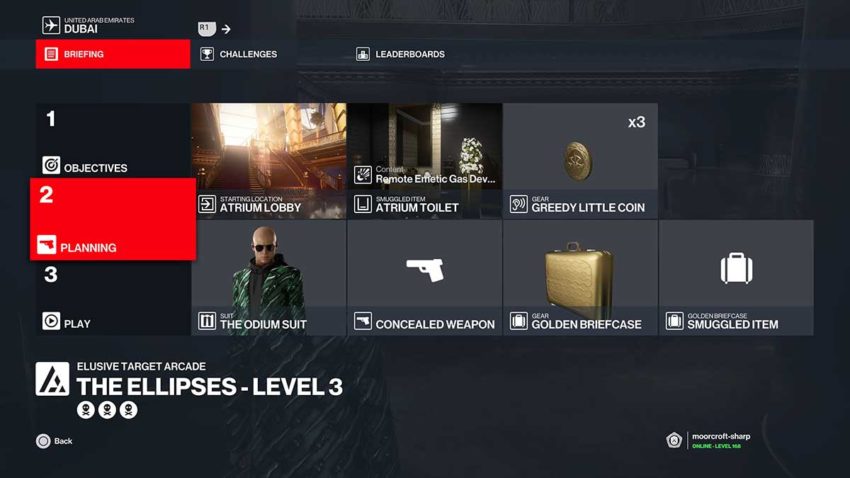
You’ll need a specific loadout for this route. Bring a briefcase with you, but don’t put anything in it, and bring the coin separately. Unequip your gun so that you don’t need to dump it anywhere. Finally, you need to smuggle the Remote Emetic Gas Device in through the atrium bathroom location. Your starting location is the main atrium.
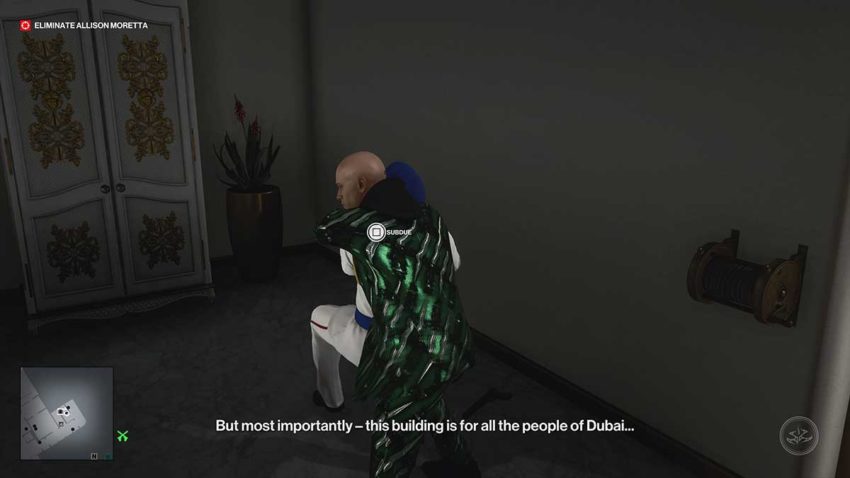
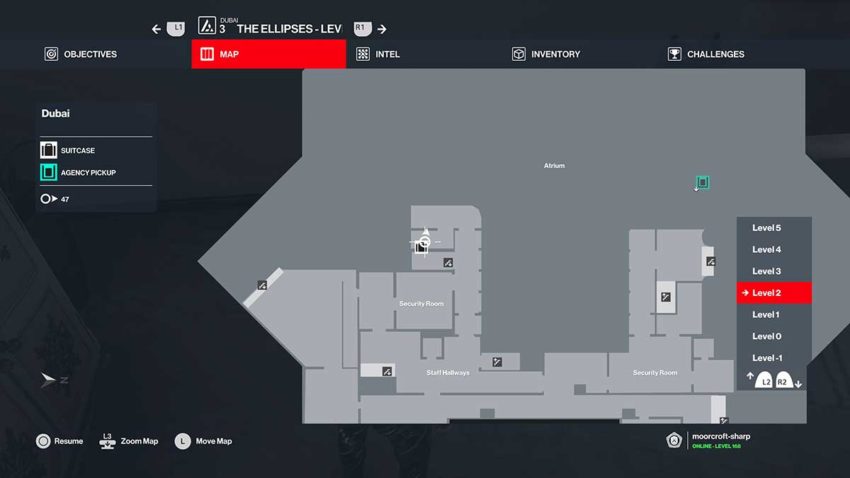
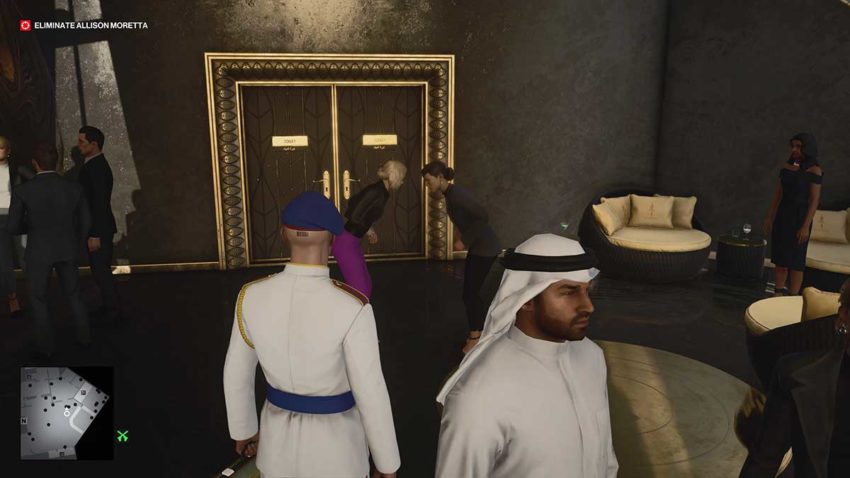
From your starting location, get frisked and go up the stairs as soon as you can. You need to go left, through the Black Gold Bar, and up the staircase to the left of that bar by the blue curtains. Turn left at the top and follow the balcony around until you reach an open room behind two guards. Use the coin to draw one guard in. Subdue him, hide his body in the wardrobe, and then take his disguise. See below for a map reference for this location.
With the security guard disguise on, go to the atrium bathroom to claim your smuggled item. Watch out for the target because she might be walking up the stairs now. You still need to be fast, so get to the bathroom and collect the Remote Emetic Gas Device. In your current disguise, you won’t be suspicious.
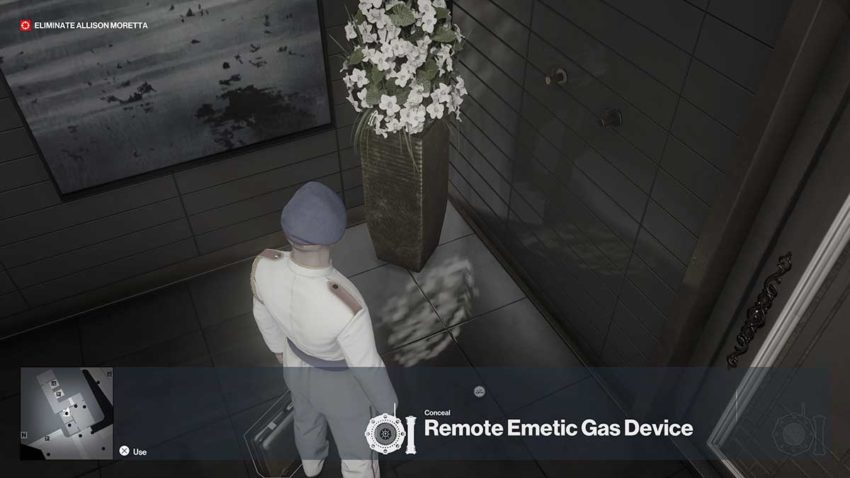
Go into the next stall and conceal the gas device in the briefcase. This means that you can trigger it with the remote, and the gas will come out of the briefcase. Run back to the Black Gold Bar and wait for your target to stand outside the double door to the bathroom talking to a female NPC. Once the pair are talking, trigger the gas and walk around them. You need to poison both of them for this to work.
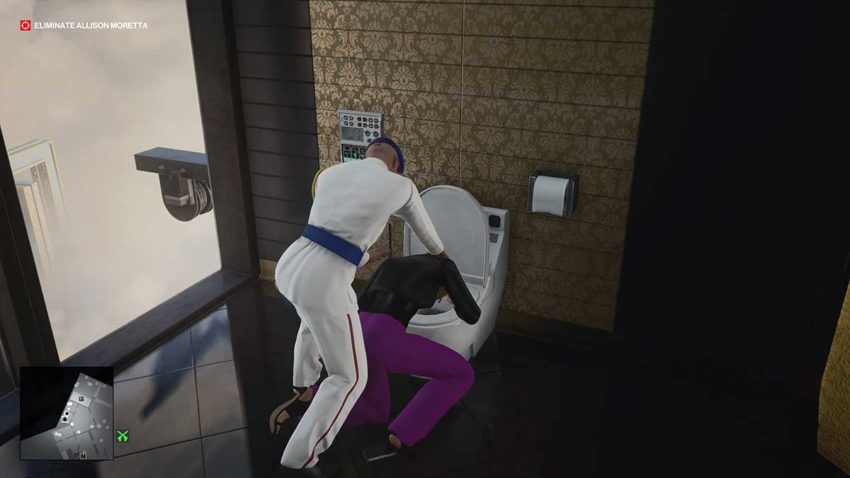
The pair will now go into the bathroom to be sick. Your target will head to the stall on the left, where there’s a wardrobe to hide her body. Once she’s inside, close the door and drown her. Then, hide her body and make your way to an exit. We noticed a glitch that causes the NPCs outside to trigger an alert status when you kill the target, but they won’t come and get you. If this happens, you may need to restart the mission. By completing this mission in the Elusive Target Arcade, you’ll unlock the Krugermeier 2-2 Dark gun for your arsenal.


Published: Jan 20, 2022 03:58 pm