The Quanta is an Elusive Target Arcade mission in Hitman 3 that tasks you with taking down three targets with more complications and restrictions than their individual counterparts. It’s made up of three Elusive Targets you may have faced and completed in the past, but you won’t earn any experience or rewards unless you complete all three. This guide explains how to complete the mission with the rank of Silent Assassin.
Elusive Target Arcade warning
All Elusive Target Arcade missions have a penalty for failure. If you fail the mission due to a complication or death, you’ll be locked out of it for 12 hours. You won’t be able to attempt the mission again within that period. We recommend following our guide without completing the objectives, such as killing targets, to avoid this. This will allow you to get a feel for the mission before taking it on in a true attempt.
Level 1 – The Iconoclast
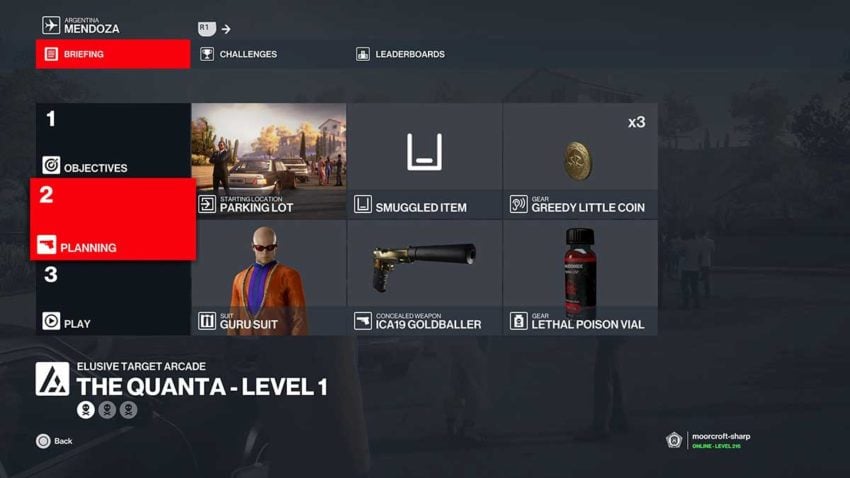
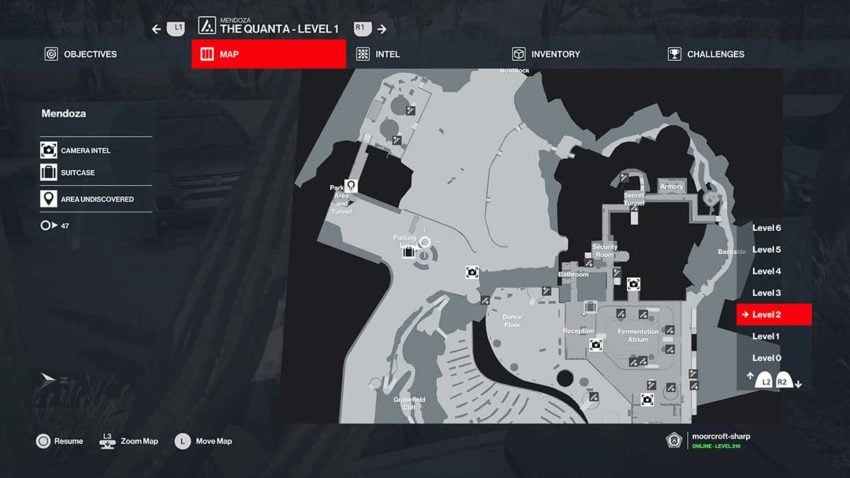
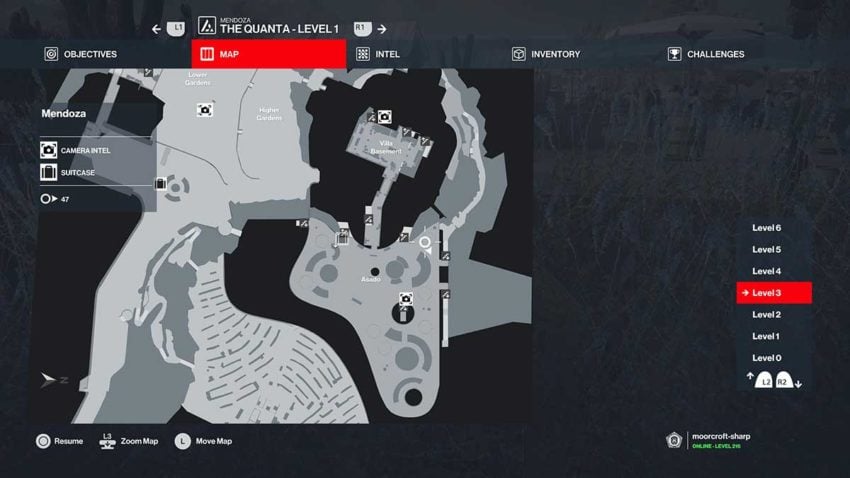
The Iconoclast is your first target, and the loadout for the first level is quite specific. You’ll need the Lethal Poison Vial or a lethal poison of some sort and the Coin. You’re only allowed one disguise change in this level, but you won’t need more. From your starting location in the parking lot, move through the central structure to find the invitation behind the smoking man on the phone. See below for a map reference for the invitation.
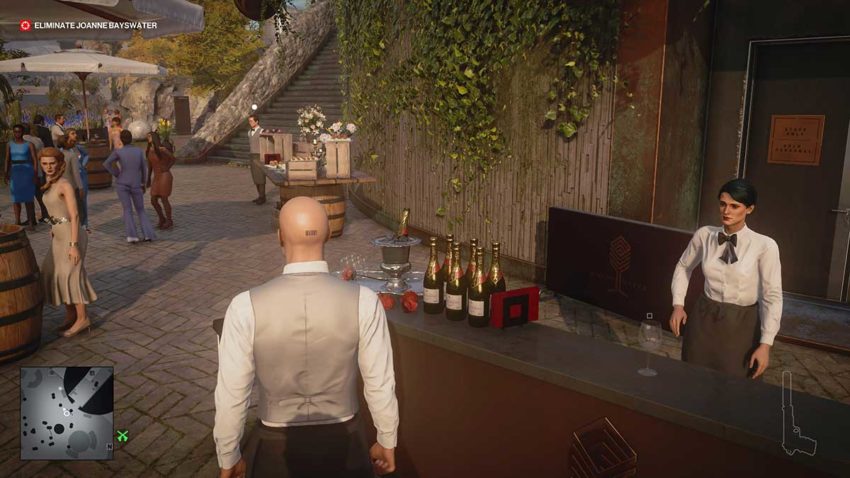
Use the invitation to get into the party and head up the stairs to the left. Keep to the left-hand side of the restaurant on the roof because your target will become active if you get too close to her. So instead, make your way to the waiter standing near the lavender planter.
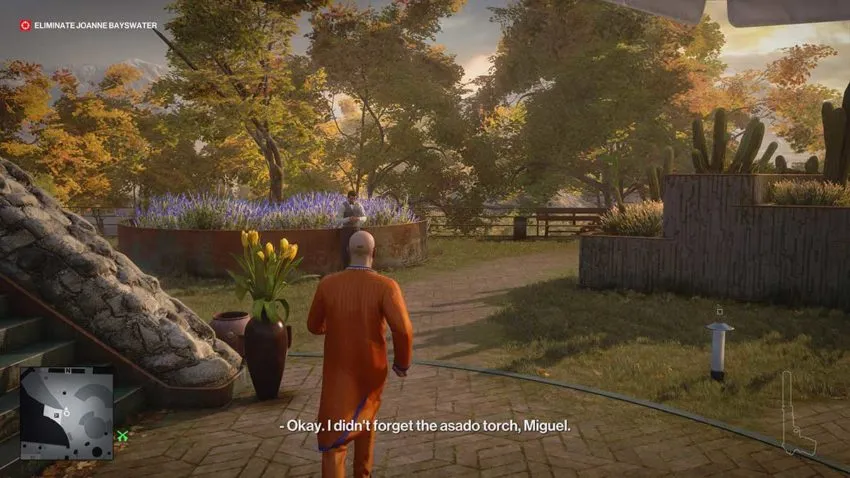
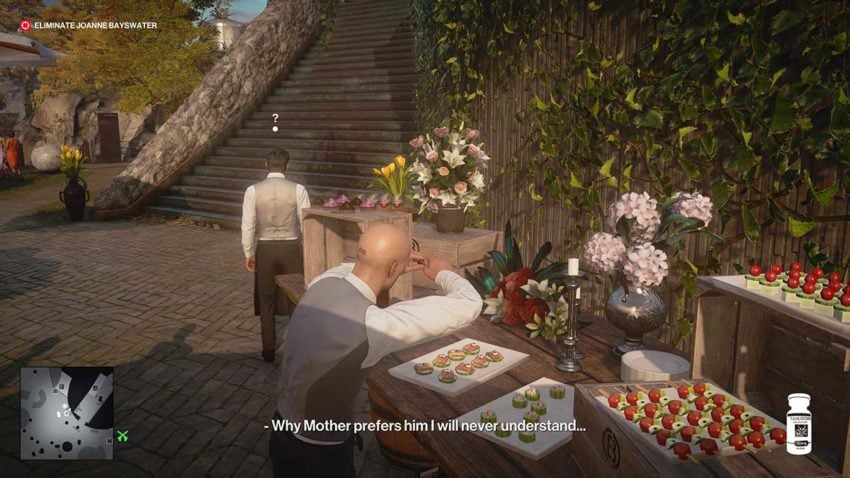
Subdue the waiter and pull his body into the lavender so that no one will find it. Take his disguise, and then make your way to the food buffet you ran past to get to him. See below for a map reference for this waiter.
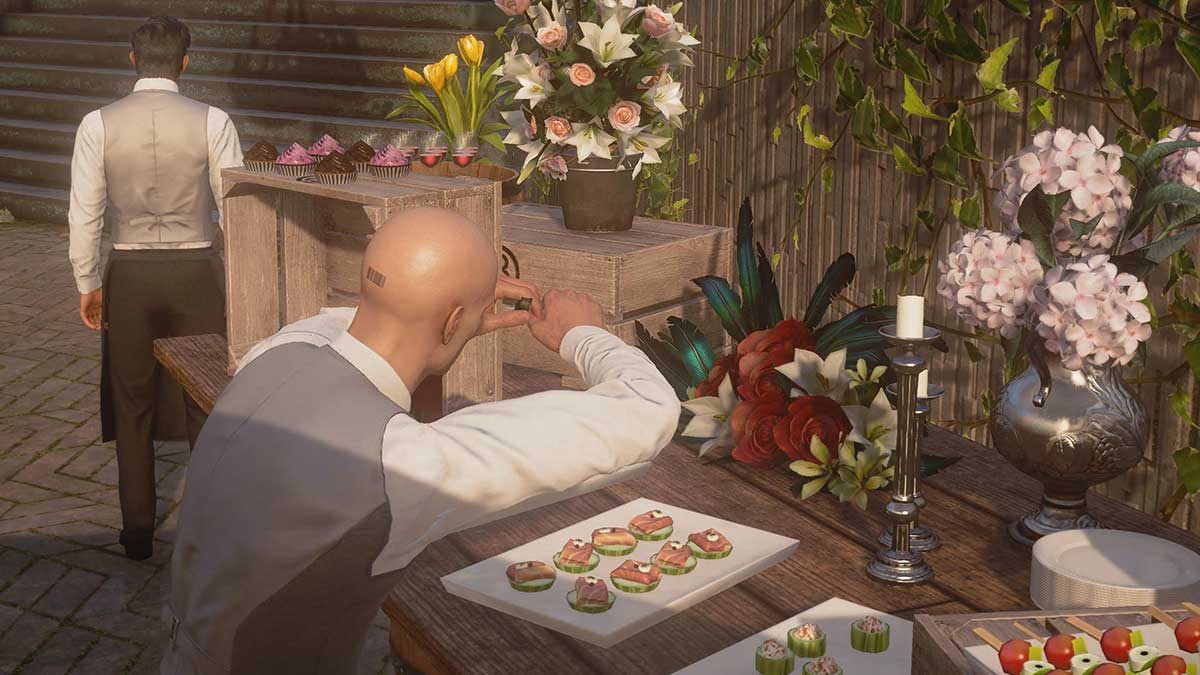
Move past the bar, and you’ll see a buffet where one waiter is standing guard. He’s an enforcer, which means he can see through your disguise. To combat this, crouch behind the table of food he’s guarding and flip a coin onto the stairs behind him. This will cause him to look away, allowing you to poison the food with your Lethal Poison Vial.
Once the food has been poisoned, make your way over to the balcony at the back of this rooftop area. You should be able to see your target talking on the phone. As you approach her, she’ll begin to move and head towards the poisoned buffet.
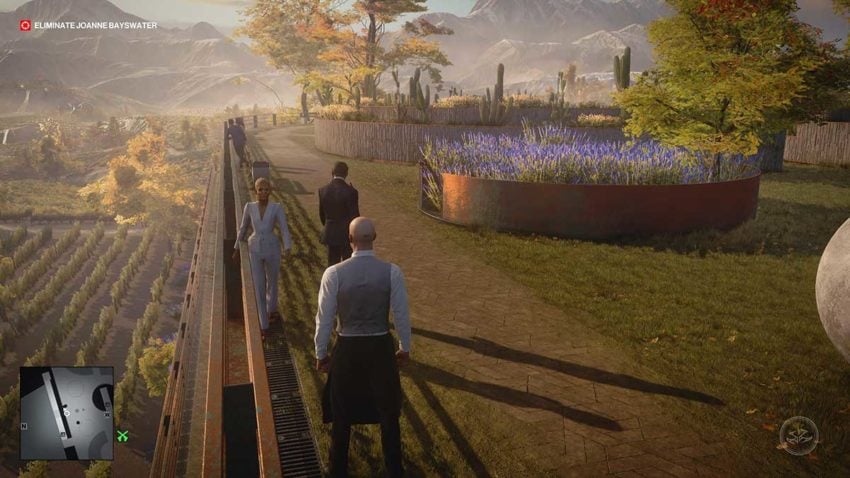
Now, head downstairs and into the field of grapevines. You aren’t trespassing there, so you can get to the gate at the back and wait for your target to eat the poisoned food and die before leaving.
Level 2 – The Rage
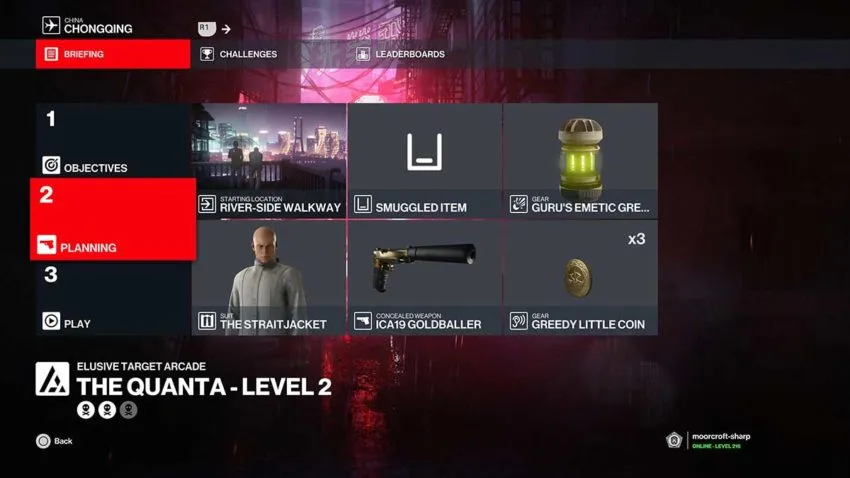
The second target is The Rage, and you have the same complication that limits you to one disguise change. Once again, you won’t need more with our route. You don’t need to bring anything specific in your loadout for this target, so pick what you want and hop in.
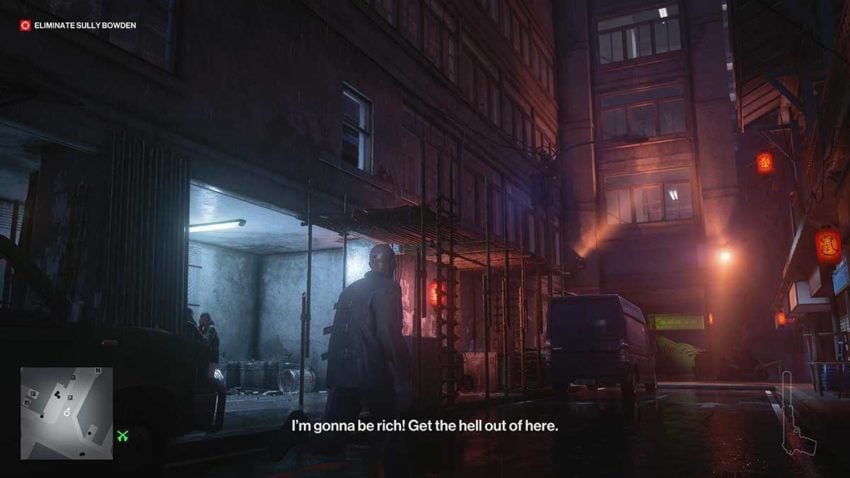
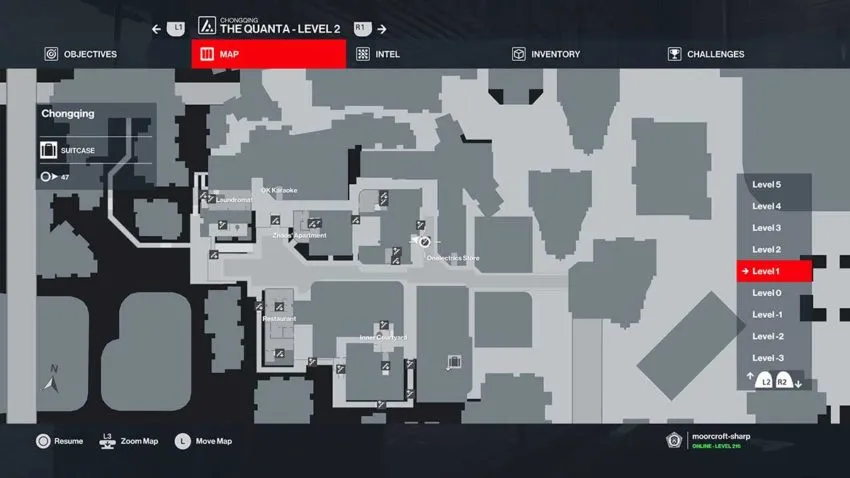
From your starting location at the River-Side Walkway, make your way into Chongqing and turn right. Head towards the building site and scooter exit at the edge of the map. There’s a ladder leading up to one of the apartment buildings there. Go up it. See below for a map reference for this ladder.
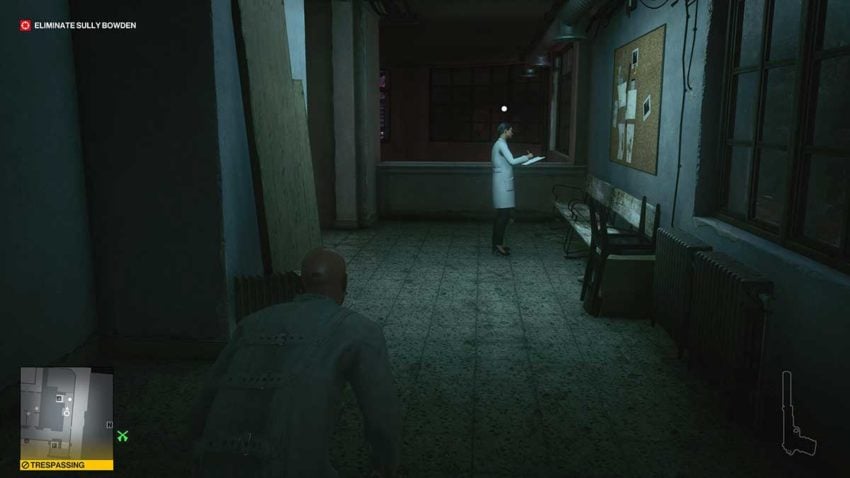
Once you’re at the top of the ladder, use instinct to check what the staff inside are doing. If they’re not looking towards the window in front of you, vault inside, turn right, and creep down the hallway. Turn left at the end and sneak past the NPC looking at the wall. She won’t notice you. Vault over that wall and slide down to the ground floor. There will be a door to your left that you need to go inside to find your target.
Head down the first set of stairs and hug the wall. You now need to throw coins onto the stairs behind you to draw out the two guards and subdue them. Drag each one up the staircase to keep them out of view.
After this, you should be able to draw up your target, but he may also start walking up the stairs of his own accord. When he does, subdue him and kill him. It doesn’t matter if he sees the bodies of the two guards because your Silent Assassin rank will reset once he’s dead. Now all you need to do is return the way you came and exit using the scooter near the ladder.
Level 3 – The Procurers
The final level in this mission is The Procurers, made up of two targets. The loadout for this level is simple in that you don’t need to bring anything. You’re still limited to one disguise change, but you won’t need it here.

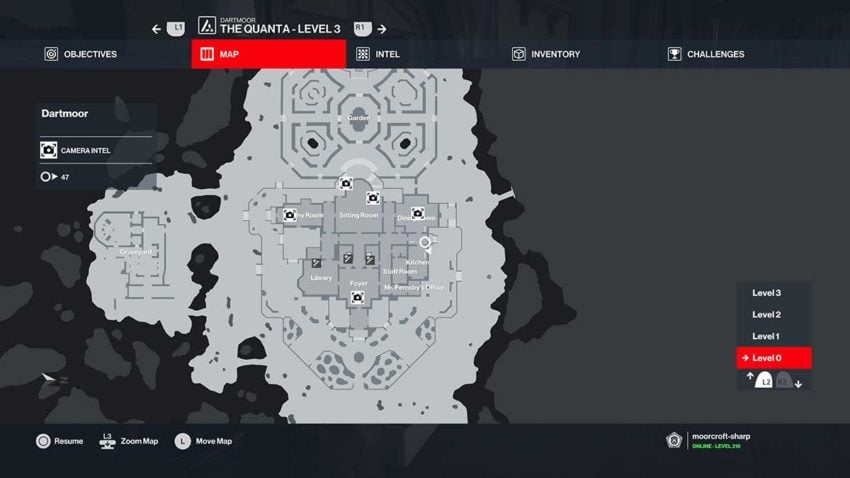
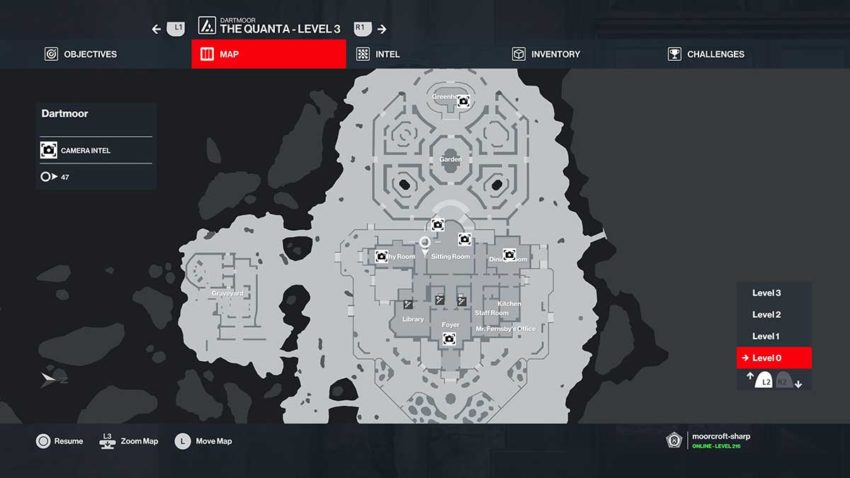
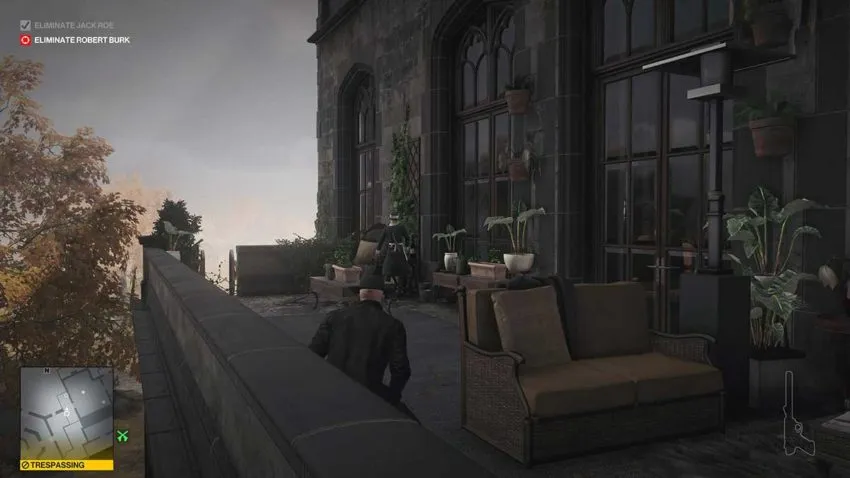
From the starting location on the main road, sneak into the grounds over the low wall to the right of the main gate. Then, make your way up to the house and sneak into the open window near Mr Fernsby’s Office. See above for a map reference.
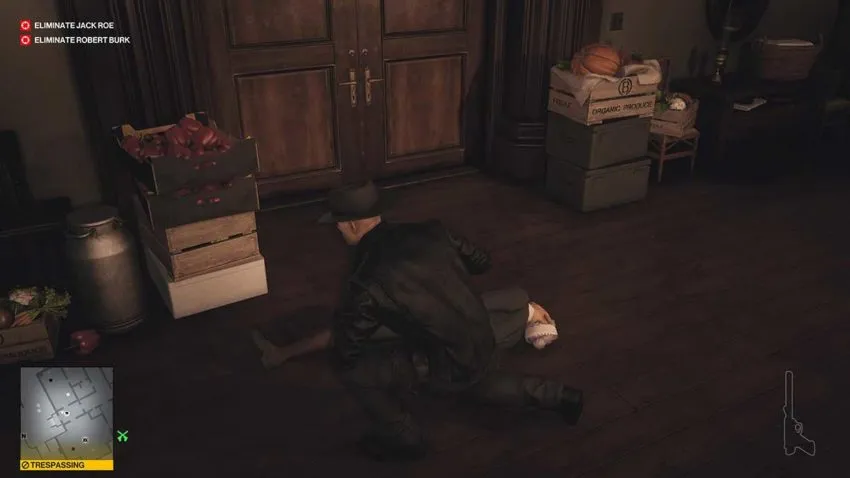
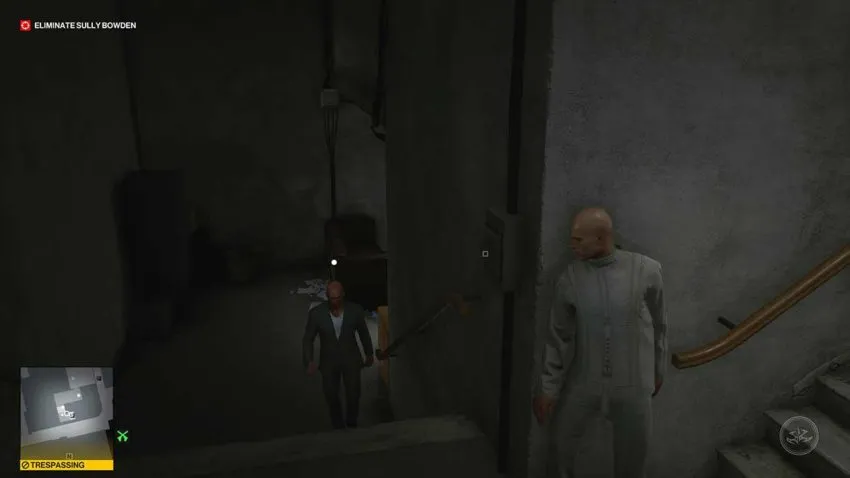
Once you’re inside, head through the door ahead of you whilst avoiding the staff through the open door on the right. Turn right and go down the corridor, then turn right again. At the end of this corridor is an NPC cleaning the walls. Subdue her and put her body in the nearby container. See below for a map reference for this location.
Do this quickly, because your first target will come through the doors next to her soon after. As he does, close the doors behind him and kill him. You can then dump his body in the same container. Make sure that you pick up the pack of cigarettes that he drops.
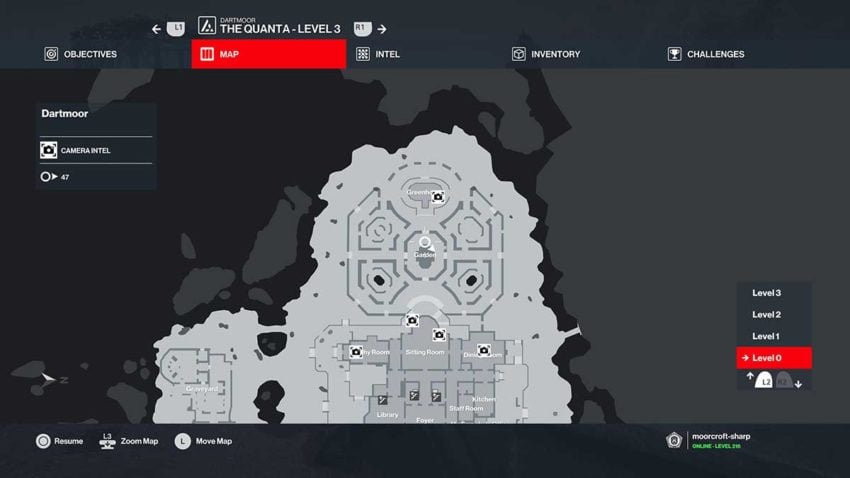
Next, you need to get the wrench and a baseball from the garden. Head through the door to your left to get outside and then go left again to reach the garden. See above for a map reference for the wrench. You need to wait for the gardner in the middle of the area to stop walking before moving to take it or they could see you. The baseball is on the grass next to the main staircase leading up to the house from the garden.
Now you need to get to the second target. Go up the stairs to the house and climb the drainpipe to the right-hand side of the large windows. See above for a map reference for this drainpipe. You need to go into the first floor, walk around the walkway, and vault out onto the ledge again. Then, you can shimmy to the left to reach the balcony of the room where the dead body is located.
Once you’re onto this balcony, you need to wait for the target to leave the room and take their bodyguard with them. Then, wait for the guard inside to walk away to the right-hand side. As he does, use the baseball to subdue the NPC on the balcony. Then, open the door and use the wrench to subdue the housekeeper or bodyguard and rush the second NPC to subdue them. You now need to hide all three bodies in this room very quickly. Finally, place the cigarette packet you picked up earlier on the table by the balcony doors.
Go back onto the balcony and use the wrench to tamper with the heatlamp. Now you can use the nearby ladder to slide down and get closer to an exit. Your second target will enter the room shortly and blow themselves up when they go for a smoke, leaving you free to exit.


Published: Apr 6, 2022 02:27 pm