The Jinzhen Incident is the second Escalation to come to Chongqing. As with all Escalations, there are three levels for you to work through, with each getting progressively more difficult as you go on. In this guide, we’ll show you how to complete each level with a rank of Silent Assassin.
Level 1
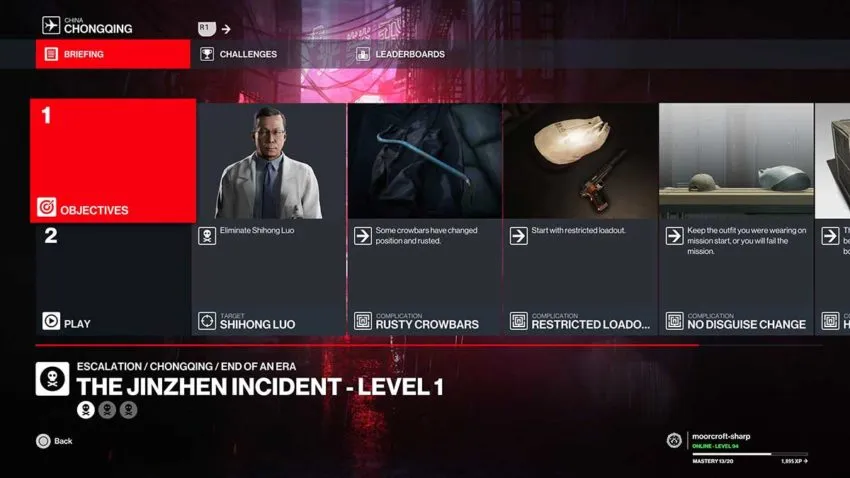
In this first level, you’ve got to take out Shihong Luo. You start with a restricted loadout, so you can’t choose your own, and you must keep the same outfit on for the entire mission. All bodies must be hidden before you can use an exit, and some crowbars have been moved around the location to keep things interesting.
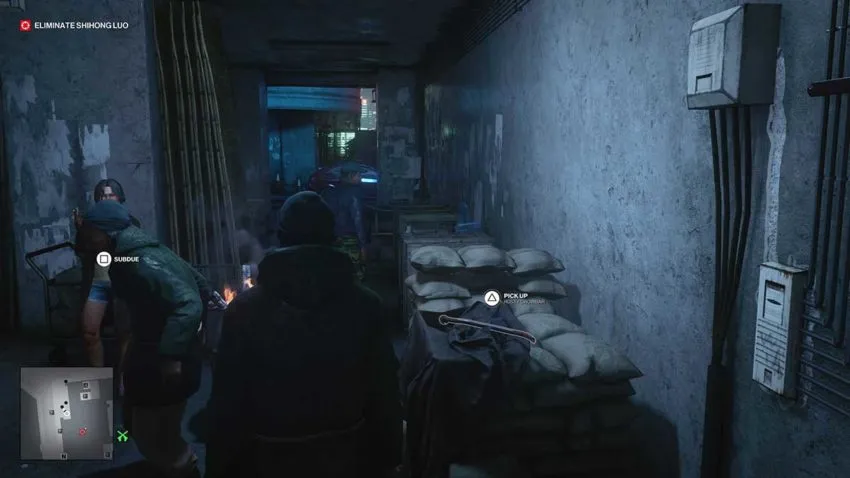
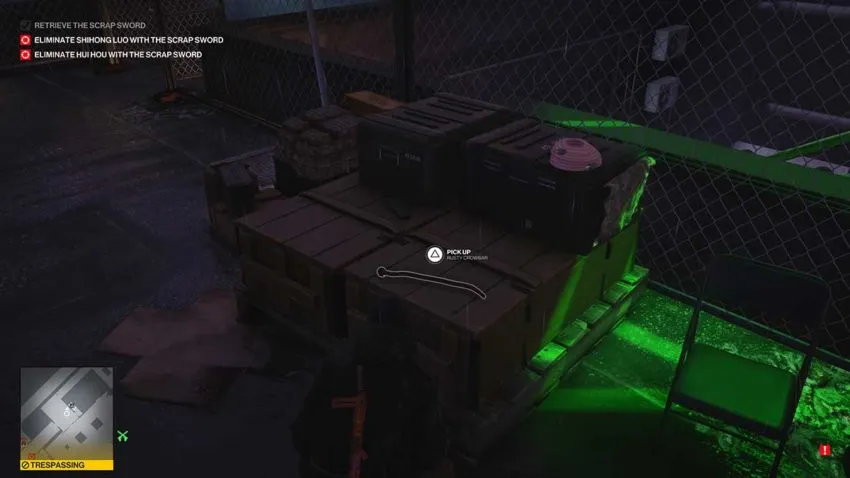
Your starting location is with the small homeless community near the train station. This means that Agent 47 will need to remain in the homeless disguise for the entire mission. Luckily, you don’t need to go far. Pick up the rusty crowbar next to you, and then head to the area behind your starting location.
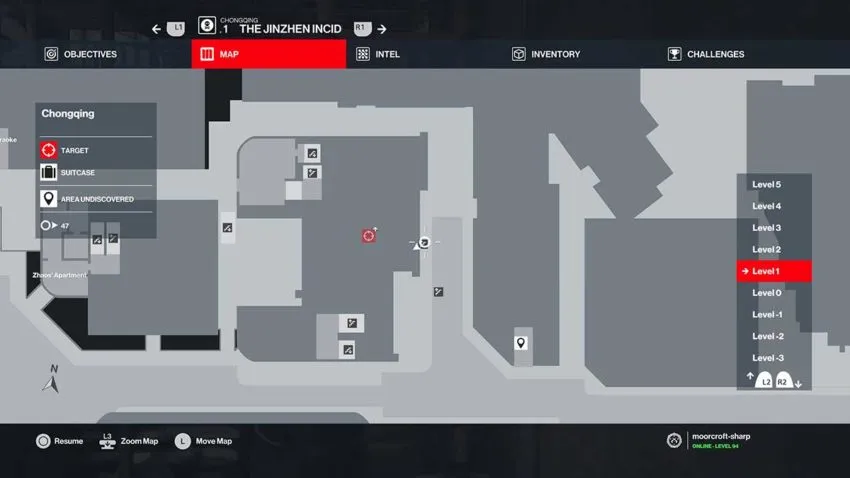
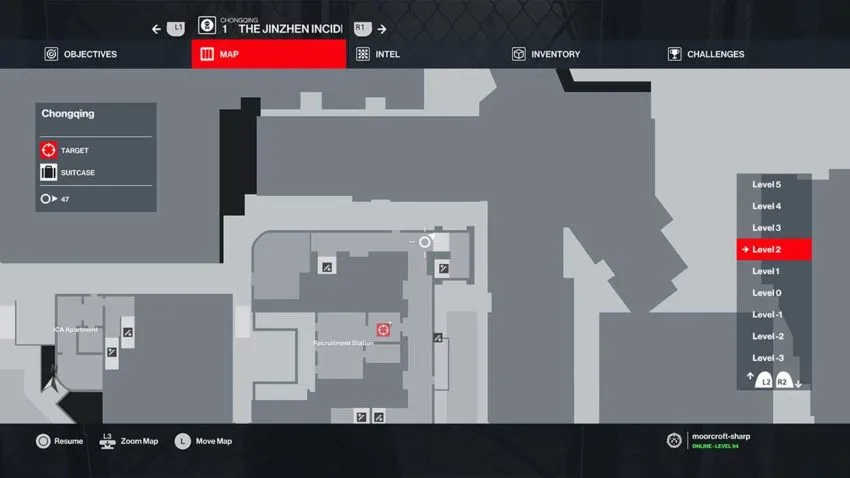
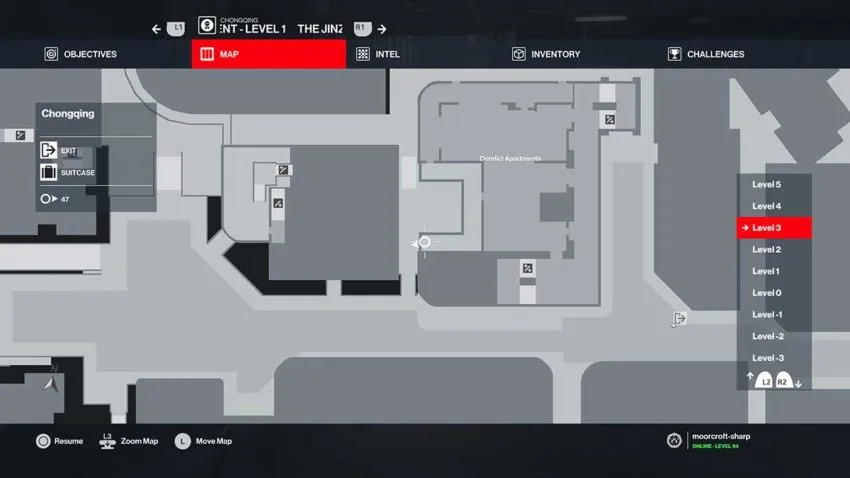
You need to go up the ladder that’s hidden by a van here. Below is a map reference for the ladder.
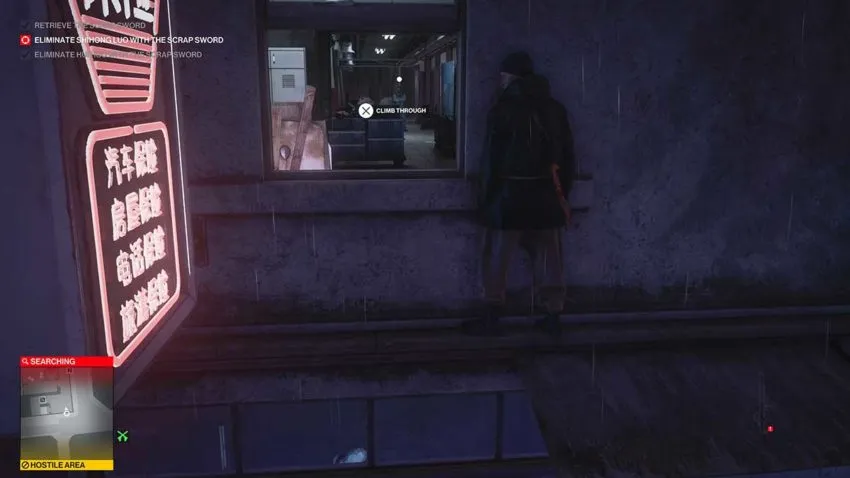
Once you’re at the top, vault through the window on this scaffolding. There are guards to your left, so head right and go all the way down the corridor. On your right, there’s a gate that you need to unlock using the rusty crowbar.
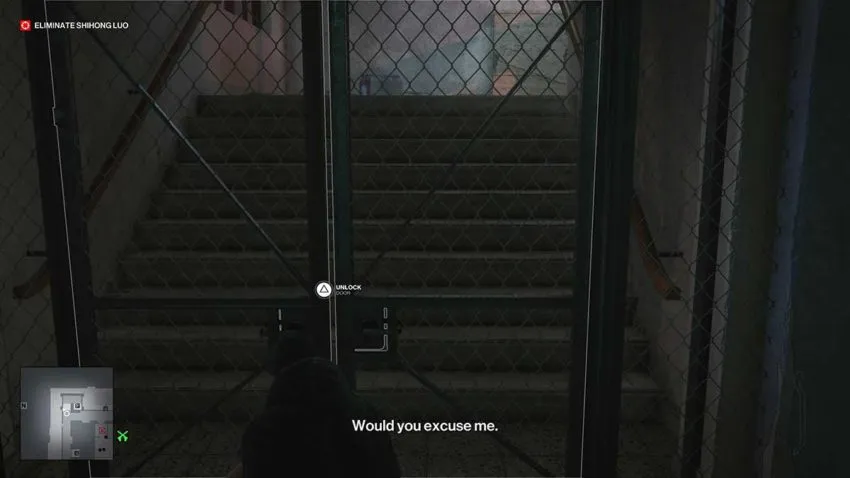
Below is a map reference for the gate.
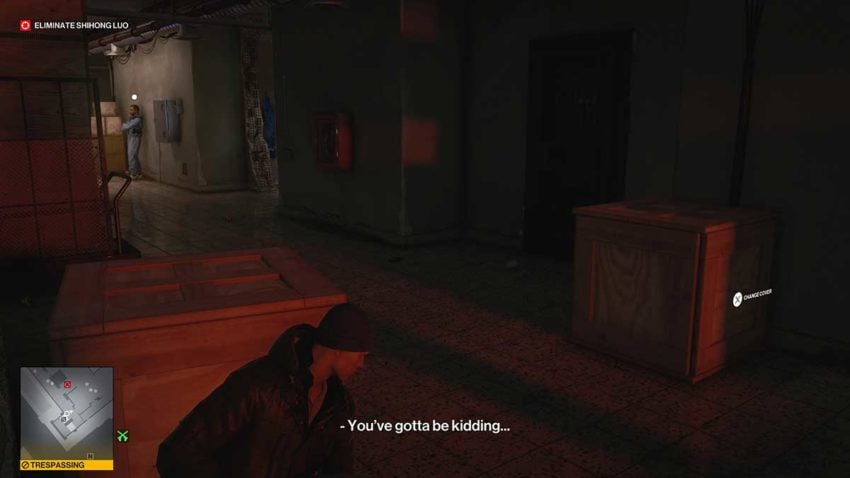
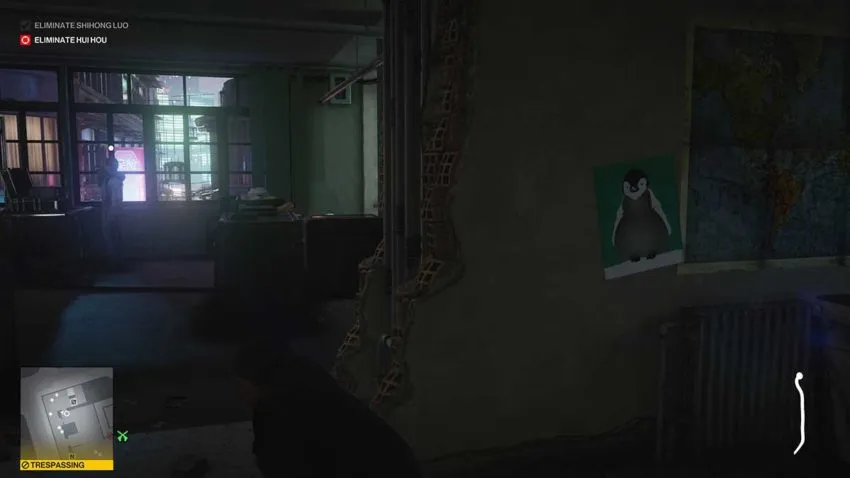
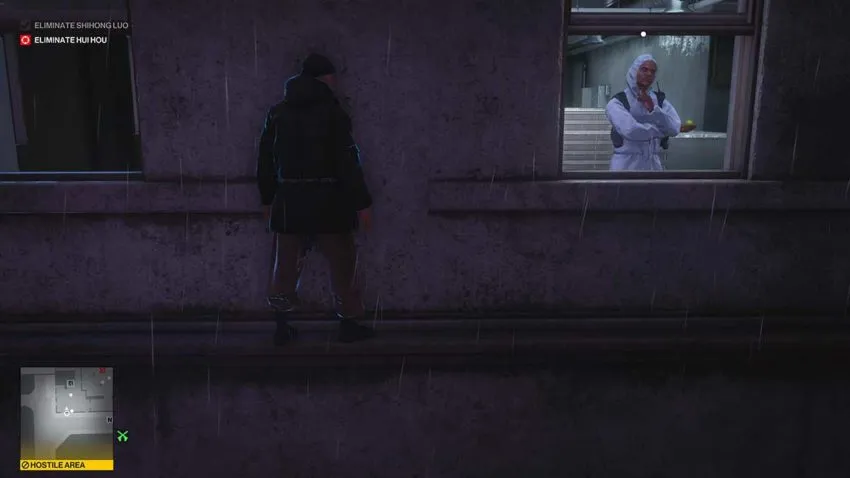
Once you’re on the stairs, you’ll be trespassing. Your target is on the next floor up, so you need to be careful not to be spotted. Lean against the wooden box and use it as cover to move past the guards down the hall to your left. You need to go through this next room and make your way to your target.
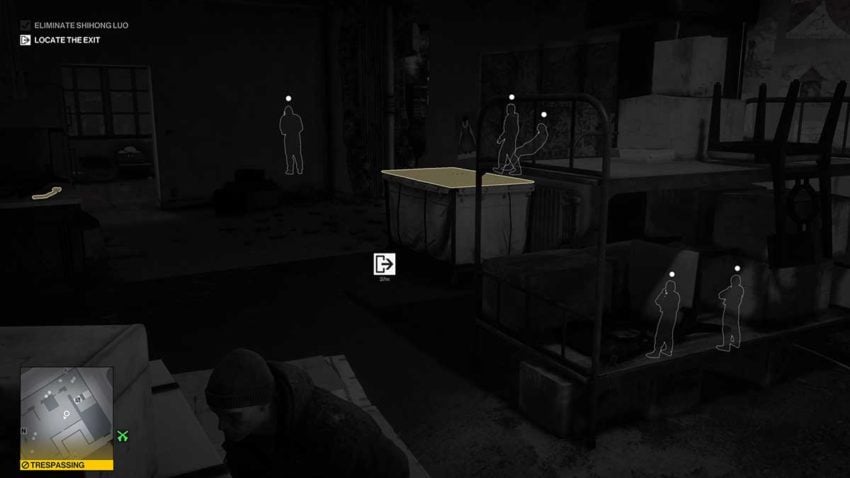
There are three guards in this area. Wait until they’re all looking away from your position before you move around and to the left to reach your target. You’ll need to be quick for this next part.
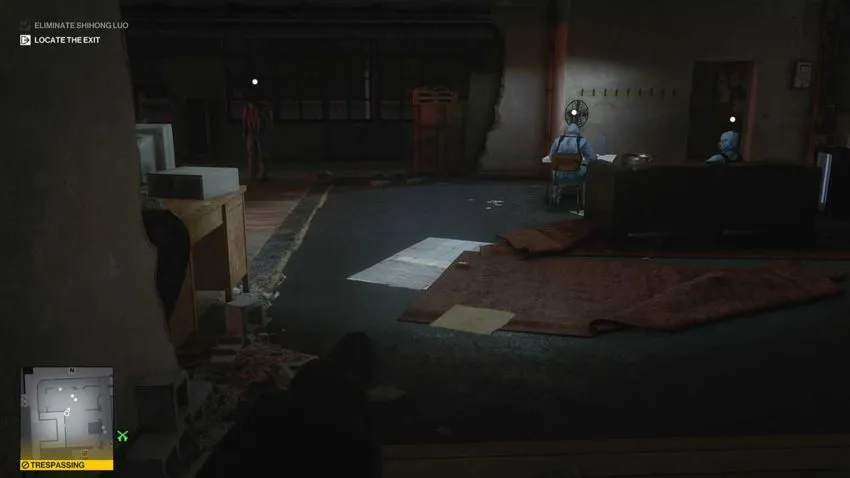
As soon as the guard standing up walks to the window in this room, go around the corner and subdue your target. Snap his next once he’s been subdued. Otherwise, the noise will attract unwanted attention. Now, drag the target’s body to the crate that’s around the corner to your right. It’s at the end of the large area you were in earlier, away from the three guards. You need to do this before the walking guard comes back to his starting position.
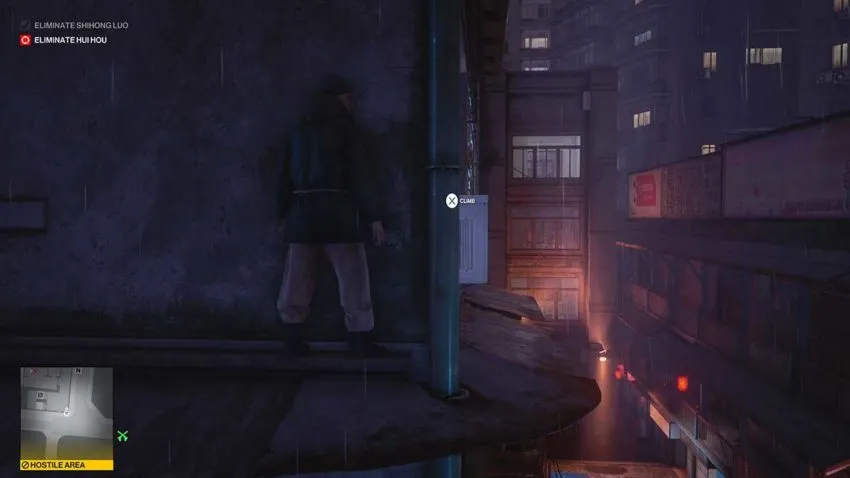
Now you can hide behind the nearby boxes to avoid being spotted by anyone. Next, you need to head back to the area with the three guards. When the walking guard is standing with his back to the area where you dumped the body, and the guard on the sofa is looking forward, go left towards the windows. Once you’re here, head left again and go through the door. Work your way along the balcony until you find the edge with the blue tarp to vault over.
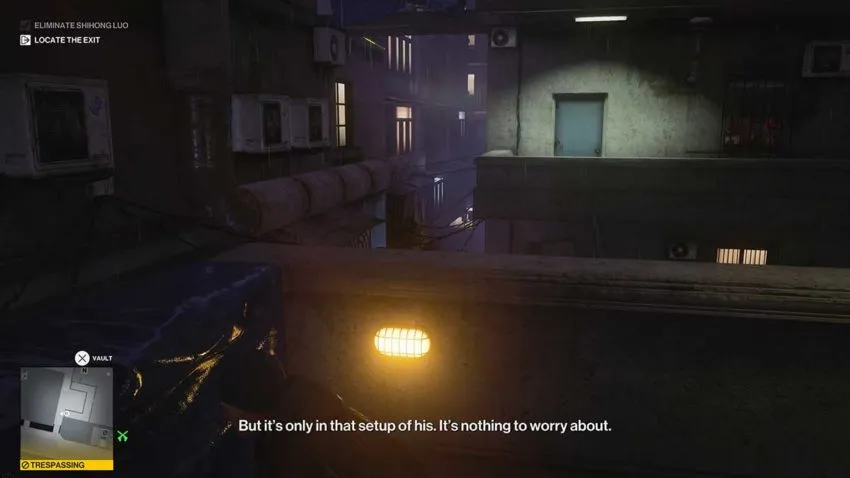
Below is a map reference for the blue tarp.
Take the drainpipe and slide down it. Now you can hang on the ledge of the next balcony and jump up onto it. All you need to do now is move along and vault through the window to the left of the door. Once inside, you won’t be trespassing anymore.
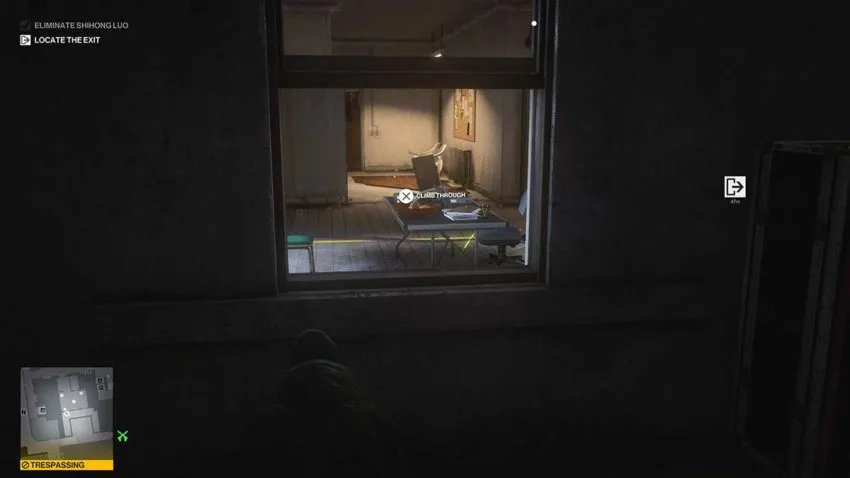
Head out of the room, carefully avoiding the camera, and you’ll see the window you vaulted through at the start of the mission. Vault out, go down the ladder, and make your way to the moped exit on your left.
Level 2
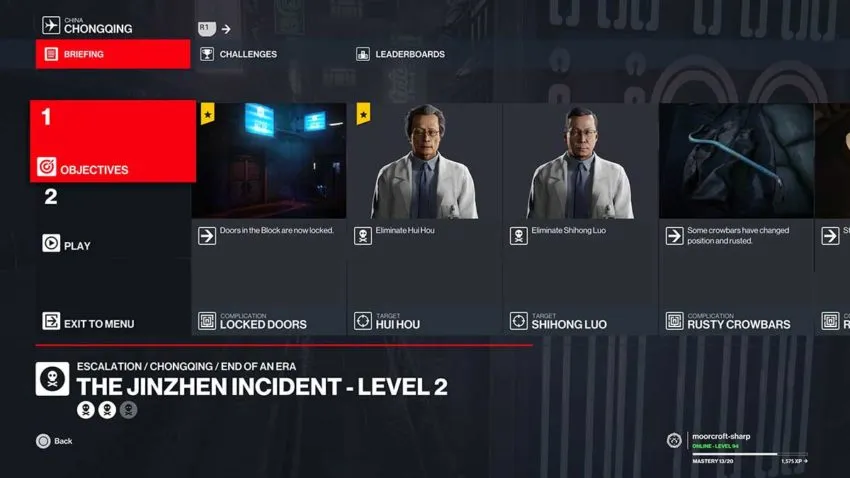
The second level mixes things up a bit with a second target. The doors in the Block area are also now all locked. This makes for a much more challenging route.
The path to your first target remains the same. Do everything you did in level 1 up until dumping the first target’s body. Next to the crate you dump the body in, there’s a second rusty crowbar. Pick it up. Below is a map reference for this rusty crowbar.
To the left of the crate is the entrance to another room. You need to go through here and up the stairs in the right-hand corner to get to your next target. Make sure you do this when the guards aren’t looking.
At the top of the stairs, head out of the open window to your right. Shimmy to the right and grab the drainpipe. Climb up to the next level and hop off to the ledge on your right. Since all doors are locked, you need to avoid as many as possible.
You now need to shimmy to your right again. Avoid the first two windows. A guard can pop his head out of the second one when he goes for a smoke. If you see him approaching, wait for him to move on before you do.
Hop the ledge and jump in through the third window. Wait until the guards in this room aren’t looking, then use the rusty crowbar to break it open and move through.
Be careful here because Hush, a target from the main mission in Chongqing, moves up and down the stairs into this area. Your target is a technician working at the back of the room with Hush’s mind-control machine. If you’re careful, you can work your way around the room and get to the target at the back. Go around to the left while everyone is watching Hush, and you should be able to move from cover to cover without being spotted.
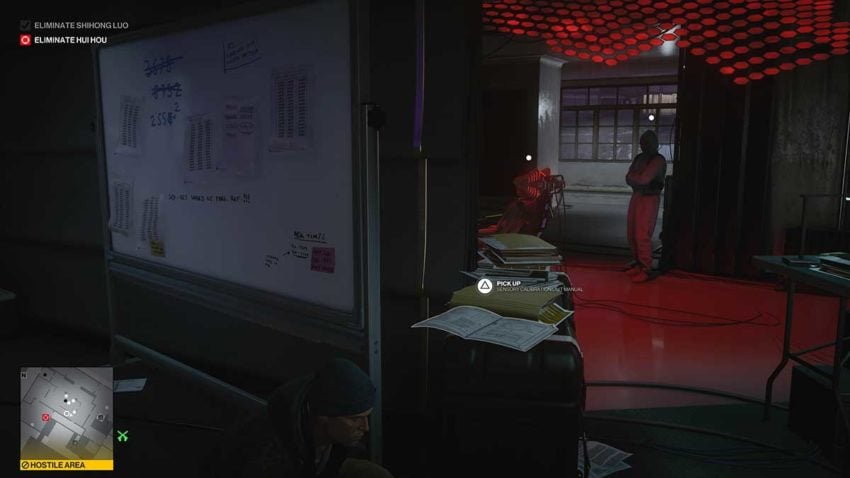
There’s a door at the back of the room that you need to go through. Once outside, there’s a door to your right. The keycode is 2552, and your target is inside. Hush will come in here on his normal patrol, so make sure he’s just been in before taking on your target.

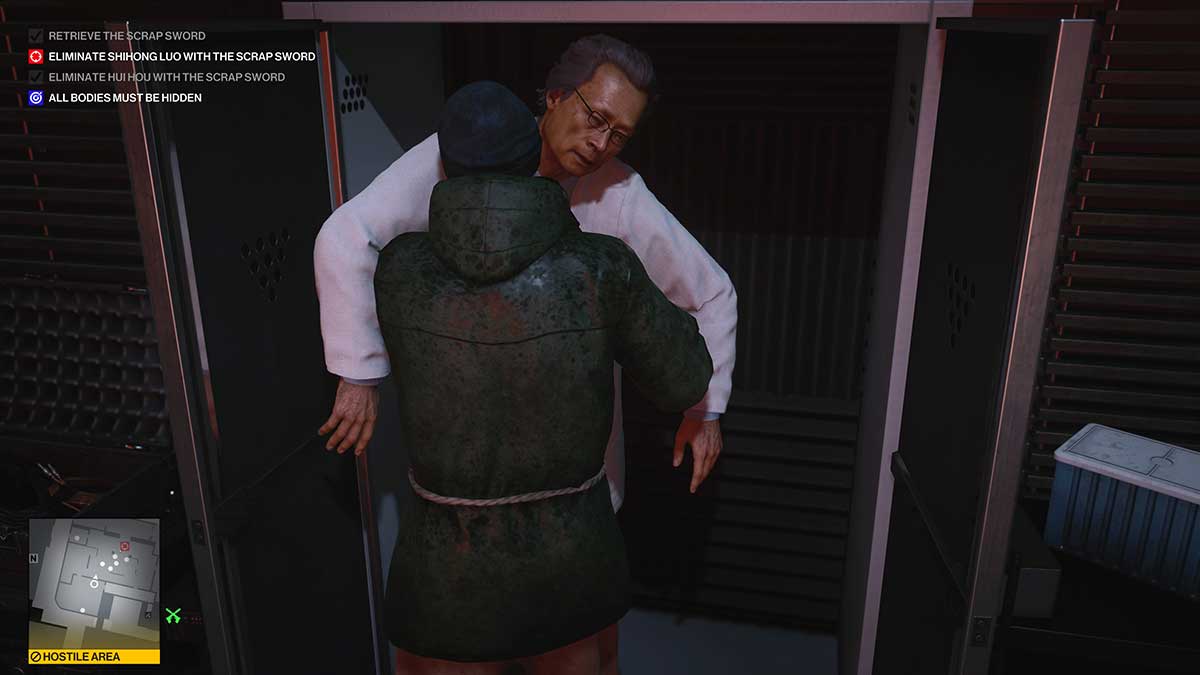
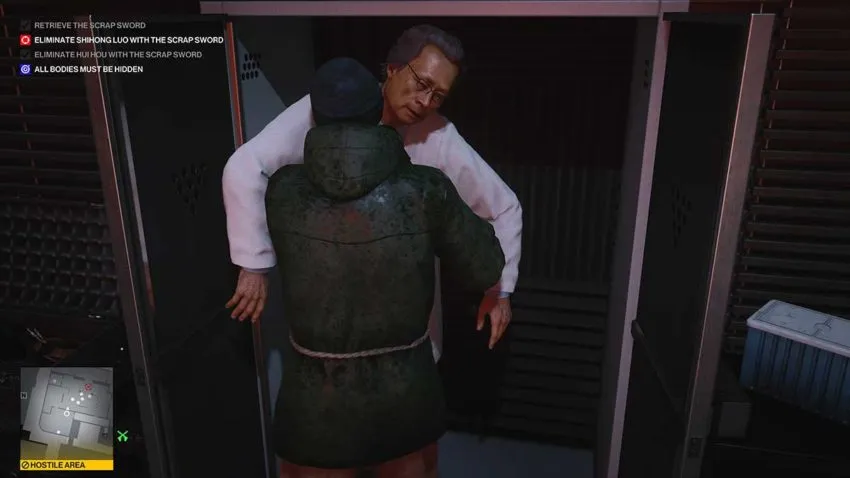
Once you’re happy, head inside the lab and subdue your target. Then, snap their neck and hide them in the locker. Their body must be hidden to complete the mission. To exit, come back outside and vault over the left-hand edge of the balcony. Go down the ladder and work your way around to the walkway to the satellite dish. It’s the area on the rooftop surrounded by a fence.

Move around this area, using the low cover to hide from the patrolling guard, and get down the ledge at the edge. You can use a drainpipe to slide down and then shimmy along to the lower roof.
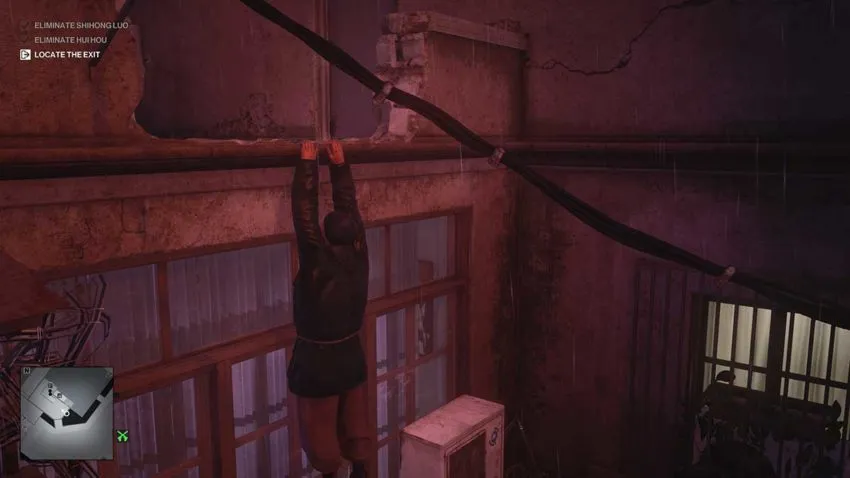
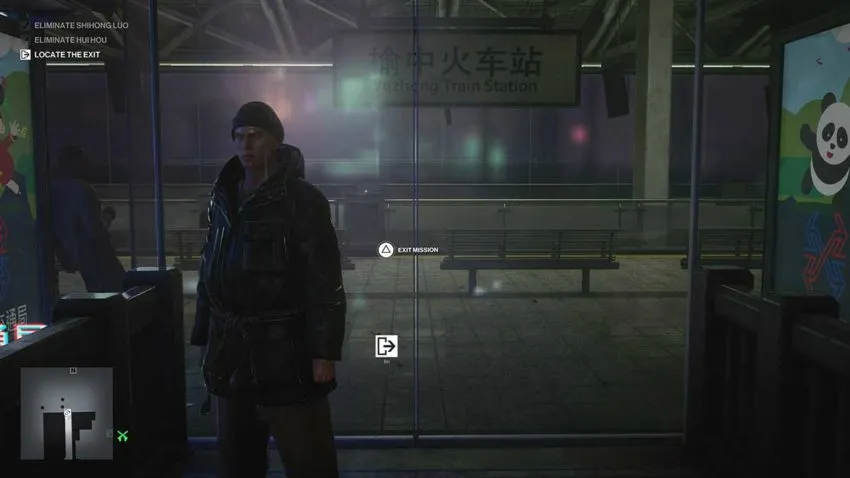
Once you’re on this rooftop, get inside the door to your right. This is an apartment building, and you won’t be trespassing anymore. Now you can make your way down the stairs to an easy exit such as the bike or train station.
Level 3

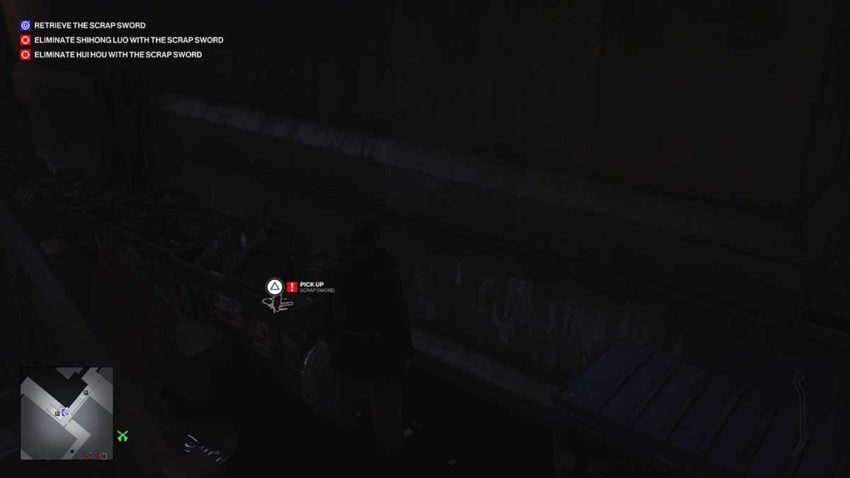
In this third level, the mission takes on a complication that changes everything. You need to find the Scrap Sword and use it to kill your targets.
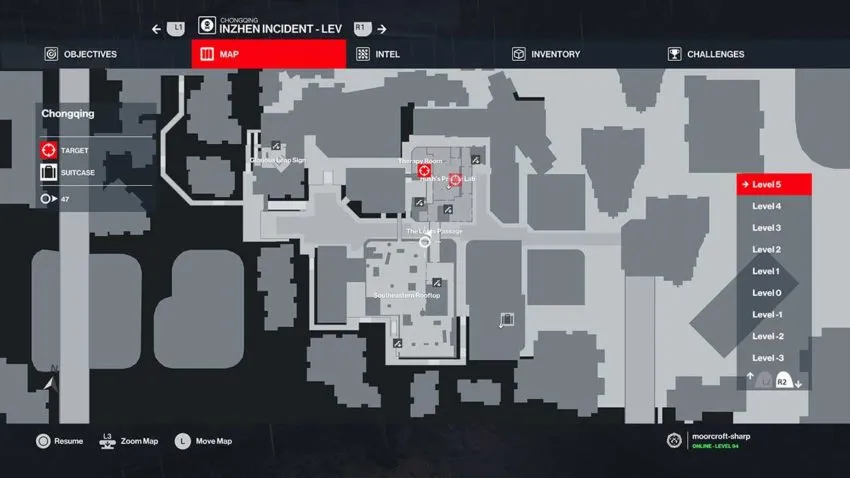
The Scrap Sword itself is easy to get hold of. Follow the path on the map that takes you to its location. You don’t need to go into any areas where you’ll be trespassing. You move forward from your starting location, follow the path up and over the walkway stairs, and then go downstairs at the back of the restaurant to grab the weapon.
Now you have the weapon, every NPC will find you suspicious. From the Scrap Sword, you need to go up the stairs and up the ladder, you can see in the image below.
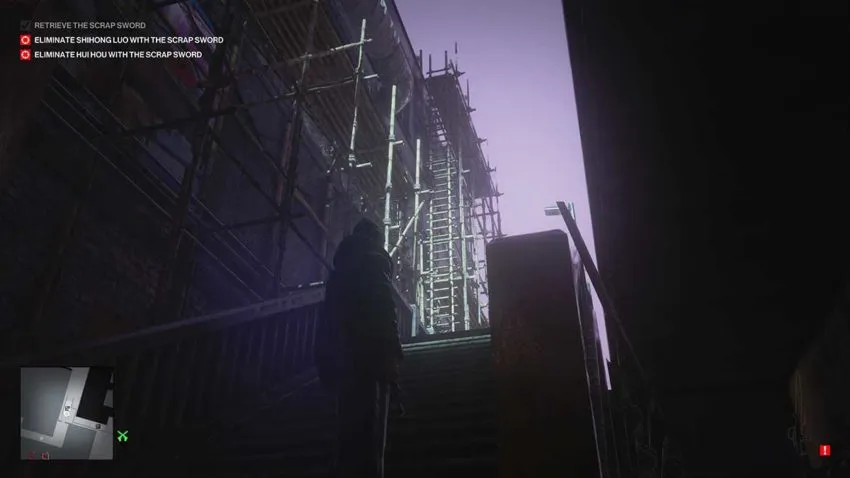
Once on this rooftop, you need to move left towards the edge of the building; there’s a ledge here near a walkway.
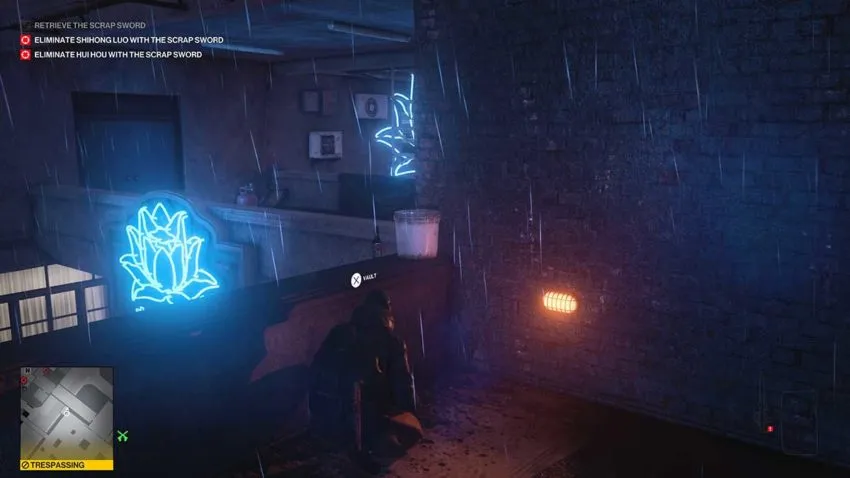
Below is a map reference for this walkway.
Vault the wall and jump into the walkway. Now you can open the door to your right without using a rusty crowbar and pick up a second one.
Now make your way into the building through the door at the opposite end of the walkway. This is the room you came through earlier to get to your second target in level 2. When the guards aren’t looking, break through the door and follow the same process to kill the target in Hush’s lab.
Once the target is dead and hidden, you can return the way you came up here in level 2. Go back out the window and down the drainpipe. Retrace those earlier steps to end up in the room with your second target, and use your weapon to kill them.
With this second body hidden, drop the Scrap Sword. Now follow the same path to the exit that you used in level 1. You’ll need to pick up the third rusty crowbar next to the crate for this second target to allow you to escape the area. The Escalation will now be complete with a rank of Silent Assassin.


Published: Apr 29, 2021 01:12 pm