The Sloth Depletion is the Escalation added to Hitman 3 with Season of Sloth. It adds in a unique mechanic that’s directly related to the season’s theme and makes for a more challenging experience all around. In this guide, we’ll show you how to complete the Escalation with a rank of Silent Assassin and how to complete every challenge along the way. All the loadouts are fixed for this Escalation, but there is one thing you need to be aware of before you start.
Vitality
Before we start, you need to know that this Escalation’s unique mechanic is a vitality meter. You’ll see it appear in the top-left of your screen when you play. It drops as you move Agent 47 around and perform any actions. Once it hits zero, Agent 47 dies, and the mission is over. Therefore, you need to complete each level of this Escalation before that meter runs out.
Level 1

There are quite a few requirements for this level. You have your target, but you must also keep your starting disguise on at all times. You can kill the jogger to restore your vitality, something we’ll be doing, and multiple objectives will be added as you progress.
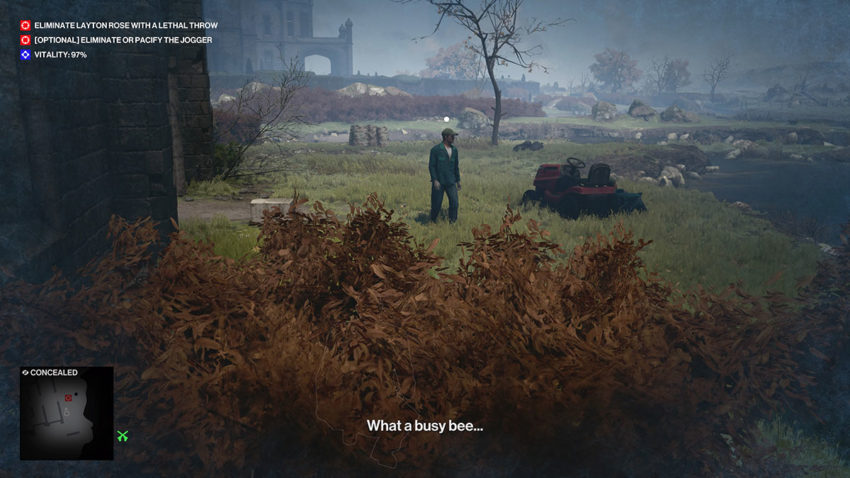
From your starting location, go right around the wall and hide in the bushes next to the opening to the ruin. You’ll see a gardener come out of the ruin, wait for him to move off to the right. Once he has, run past and head for the snail statue.
Pick up the shuriken from the snail, then take the brick on the wall to your right. Now you can turn around and run into the ruin. You need to get to the radio on the opposite side of the area to the snail. Turn the radio on, wait for it to trigger the gardener, then turn it off and hide in the bush and wait.
Once the gardener comes over to the radio, throw the shuriken at his head. Now retrieve the shuriken and head through the opening behind you. There’s no need to hide the body.
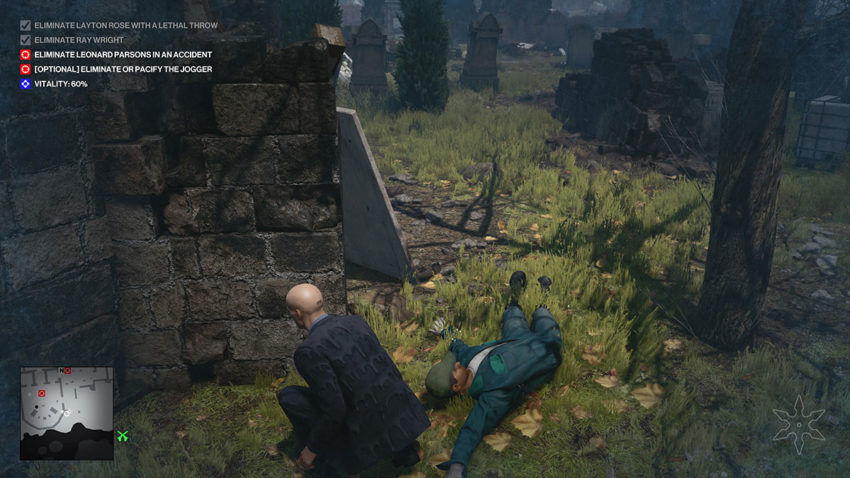
Your second target is dead ahead of you. Throw the shuriken at his head to kill him. Now turn left and run to the guard by the trees. Throw a brick at his head as soon as you’re able to subdue him. Now take the shuriken and hide the second target’s body in the bushes behind them. Otherwise, the undertaker will come along and discover the dead body. Run back to the guard that you three a brick at earlier and drag his body into the bushes nearby too. You can also hide it behind the wall if you want to rush and save as much vitality as possible.
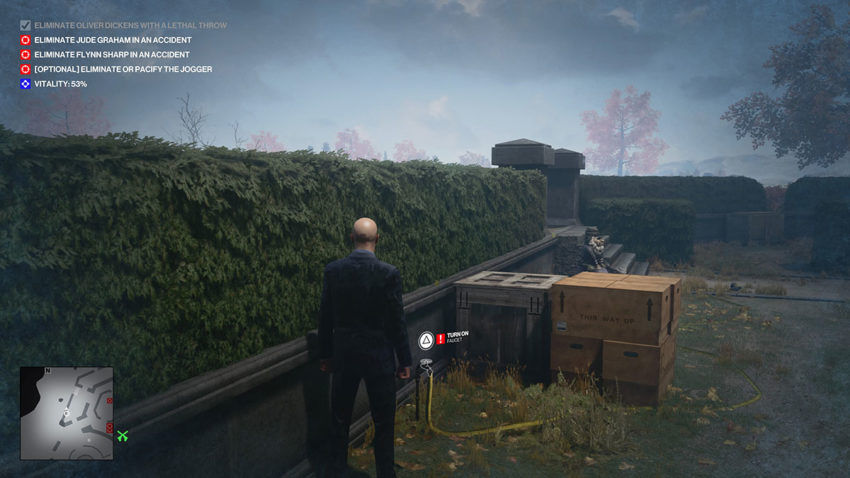
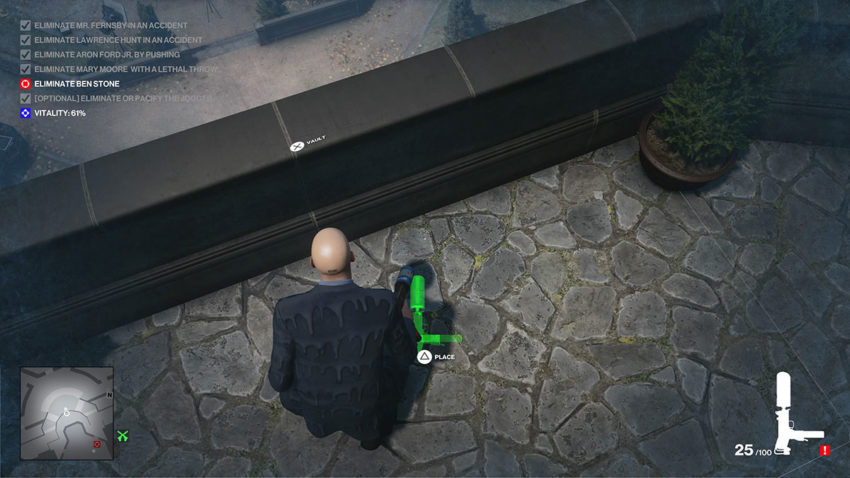
As the undertaker walks up to the gravesite, vault up and work towards the pedestal, then take the screwdriver from it. You now need to move away to the right, all the way out of the area, and to the very edge. A gardener is sweeping out here, so make sure that they’re looking away before this next part. Use the screwdriver to pierce the barrel, which will set a trap for the undertaker. That target will now take care of themselves.
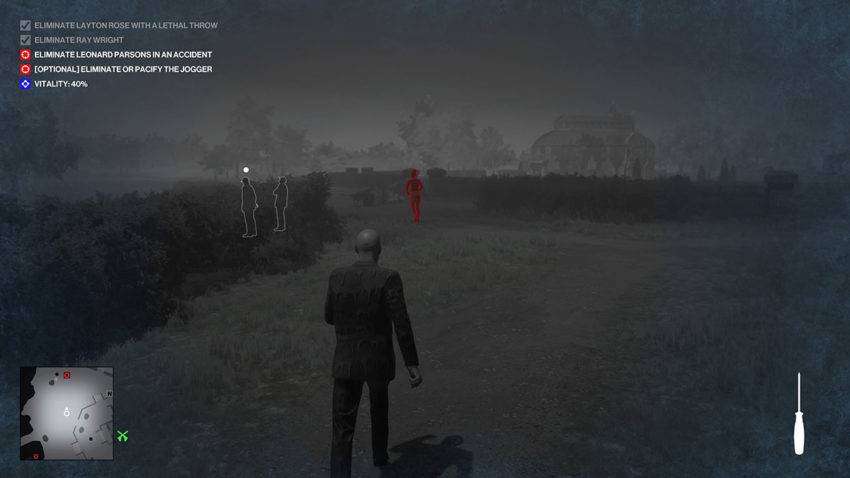
If you’ve been quick, the jogger will now be running in the distance. She’ll be running left if you’re looking at the house—head after her. Use the screwdriver to kill the jogger as soon as you can. Hide her body in the bushes to avoid the body being seen. This will give you a huge boost to vitality, around 40%.
Run to the bushes near the chair if the undertaker isn’t dead yet. If they are, you’ll be able to run to the exit. Once the final target is dead, exit the level to get your briefing screen. This run of the level completes the Sleeper Agent Level 1, Personal Day, Self-Care-Level 1, Tortoise and the Hare – Level 1, and Vacation Day challenges.
Level 2

This level is pretty much the same as the first in terms of objectives. However, you will be in a new starting location, so the path will have to be different. This time around, you’re at the bottom of the maze in the garden. Run ahead from your starting location and head to the chunk of wood with an axe in it. You need to grab the axe for your first target.
Now move to the boxes behind the gardeners at the back of the conservatory. You need to kill the gardener furthest away from you. Wait until his back is turned before throwing the axe. If you don’t, the second gardener will hear the axe and see the body.

Leave the axe and run past the body around the hedges. You’ll see two snail statues ahead of you. Take the opening in the hedge to your right and turn on the garden tap down there. This will create a puddle at the bottom of the steps.
Wait for the guard near the snail statue to move away. You need to get up to it and take the car battery as soon as you’re able. In the meantime, move across the steps and to the other side of them. Your second target will hear the noise of the tap and come to investigate before too long. When they do, vault up through the gap in the hedge near the container. Once the guard has moved away, grab the car battery and throw it into the puddle. The target will be fried as soon as they step into it.
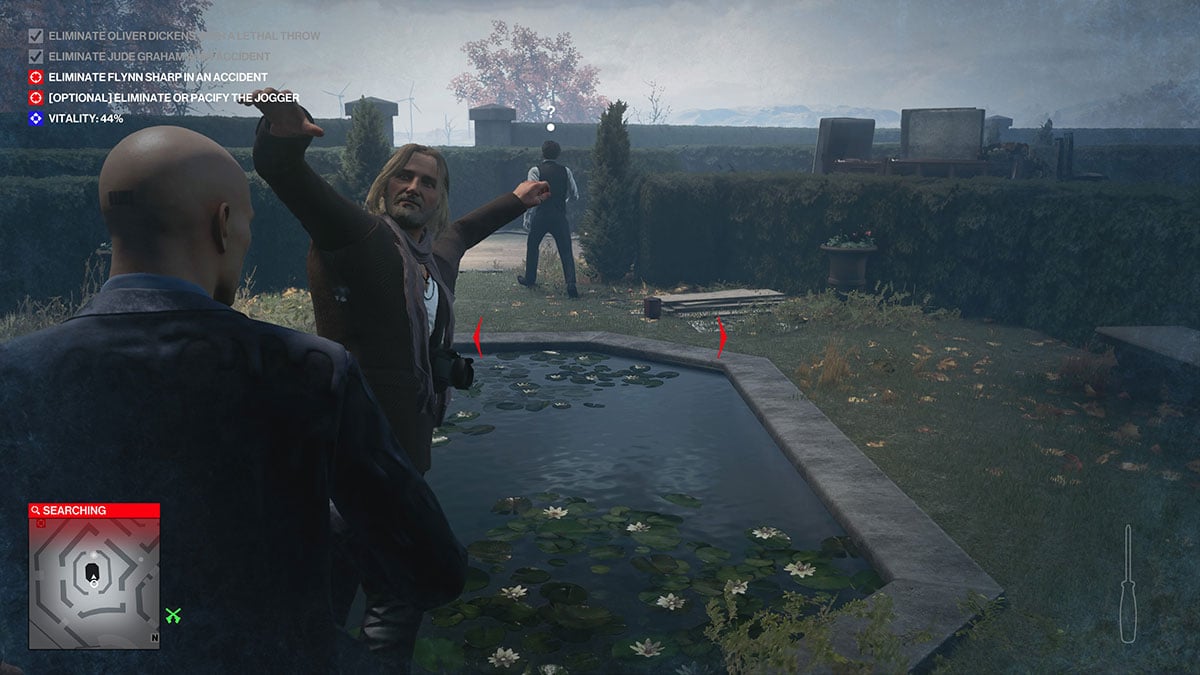
Run to your left and then work your way right to the middle of the maze, almost to the fountain. You need to run left before you get down to the fountain and work your way around to the third target. You should be able to see them in the maze ahead. Grab the screwdriver from the boxes nearby before you follow.

The target will walk over to a pond, but there’s a staff member nearby. Turn on the nearby radio to draw out the staff member, allowing you to push your target into the pond once they’re not looking. Your vitality is probably running a bit low by now, but the jogger should be running by ahead of you. Chase her and throw the screwdriver to kill her.

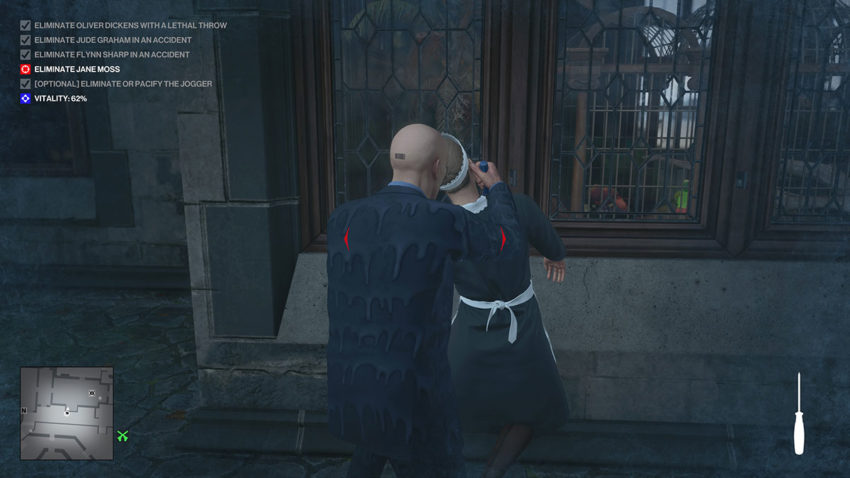
Your final target is up by the house. Run up there along the edge of the maze, get up the steps and pick up the garden fork from the table. Pick up the tranquilizer gun from the snail statue on your way up the steps. As the target comes to clean the window, kill her with the fork. You can leave her body where it is.
Your exit is in the maze, so head back in there, avoiding any enforcers along the way, and leave the level. This will complete the Sleeper Agent Level 2, Self-Care-Level 2, and tortoise and the Hare Level 2 challenges.
Level 3

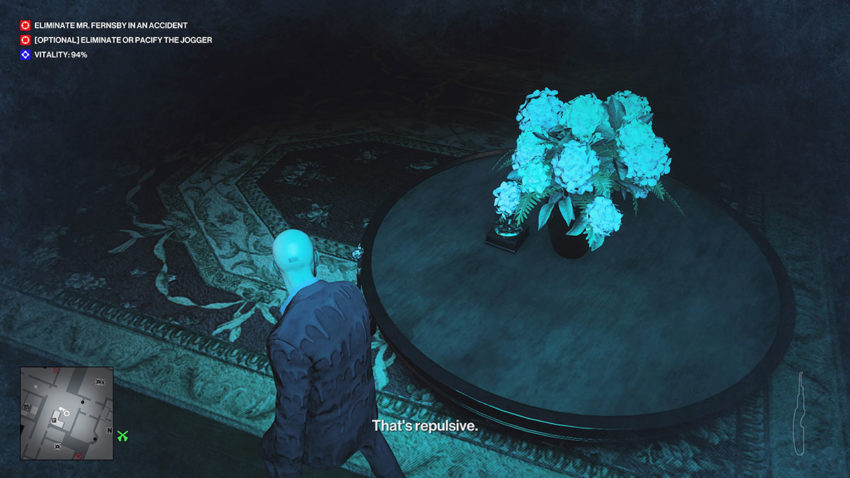
This final level puts you inside the mansion in this reworked version of Dartmoor. Your first target is Mr. Fernsby, who requires an accident kill, and things will ramp up from there. From your starting location, head right through the open doorway, and pick up the letter opener on the right as you go through. Put the item away and keep running right towards the snail statue by the guards. There’s a lock pick on the snail that you need, as well as a cane by the table nearby that you must pick up.
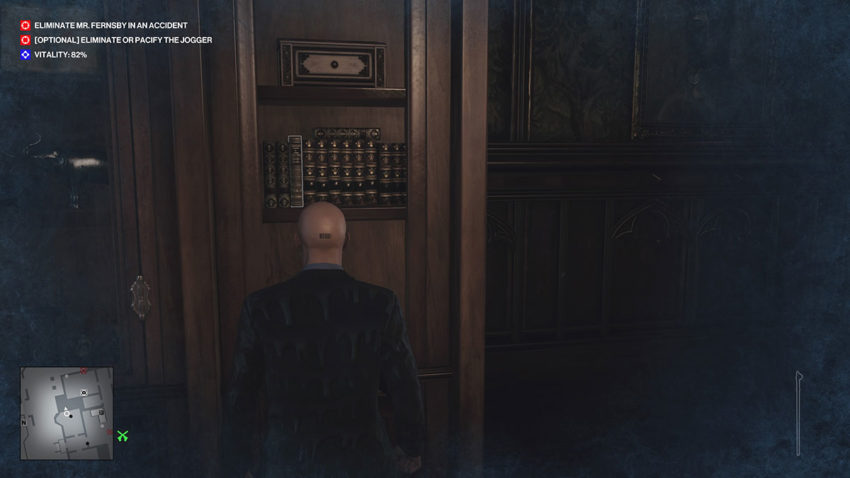
Now run back on yourself towards the open window. Before you get there, you need to use the cane to open a secret door in the wall on your right. Go through the secret passage and into the next room. From here, head out through the door to your right, across the hall, and into the room opposite. There’s a secret door in this room to open as well. You need to use a book on the bookcase on the wall. The guard in this room can spot you, so be quick and get away from him as soon as possible.
Get through the secret passage, then head right out of this room. You’ll be able to see a colossal chandelier in front of you as you exit that room. Crouch and head left. Watch out for the guard in this room, he’ll eventually turn around, and you’ll be able to get past him to the snail statue. Take the SMG from the snail and follow the guard. Knock him out and get outside to the next statue, where you can pick up a sniper rifle.
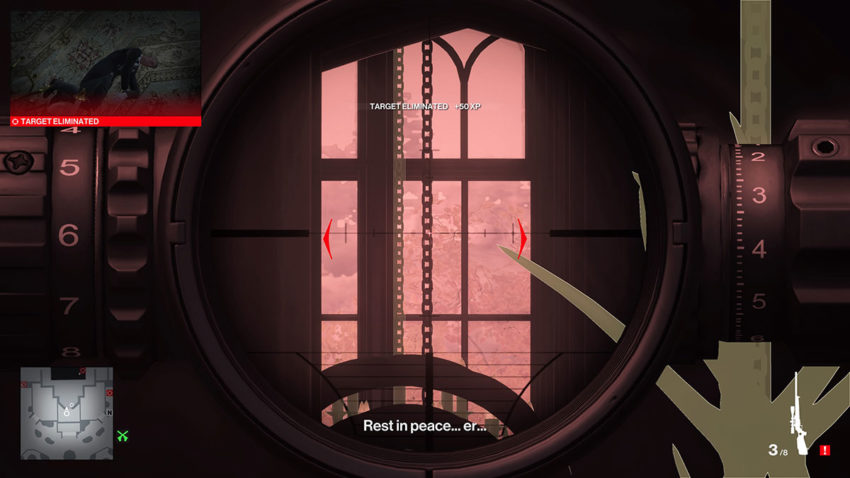
Now use instinct to wait for Mr. Fernsby to be in place below the chandelier in the far room in the distance, not the one you were just in. When he is, when he has stopped walking, shoot the wire holding it to drop it and kill him. Now shoot the chandelier that is closest to you. This will drop the second chandelier and kill your second target too.
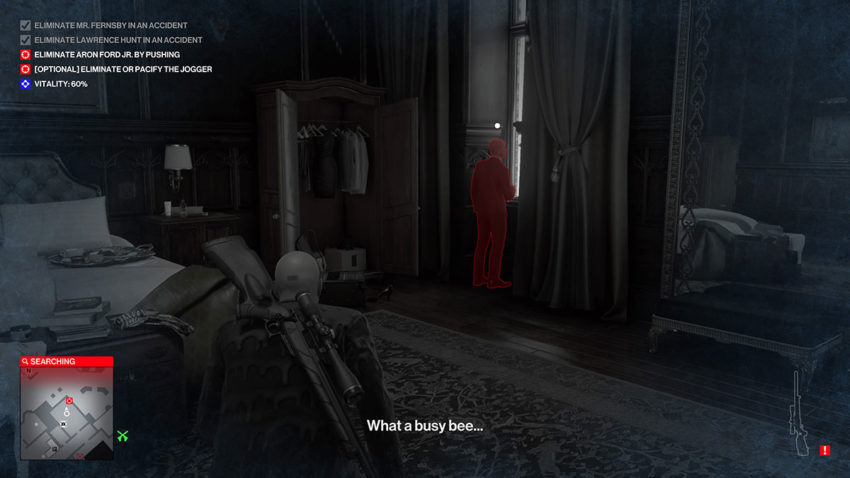
Run back the way you entered this area, into the bedroom with the secret passage. Your third target is looking out of the window here, so push him out to mark him off.
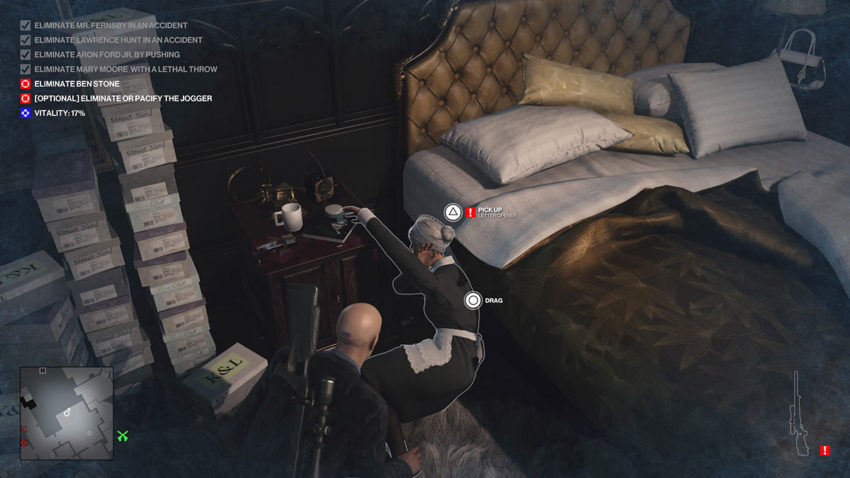
Two more targets will appear now. Head back out of the bedroom door and pick up the feather duster on the right. Move forward and vault up the wooden staircase as soon as you can to avoid the guards. Go all the way up and enter the now trashed version of Alexa Carlisle’s bedroom. Wait until the housekeeper looks away from the door and then throw the feather duster at his head. Your target is the female housekeeper to your left. Use the letter opener to kill her from a distance.
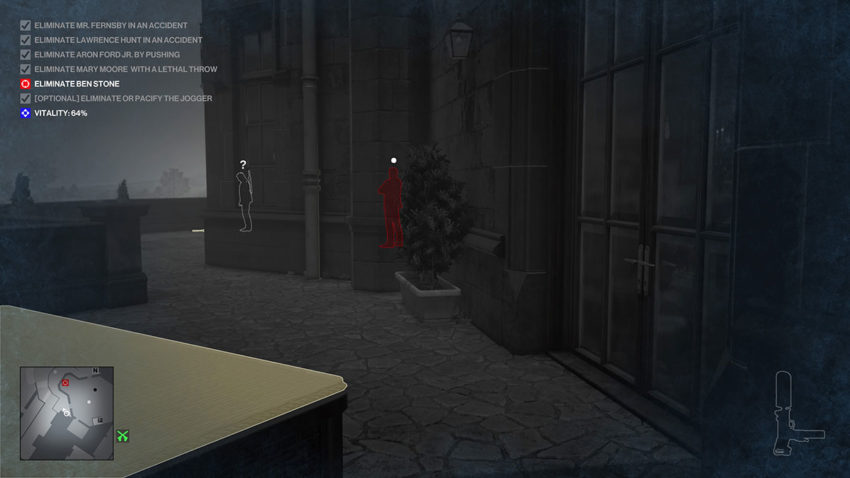
The next target is across the hall, in Alexa Carlisle’s office. Run over, get inside and get behind the counter whilst avoiding the guard at the front of this room. Your target should be at the back. Don’t take him out yet. Instead, go out through the left door onto the balcony as the guard walks around to that area. Wait for the guard to walk away, then grab the shears from behind you. At this point, vitality is low, so you need to shoot the jogger. She’s in the distance, so ready the snipe rifle. Avoid the sight of the guard behind you, wait for the jogger to stop running, and then shoot her in the head.
Work your way around the front of the balcony and drop the sniper rifle on the floor. A guard will see this and pick it up later, aiding you with one less enforcer to worry about. Wait for the guard to see the sniper rifle and take it away before doing anything else.
Once it’s been grabbed, drop a pistol on the floor at the front of the balcony. This needs to draw your target out to the edge of the balcony so you can take him out. You need to push him over the ledge or subdue him and throw his body over.
Your exit is at the top of this area, so use the drainpipes to climb up and sit in the chair to leave. This will also complete the Sleeper Agent Level 3, Self-Care-Level 3, Sabbatical, Tortoise, and the Hare Level 3 challenges. You’ll also unlock the Slapdash SMG, the Goldbrick Proximity Mine, and the Latophage Suit.


Published: Jun 15, 2021 05:12 pm