Five new Featured Contracts have been added to Hitman 3, each created by members of the MinnMaxShow. The first one, Get a Load of This, is a great introduction to them, but Crossblade is where these Contracts get series. In this guide, we’ll walk you through how to complete Crossblade with a Silent Assassin rank.
Briefing
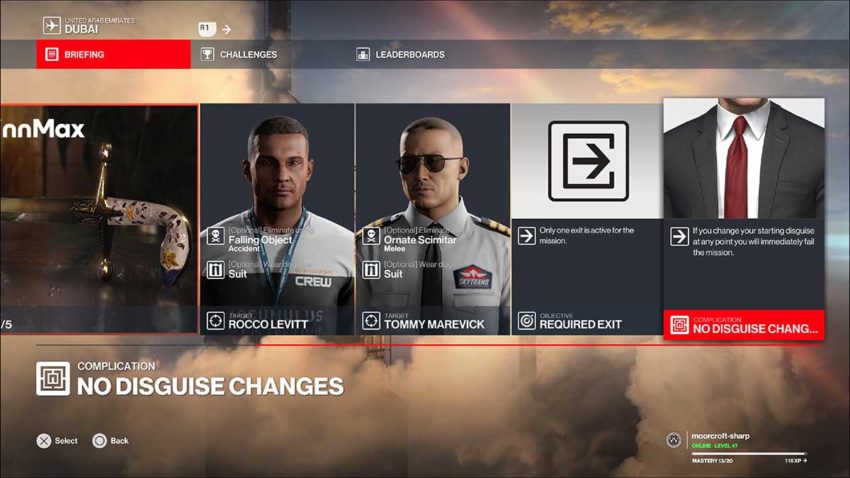
This Featured Contract gives you two targets to kill. The optional disguise is any one of Agent 47’s fabulous suits. You also have two optional methods to kill these targets with a falling object and an ornate scimitar. This guide will see you meet all of these optional requirements.
The complications here are that you can’t change your disguise, making this a Suit Only run as well. There’s also only one available exit, but that won’t be a problem.
Loadout
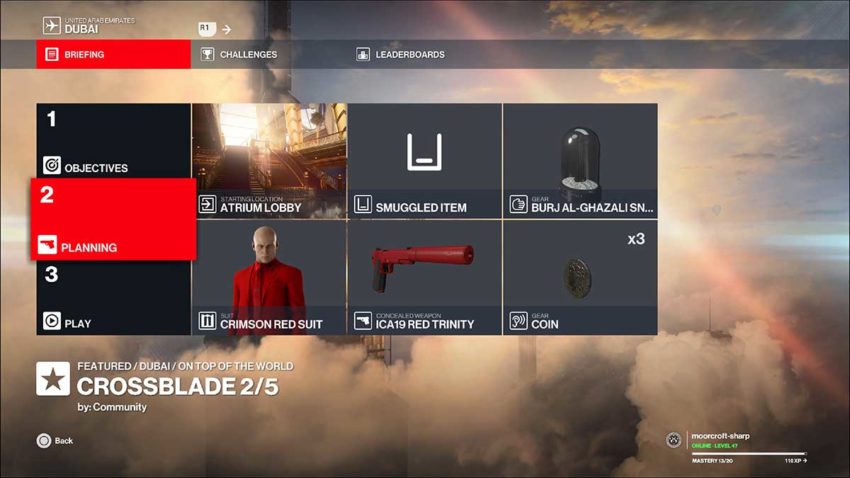
With this Featured Contract, we’re starting with a loadout everyone will have. The entry point is the Atrium. The only items you need are one of the aforementioned fabulous suits, a silenced pistol, and the coins.
Step 1 – Reach your first target
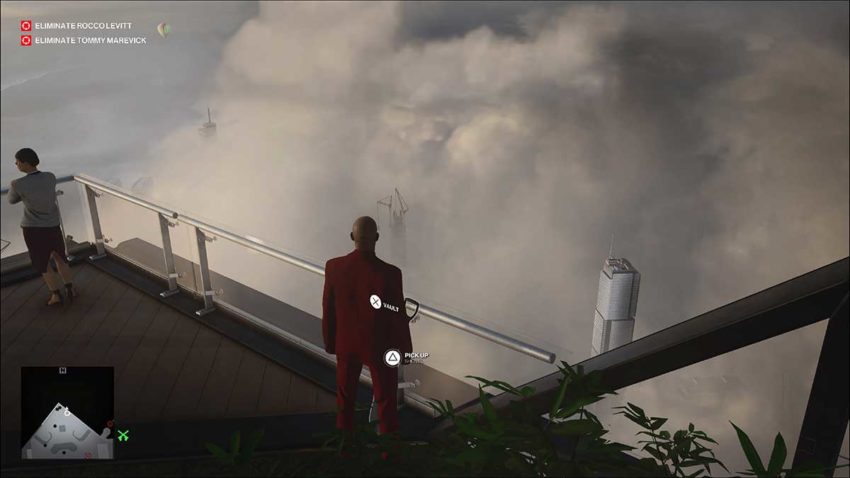
From the Atrium, head up the stairs and turn right. You need to make your way to the garden, which is the only grassy area in this entire building. There’s a shovel leaning against the balcony. This is where you need to be standing.
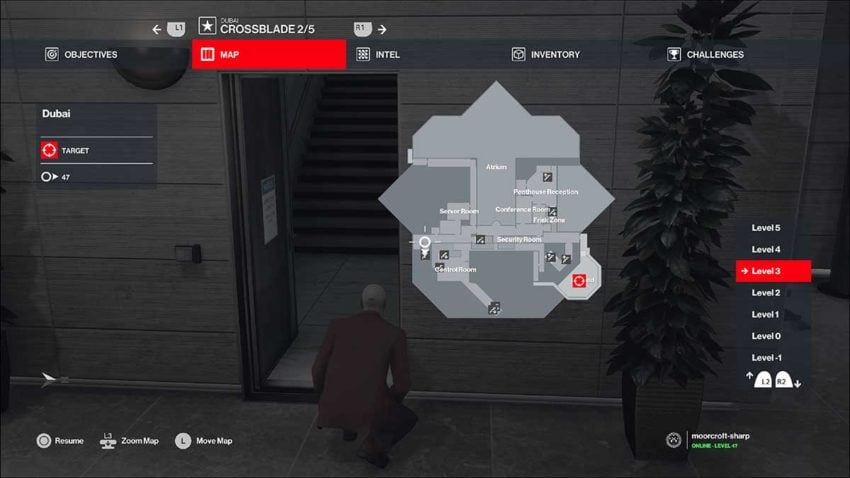
Below is a map reference for this location.

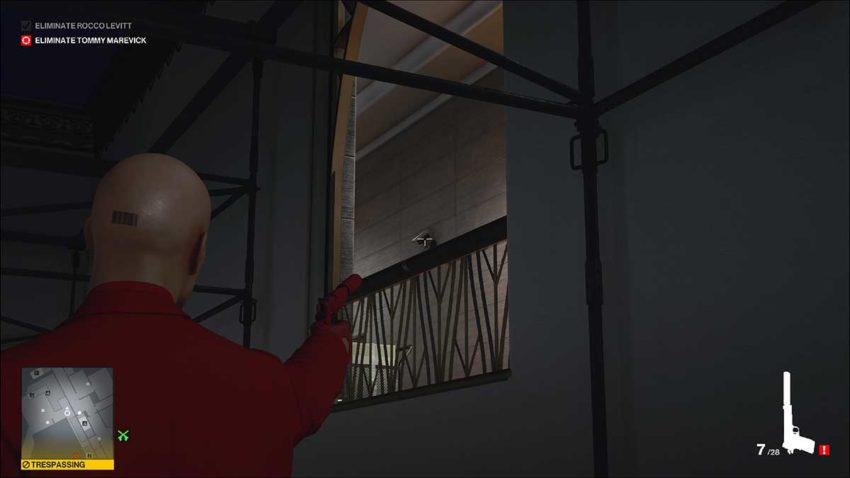
You now need to vault the balcony and shimmy all the way along to the left. Jump into the scaffolding outside of the window and use your camera to open it.
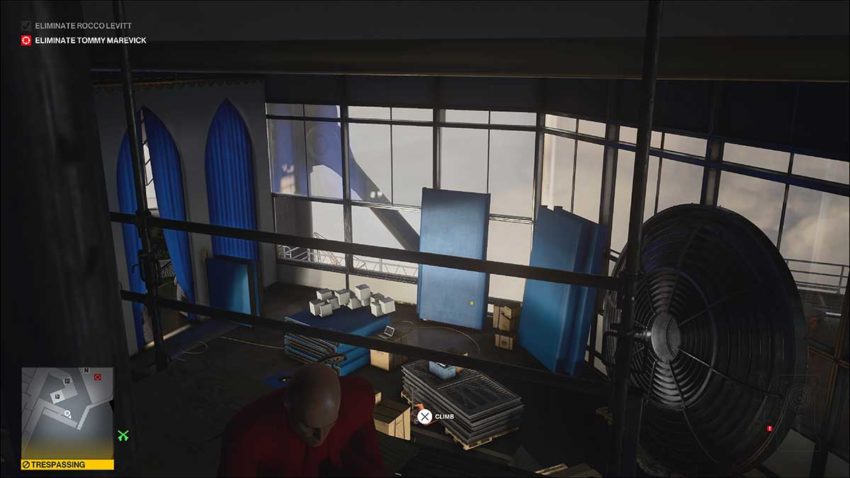
This room has two technicians inside of it. One will be at the back of the room, trying to pull out a light, and the other has a patrol that moves her from the back of the room to the laptop near the window.
Vault through the window and use the boxes as cover to take down the NPC closest to you as they occupy themselves on the laptop.
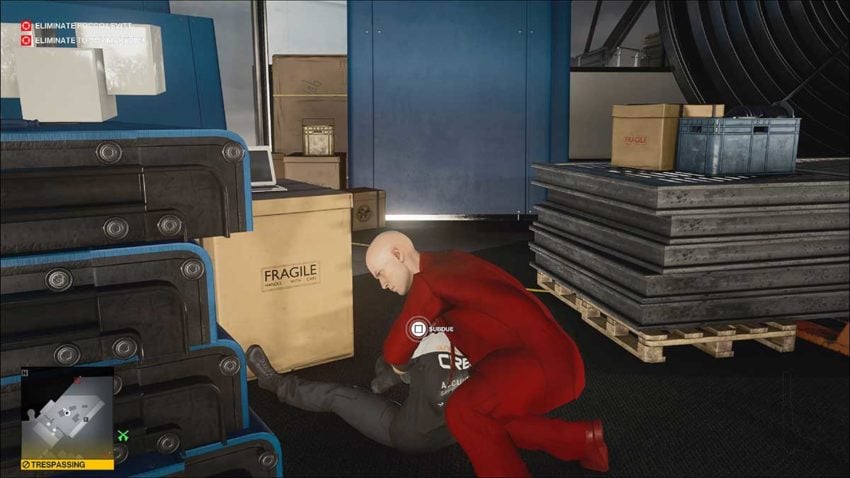
Hide her body by dumping it out of the window and onto the scaffolding. Now subdue the other technician in this room and hide his body too. Throwing them out of this window won’t kill them or affect your Silent Assassin rating.
Now it’s time to head down the corridor to the right of where that second technician was. You can see two guards and another technician moving around further down it. That technician is your target, but we’re not killing him yet.
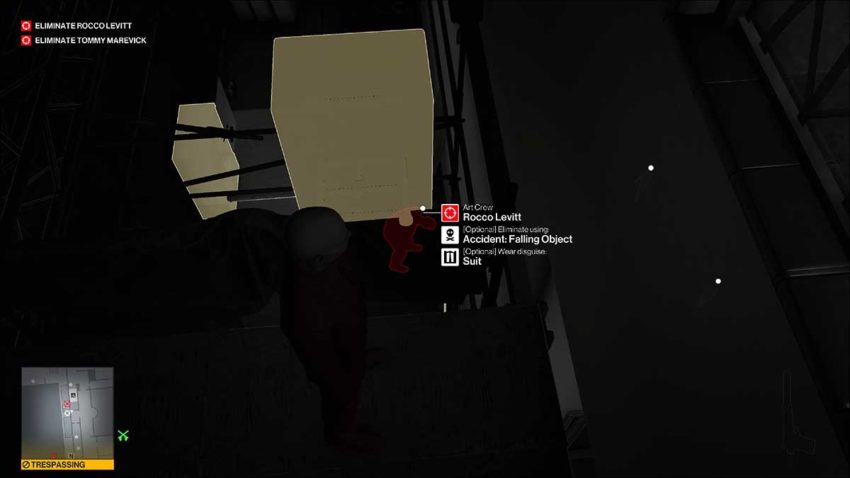
Step 2 – Kill Rocco Lewitt
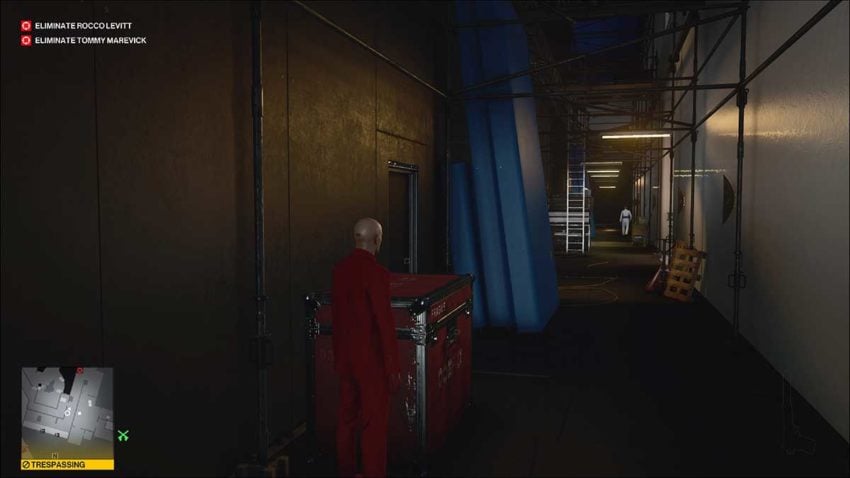
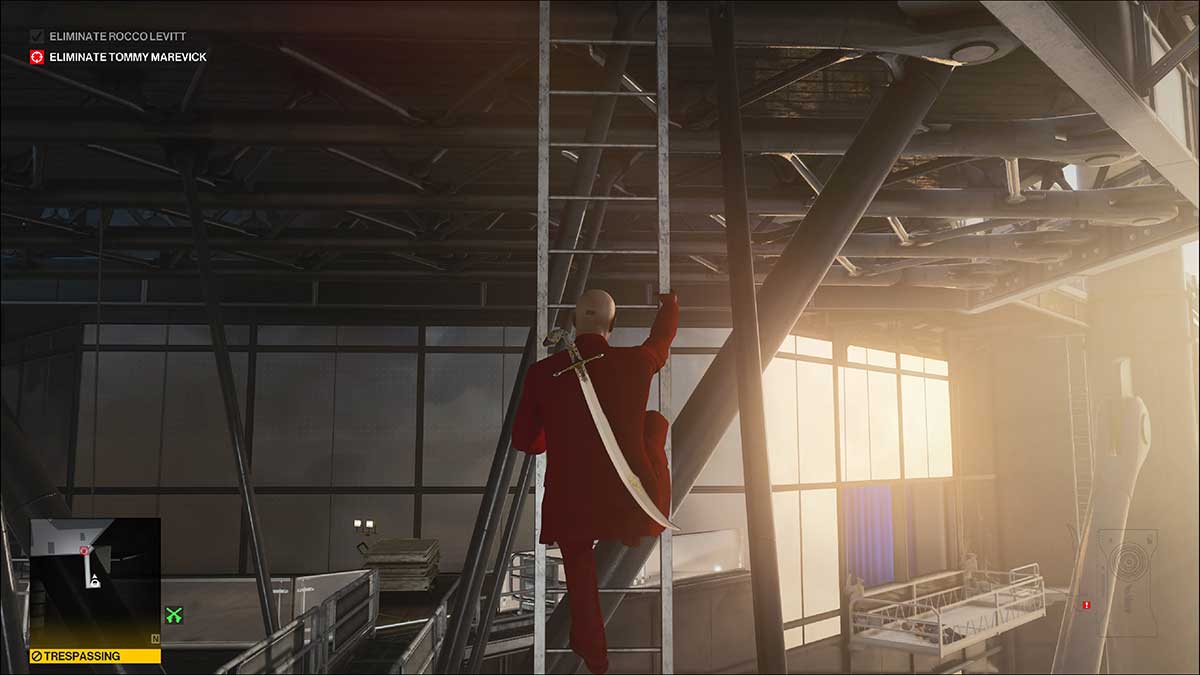
When the guard moves away, run down this corridor and get up that ladder. The technician may nearly spot you, but if you’re fast, he won’t. At the top of the ladder, shimmy along further down this area. You can see a blue tarp hanging over some railing ahead of you. That’s where you need to go.
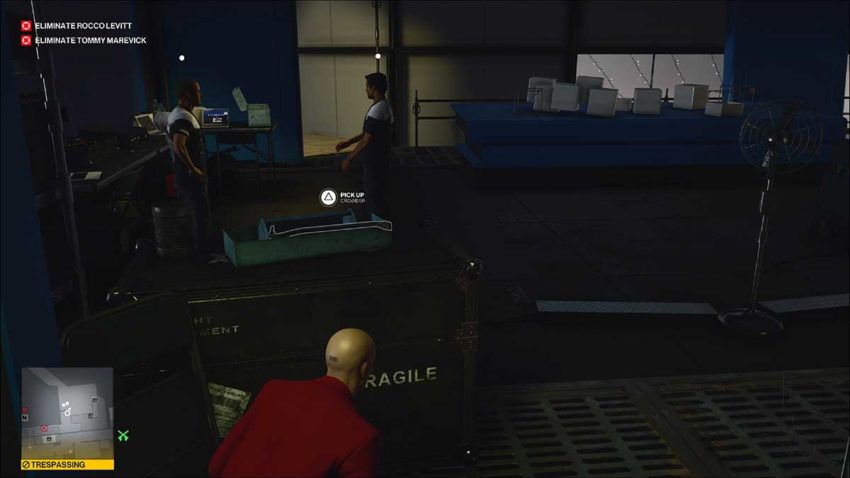
Vault over this railing with the blue tarp on it. This area has two technicians in it, but they shouldn’t bother you. Move forward towards the blue toolbox, which will be right in front of you. We need to grab the crowbar on top of it.
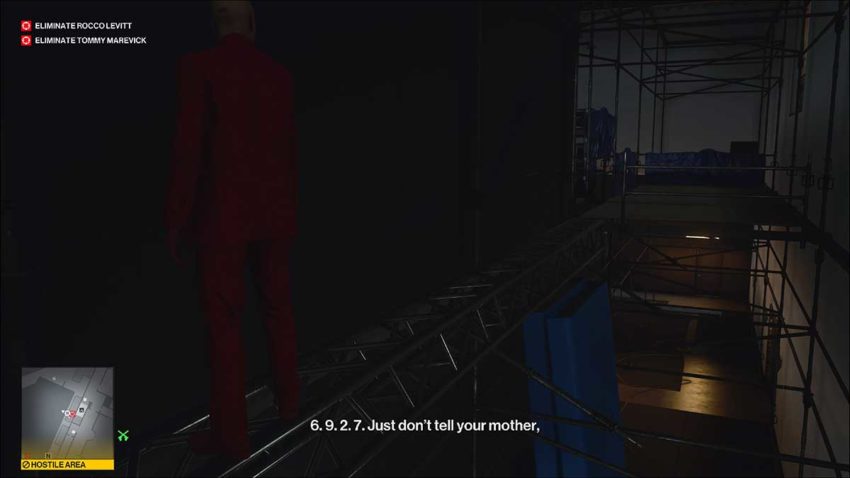
With crowbar in hand, return the way you came. You need to get back to the platform at the top of the ladder you climbed up earlier. Now, wait for your target to move under the precariously attached speaker. Use the crowbar to drop it on his head.
Step 3 – Get the scimitar
With one target down, it’s time to get the scimitar you need for killing the second one. It’s up in the penthouse.
Shimmy along from this platform, so you’re on the next platform along from earlier. This is the one with the railing and the blue tarp. Don’t vault the barrier this time. Instead, look over the balcony opposite that blue tarp. A guard is patrolling to the right and a camera is to the left. Shoot the camera out now, so you don’t forget to later.
Now watch the guard on the right. Wait until he’s moved away from the stairs to the water cooler. Now you can vault over this balcony without him seeing you. Use the crowbar to knock him out. You can store his body in the locker in the storage room just to the left of where he’ll be standing.

Inside this room is a janitor. You can take him out and hide his body if you want to. There’s no real need for this though since he won’t notice you storing the body.
Leave this storage room and turn right. Run along this corridor until you find the penthouse door on your left. Use the crowbar to break into it.
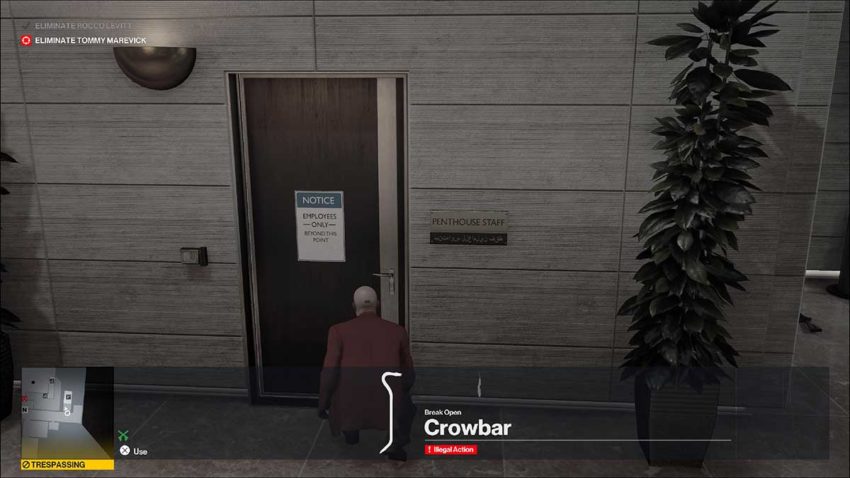
Below is a map reference for this door.
Head up the stairs, through another door, and into the lounge of the penthouse. This area is large, but there’s a guard who will patrol it. Use the bar, which is to your left as you enter the room, to hide from the guard. Wait until he passes from the main corridor in the room and moves past the bar towards the windows. Subdue him and hide his body in the black chest in this area.
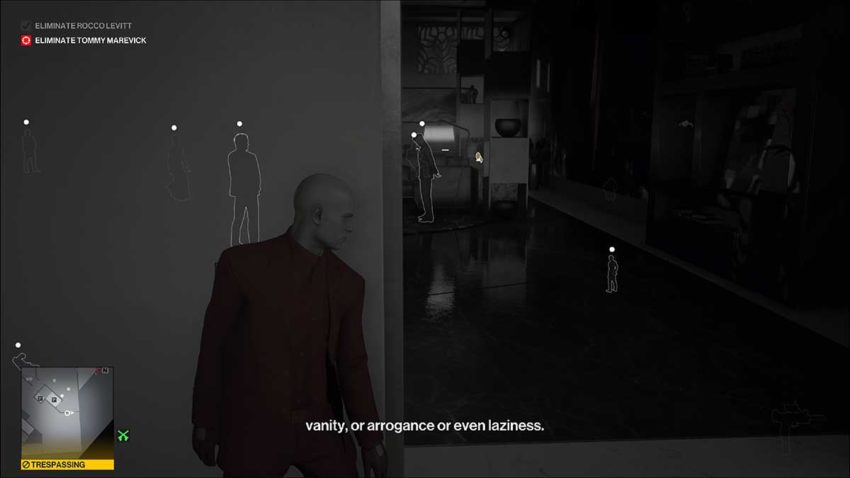
Now you can move with more freedom. This next part relies on timing or waiting, depending on how long it took you to get here. One group of guards will come into the penthouse and spend a short period of time in an area behind the curtains and to the right in the image above. That means that going that way isn’t an option initially.
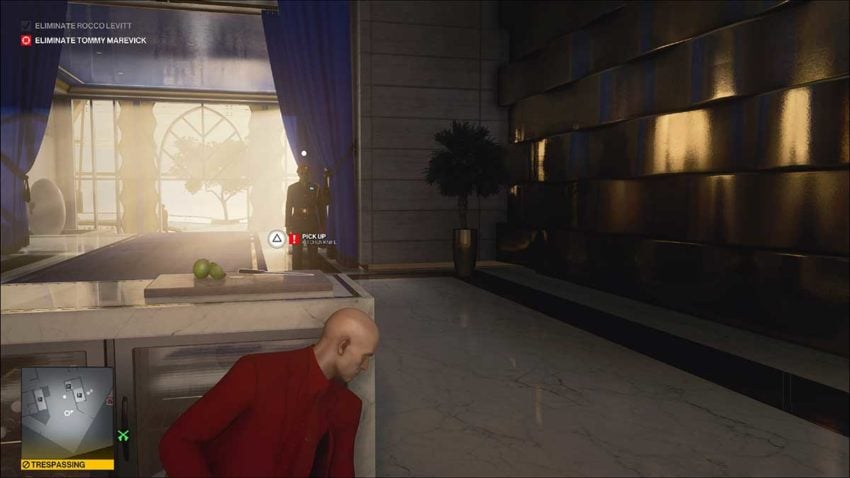
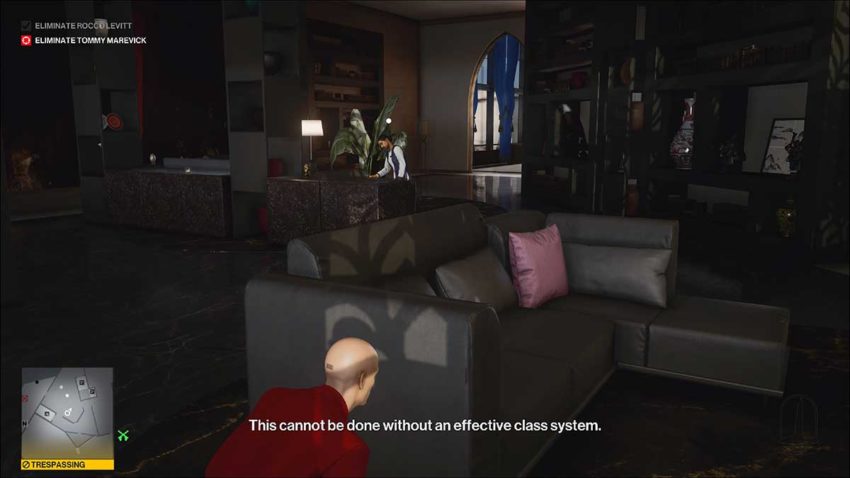
If you need to wait, take the other opening in the lounge area. You can lean up against the wall and monitor what’s going on in the room where the scimitar is. In the image below, you can see it marked in yellow on the right. Familiarize yourself with its location because we’re going in there from the other side.
If you try to get into this room through this doorway, the guards will see you. Instead, move around to the other entrance once the group of guards leaves the area. When they have, sneak into the room using the furniture as cover from the cleaner.
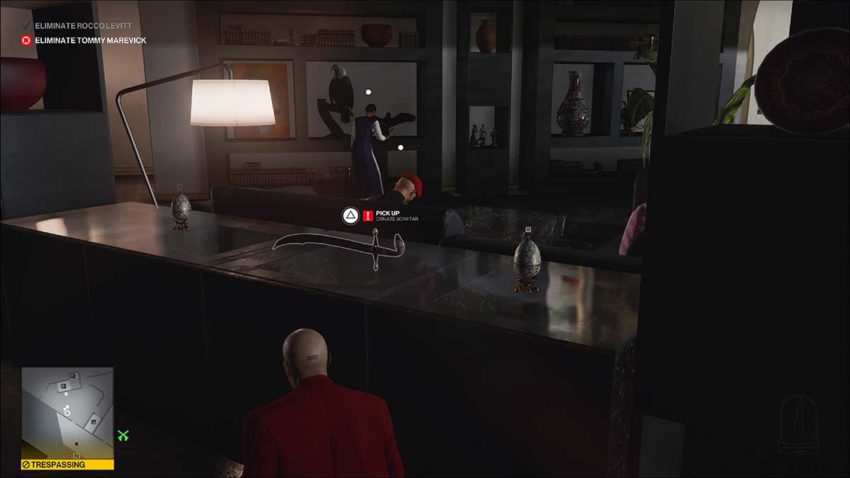
With the other group of guards gone, the other guards in this room will relax. When the cleaner isn’t looking, get around the marble counter. You should be able to grab the scimitar from behind the guard’s head.
Step 4 – Kill Tommy Marevick
With scimitar in hand, it’s time to return the way you came. Run out of the penthouse the same way you entered and get down the stairs. Use instinct to ensure no one spots you. If someone is coming up the stairs, hide around the bar in the lounge area again to sneak past them.
At the bottom of the stairs, turn right and vault back over the balcony you climbed up. Now you need to shimmy back along to the platform at the top of the ladder you climbed.
Instead of climbing down the ladder, shimmy along from this platform once more. This will take you to a metal walkway above the area where you took out two technicians earlier.
Move right along this walkway and get down the ladder at the end. You need to leave this area through the automatic doors opposite the ladder. Watch out for the technician here who might spot you. Wait until he’s walking away from the area before you go out through the doors and turn left.
Now you need to go past the area where you can see the swinging targets. Run along the walkway leading out to another ladder. Stop along the way to pick up the helicopter key. Otherwise, you won’t have an exit.
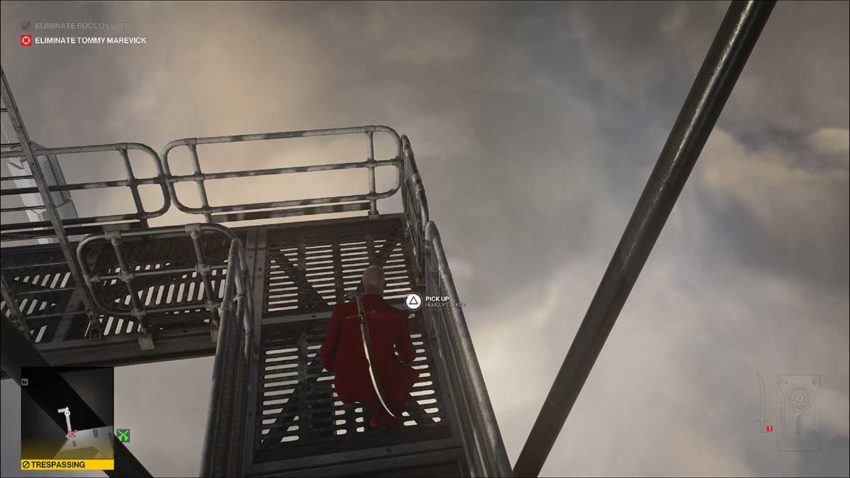
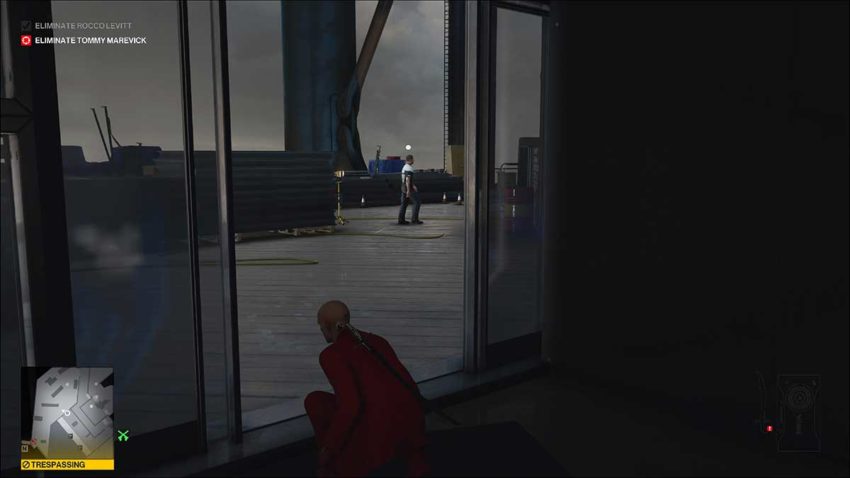
Climb the ladder and crouch once you’re at the top. If you don’t, the guards may spot you. Head left from the top and get all the way around until you can see the helicopter pilot.

Sneak up behind the pilot and kill him with the scimitar. Make sure you equip the scimitar first. If not, all that effort will have been for nothing.
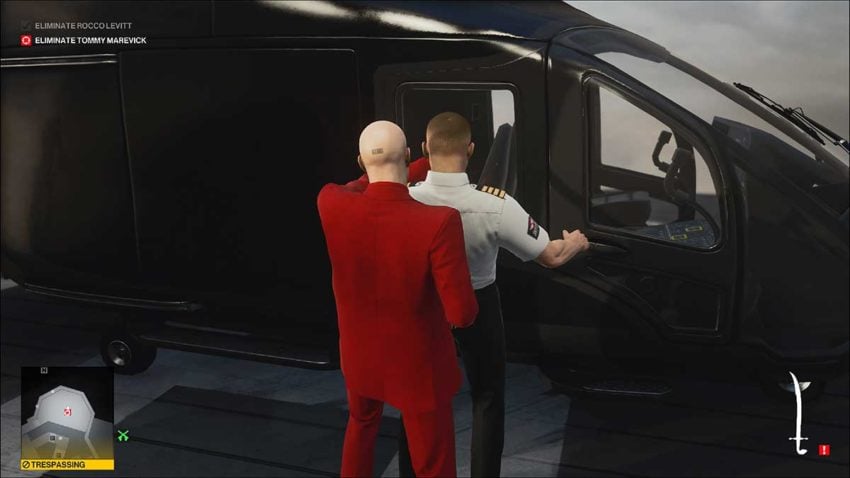
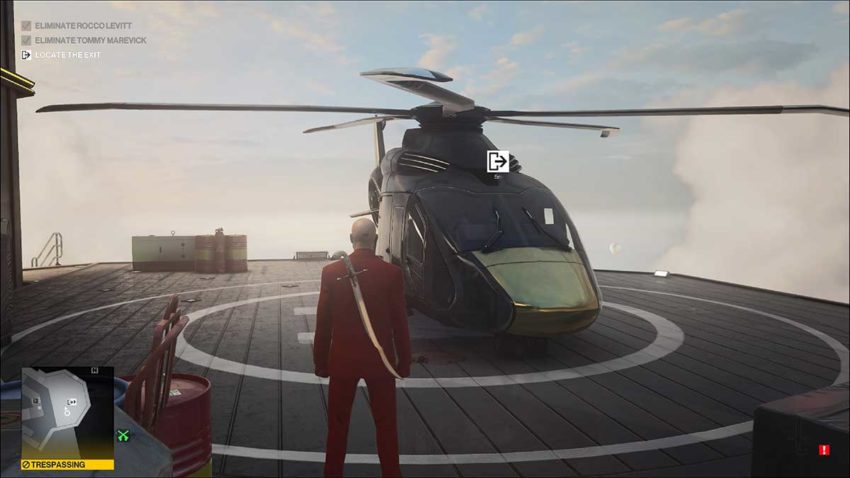
As you may have guessed, the only exit for this Featured Contract is the helicopter. As long as you picked up the key earlier, you’ll be able to leave as soon as you’ve killed the second target. If you want some bonus points, drag his body over to the edge of the helipad and dump it over there. Make sure he falls off of the building and not down to the level below though.


Published: Feb 12, 2021 11:14 am