As part of Hitman 3’s glut of new content during February, five brand new Featured Contracts have been added to the roster. These have all been made by members of the MinnMaxShow on YouTube. In this guide, we’ll show you how to complete the first of these Contracts, Get a Load of This, with a Silent Assasin rank. Don’t worry. It’s much easier than the locations normal Silent Assassin or Sniper Assassin runs.
Targets and restrictions

This Featured Contract tasks you with eliminating two targets. You’ll get additional points for killing each one with falling objects. The only restriction is that you’ll fail if you kill any non-targets.
Choose your loadout
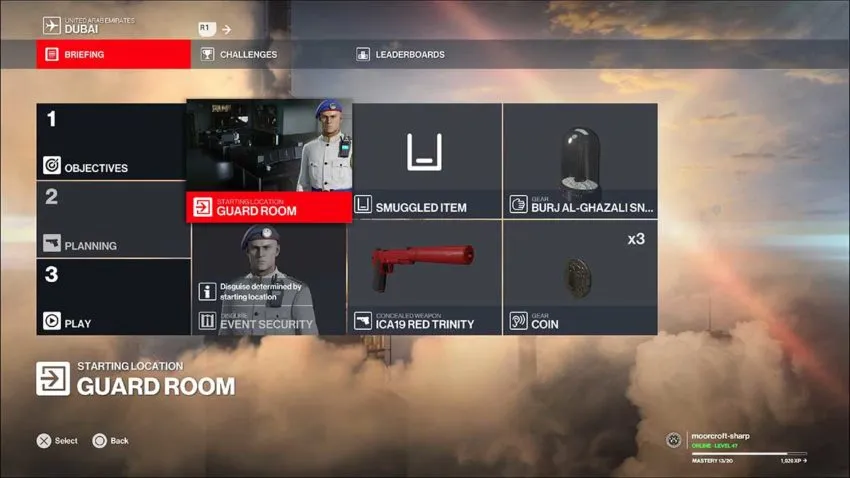
The loadout for this contract doesn’t need to be anything special. To make life easier, we’ve opted for the starting position in the Guard Room, which means we automatically get the Event Security disguise. The only items you’ll need are the coins and a silenced pistol. We’re bringing a snow globe for good luck.
Step 1 – Kill Aslam Wahba
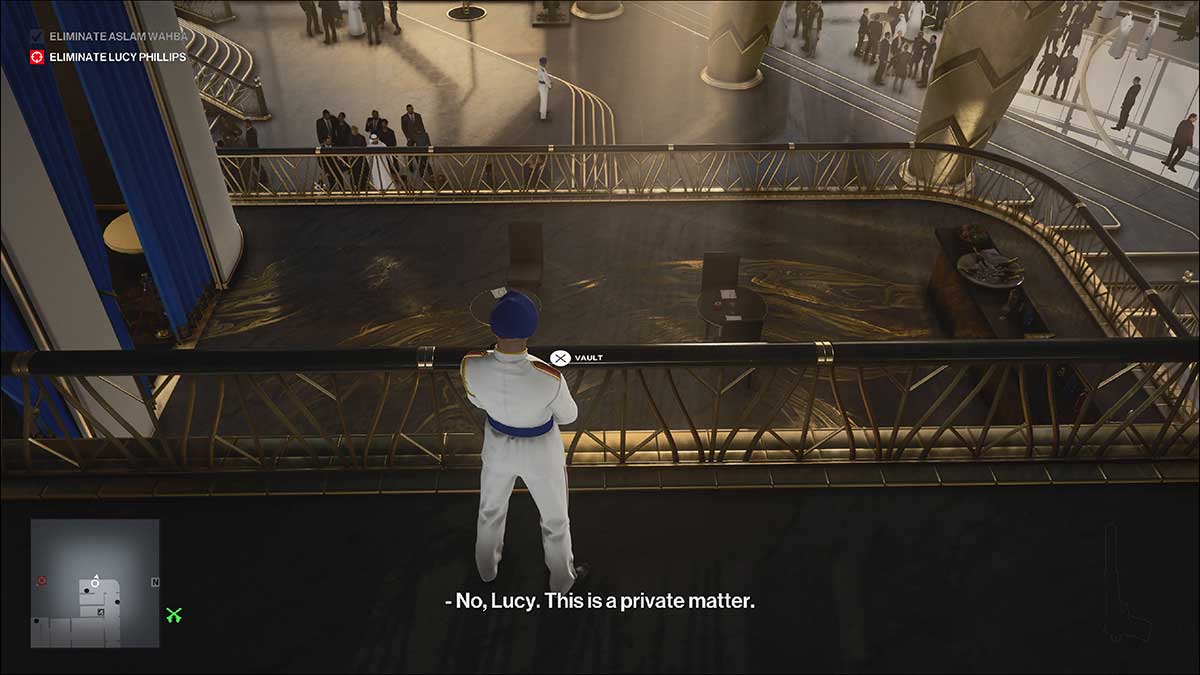
Your first target is very close to this starting location. Turn right and head towards the large window in the security room. You can see him leaning against a fountain.
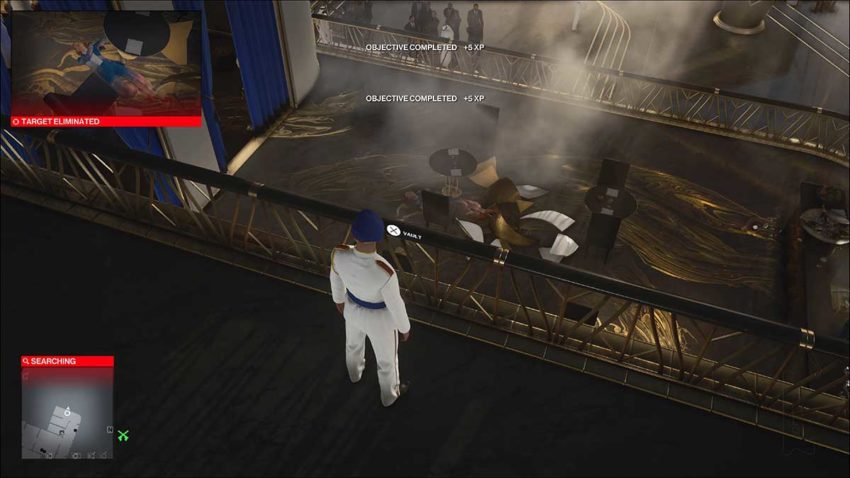
Vault the window and turn left. There’s a large opening here where no one will notice you. Now you need to shoot the chain holding the large light up above your target’s head. It’ll smash down on top of him and count as an accidental kill.
Step 2 – Get to the Black Gold Bar
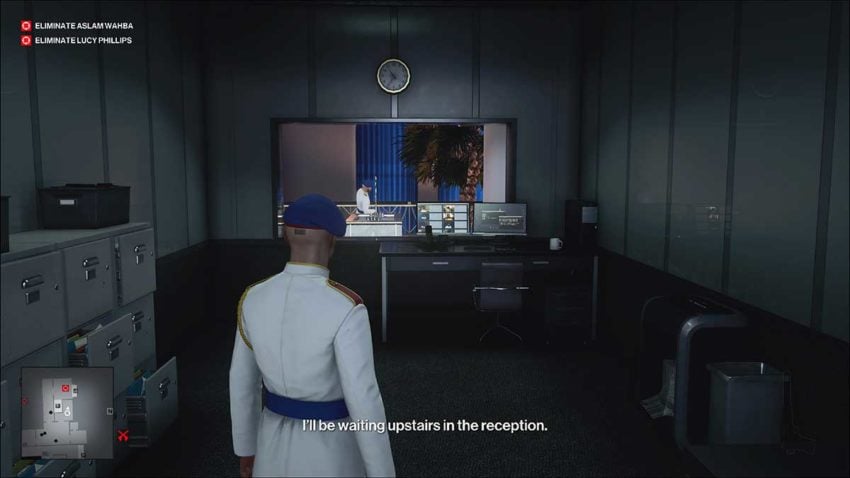
Your second target is hanging out at the Black Gold Bar. You can head down the stairs from your current position and left to get there. Moving all the way around the building. You can also go through the security room and a series of maintenance rooms to get there by turning right from your current position and going through the double doors.
There is absolutely no rush in getting to your next target. She will take a while to get into position, so take your time.
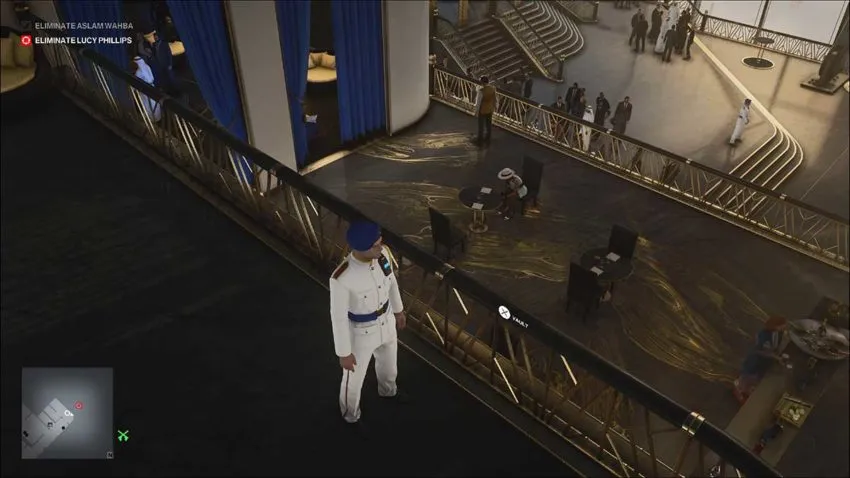
While the target is taking her sweet time, head up the stairs behind the blue curtains to the left of the bar here. Turn left at the top and move all the way around until you’re on a balcony where you can see a private bar below.

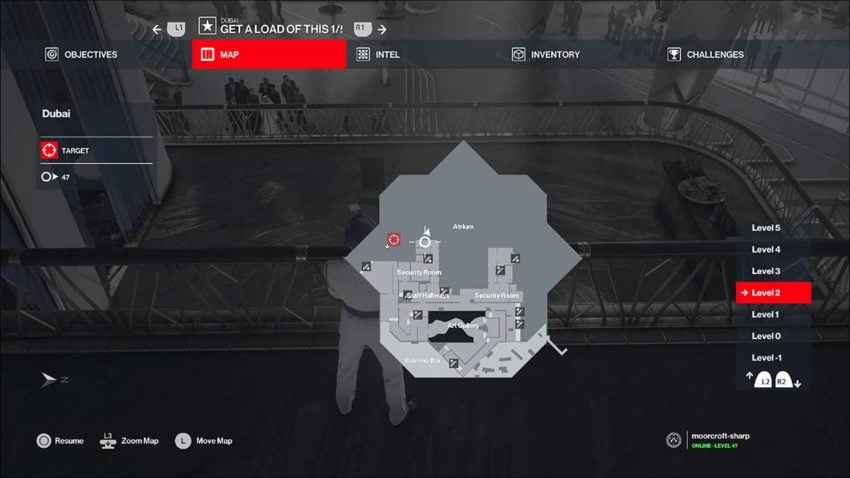
Below is a map reference for this location.
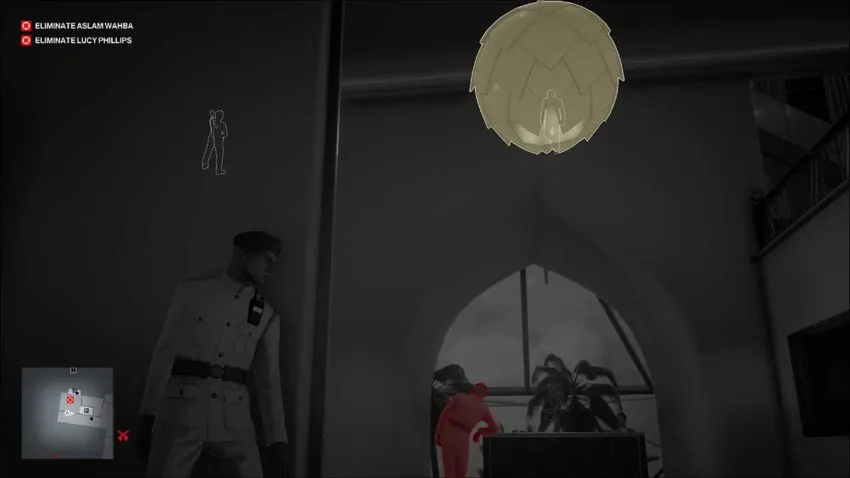
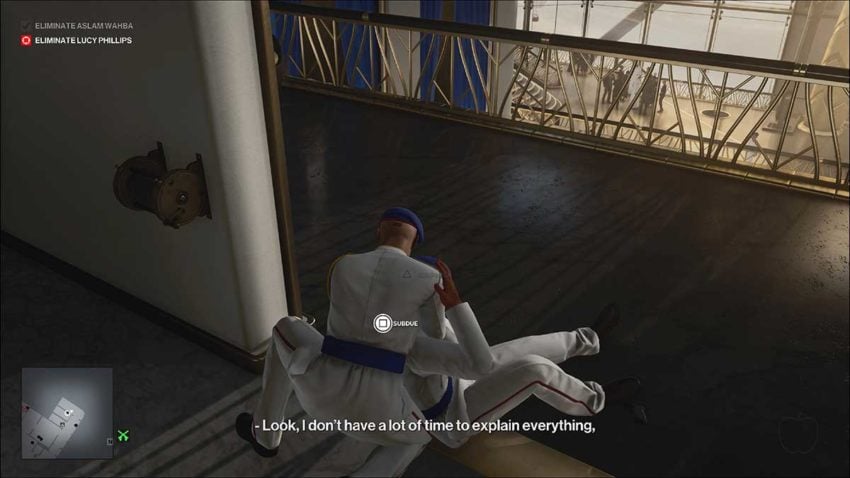
Before you do anything else, you need to take out the guard who will patrol this area. He comes past your position and stands in the left corner of this balcony. Then he moves back around the corner and repeats this patrol.
Hide inside the small room on the balcony. As this guard comes past, subdue him from behind. You can store his body inside the wardrobe in this room.
Now you’re free to kill the target, but you have to wait for a specific movement pattern from two NPCs first.
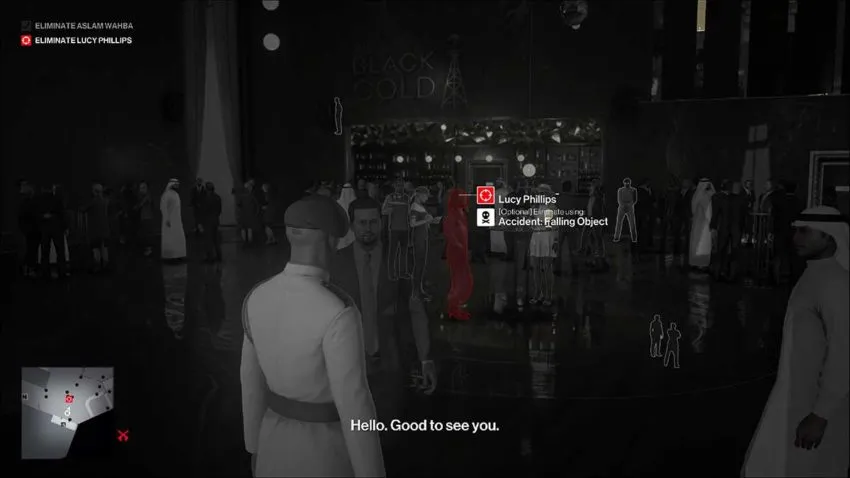
Your target will sit down and chat with her friend for a while. A bartender will then walk in as the target gets up to lean over the railings at the back of the bar. She’ll come to the bar and have a drink.
At this point, the bartender will start to walk back towards the main Black Gold Bar, and your target will walk and sit down at the table again.
You need to flip a coin into the back corner of the area below as the bartender is leaving. For some reason, your target’s friend is far too important to investigate these things properly, so the bartender will walk over and check it out. This is important because it gets him out of the way of the falling object.
When you’re sure the bartender is distracted, move back into the room where you dumped the guard’s body. Use the minimap to track when your target is coming back to the table. You need to use the crank in this room to drop the light on her. Wait until she’s halfway between the bar and her table.
Step 4 – Exit
Since you’ll be disguised, you can leave through the Atrium if you wish. Any exit will do. As you move back through the Black Gold Bar, watch out for any guards who might see through your disguise though. Hiding in crowds won’t help if they get too close.


Published: Feb 12, 2021 09:56 am