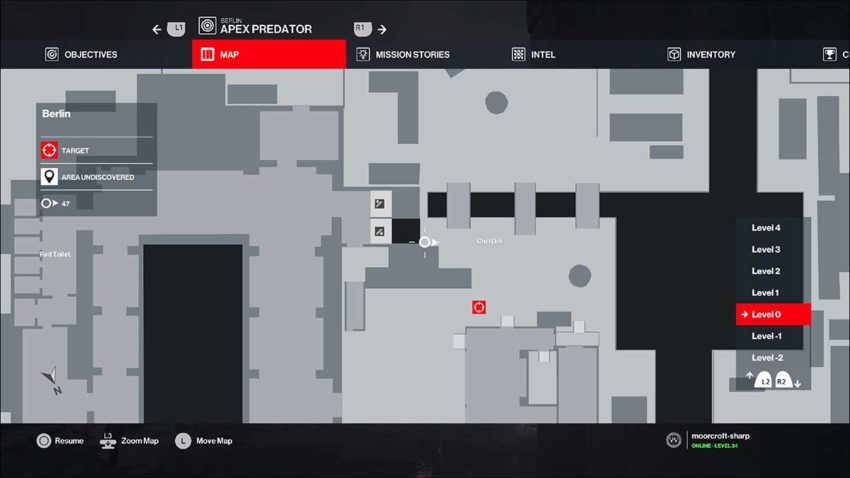
Having worked your way through most of the game, it’s time to start completing the plethora of challenges Hitman 3 has to offer. Chief among these are the Silent Assassin and Suit Only challenges. In this guide, we’ll be showing you how to complete Berlin’s Silent Assassin challenge without changing your disguise, netting you the Suit Only challenge as well.
Loadout
Unlike the Silent Assassin challenge for other locations in Hitman 3, such as Dubai, you can’t alter your loadout if you start from the mission’s default spawn point. Since that’s where we’re going from, we’re also going to pick up everything we need along the way.
Target 1
Unlike every other mission in Hitman 3, in Berlin, you need to kill a minimum of five targets before you can end the mission. Each one is marked as a normal NPC before they reveal themselves too, so you need to know who you’re killing. While there are a total of ten to kill, we’re only going to count five in this guide.
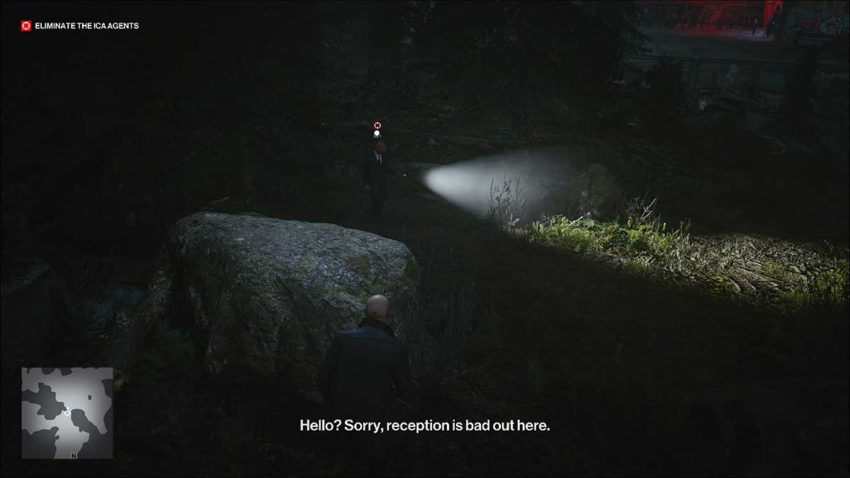
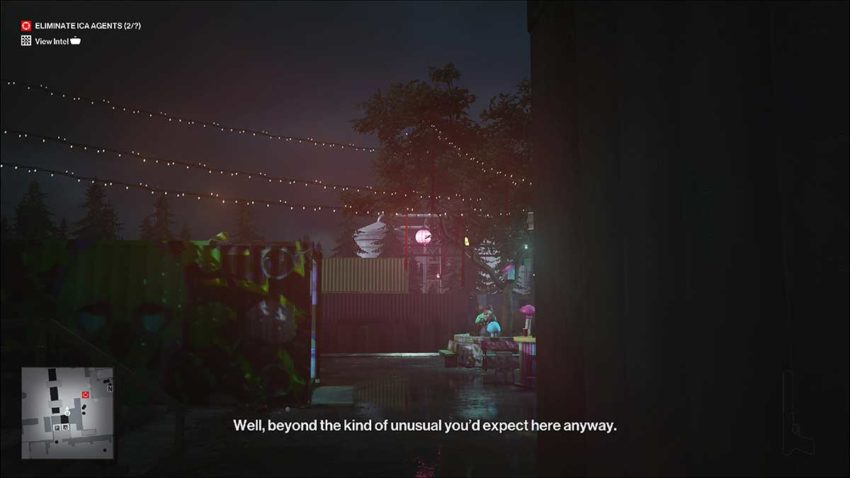
From spawn, run past the car and down the grassy lane as you would in the main mission. This will lead you to a cutscene. After that, we’re into the mission proper.
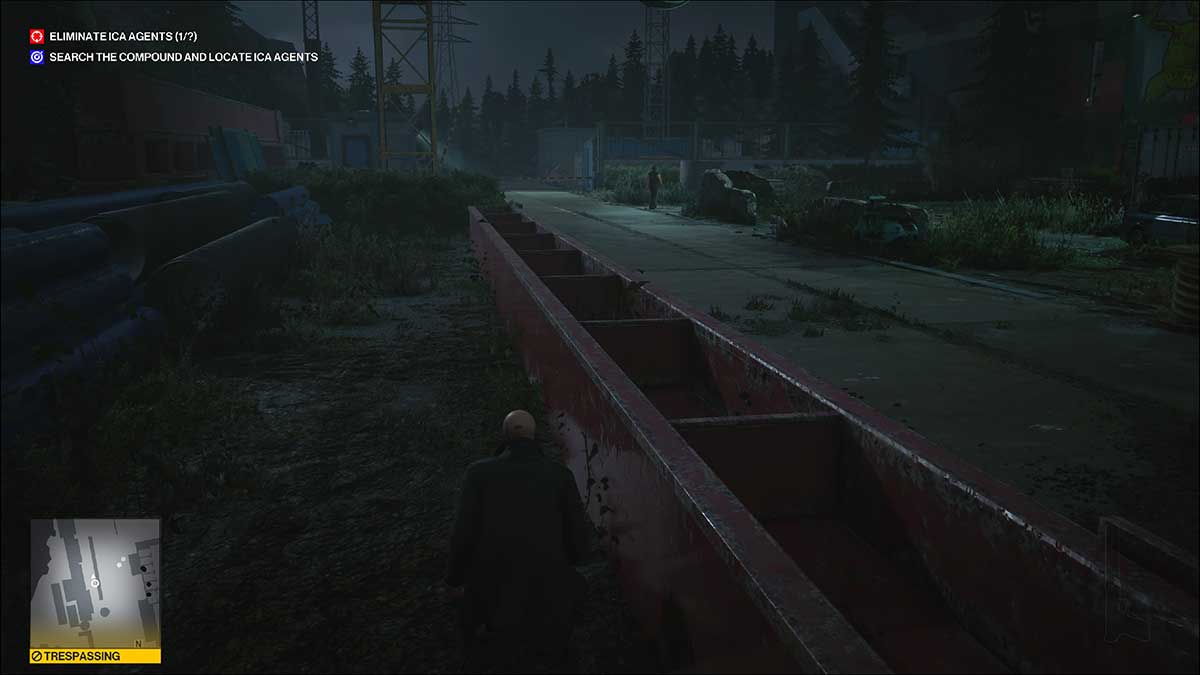
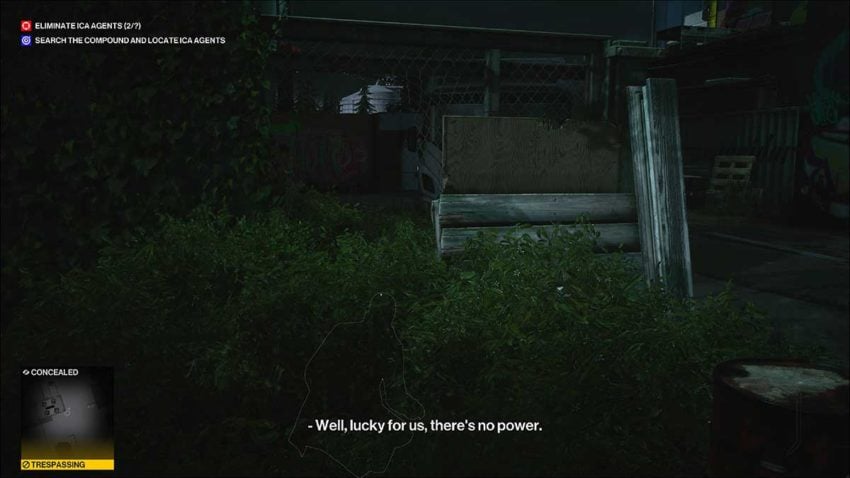
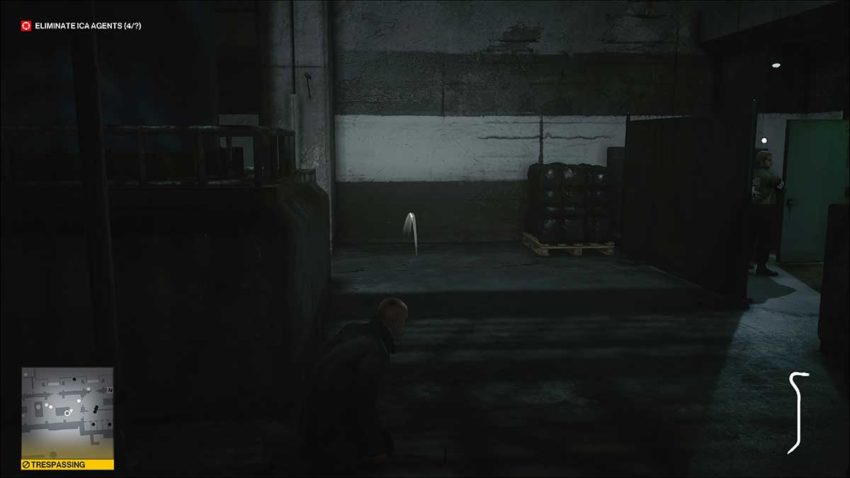
Keep moving forward and then crouch to hide behind the rock in front of you. Your first target will come walking out from the left. Wait until he turns the corner, then chase him down, subdue him, and snap his neck.
There’s no time to hide the body, so pick up the target’s weapon, a silenced pistol, and his earpiece and move on.
Target 2
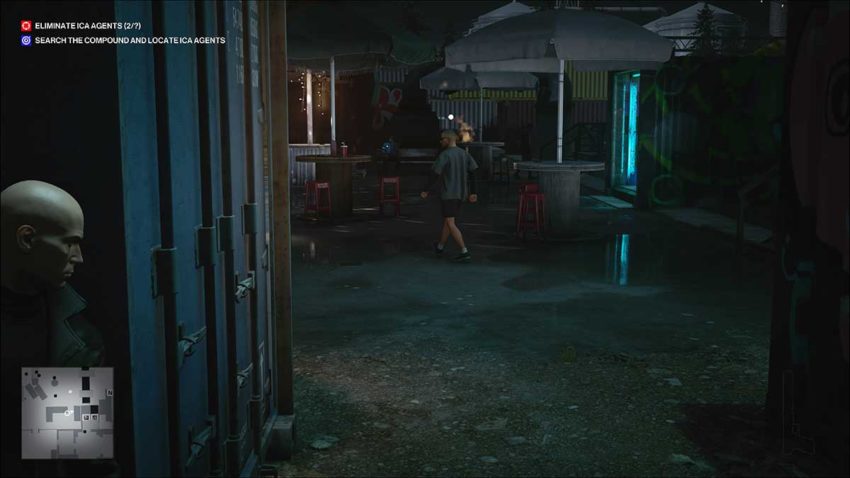
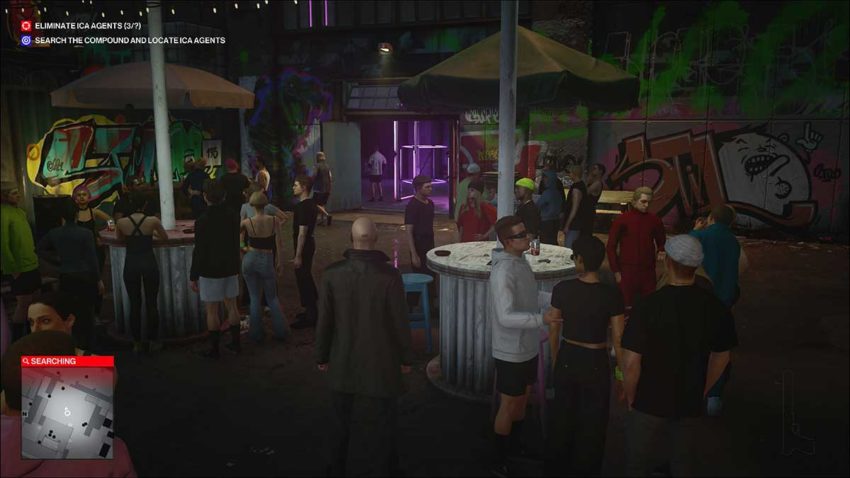
You need to run down the path and through the fence as you normally would for this mission. Run through the queue of people waiting to get into the club and head for the guards blocking the way around the back of this building on the left-hand side.
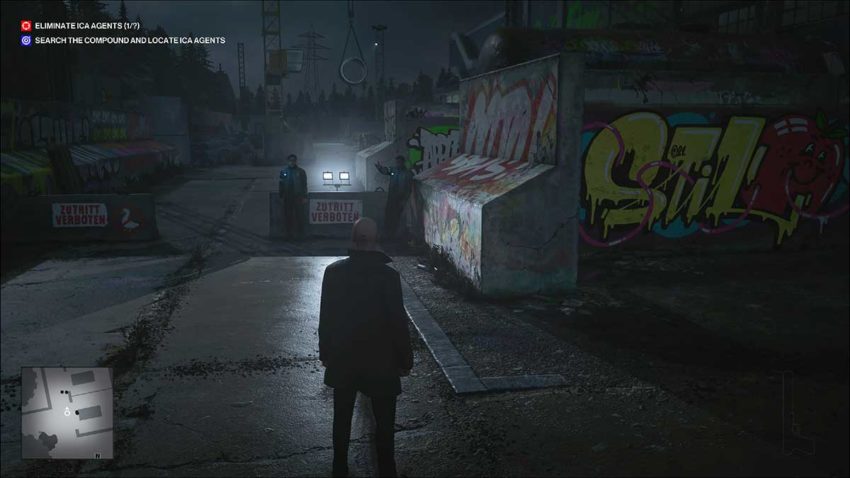
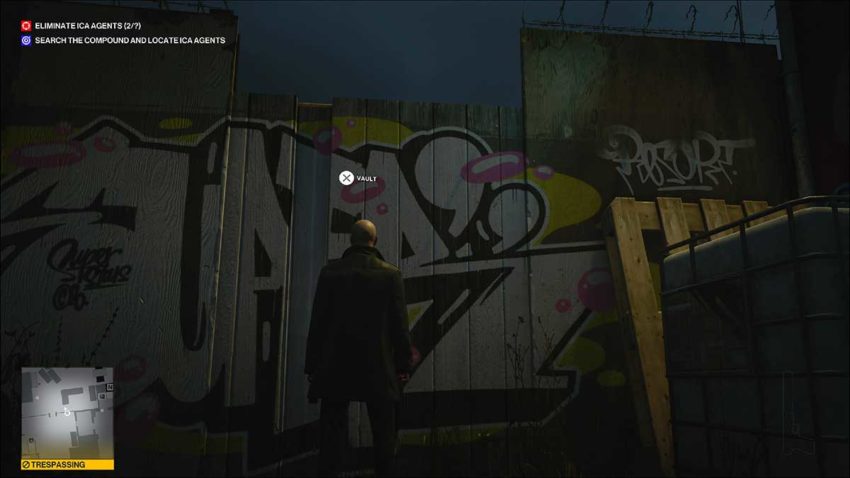
Don’t try to get past them. Instead, follow the wall of graffiti to your right and vault over it at the end.
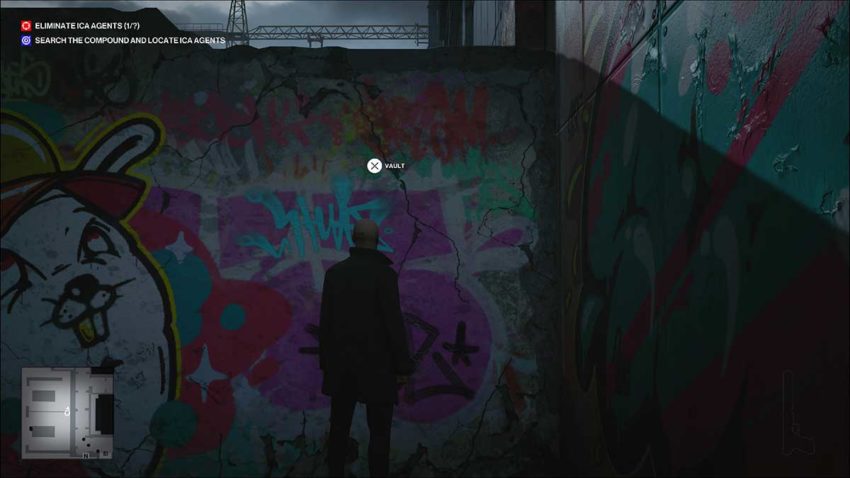
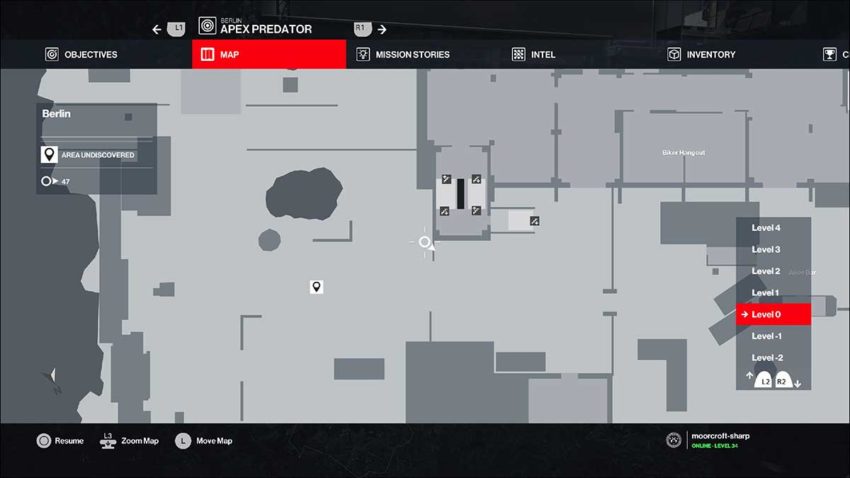
Below is a map reference for the wall.
Once you’re over the wall, run around the tank in front of you. Move out of this small boxed-in area and turn right. You’ll see a pair of guards ahead of you and a single guard on his own.
Stick to the left side of the low red wall when you reach it. This will prevent the enemies from seeing you. Move all the way along the red wall and stop at the end. Pick up the crowbar, and wait.
The lone guard will begin walking away. He’s your next target. Throw the crowbar into the bushes in front of you. Wait for him to walk over to them and shoot him in the head. His body will be hidden, so all you need to do is pick up his detritus and move on.
Target 3
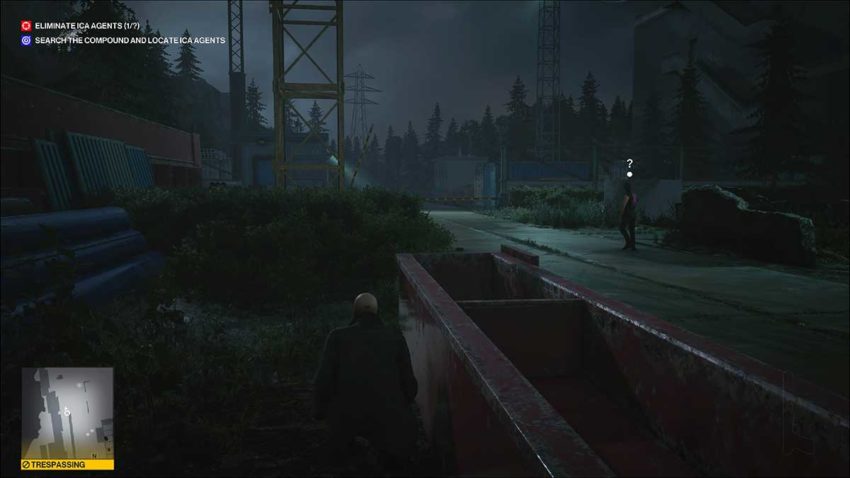
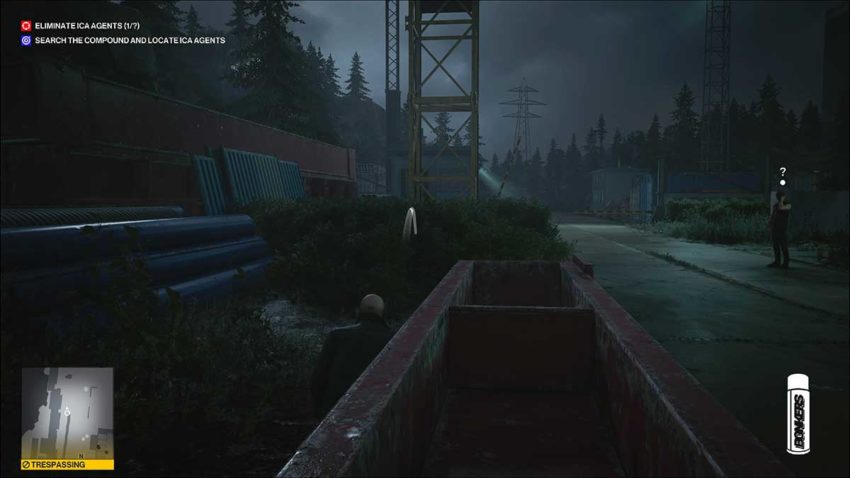
From here, you need to head right. There’s a way around the back of the club here, but it’s guarded. Stick to the bushes, and you’ll come to a break in the fence that you can sneak through. Even if you’re running here, the guards probably won’t spot you.
Below is a map reference for this gap.
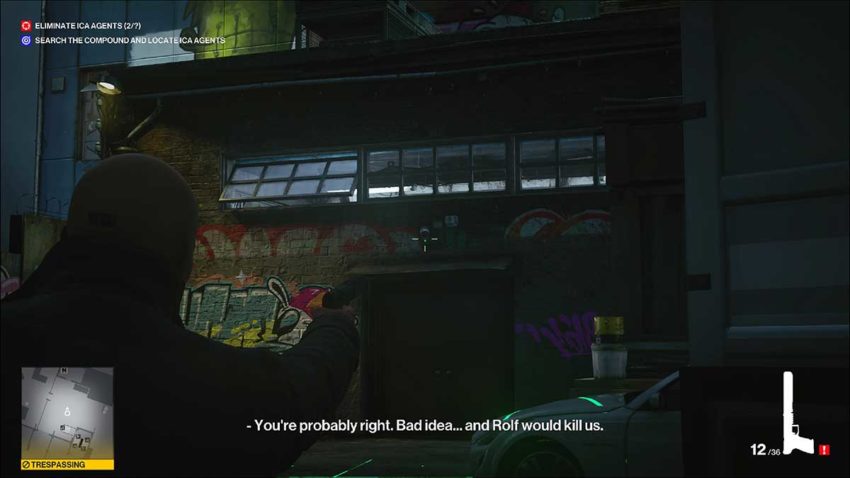
Move through the gap in the fence and around the left-hand side of the truck. You’ll be able to see the telltale green markings on the floor from a security camera. Stay back and use that silenced pistole you picked up earlier to shoot it.
To the left of this position is a wooden fence with a gap at the top. Vault over it.
Once you’re over, cross the bridge and stand next to the first container that you can see. From here, you should be able to see the pink lantern in the distance.
Below is a map reference for the exact location.
The target we’re looking for has a little more hair than Agent 47, and he’s wearing sunglasses.
His patrol takes him under the pink lantern, at which point you need to shoot the chain supporting it to kill him. Be careful because his patrol will also take him past your position. If this happens, hide back near the wooden fence until he moves on, then get back into position.
Target 4
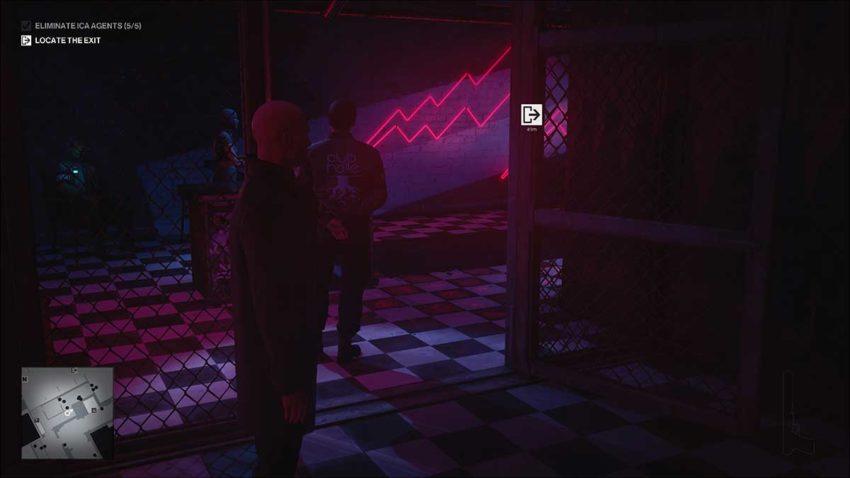
Your fourth target is inside the club. Head right from your current position and through the entrance with pink fluorescent lights inside.
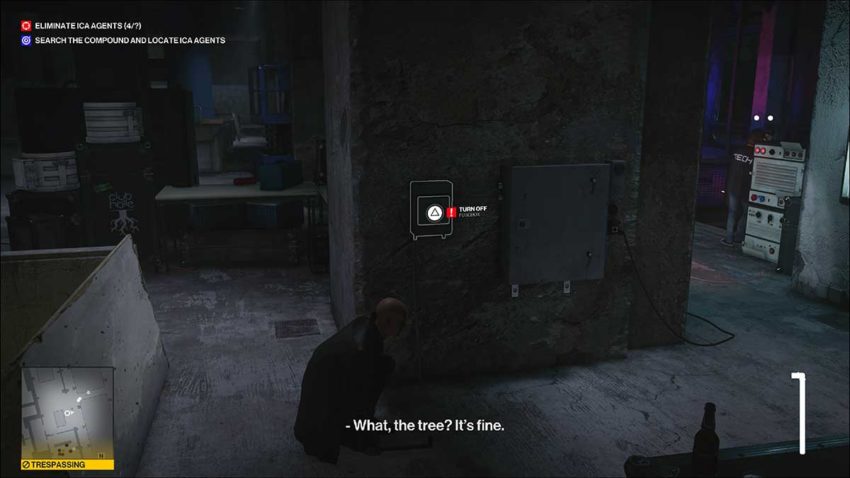
Once inside, go right and go through the door behind the technician.
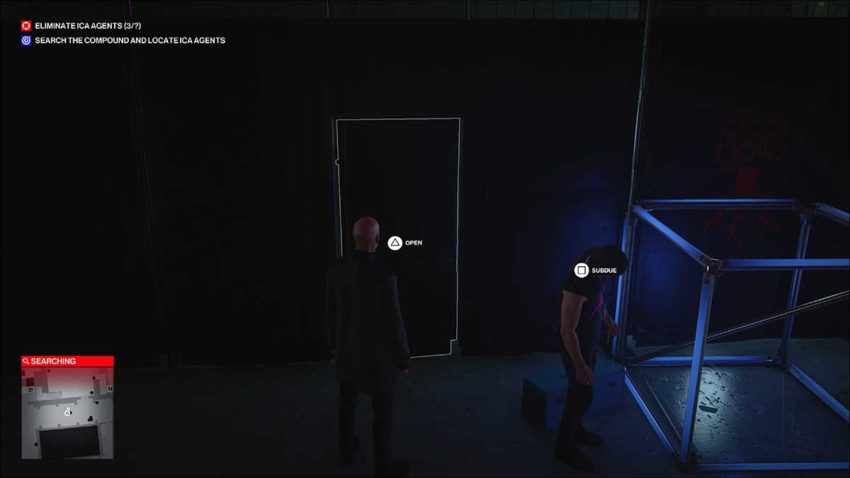
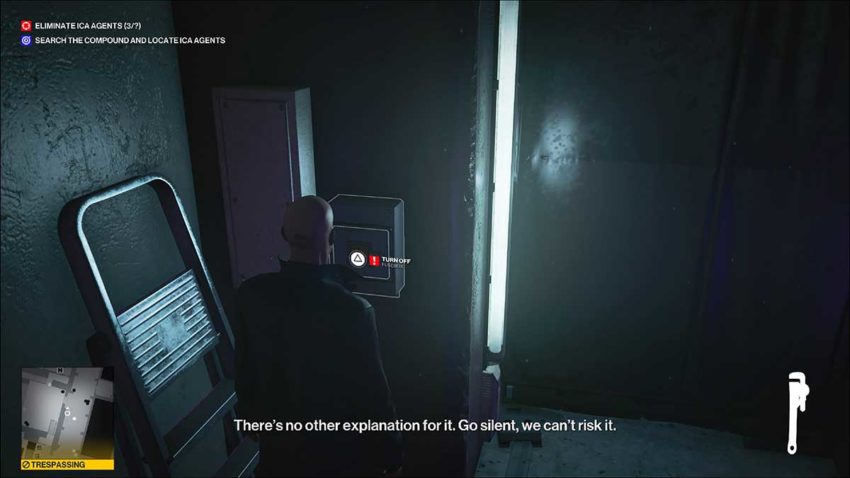
You need to turn off the fuse box. As soon as the technician is distracted, turn it back on and head to the back of this room to wait for them to come in and investigate. When they do, subdue them and hide their body in the container in this same room.
Now you need to wait and use instinct to detect your next target. Pick up the wrench in this room while you do. You’re looking for the man who walks down towards this location but then moves left and goes out to the bar and has a drink.
When the target is closest to the room, throw the wrench into the back corner. This will draw his attention, and he’ll come to investigate. When he does, shoot him in the head and hide his body.
Target 5
This final target is in the club proper, down one floor. Head out of this room and turn left. Follow the corridor all the way to the end until you find an entrance with three lightning bolts above it.
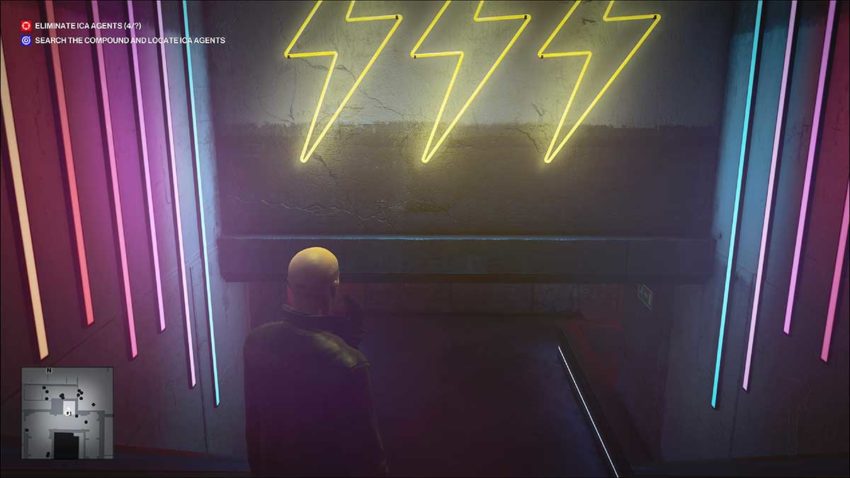
Go down here and take the right-hand flight of stairs. You’ll know you’re on the right floor because you’ll be able to see a man wearing only his underwear going absolutely nuts for the music.
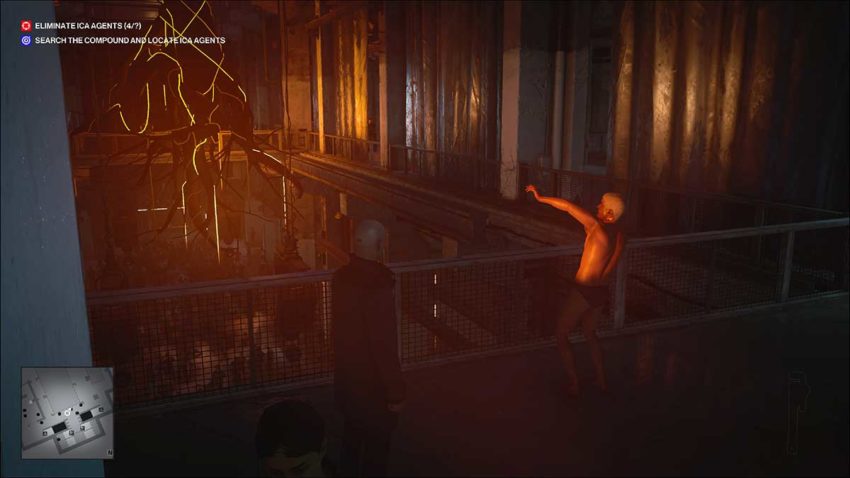
Below is a map reference for this guy just in case you need it.
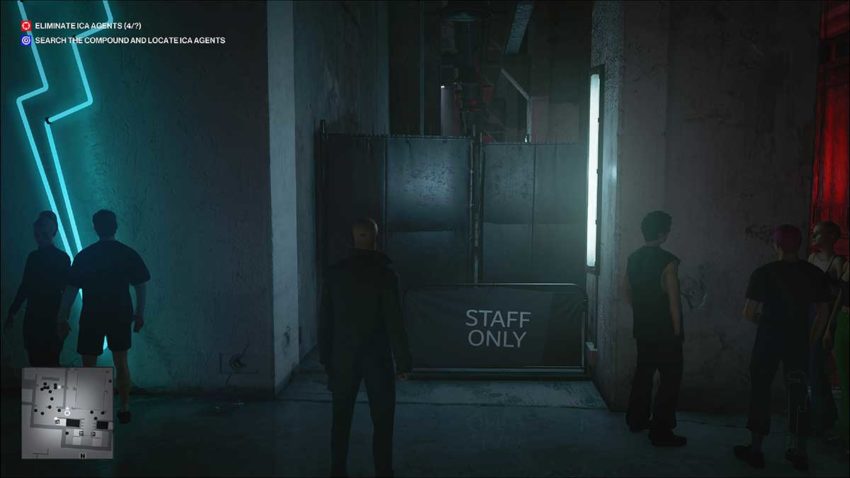
To the left of this NPC is an area marked ‘Staff Only.’ You can run through here before anyone spots you. Do so.
Once through, you need to vault the balcony and shimmy to the right, then vault back over. Now you’ll be close to your target. Two technicians are working on machines here, and the target is currently leaning over the wall.
Now, you need to use the fusebox to distract each technician individually. Every time you turn it off, make sure you turn it back on before the technician investigates. You can hide on the corner of the pillar by the fusebox and subdue the NPCs as they come to investigate.
Then you need to drag their bodies one at a time to the box at the back of this area.
You can kill your final target by doing the same thing and snapping his neck. Or you can push him over the balcony. The choice is yours.
Exit strategy
The safest way to exit the mission now is to return the way you came. However, we’ve got a slightly different route if you want to push yourself.
The area where you killed the final target has large pipes coming up from the floor below. One of the gaps for these pipes has a point where you can drop down onto a ventilation duct.
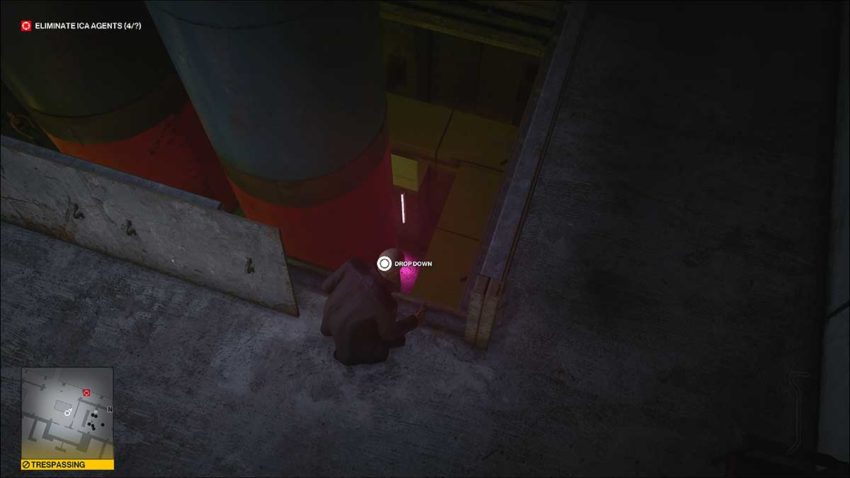
Drop down and follow the duct until you drop onto a platform. Two guards might spot you here, so hide behind the ledge. Once they’re looking away, move forward and use the ladder to climb down. The guards can’t see you once you’re on the ladder.
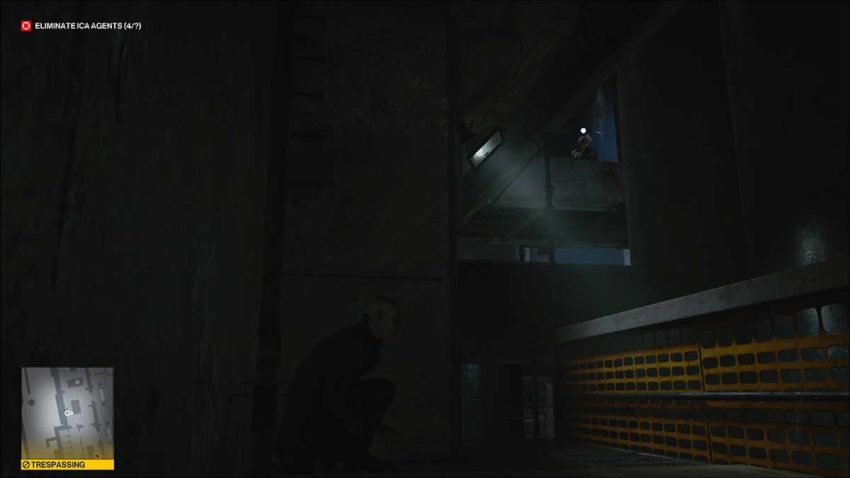
You need to get out through the door to the right of this area. The only problem is that there’s a guard in the way. Distract them with an object and slip out through the door into the club.
Once you’re through, you can head for the club entrance. You’ll be able to exit here without anyone becoming suspicious of you. Leave through the break in the fence you came through, and you’ll have completed the Silent Assassin and Suit Only challenges.


Published: Feb 5, 2021 11:52 am