Chongqing may be the toughest location in Hitman 3 to complete the Silent Assassin and Suit Only challenges. However, in this guide, we’re going to take you through the optimal path for completing both, earning you two of the hardest achievements in the game.
Choose your loadout
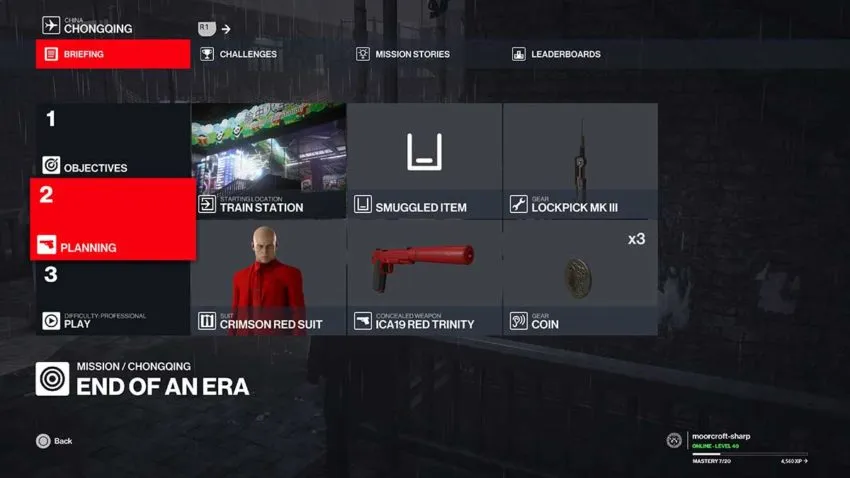
Unlike our other Silent Assassin guides for locations such as Berlin, Chongqing’s loadout is extremely important. The three items you must bring are the coins, a silenced pistol, and the ICA lockpick MK III. You’ll have unlocked the lockpick by completing the Berlin campaign mission.
The suit you choose doesn’t matter, so go for something flashy. The final aspect is choosing your starting location. For this, we’re choosing the default starting position, the Train Station.
Step 1 – Get to Hush
For this first section, you need to be running as much as possible. We’re trying to get to Hush before he moves away from a specific location on his patrol. It’s not the end of the world if you miss it, but it will set you back quite a bit.
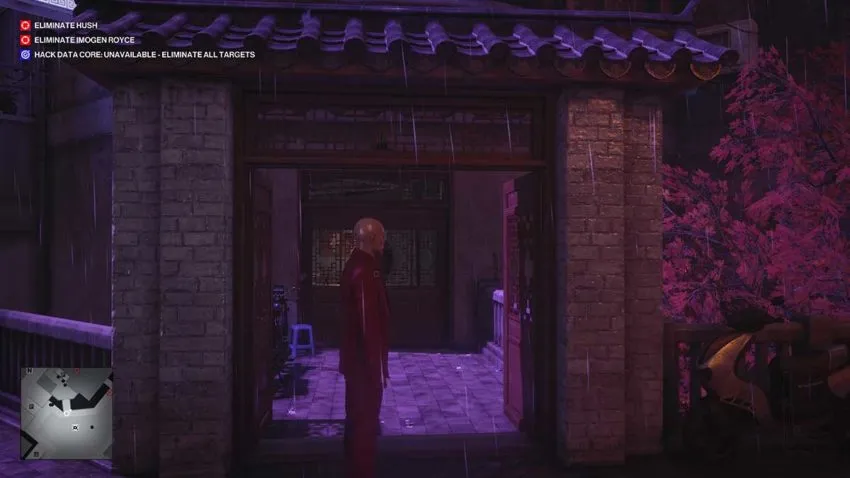
From spawn, you need to run down the walkway and towards the main town of Chongqing proper. As you come up the main stairs, you’ll see an apartment building with a shrine over the entrance. That’s the first building you need to go into.
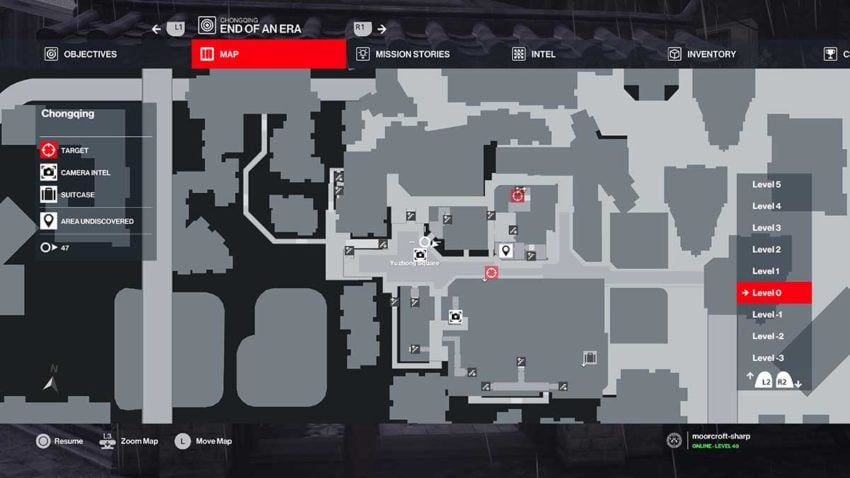
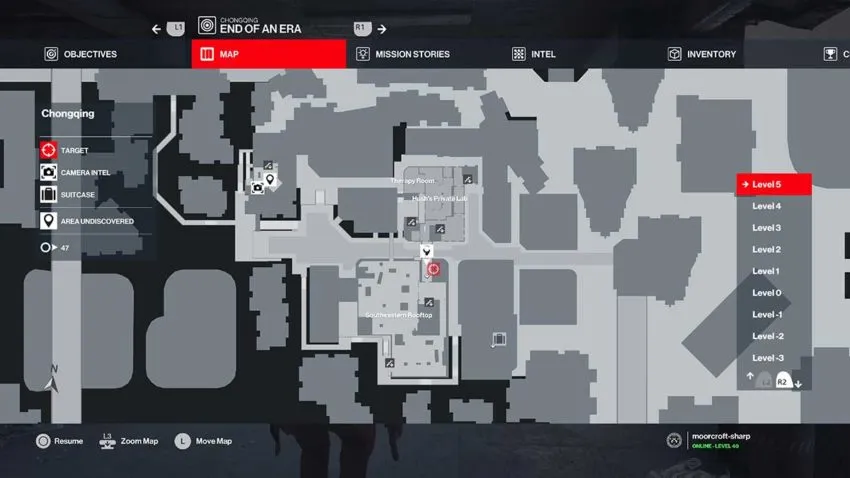
Below is a map reference for this building.
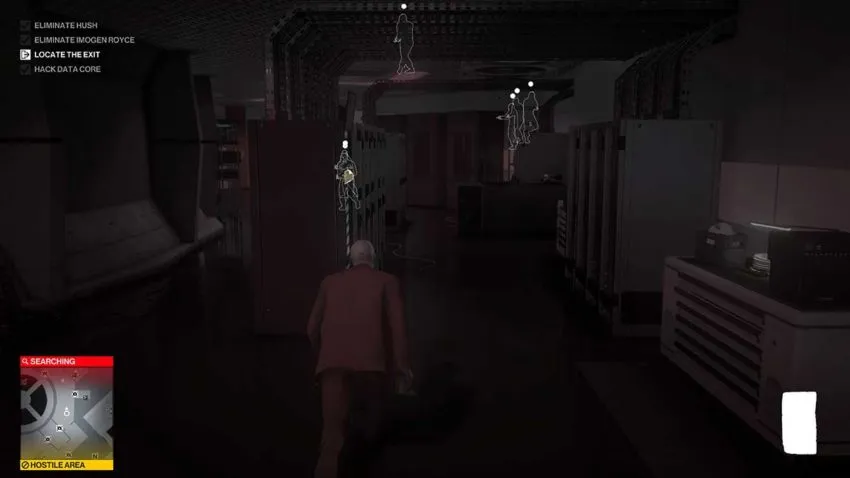
Move to the back of the interior and climb up all three staircases. At the very top, you’ll find a door to the rooftop. There’s a break in the wall here that you need to drop down and hang from.

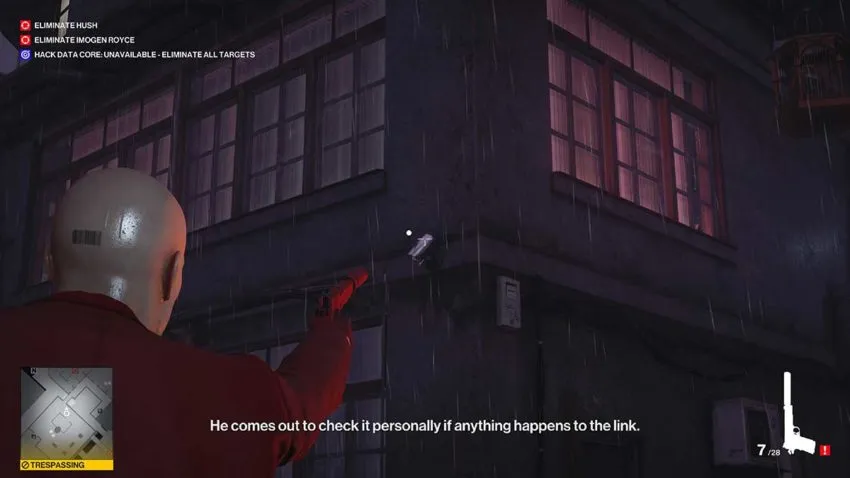
Shimmy along to the right until you reach the drainpipe. You then need to climb up the drainpipe and emerge on the rooftop above. Just to your right here is a brick that you need to pick up.

This rooftop has two guards on it to your left. One should be walking back to join the other by the time you emerge. If you’re running behind on your pace, then that guard might be walking towards the path you need to take. Wait until he’s out of the way before you proceed.

You need to move around the objects in front of you and towards the satellite controls inside the fenced-off area. As you walk over, you’ll see a camera on the corner of the building just ahead of you, shoot it. We’ll be going past there shortly.
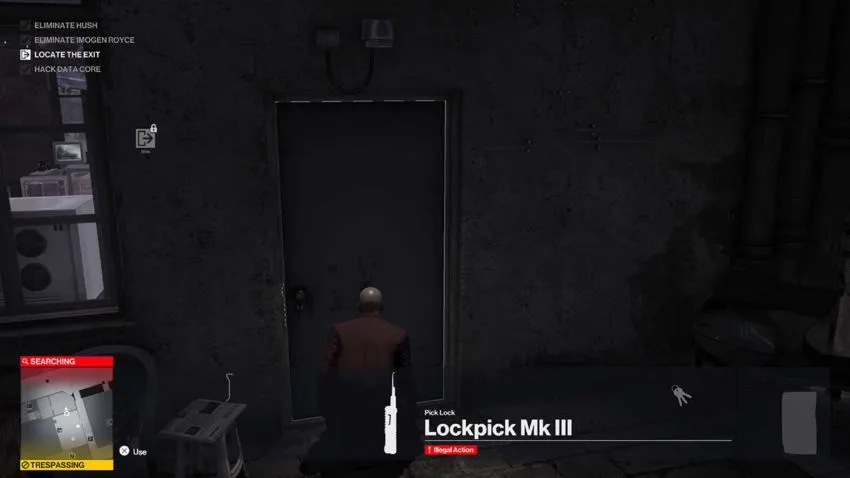
Now unlock the fenced-off area with your lockpick. Inside, move to the box on the wall and turn it off. The reason that we’re doing this is that it’ll draw Hush out of his patrol slightly earlier, and that’s going to open up an opportunity for us to kill him.
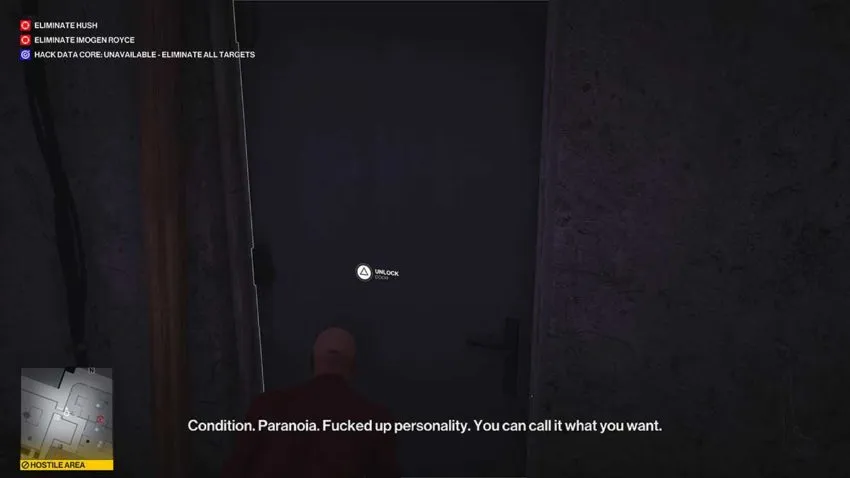
From this area, head across the walkway opposite. You can unlock the first door here to get into this area, but you don’t have to. The window next to it is open, and it’s actually faster to hop through there and move left into the corridor here than it is to wait for Agent 47 to unlock the door. Both ways will work though, so do whichever you’re more comfortable with.
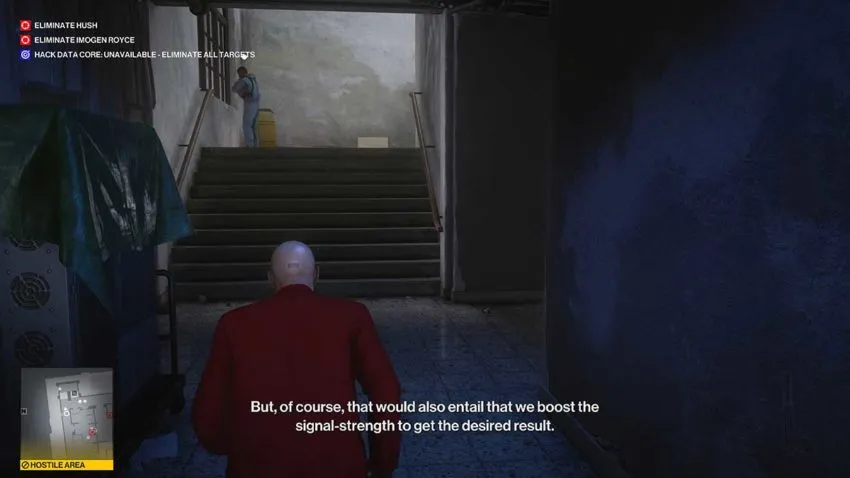
Once you’re inside, the path is pretty simple. You need to move around the edge of this crazy downstairs lab. as soon as you turn right, you’ll see a staircase. That’s where we’re going. We’re aiming to reach the room where you can kill Hush with your mind in one of Chonqing’s story missions.
Keep moving forward here, and don’t stop. There’s a lab technician to your right, examining a patient, who will almost completely spot you. If you keep moving, then he won’t. The guard on the staircase will never spot you, but there’s one at the bottom of the stairs which may start to see you. Never stop moving, and get up the stairs and around the corner.
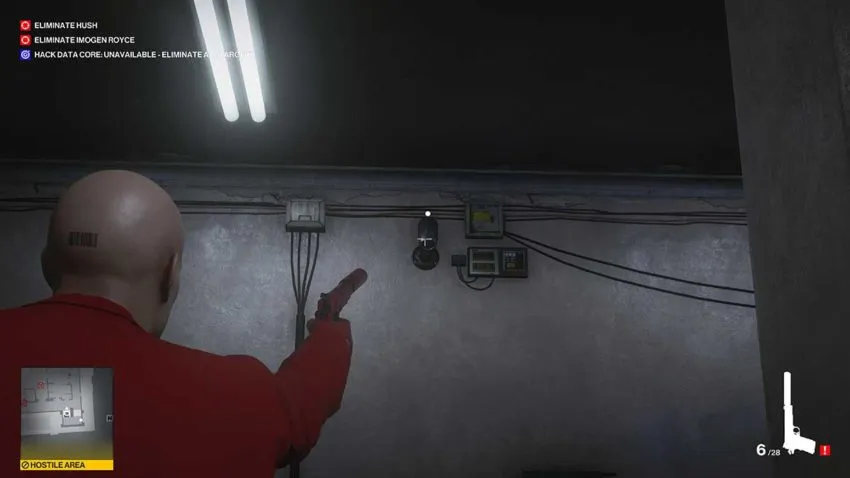
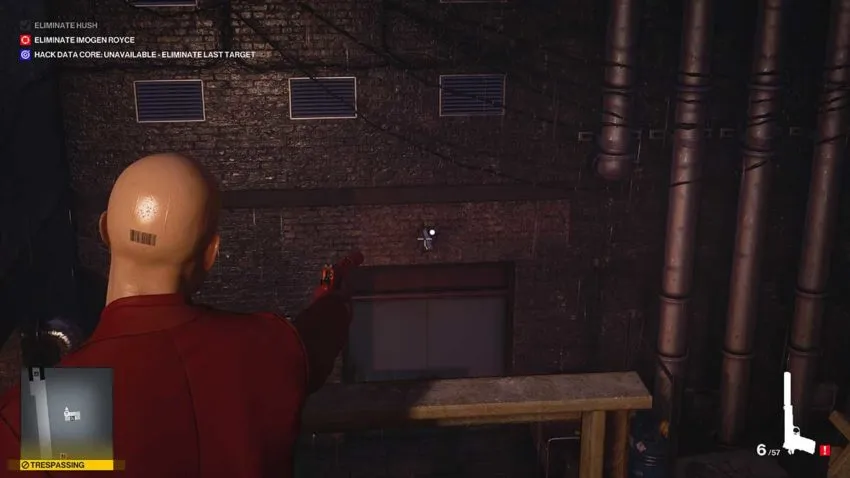
Once you’re around that first corner on the stairs, pause. There’s a camera at the top that you need to shoot before you do anything else.
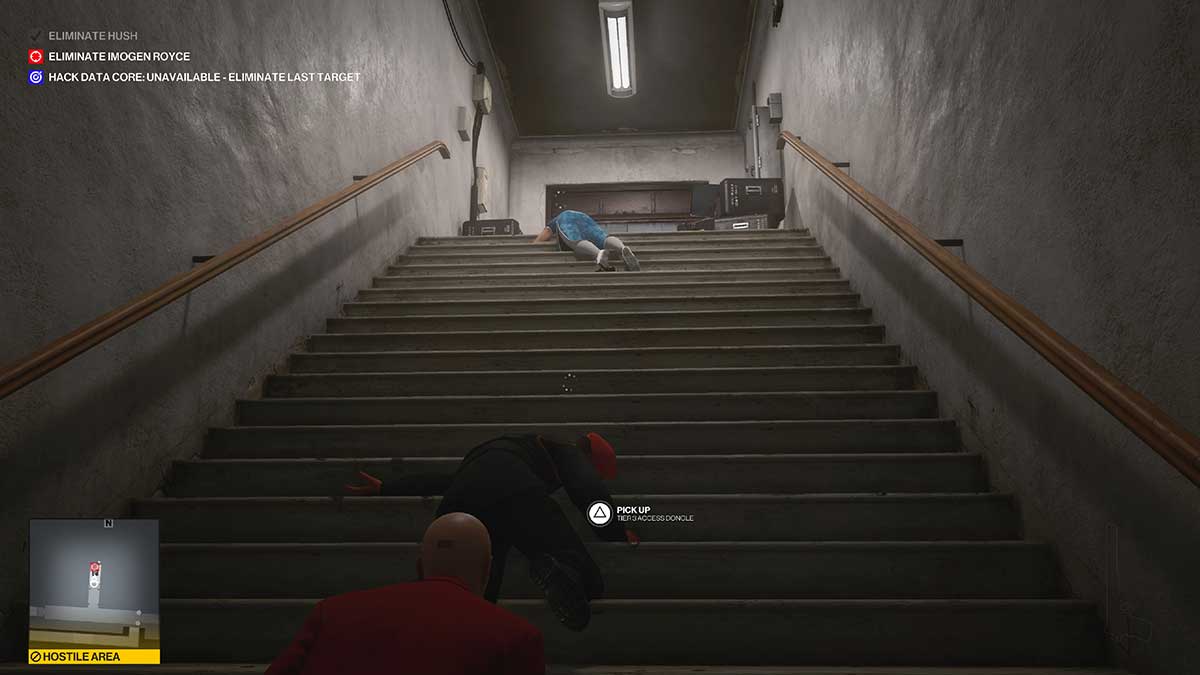
Now climb the stairs and drop a coin slightly to the right of where you emerge. This coin is going to distract Hush on his path down the stairs. Make sure it’s obvious enough that he’ll see it.
The setup is almost over. Now move left from the top of the stairs, along the corridor, and through the blue door. Watch out for the guard who moves around in here because he might spot you.
Once you’re in this room, you need to grab the frying pan from the sink.
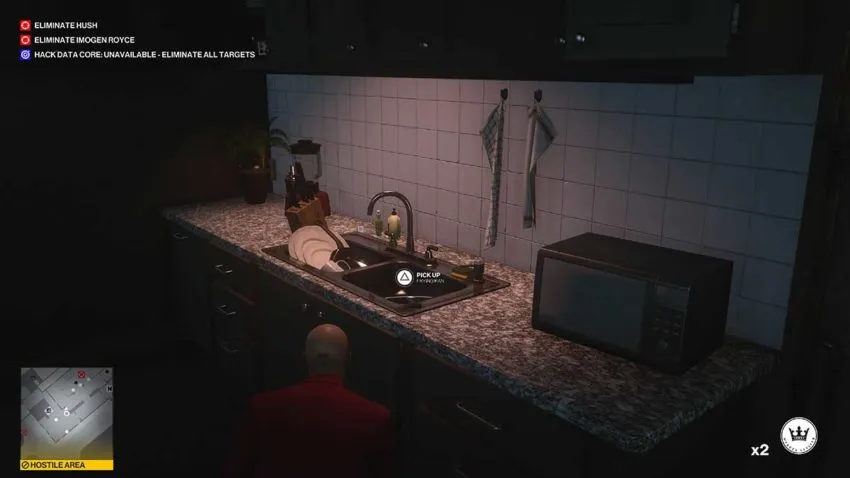
Grab the apple from the table while you’re at it as well.
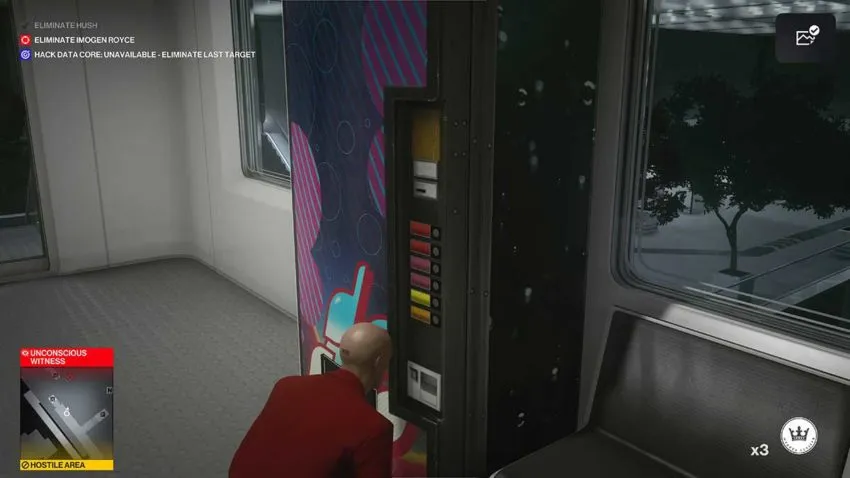
Now exit this room the way you entered and hide behind the vending machine. It’s time to wait for Hush to move.
Step 2 – Kill Hush
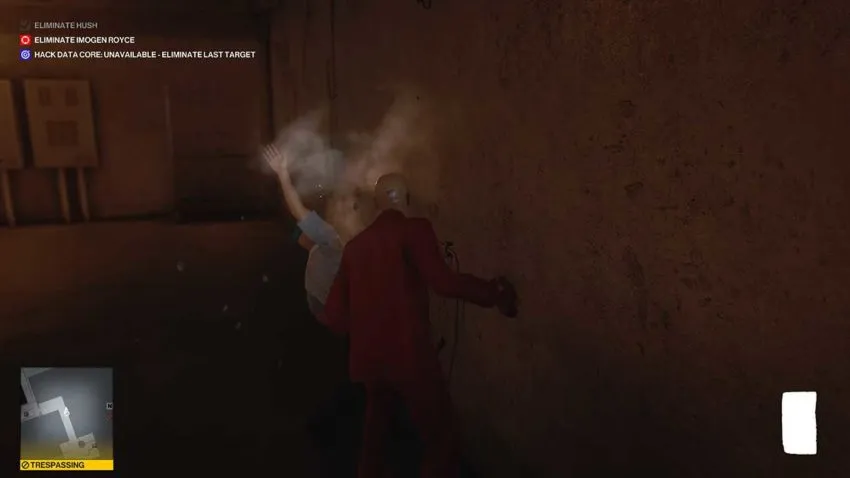
At this point, Hush should be getting a phone call telling him that the satellite is down. He’ll then move out of this area and down the stairs. Before he does, he’ll get distracted by the coin. That’s the point that you need to move in.
As Hush walks towards the coin, hit his bodyguard with the frying pan to knock him out cold. Wait until Hush bends down to pick up the coin before you do the same to him.
Snap Hush’s neck and pick up the coin. You don’t need to hide the bodies because no other NPC will move through this area now. Turn around and head back towards the blue door. It’s time to kill the second target.
Step 3 – Imogen’s setup
Once you’re through the blue door, move right past the kitchen counter. There’s a small walkway that turns left and out a set of double doors. That’s where you need to go.
Below is a map reference for this location.
These doors take you outside to the walkway next to the rooftop with flying cameras all over it. Keep moving forward and through the next set of double doors before pausing.

We want to go down the fire escape stairs here, but there’s a camera flying above them. As soon as you shoot that camera, it will trigger Imogen to start walking out of the lab below. Once you’ve shot the camera, you need to move fast, so make sure you’re ready.
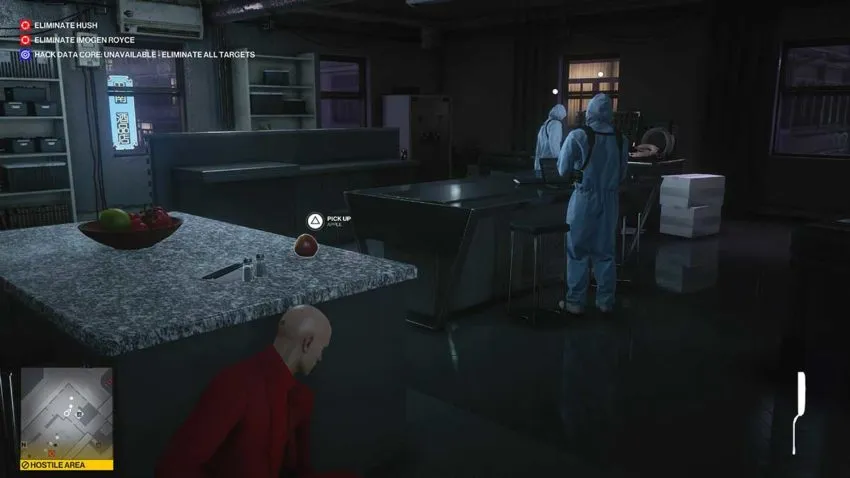
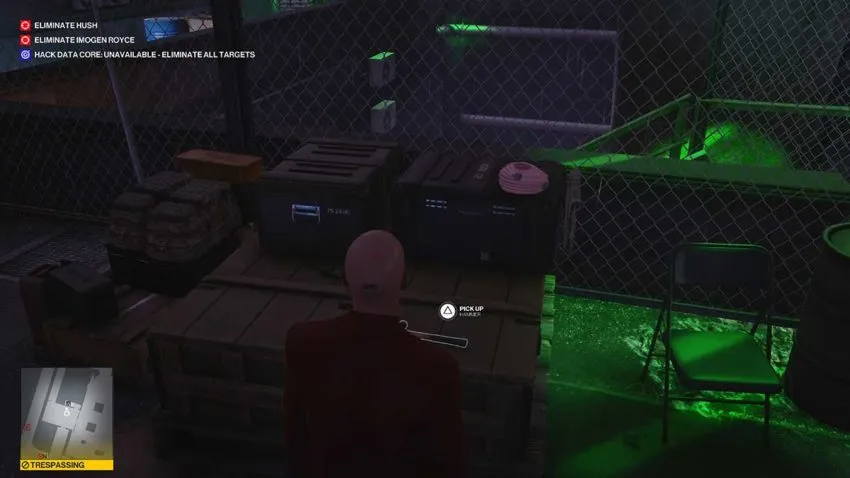
If you’ve failed to grab the apple or brick up until this point, there’s a hammer on some boxes here that you can take. Trust us. You might need it.
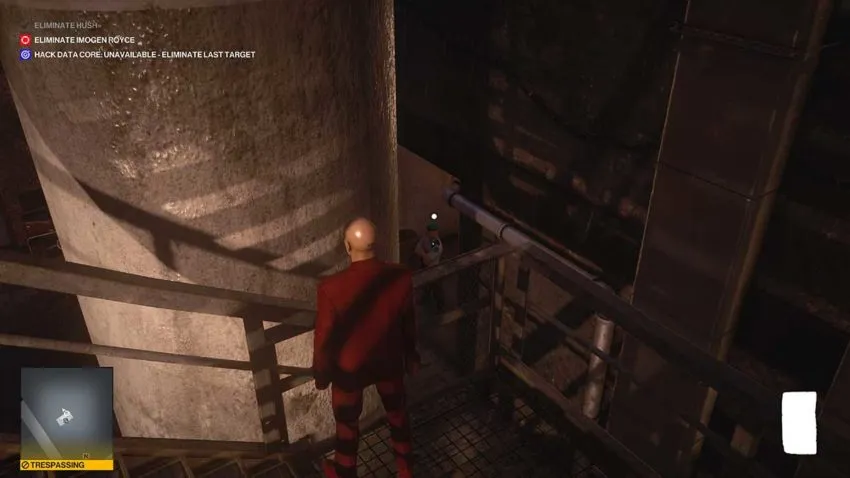
When you feel ready, shoot the camera and begin descending the stairs. There’s a camera on the ground floor above the door that you need to take out before you get all the way down. Stop on one of the landings to shoot it, but keep moving as soon as possible.
There’s a pair of guards on the left and a single guard on the right at the bottom of the stairs. The guards to your left won’t bother you. The one of the right though, he needs to be subdued.
How you do this depends on your timing. If he’s looking into this courtyard, where you need to be, by the time you get to the bottom of the stairs, you need to throw a brick, apple, or hammer at him from the staircase to knock him out.
If he’s at the other end of the alley facing away from the courtyard though, you can sneak up and quietly bash his head in with a brick instead.
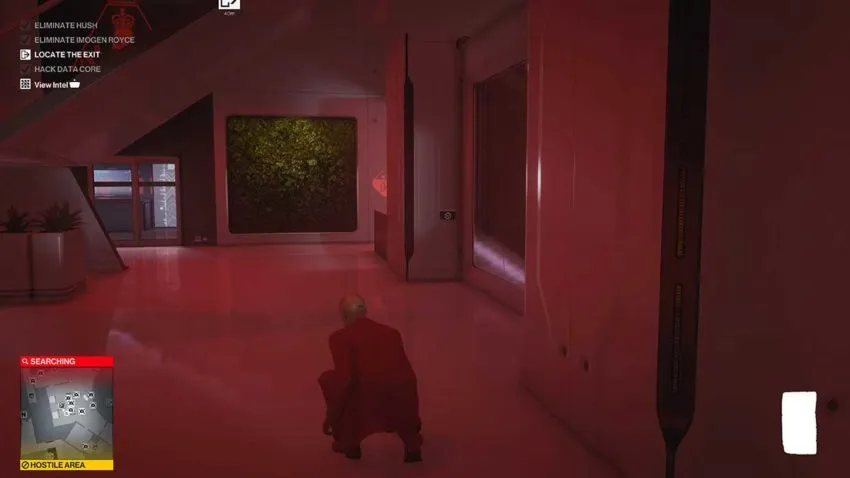
With that guard out of the way, unlock the double doors and go down into the lab. Use instinct to see where Imogen is. There’s a chance that she’ll be leaving the lab to your left here. Every time we did this run, she came from the right though, so we’ll account for that next.
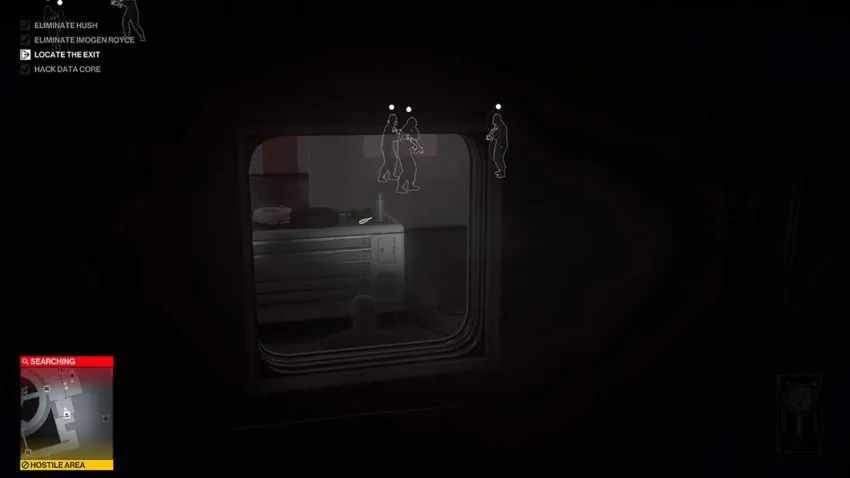
The first thing you need to do is turn right and get into the lab. There’s a short staircase opposite this position. Move up there and hide around the corner. Imogen will be walking up the stairs ahead of you and through the corridor you were just in. Wait for her.

Imogen will emerge from the door in the center of the image above. You need to be hidden up the staircase to the left of where Agent 47 is before that happens, or you’ll be spotted.
Step 4 – Kill Imogen
As Imogen walks up the stairs and towards the corridor that you entered through, follow her. Be careful to stay behind her bodyguard though. You also need to watch out for a woman who will be walking out into the area you’re hiding in. The timing works as long as you follow Imogen’s bodyguard closely. If not, you’ll be spotted.
As Imogen and her guard pass the vending machine, use your coins to buy two soda cans.
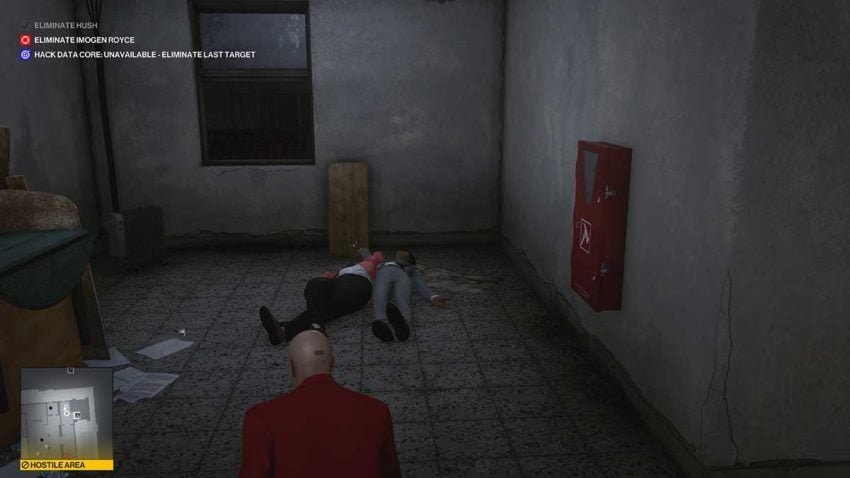
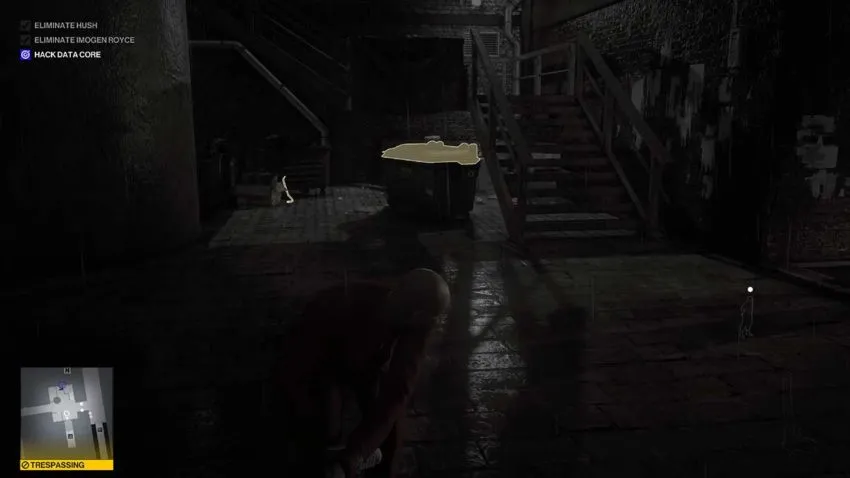
Imogen and her guard will now be walking up the stairs. Use the soda cans to knock them out, taking the guard out first. The soda cans are quiet enough that you won’t alert Imogen to her imminent death.

Snap Imogen’s neck, and then hide both bodies in the dumpster just outside the courtyard’s doors. As we mentioned earlier, the guards at the entrance here won’t see you.
Step 5 – The Data Core
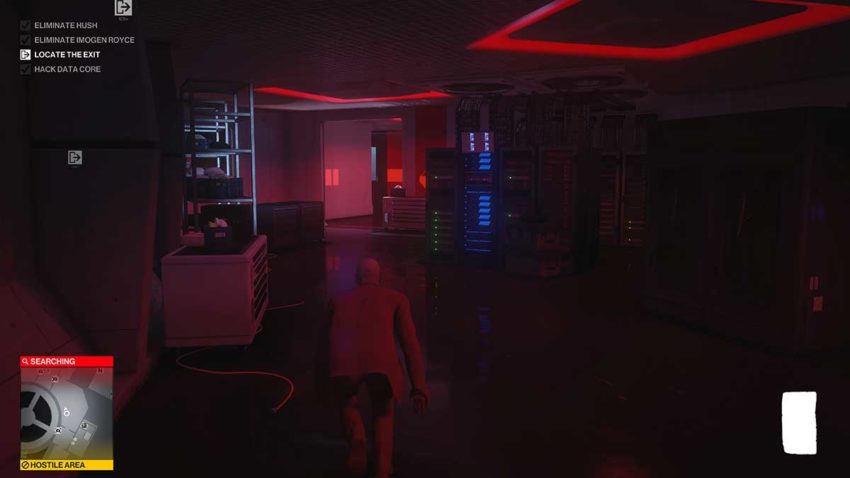
Head back into the lab and turn right. The Data Core is inside the large structure to the right here, so you need to vault the glass walkway and sneak over to the door.
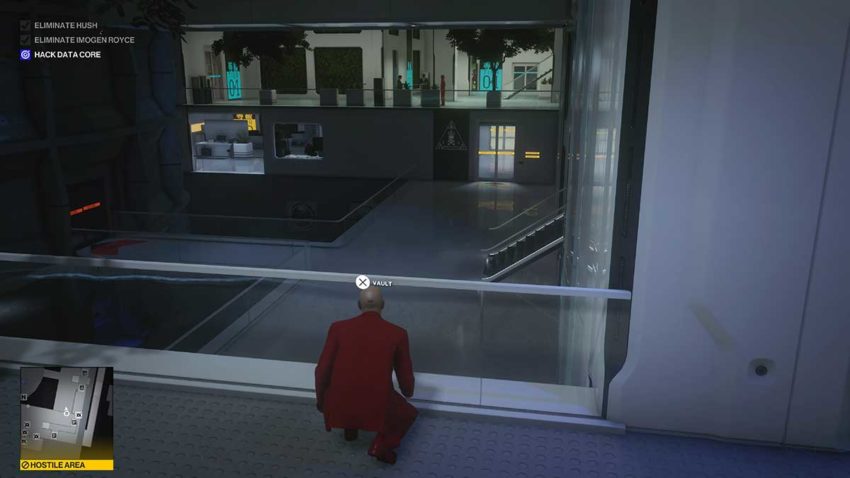
Use your camera to get inside the Data Core. The doors and glass will be sealed automatically with the story. All you need to do is access the machine. From here, you follow the button prompts until this cutscene is over.
Step 6 – Exit
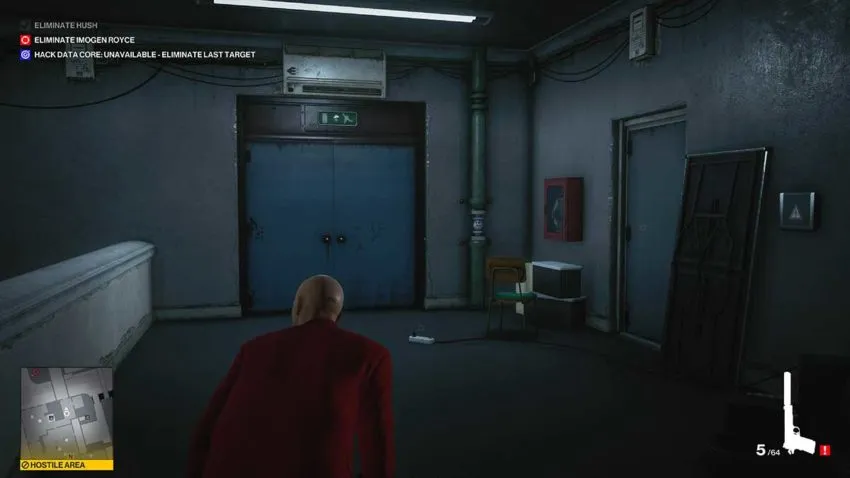
Once you’ve hacked the data core, run around and leave this room through the vent on the opposite side.
Follow the path, and you’ll emerge in a room where there’s a screwdriver on the table. You’ll see a woman run off to the left, which is the way we need to go. Don’t follow her yet though.
Using instinct, you can see some guards to your right. In some cases, one guard will walk down along the left path we need to follow. If he does, follow him and subdue him. You can store him in a locker along this route. If he doesn’t, then start running along the path.
Keep moving forward, eventually, you’ll come to the West Server Room. In here, there are guards at the opposite end of the room blocking the stairs. Move forward and jump through the vent on the right-hand side of the room instead.
Go up the ladder inside this vent. You’ll emerge in Imogen’s office on the next floor up. You need to exit this room and turn left. Three guards are patrolling this area, so go left and underneath the staircase.
The door you need to go through is left of the wall garden in the image above. As soon as you’re through, you’ll see a vent. Jump inside quickly because there’s a chance a guard will spot you here.
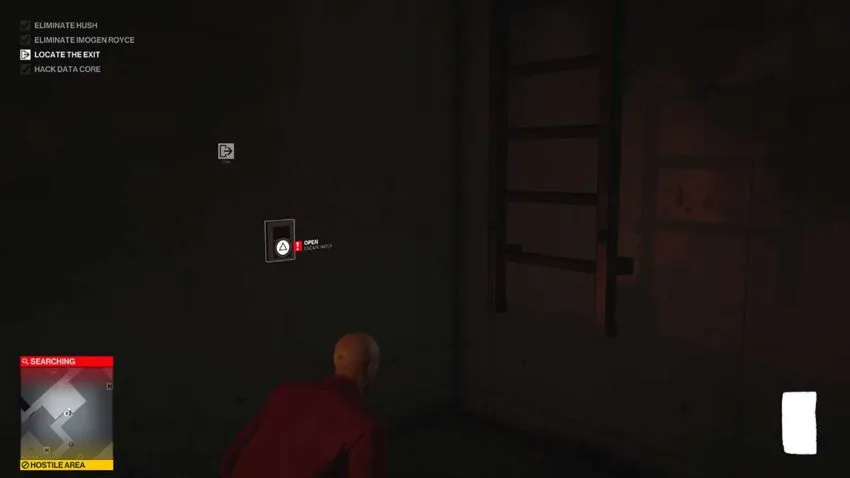
Once inside the vent, take the ladder down one floor. Then follow the path forward until you reach the next ladder. There’s a button on the wall here that will bring it down. This is a secret exit that will complete another challenge if you haven’t completed it already.
At the top of this ladder, there are two guards. Wait until they’re standing apart and not talking. Then move to the locked door on the left-hand side of this little courtyard.
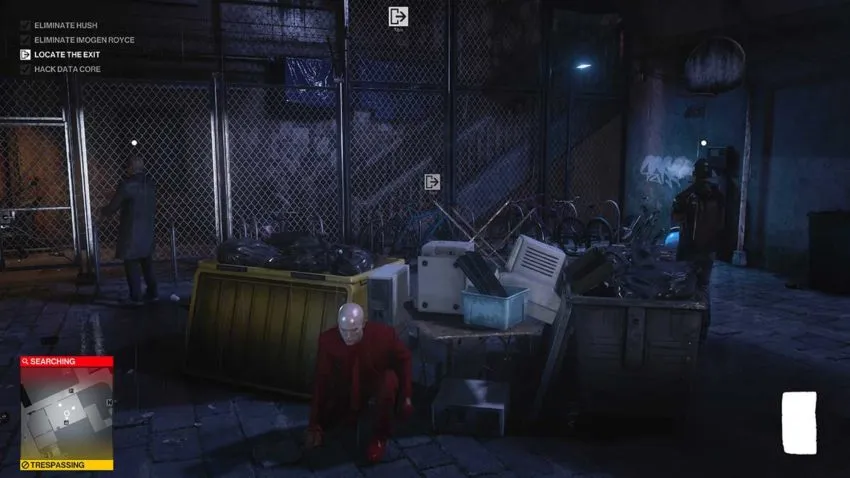
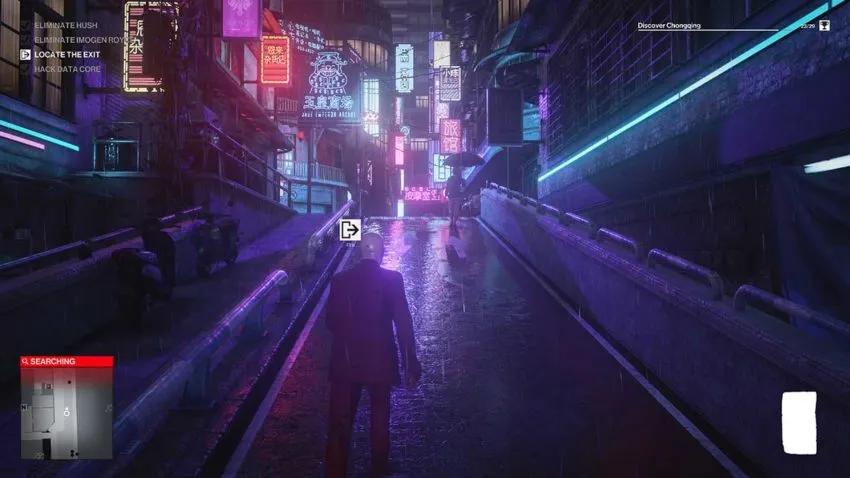
Unlock the door and move through the shop. You’ll emerge on the street, at which point you can stop panicking so much.
Now all you need to do is find an exit. There’s one at the top of the road to your left which is the closest.


Published: Feb 8, 2021 11:57 am