Mendoza is an absolutely stunning location in Hitman 3. It’s packed with NPCs and filled with opportunities for mischief. Unfortunately, killing both of your targets without being noticed or changing your disguise is quite challenging, though not as difficult as doing it in Chongqing. In this guide, we’ll take you through how you can complete Mendoza and unlock the Silent Assassin and Suit Only challenges.
Choose your loadout
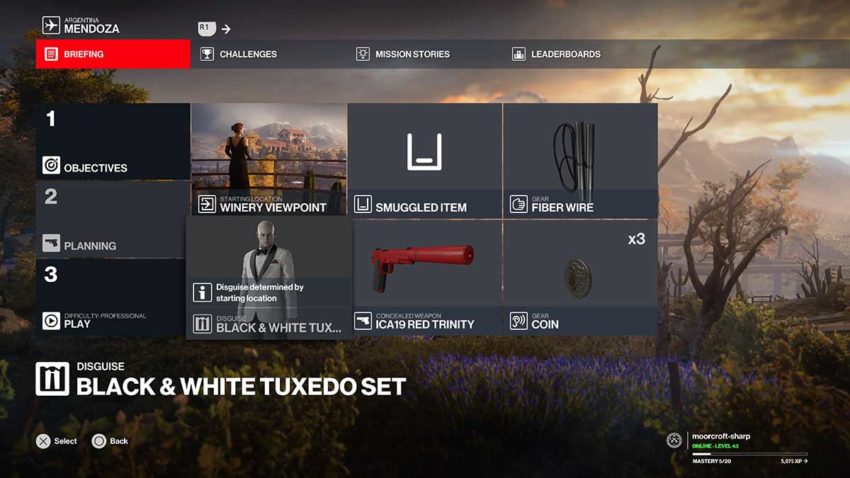
We’re restricting ourselves to the original starting location here, so your outfit is picked for you. The only two items you must have with you are a silenced pistol and the coins.
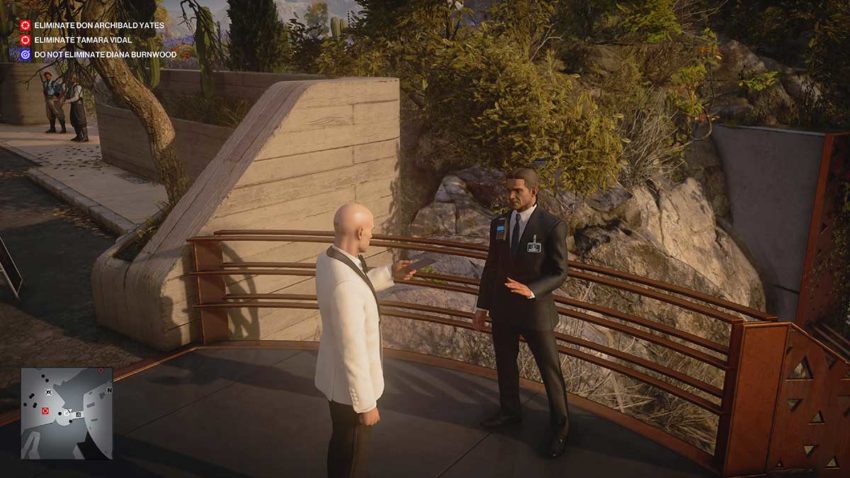
Start the mission and chat with Diana. It’s best to skip the cutscene with her and get the invitation as soon as possible. You’ll need to be ahead of your first target when you’re into the mission proper.
Step 1 – Setup Tamara Vidal
Run down the road towards the party. Use your invitation to get past the guards to avoid any suspicion.
You need to head into the main reception and turn right. Run past all of the guests and make for the staircase in the back corner of this area.
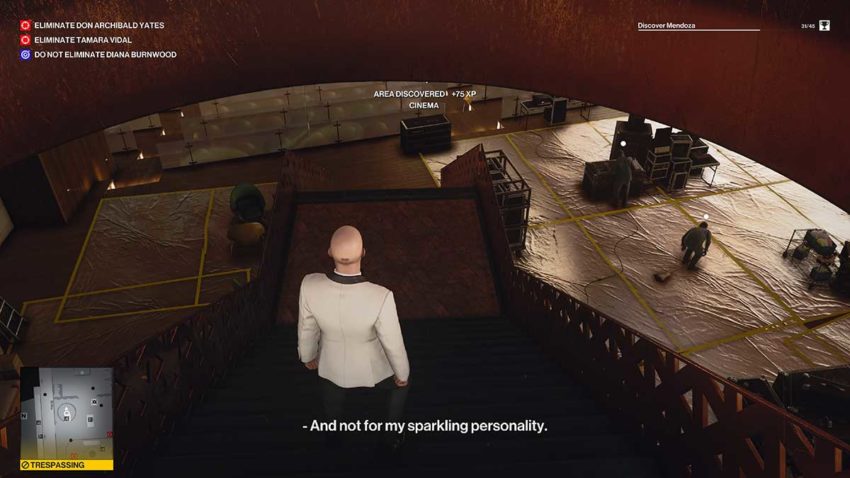
Down here is the cinema. There are two technicians to your right as you come down, so head left at the bottom of the stairs. Work your way down to the front, where the screen is using the left-hand steps. The technicians won’t notice you here.
Once you’re at the front, pick up the propane tank.
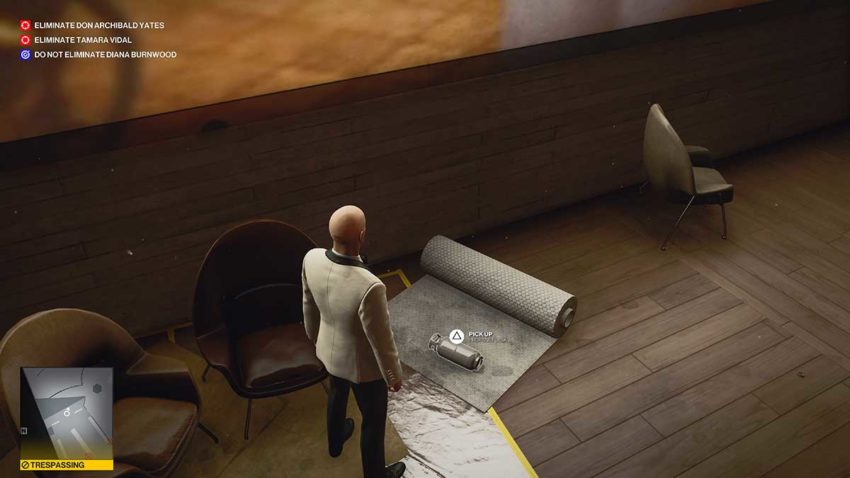
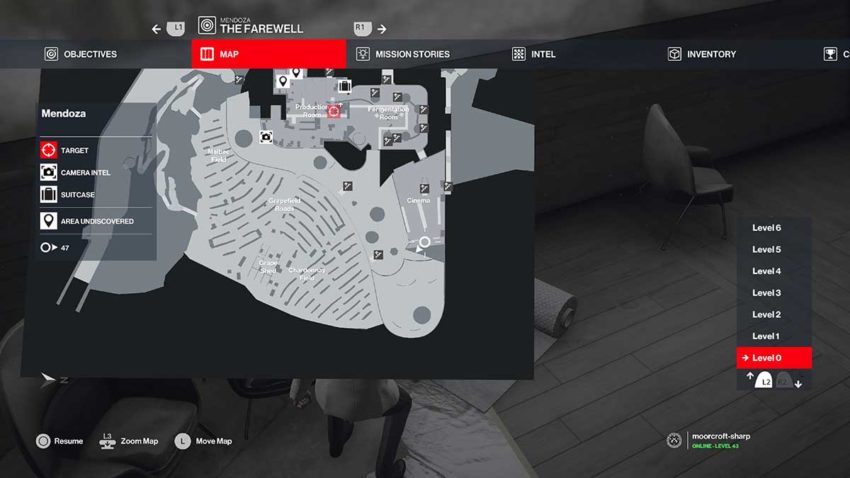
Below is a map reference for this item.
With the tank in hand, head back up the steps you came down. Stick to this side of the cinema until you can run up the staircase to the top floor again. You need to return to the reception desk. Watch out for a guard who can spot you while you’re running here. You can hide in the crowds of NPCs if you need to.
By now your target will be at the reception. You need to place the propane tank in the exact location shown in the image below.

Step 2 – Kill Tamara Vidal
To shoot this, you need to head towards the bathroom to the far left of the reception desk. Don’t go inside, but instead lean up against the wall. Pull your gun out to see if anyone notices you holding it. If they do, put it away, wait for a second, then try again.
When you’re sure no one can see you, shoot the propane tank twice. This will kill your target, but no one else.
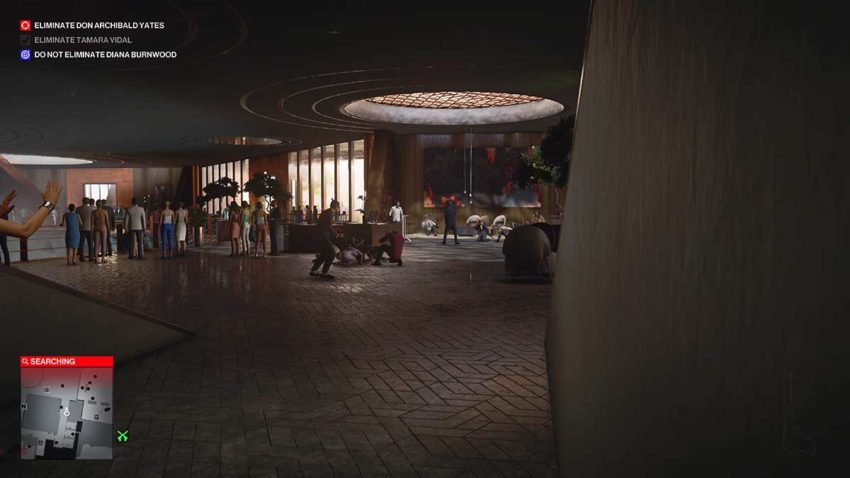
Below is a map reference for where to shoot from.

Step 3 – Setup Don Archibald Yates
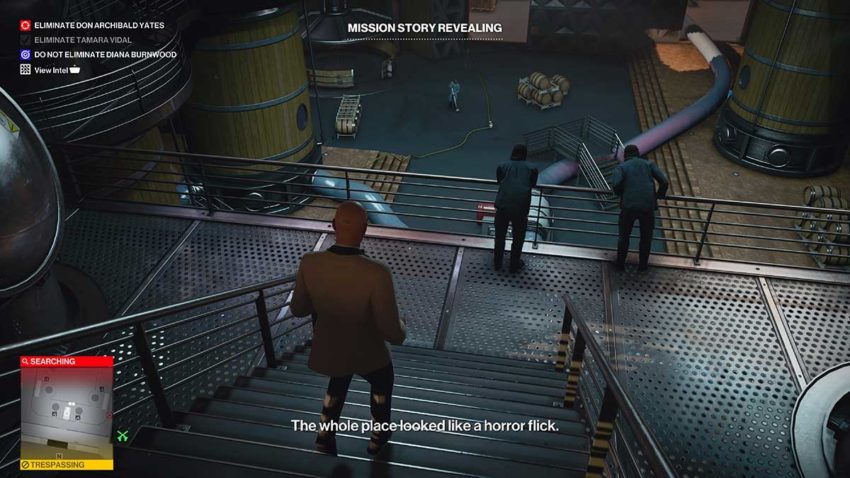
With one target down, head left from where you’ve been standing. You need to get down into the winery facility below. Take the metal stairs where two NPCs are leaning over the rails having a conversation.
Move left from where these guys are and down the staircase on the right. You’ll see some hazard tape on the railing ahead. That’s where you need to vault over.
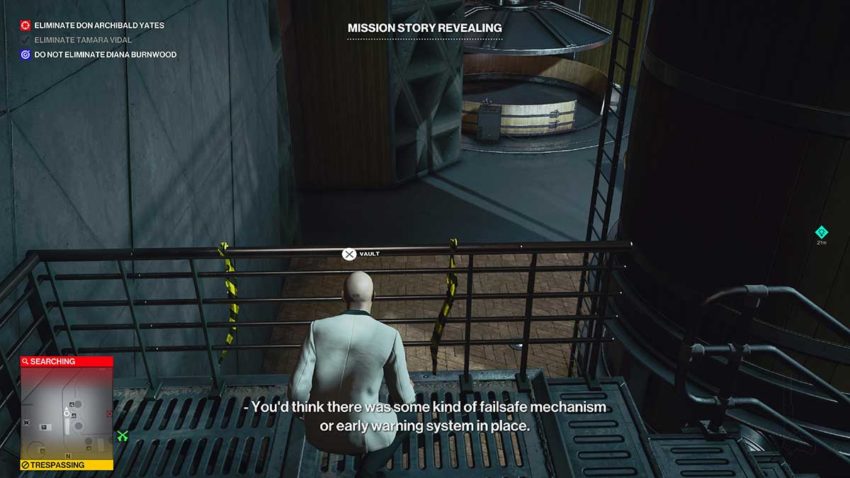
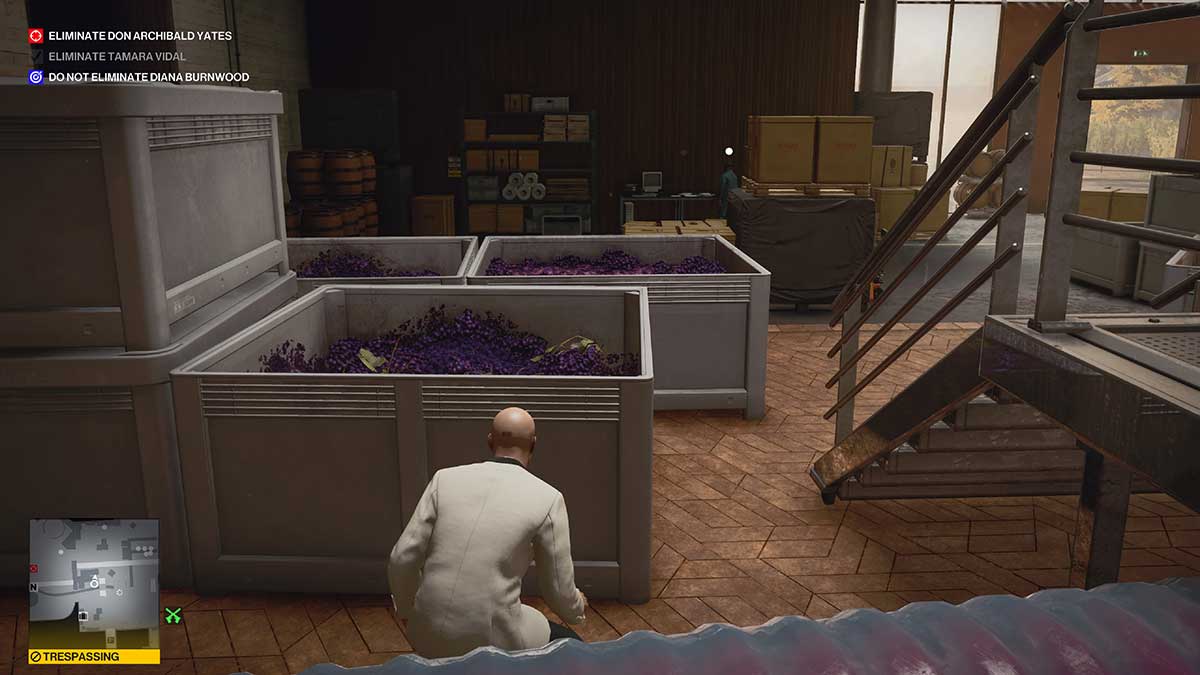
Agent 47 will automatically crouch here. Make your way to the barrels ahead of him and wait for the janitor to look away.
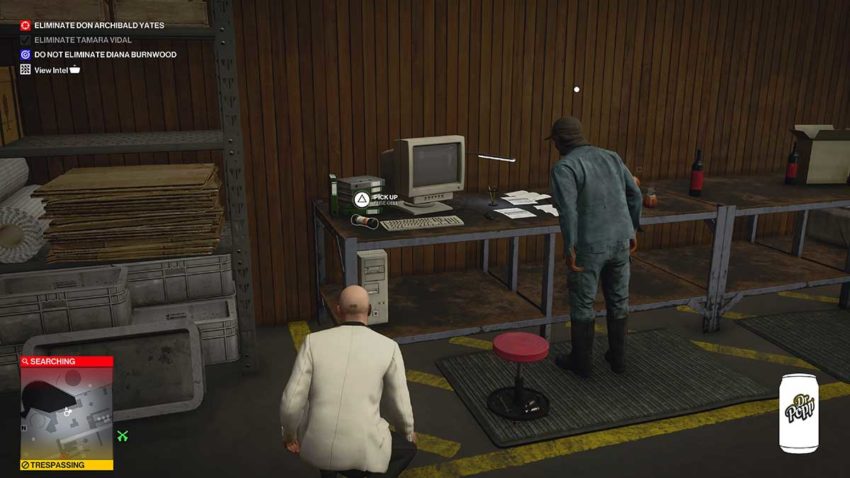
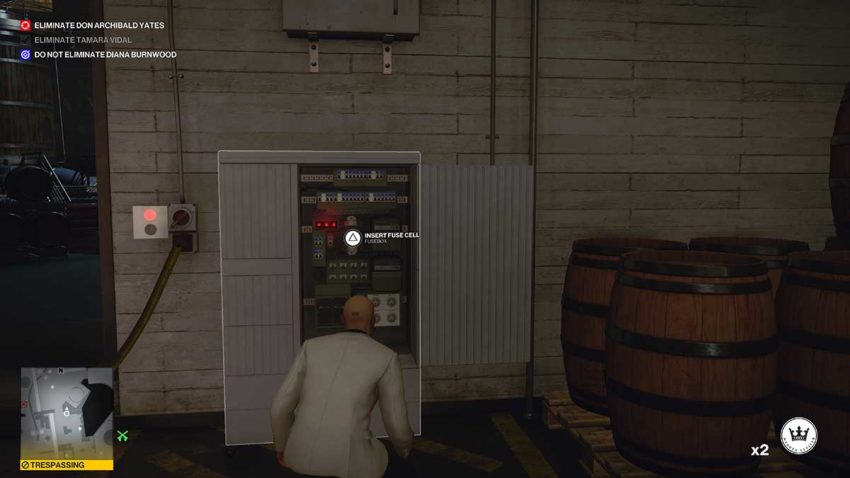
Head through the opening behind him and into the next room. On your left is another worker. He’ll have a drink and move back and forth across this desk. When he’s having a drink, get close and pick up the fuse cell.
Now turn around and pay attention to the guard on the railing ahead of you. We need to take him down.
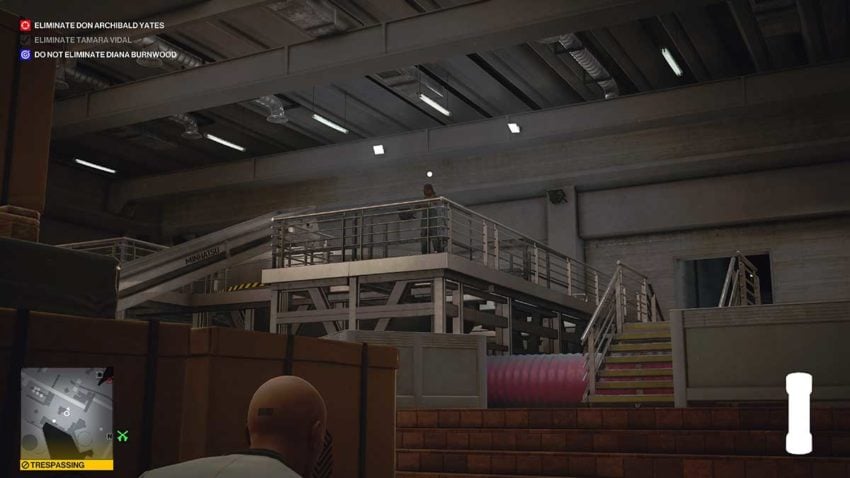
Wait for the guard on the railing to have his drink and turn around. Then run forward and hop the giant tube of grape juice. You can hang from and then vault the barrier here to get to this guard. Do it and subdue him before he can see you.
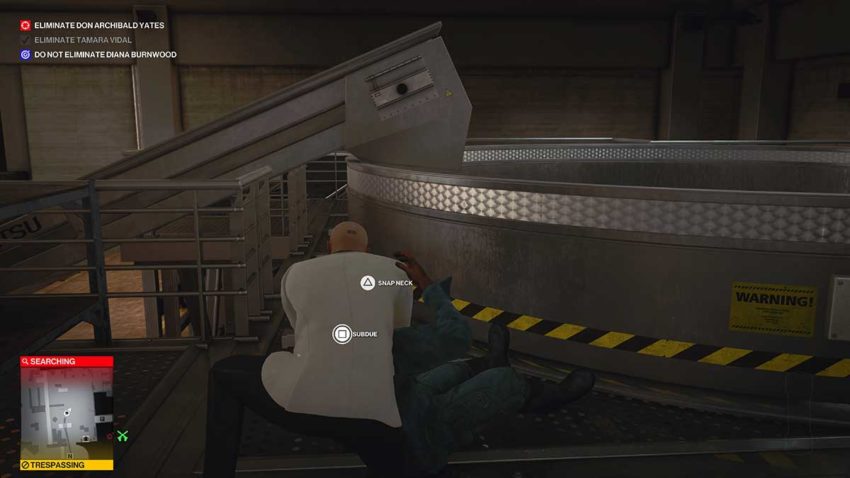
Now vault back over the railing. Subdue this second guard and hide his body in the nearby container. You don’t need to hide the first guard’s body. If you try to throw him over the ledge here, he’ll die. That would destroy the silent assassin rating, so don’t do it.

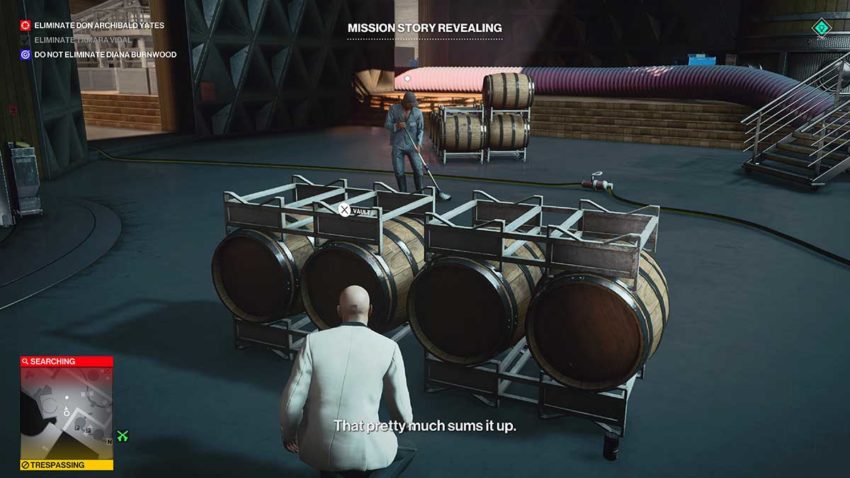
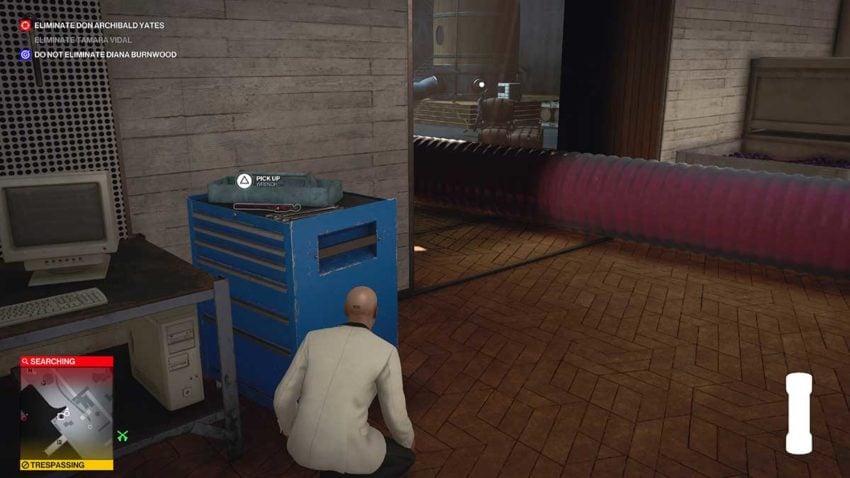
Turn around and head to the blue toolbox. Pick up the wrench, and then enter the room ahead of you. You’ll be able to see the grape juice tube going through the opening.
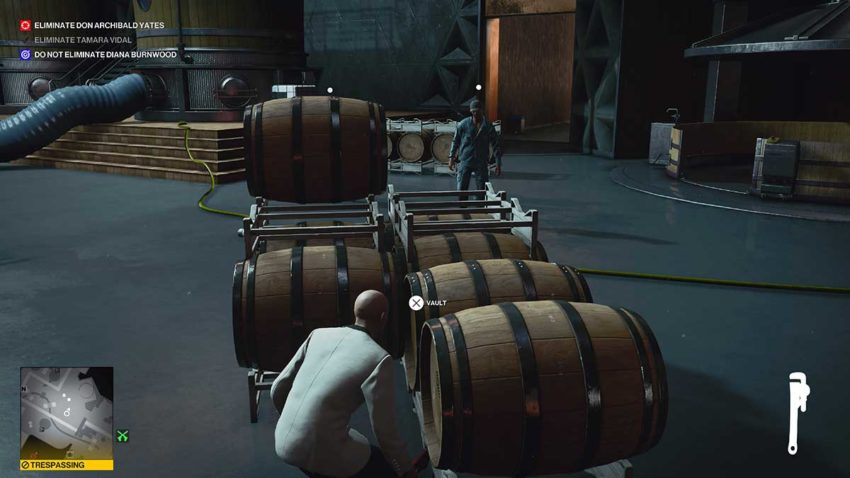
Hop the tube and hide behind the barrels in the image below. Wait for the two NPCs in front of it to finish their conversation and move apart. You then need to wait for the NPC that went left to move away from the red machine. When he does, flip a coin to distract the NPC on the right and move them in the opposite direction to this red machine.
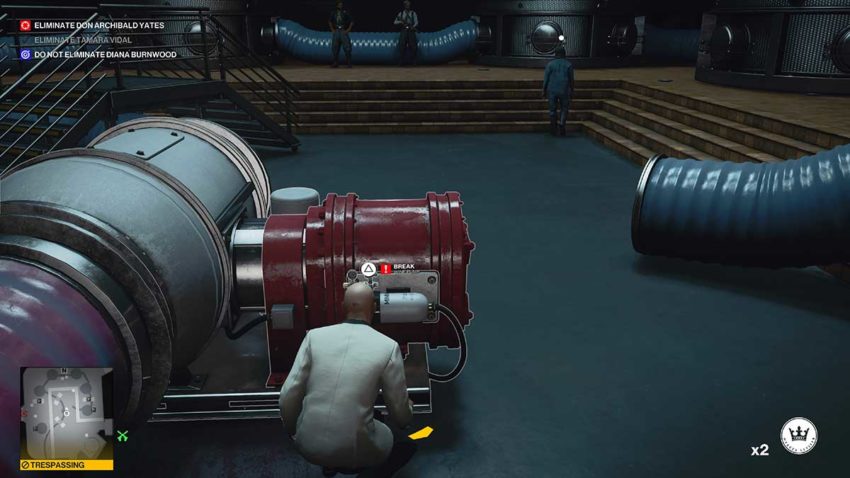
When you’ve done that, run to the red machine and sabotage it.
As soon as you’ve done this, things will begin to break. You need to return the way you entered this area, back over the pipe and out to where the wrench was. From here, it’s safe to make your way down to the other entrance to that area. You’ll see lots of people coming in and making a fuss. Don’t worry, none of them will see you if you stay back here.
Go to the open panel to the right of this entrance and install the fuse cell, but don’t turn anything on yet.
Now go to the left-hand side and lean up against it. You have to wait for this scene to play out. Your target will appear, but you need to wait until everyone else is safe before you can kill him.
At some point, the Chief Winemaker will start walking towards you. Move away to where you picked up the wrench to hide from him. As soon as he’s come through, you can kill the target.

Step 4 – Kill Don Archibald Yates
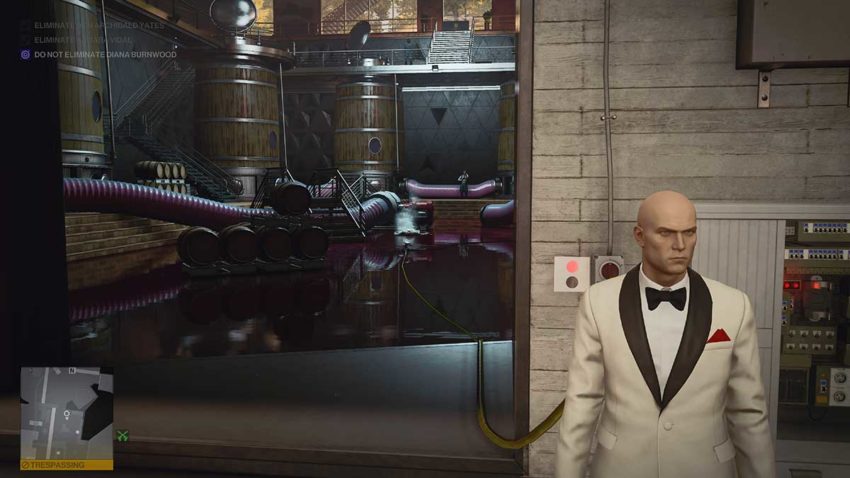
One worker will patrol in and out of the wine here, but your target will remain there for a good long while. When no one is looking, shoot the plug in the middle of the room here.

You’ll be able to see it’s broken because the plug itself won’t be yellow in instinct anymore. The wires going to it will be though.
Now just turn on the machine that you just put the fuse cell in and watch your target fry.
Step 5 – Exit
You don’t need to leave the way you came. Instead, sneak across this area towards the vent you can see up above some shelving at the end of the room.
Unlock the vent using your camera and jump down through it. Now you’ll be in an area where Agent 47 can freely roam. All you need to do is pick an exit and take it. We chose to leave through the vineyard.
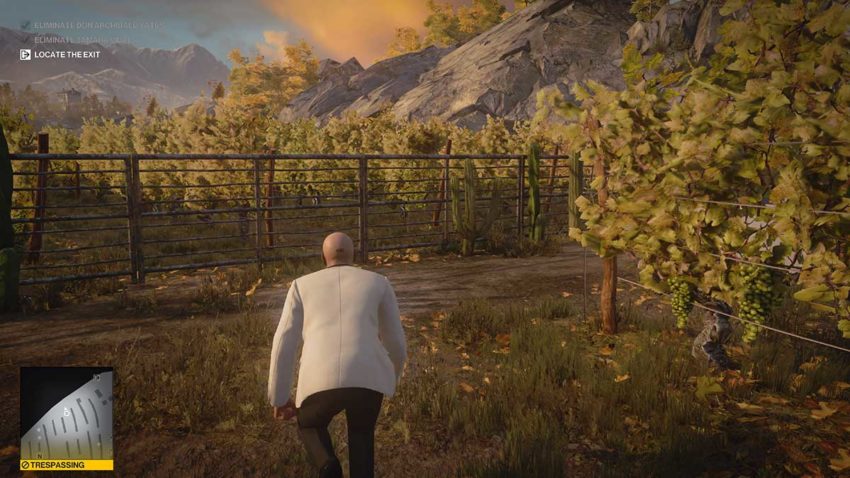
Work your way all the way to the left of the area before hopping the rail to get in. Now move down to the end. There will be two patrolling guards. Distract them or move around them and make for that exit. You may need to distract the guard in the center of this area in case he spots you, but you’ll leave so fast he probably won’t even notice you.


Published: Feb 10, 2021 09:59 am